There will be short videos uploaded to Cloudinary on some educational topic and they’ll be rendered in random order on flashcards in the app, along with explainer text
The first thing you need is a Cloudinary account. You can make one for free here. This is where you’ll be able to upload your videos to study from. Go ahead and create a new folder in your Cloudinary console called study-videos. If you have any videos ready, upload them to this folder.
Now we can move on to setting up the Next app. Open a terminal and run the following command:
$ yarn create next-app --typescript
This will bootstrap the app for us. We’ll be using Tailwind CSS for our styles so let’s install that and a couple of other packages with the following commands:
$ yarn add tailwindcss postcss autoprefixer
$ npx tailwindcss init -p
You’ll need to update the tailwind.config.js with the following snippet so that the Tailwind styles are applied correctly:
// tailwind.config.js
...
content: [
    "./pages/**/*.{js,ts,jsx,tsx}",
    "./components/**/*.{js,ts,jsx,tsx}",
  ],
...
Code language: JavaScript (javascript)
The last bit of setup for Tailwind is adding the directives to your global styles. Go to the styles folder and delete everything out of globals.css and replace it with the following:
/* globals.css */
@tailwind base;
@tailwind components;
@tailwind utilities;
Code language: CSS (css)We’ll be working with the Cloudinary API to get all of the videos out of the study-videos folder we made earlier. At the root of the project, make a new file called .env. You’ll need the three following values in order to make requests to the Cloudinary API. You can find them in your Cloudinary console.
CLOUDINARY_API_KEY=your_jumble_of_numbers
CLOUDINARY_API_SECRET=your_mix_of_characters
CLOUDINARY_CLOUD_NAME=your_cloud_name
That’s all for the setup! Now we can start building the UI for our flash cards.
Go to the pages folder and open the index.tsx file and delete everything inside of it. This is where we’re going to render the flashcard. Start by adding the following code to set up the component and a few types.
// index.tsx
import { useState } from "react";
import type { NextPage } from "next";
import Head from "next/head";

interface Videos {
  videos: string[];
}

interface FlashcardData {
  question: string;
  answer: string;
  videoUrl: string;
}

const Flashcard: NextPage = () => {
  return (
    <div className="container mx-auto">
      <Head>
        <title>Study for this test</title>
        <meta
          name="description"
          content="It's time to get ready for some certification"
        />
      </Head>
    </div>
  );
};

export default Flashcard;
Code language: JavaScript (javascript)
Right now we’ve just imported a few things and defined the <Head> for this page. Now let’s get the data from Cloudinary so we can make the flashcards.
We’ll use Cloudinary’s search API to get all of the videos in the study-videos folder we made earlier. Since this is a Next app, we’ll use the getStaticProps function because this data needs to be available before the user’s request. Add this code just above the default export statement.
// index.tsx

...
export async function getStaticProps() {
  const params: any = {
    expression: 'folder:"study-videos"',
  };

  const folderSearch = Object.keys(params)
    .map((key: string) => `${key}=${encodeURIComponent(params[key])}`)
    .join("&");

  const results = await fetch(
    `https://api.cloudinary.com/v1_1/${process.env.CLOUDINARY_CLOUD_NAME}/resources/search?${folderSearch}`,
    {
      headers: {
        Authorization: `Basic ${Buffer.from(
          process.env.CLOUDINARY_API_KEY +
            ":" +
            process.env.CLOUDINARY_API_SECRET
        ).toString("base64")}`,
      },
    }
  ).then((r) => r.json());

  const { resources } = results;

  const videos: Videos = resources.map(
    (resource: { secure_url: string }) => resource.secure_url
  );

  return {
    props: {
      videos,
    },
  };
}

export default Flashcard
Code language: JavaScript (javascript)
First, we define the search parameter we need to target the correct folder. Then we encode the search so that it’s in a URL-friendly format. You could expand this to use multiple search parameters. After that, we make the GET request with the search parameters and our authentication information in the headers and wait for the JSON response.
Next, we parse out the video URLs we need for the flashcard data and pass it to the Flashcard component as a prop. So we’ll need to do a quick update to the component declaration line.
// index.tsx

...
const Flashcard: NextPage<Videos> = ({ videos }) =>
...
Code language: JavaScript (javascript)
Now we can associate the videos with questions and answers.
This is where you might pull in data from a different API to get the flashcard questions and answers, but we’ll use some filler text for this example. Add the following code inside of the Flashcard component, above the current return statement.
// index.tsx

...
const [flashcardData, setFlashcardData] = useState<FlashcardData[]>([]);
const [flipCard, setFlipCard] = useState<boolean>(false);
const [index, setIndex] = useState<number>(0);

useEffect(() => {
  const questionsAnswers = [
    {
      question: "What was the name of the first computer invented?",
      answer: "Electronic Numerical Integrator and Computer (ENIAC)",
    },
    {
      question: "When was the first 1 GB disk drive released in the world?",
      answer: "1980",
    },
    {
      question: "What is the full form of UPS?",
      answer: "Uninterruptible Power Supply",
    },
    {
      question: "Difference between “ == “ and “ === “ operators.",
      answer:
        "“==” is used to compare values and “ === “ is used to compare both values and types",
    },
    {
      question: "What are callbacks?",
      answer:
        "Functions that will be executed after another function gets executed",
    },
  ];
  const flashcardData = videos.map((video, i) => ({
    question: questionsAnswers[i].question,
    answer: questionsAnswers[i].answer,
    videoUrl: video,
  }));

  setFlashcardData(flashcardData);
}, [videos]);

if (flashcardData.length === 0) return <div>Loading...</div>;
Code language: JavaScript (javascript)
This code sets some initial states for the flashcards and the way they will be rendered. Then we create the flashcard data and update it whenever there’s a change to the videos. Next, we have a loading state that gets rendered while the flashcards are being created.
All that’s left now is actually rendering the flashcards in a user-friendly way.
We want to cycle through the cards a number of times to learn the right answers to questions. So we’ll have the cards on a continuous loop that users can keep clicking through, regardless of the number of questions. Add the following code below the <Head> element.
// index.tsx

...
<main className="my-24 p-6 rounded-md	border-4 border-indigo-200 border-l-indigo-500 h-fit">
  {!flipCard ? (
    <div className="text-center flex flex-col space-y-16">
      <h1 className="font-bold text-3xl">Topic: Tech Stuff</h1>

      <p className="">{flashcardData[index].question}</p>
      <button
        className="rounded-full bg-emerald-400 py-2 px-4 text-stone-100 w-1/2 mx-auto"
        onClick={() => setFlipCard(true)}
      >
        Get answer and watch video
      </button>
    </div>
  ) : (
    <div className="text-center flex flex-col space-y-4">
      <video
        controls
        src={flashcardData[index].videoUrl}
        width="80%"
        className="mx-auto"
      ></video>
      <p className="">{flashcardData[index].question}</p>
      <p>{flashcardData[index].answer}</p>
      <button
        className="rounded-full bg-violet-400 py-2 px-4 text-stone-100 w-1/2 mx-auto"
        onClick={() => {
          const updatedIndex =
            index + 1 > flashcardData.length - 1 ? 0 : index + 1;
          setFlipCard(false);
          setIndex(updatedIndex);
          console.log(index);
        }}
      >
        Next question
      </button>
    </div>
  )}
</main>
...
Code language: HTML, XML (xml)
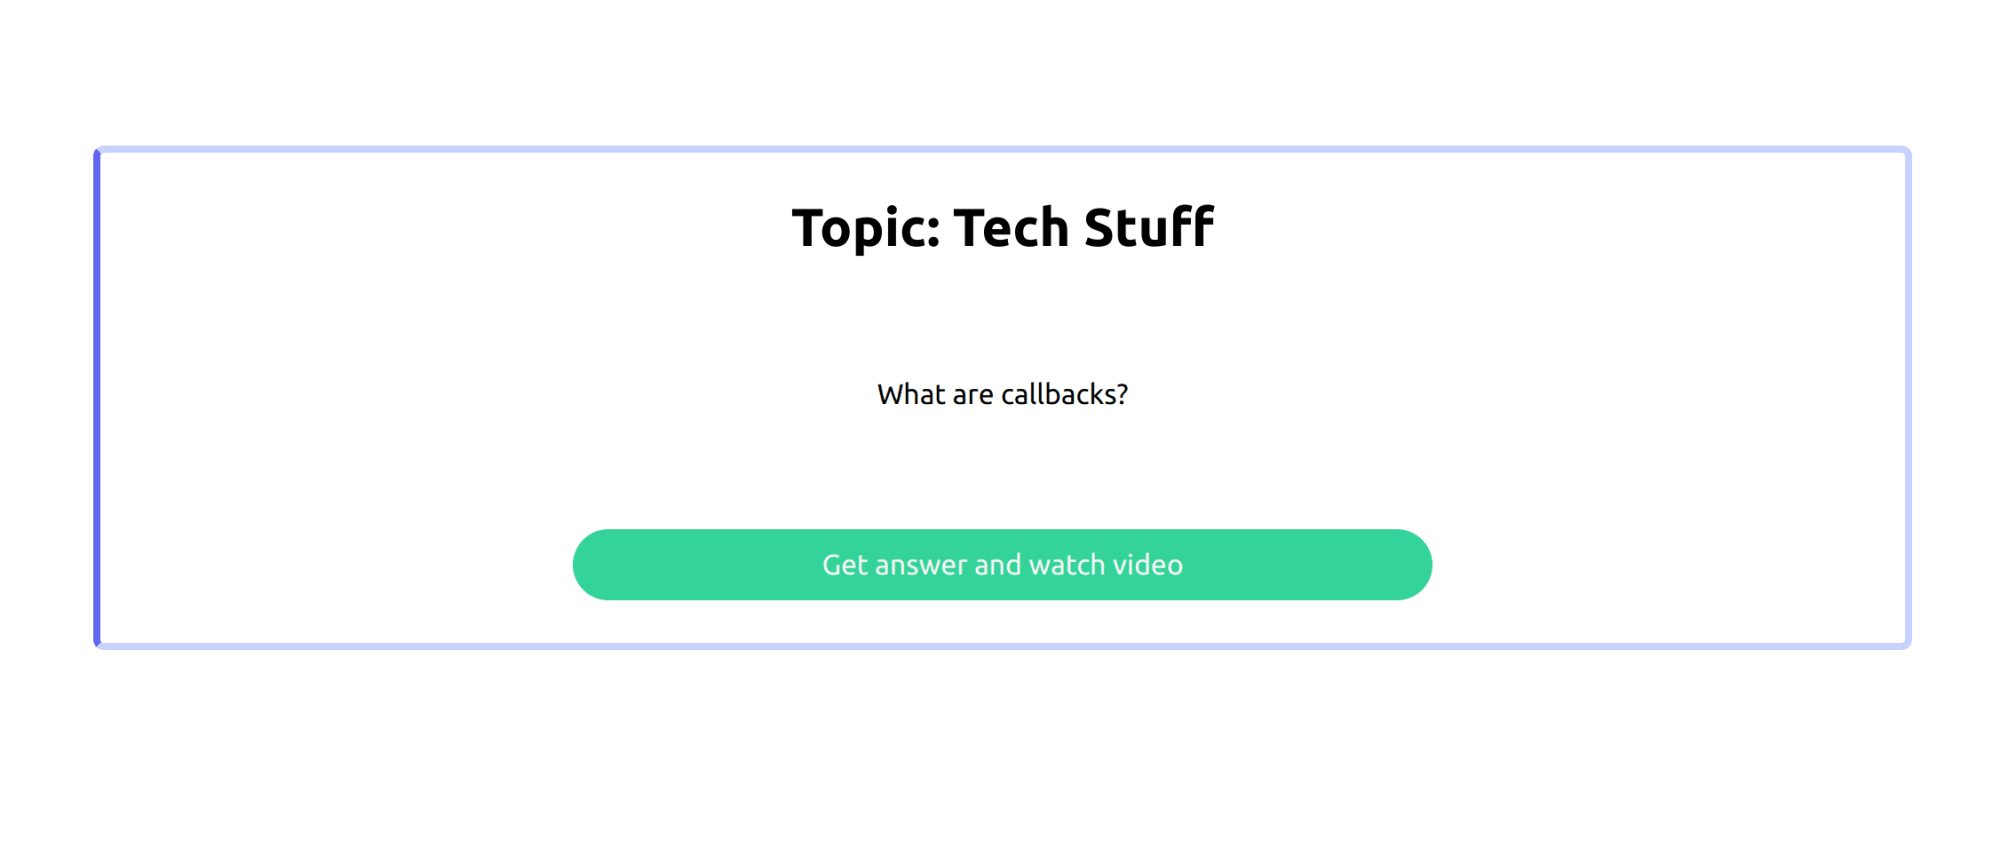
This code represents the two sides of a flashcard. One side will just have the question and a button to go to the video and answer. If you run you app with yarn dev at this point, you should see something like this.

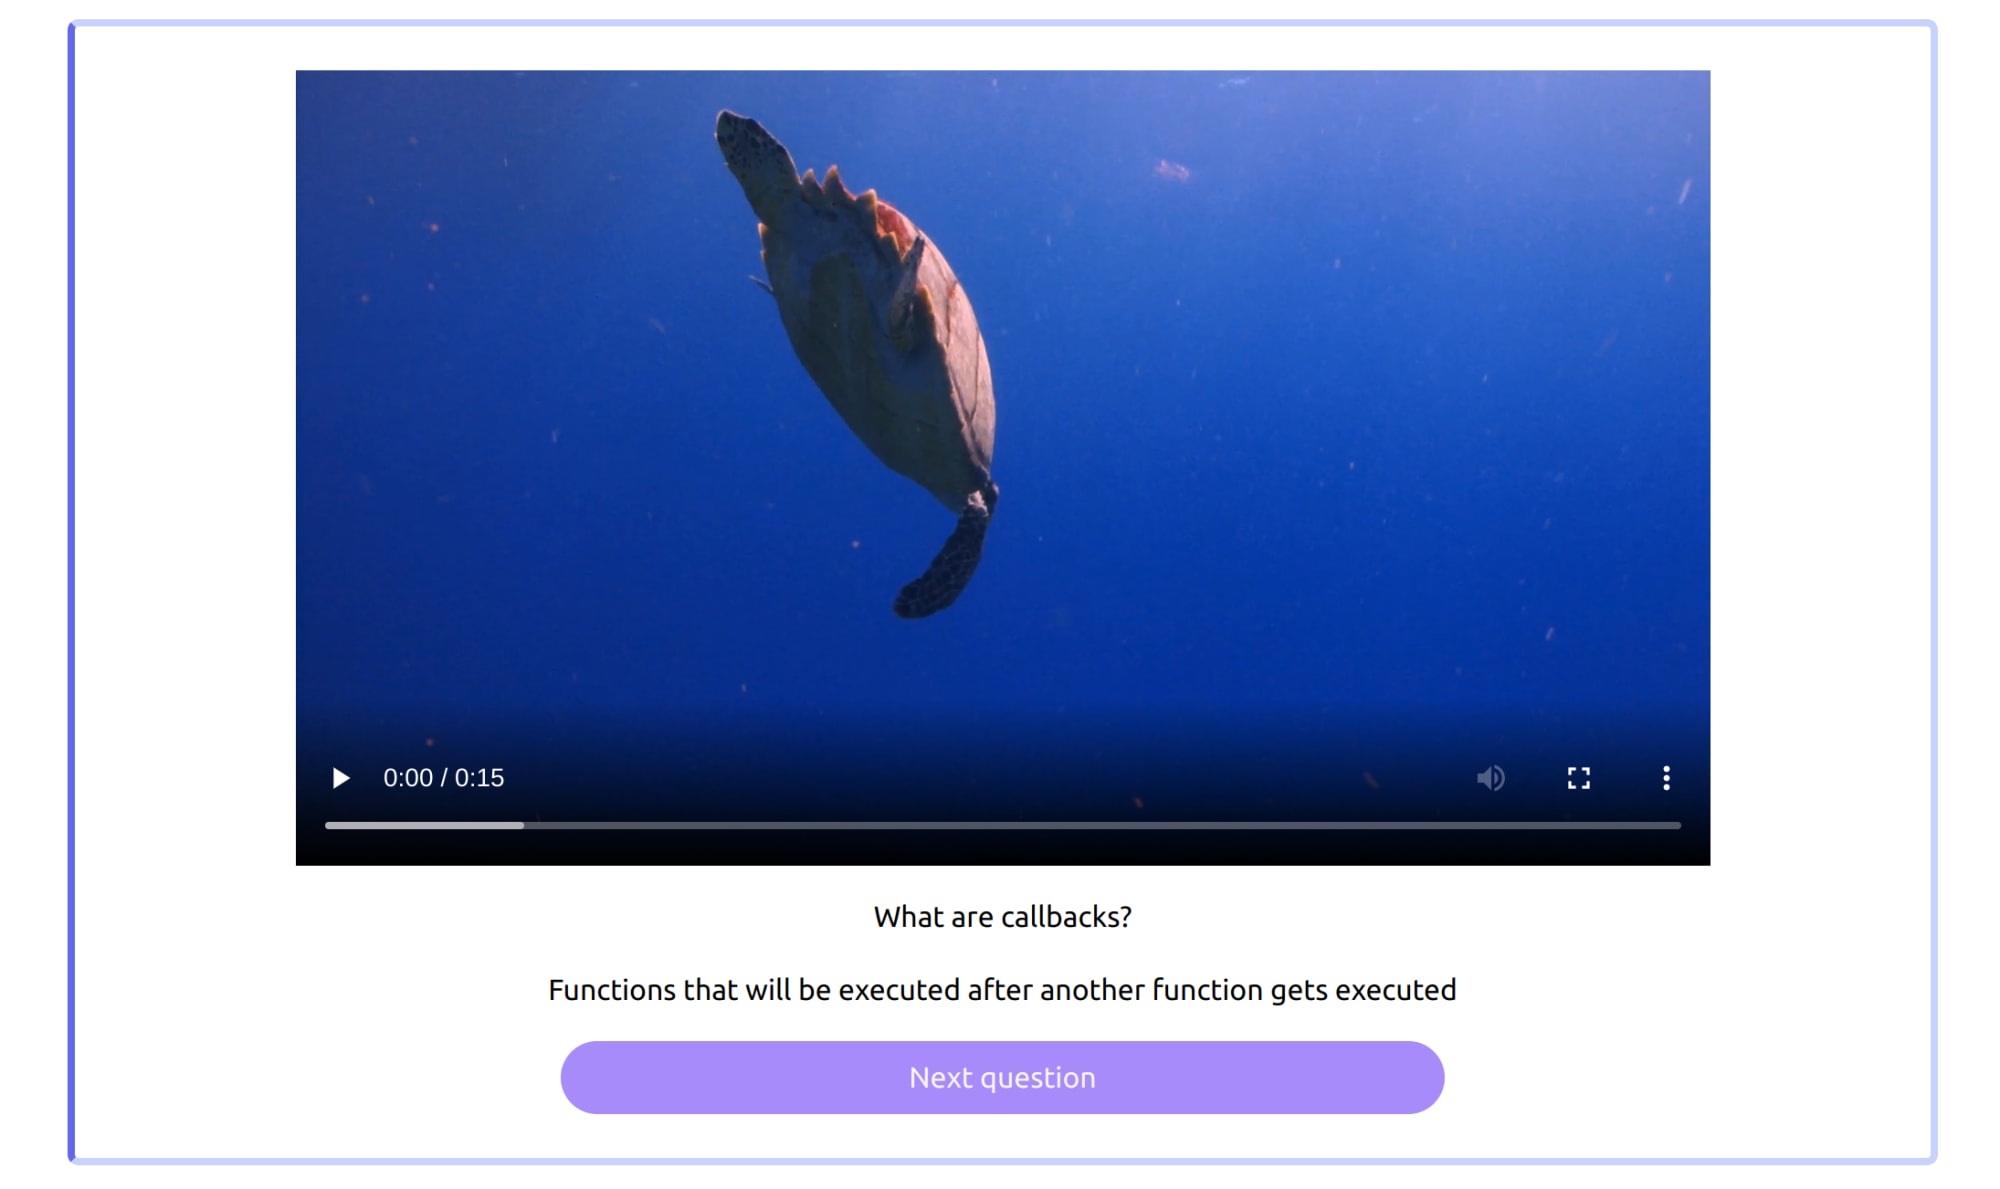
The other side will have the video and the answer to the question.

That’s it! Now you have an app that will let you make flashcards quickly and it can be expanded to include a number of other features.
You can find the complete code for this in the video-flashcards folder of this repo or you can check it out in this Code Sandbox.
<CodeSandBox title=“using-tailwind-with-next-js-forked-r1lyfr” id=“using-tailwind-with-next-js-forked-r1lyfr” />
Using videos as a part of any study routine can help make the information stick. With this app, you can include short videos from lectures or classes you’re taking to get a quick review of everything that you need to know for a particular topic.
