
Images are an integral part of any web application. Most web applications in the world have at least one picture. As much as images are important elements of a good and appealing web application, they can also negatively impact its speed and user experience if handled poorly.
In this post, we’d be looking at how to effectively optimize images in our reactjs applications using the image-webpack-loader module.
Before diving into the webpack specifics, it’s essential to note some fundamental best practices when handling images in web applications:
- Third-party Compression Tools: Before even beginning with webpack, consider using tools like TinyPNG or JPEGmini to compress your images. It ensures your starting point already involves optimized assets.
- Lazy Loading: Always remember to incorporate lazy loading for images. Utilize the loading=“lazy” attribute on image tags. This ensures images load only when in the viewport, enhancing the initial page load time.
- Content Delivery Network (CDN): If your React application is expected to have a wide user base, consider serving your images via a CDN. CDNs cache content across global servers, ensuring faster delivery times.
-
Responsive Images with
srcSet: In today’s age of multiple devices, it’s crucial to serve the right image size to the right device. Use thesrcSetattribute to handle this efficiently. - Accessibility: Never forget the visually impaired. Always use the alt attribute to describe images, enhancing accessibility.
The completed project is on Codesandbox. Click the link below to view a complete demo of this article on CodeSanbox.
https://github.com/folucode/image-webpack-loader
- Understanding of JavaScript and React.js.
- Knowledge of Babel and Webpack is not required but preferred.
To use the image-webpack-loader module, we set up our React.js application from scratch to help us understand how images are loaded and bundled.
It will also help us understand the basics of webpack, how webpack is set up or precisely what happens under the hood.
If you already have a React application set up with Webpack and Babel, skip the following portions to the Image optimization section below.
We would create a folder on our local machine, which I named mine react-webpack. We can always call it whatever we like.
We would navigate through the command line into the folder we created and initialize the package manager.
$ npm init -y
-y means “yes” to all the general development questions asked on the command line.
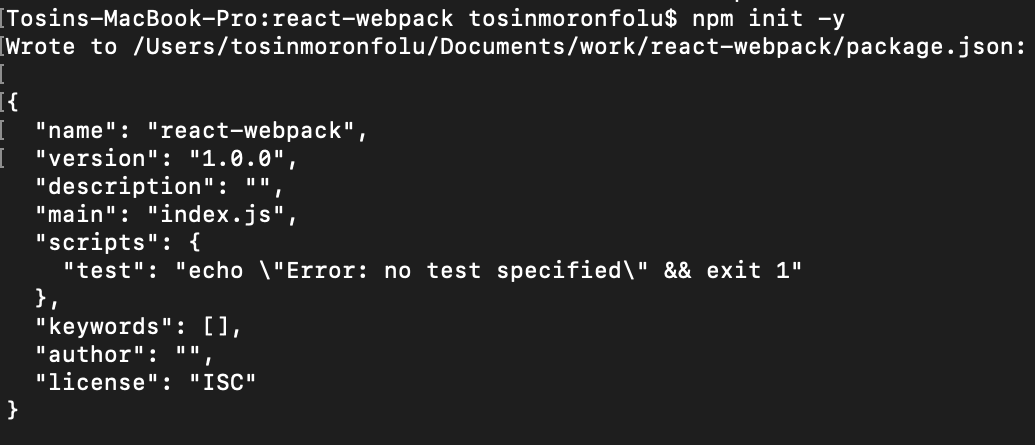
Following the step above, the result will look like the image above.
Next, we will install the React.js dependencies with:
$ npm i react react-dom
Finally, we will install Babel plugins and webpack loaders as devDependencies like so:
npm i -D @babel/core @babel/preset-env @babel/preset-react babel-loader file-loader css-loader style-loader webpack webpack-cli html-webpack-plugin webpack-dev-server
After successfully setting up the dependencies and devDependencies, we have to set up Babel and webpack to bundle our app and loading assets, respectively.
We will now create a new file and name it .babelrc in the root directory of our app and add the following presets. This file will transpile react code from jsx to regular js.
{
  "presets": [
    "@babel/preset-env",
    "@babel/preset-react"
  ]
}
Our code and file structure so far would look like this.

In the root of our project folder, we’ll create a new file called webpack.config.js. This file essentially runs in the node environment and not the browser. Therefore, we can write vanilla js code in it.
Copy and paste the code below into the newly created webpack.config.js file.
const path = require('path')
const HtmlWebpackPlugin = require('html-webpack-plugin')

module.exports = {
 output: {
   path: path.join(__dirname, '/dist'),
   filename: 'index.bundle.js'
 },
 devServer: {
   port: 3000,
   hot: true
 },
 module: {
   rules: [
     {
       test: /\.(js|jsx)$/,
       exclude: /nodeModules/,
       use: {
         loader: 'babel-loader'
       }
     },
     {
       test: /\.css$/,
       use: ['style-loader', 'css-loader']
     }
   ]
 },
 plugins: [new HtmlWebpackPlugin({ template: './public/index.html' })],
}
- First, we import the
pathmodule from nodejs. We also import theHTML-webpack-plugin, which simplifies the creation of HTML files to serve our webpack bundles. - In the
output, we state where to send the files when bundled.-
pathstates the name of the directory created, which will store all the bundled files. We named this folderdist, an industry standard. - And
filenameis the name we set for the new bundled file created after webpack bundles all the JavaScript code.
-
-
devServeris used as a development server.- We use
portto set a port that the development server would run on. We set ours to 3000. -
hottriggers a full page reload when we change any file in our application.
- We use
-
moduleis where we pass the rules for bundling files.-
teststates the file extension that needs to be targeted by the specific loader. The babel-loader must bundle all the.jsor.jsxfiles. -
excludeis where we state files to be ignored by the bundler. - It is essential to note that the array of
use :['style-loader', 'css-loader']in theCSSarea needs to be written in that exact order. - webpack follows this order when bundling the CSS files:
- It first runs the
css-loader, which turns CSS files into commonjs. - It then runs
style-loaderwhich extracts the CSS into files as a string.
- It first runs the
-
- Lastly, we add
HtmlWebpackPluginto ensure that the webpack knows which HTML file template to follow for running the app.
We would set up the folder structure like this.
- public
- index.html
- src
-
App.css -
App.js -
index.js
-
We will first create a public folder and then an index.html file inside the public folder. After that, we will create an src folder and then App.css, App.js and index.js files inside the src folder.
In the index.html file, add the following code snippet:
<!DOCTYPE html>
<html lang="en">
  <head>
    <meta charset="UTF-8" />
    <meta name="viewport" content="width=device-width, initial-scale=1.0" />
    <title>React Webpack App</title>
  </head>
  <body>
    <div id="root"></div>
    <script src="index.bundle.js"></script>
  </body>
</html>
In the **App.js** file, add the following code snippet**:**
import React from 'react';

function App() {
  return (
    <div>
      <h2>
        <b>Welcome to my React App!</b>
      </h2>
      <h3>Date : {new Date().toDateString()}</h3>
    </div>
  );
}
export default App;
****In the **index.js** file add the following code snippet,
import React from 'react';
import ReactDom from 'react-dom';
import App from './App';
import './App.css';

ReactDom.render(<App />, document.getElementById('root'));
****Now we would create a script in the **package.json** file to run our app. Add the following code to the scripts section of the file:
"scripts": {
    "dev": "webpack serve --mode development",
    "build": "webpack --mode production"
  }
To run our app, we run the following command below in the project directory in our terminal:
$ npm run dev
****Let’s now navigate to http://localhost:3000/ to see our app running. We should see this in the browser.
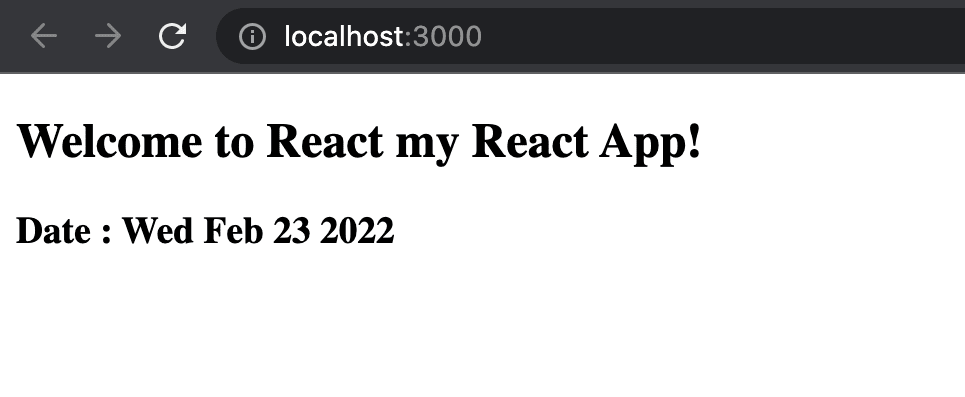
Now that our app is up and running, let’s add the image optimization functionality.
To optimize images in our react application, we would use the image-webpack-loader module. We would install the module in our app by using the command below:
$ npm install image-webpack-loader --save-dev
After successful installation**, w**e need to configure it in our webpack.config.js file. In our webpack.config.js, we would put the object below into the rules array:
...
{
  test: /\.(gif|png|jpe?g|svg)$/i,
  use: [
    'file-loader',
    {
      loader: 'image-webpack-loader',
      options: {
        mozjpeg: {
          progressive: true,
        },
        // optipng.enabled: false will disable optipng
        optipng: {
          enabled: false,
        },
        pngquant: {
          quality: [0.65, 0.9],
          speed: 4,
        },
        gifsicle: {
          interlaced: false,
        },
        // the webp option will enable WEBP
        webp: {
          quality: 75,
        },
      },
    },
  ],
},
...
The code above configures each optimizer for several image file types. There are several options for customizing them. For more information, see the documentation.
We will see the image optimization module in action, but we must add images to our app. Below is a list of three example image links from Unsplash that we downloaded for us.
- https://unsplash.com/photos/Mv9hjnEUHR4
- https://unsplash.com/photos/yihlaRCCvd4
- https://unsplash.com/photos/2l0CWTpcChI
We download the images into a newly created folder named img in the public directory of our app. Our app directory should look like this:

Before we continue, take note of the sizes of these images. See them below:

We would now import the images into our app. To do that, update the App.js file with the following code snippet:
import React from 'react';
import dog1 from '../public/img/charlesdeluvio-Mv9hjnEUHR4-unsplash.jpg';
import dog2 from '../public/img/marliese-streefland-2l0CWTpcChI-unsplash.jpg';
import dog3 from '../public/img/oscar-sutton-yihlaRCCvd4-unsplash.jpg';

function App() {
  return (
   ...
      <img src={dog1} alt={dog1} width={300} height={300} />
      <img src={dog2} alt={dog2} width={300} height={300} />
      <img src={dog3} alt={dog3} width={300} height={300} />
    ...
  );
}

export default App;
We should make sure to kill the already running server by using CTRL + C on Windows or CMD + C on Mac. Now we will restart the server with the command:
$ npm run dev
We would then go to the app in our browser and see the images. To ascertain that the optimization happened, we would be inspecting the image elements in the devtools.
We would go to the “img” section in the network tab of our browser’s developer tools to see the optimization in action. We then refresh the page to see that the images have reduced size.

Note: If the size area shows in bytes(B) instead, e.g. 204B, hover on it to see the resource size.
This article explained how to optimize images in Reactjs applications using image-webpack-loader, that enhances our application speed and proffers a better user experience.
These resources are helpful to gain further knowledge.