
Static map images are independent images displayed on the web and mobile applications to pinpoint an exact location. These have become increasingly prevalent in applications because of their fast load rate and ability to be used anywhere our application can embed an image.
Static map images are most common in applications where route maps that track, for example, the hikes and runs of users are imperative. An example of this is Strava.
This article demonstrates how to implement static maps image embedding with Google maps in Next.js. Google Maps is a web platform that offers satellite imagery, aerial photography, street maps, real-time traffic conditions, and route planning.
The completed project can be found on CodeSandbox. Click the link below to view a complete demo of this article’s content on CodeSandbox.
https://github.com/folucode/static-maps-app-nexjs
- Understanding of JavaScript and Next.js
- A google account.
This article assumes that you have a Google account. If not, please go to Google to create one.
To use Google’s Maps Static API, we first have to create an app on the Google Cloud console and then generate the keys we would need for the application.
If you already know how to set up an app on Google cloud, skip **to the Generate Static Image section below.** ****
First, we’ll create our Next.js app using create-next-app, which automatically sets up everything. To create a new project, run:
npx create-next-app@latest <app-name>
# or
yarn create next-app <app-name>
After the installation is complete, run npm run dev or yarn dev to start the development server on http://localhost:3000. Then, go to http://localhost:3000 to view our application.

Now, let’s create our Google Cloud project by following the steps below:
-
Open the Google Cloud Console.
-
At the top-left, click the Menu Bar (Hamburger Icon), click on IAM & Admin, and create a Project. In the Project Name field, we’ll enter a descriptive name for our project. We can name it whatever we like.
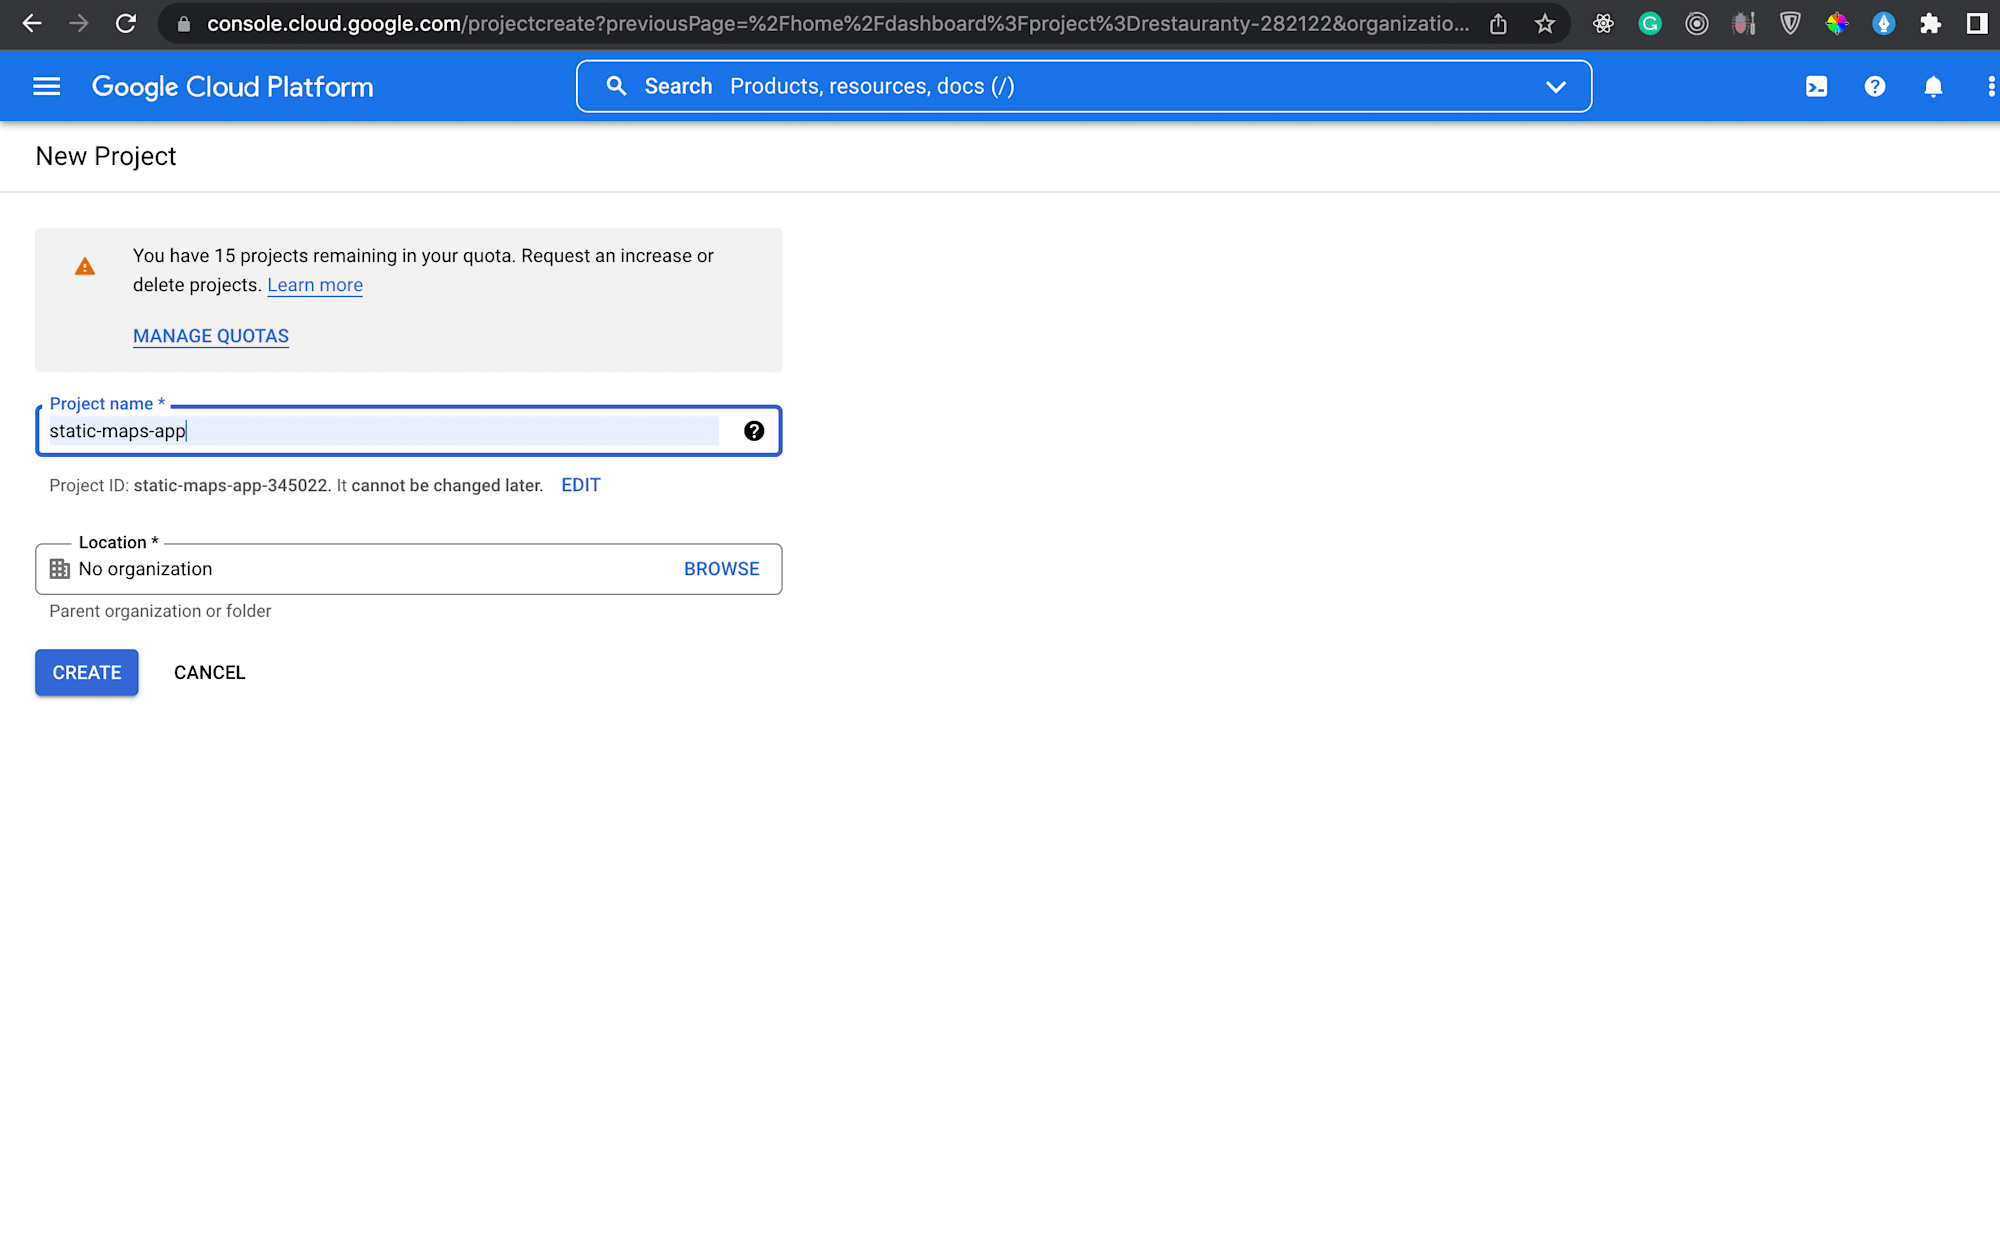
-
Leave the Location field as-is for this project.
-
Click Create. The console will then navigate to the Dashboard page, and we’ll see our project being created.

Before we can use Google APIs, we need to enable them in our Google Cloud project. We can allow one or more APIs in a single Google Cloud project.
To enable the Maps Static API in our Google Cloud project, we will:
- Open the Google Cloud Console.
- At the top-left, click Menu Bar (Hamburger Icon) > APIs & Services > Library.
- In the search field, enter the name of the API we want to enable, which is maps static API, and then press Enter.
- In the list of search results, click the API.
- Click Enable.
The API Credentials are used to obtain an access key from Google, so our app can call the Google Maps API we would be using in our project. To create an API key, we have to:
-
Open the Google Cloud Console.
-
At the top-left, click Menu Bar(Hamburger Icon) > APIs & Services > Credentials.
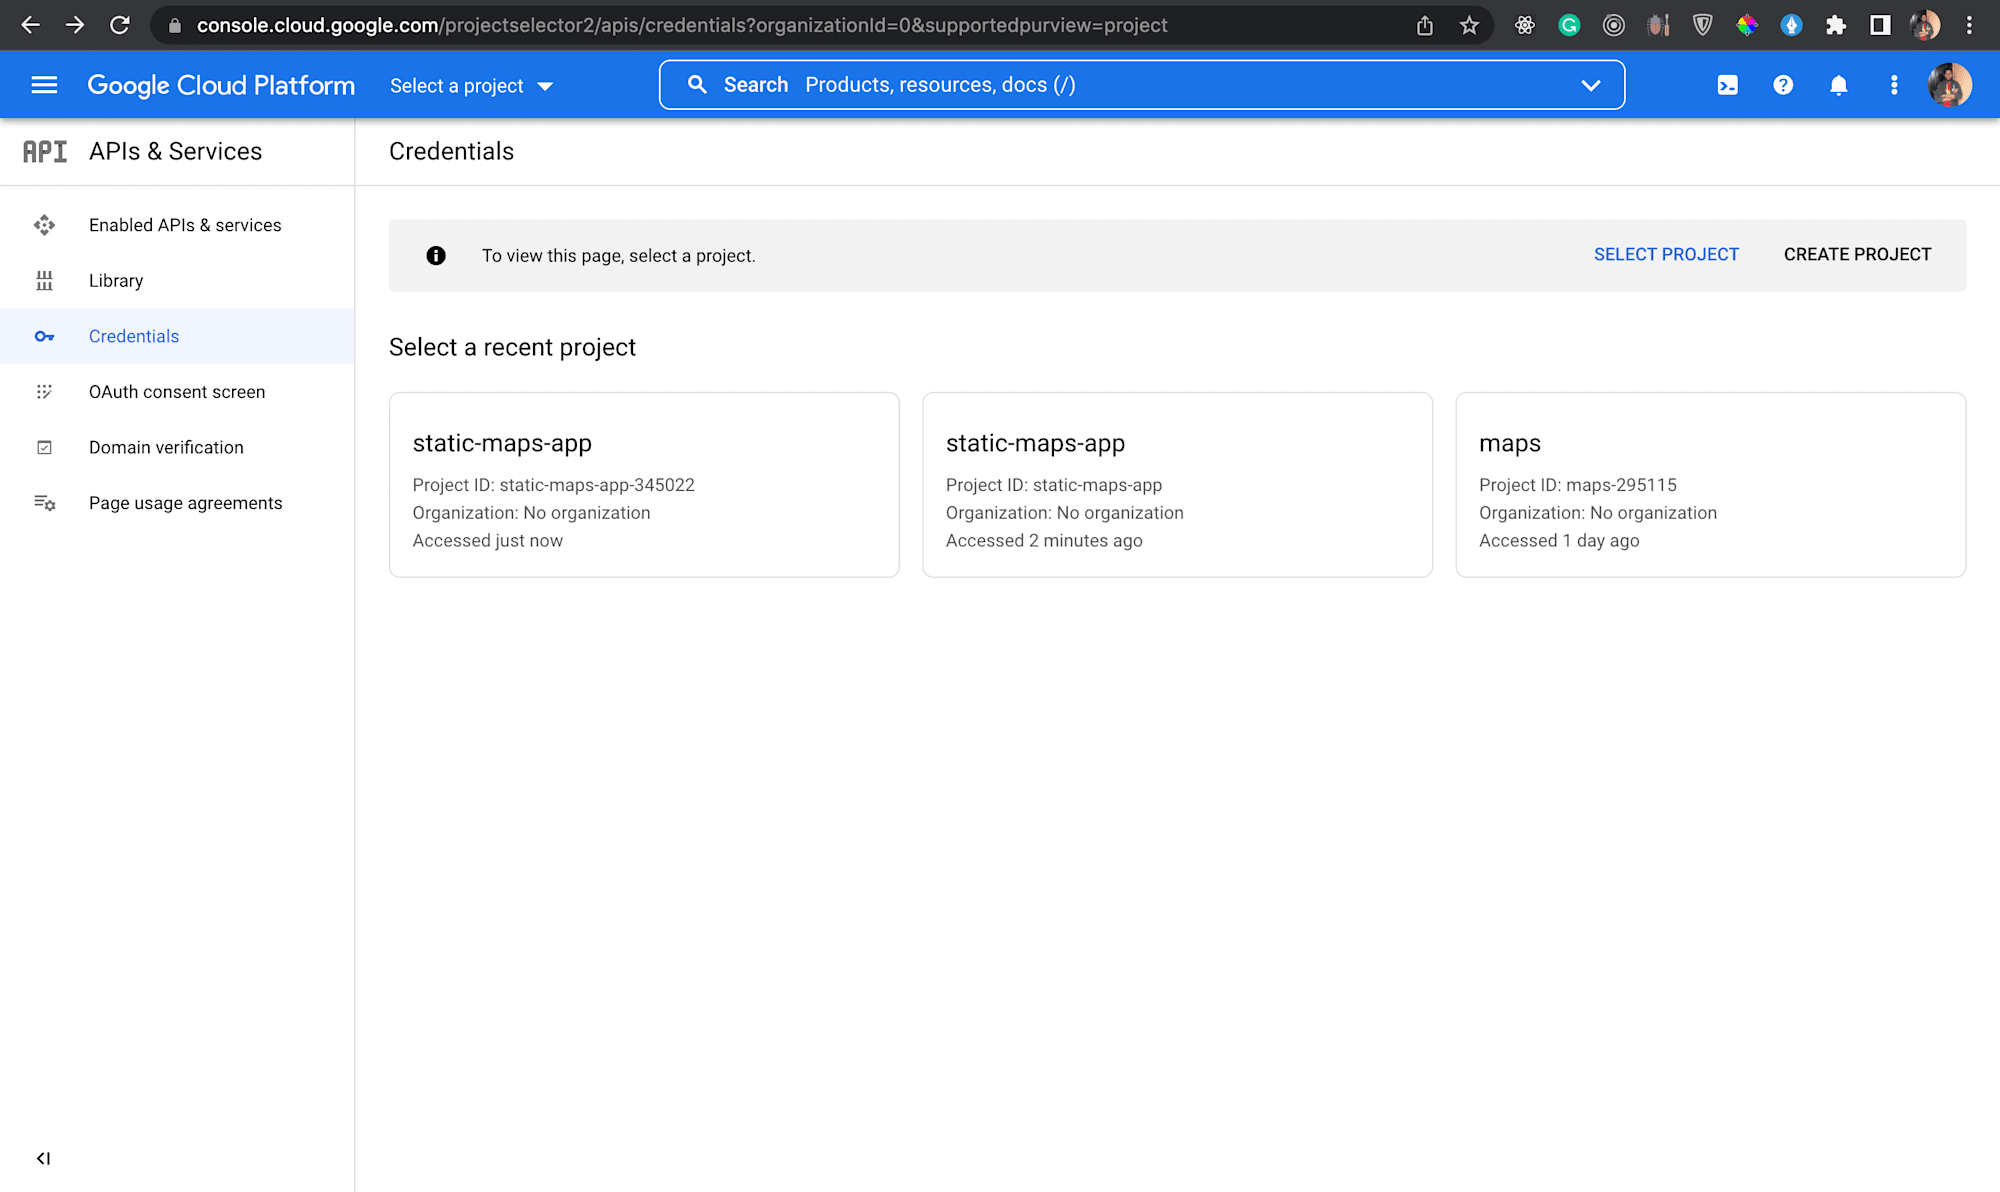
-
Select the newly created project and click Create credentials > API key.
-
Our new API key will be displayed; click Copy to copy the API key we’ll use in our app. We can also find the API key in our project’s credentials in the “API keys” section.
After successfully setting up our application, we have to use Google Maps API in our project to generate the static image. But first of all, we would be doing a clean-up of our current Next.js application.
To restructure our Next.js application, open the application folder in our code editor and replace the boilerplate code in the index.js file with the code below:
export default function Home() {
  return (
    <div>
      <div>
        <h1>A Static Map Image of the Eiffel Tower!</h1>
      </div>
    </div>
  );
}
Then, go to the globals.css file in the styles folder and replace the boilerplate code with the code below:
div {
  text-align: center;
}
After this, we need to get the API from Google to generate the static image.
According to the Google Maps Documentation, the URL below is what we use to generate our static map.
https://maps.googleapis.com/maps/api/staticmap?parameters
We’ll use only a few optional parameters to better configure our map image’s output. Specific URL parameters must use the Static Image API, whereas some are optional. Below are the parameters we’re using:
-
center: this is required if markers are not present and define the center of the map. -
zoom: this is required to define the map’s zoom level if markers are not present. -
size: this is required, and it defines the rectangular dimensions of the map image. -
markers: this parameter defines a set of one or more markers, also called map pins, at a particular location or a group of areas. -
key: this is the key we generated earlier in this post, and it is required. It allows us to monitor our application’s API usage in the Google Cloud Console and ensures that Google can contact us about our application.
Now, let’s build the URL we’ll use in our app with these parameters above.
-
centerwill have a value of {48.8584,2.294694}. These are the coordinates for the Eiffel Tower. -
zoomwill have a value of 16 to see the location better. -
sizewill have a value of 400×400. That is, 400px width and 400px height. -
markerswill have a value of ‘color:red|label:S|48.8587,2.293710’. This sets the color of the marker to read and puts a label on it with the letter S. Then, it sets a coordinate value to place the marker on the map. -
keywill be our API key copied from our app dashboard on the Google Cloud console.
Then, the final URL looks like this:
'https://maps.googleapis.com/maps/api/staticmapcenter=48.8584,2.294694&zoom=16&size=400x400&key=${API_key}&markers=color:red|label:S|48.8587,2.293710'
Note: We should replace API_key in the URL with the API key from Google Cloud Console. Also, we should make sure not to expose the API key publicly. If we publish our app, we should hide the API key in an env file.
Now, let’s go to the index.js file of our app and add the following code:
export default function Home() {
  return (
    <div>
      ...
      <img
        src='https://maps.googleapis.com/maps/api/staticmap?center=48.8584,2.294694&zoom=16&size=400x400&key=${API_key}&markers=color:red|label:S|48.8587,2.293710' alt='Eiffel Tower'
      />
       ...
  );
}
We put the URL with the src attribute of the img tag to display the image generated from the Google Maps API based on our set parameter values.
Now we’ll start our app using the command below:
$ npm run dev
After running the app, visit https://localhost:3000 to view the result, and you should see this:
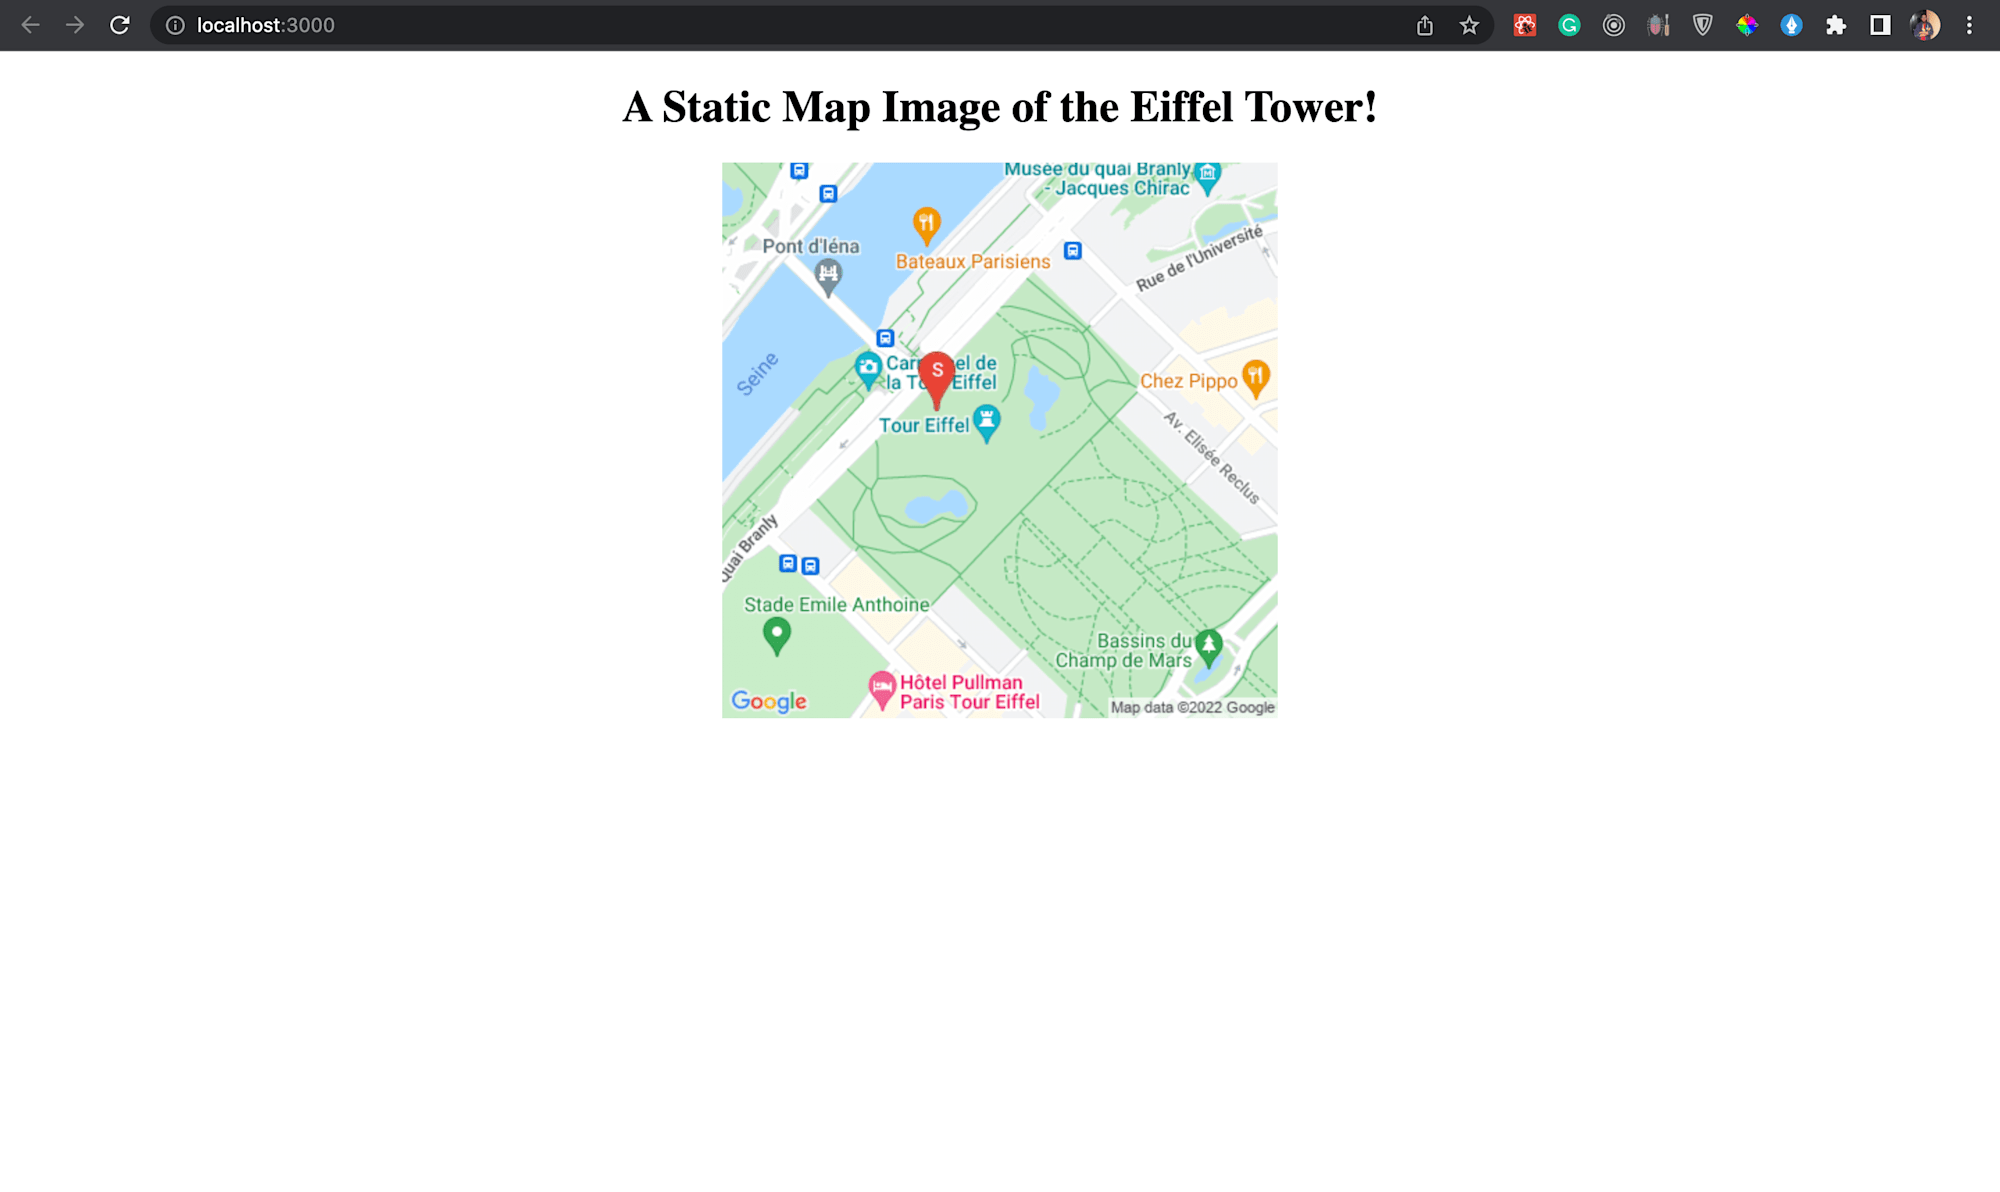
This article explained how to implement static map images in Next.js using Google’s Maps Static API in our application.
These resources are helpful to gain further knowledge.