Tracking impressions is one of the most effective techniques for determining how well media content performs. An individual can determine which content and information users are most interested in depending on the number of impressions.
A lot of applications now have either Google or Fathom analytics integrated for tracking impressions, but the increasing presence of ad-blockers interferes with the generated reports — and more often than not, the statistics collected by these providers are inaccurate. However, these inaccurate reports can be solved by creating an impression tracker using a serverless database.
A serverless database is any database that embodies the core principles of the serverless computing paradigm, such as little to no manual server management and instant access. The benefit of doing so is obtaining a more accurate count of impressions.
This article demonstrates how to track video impressions using Next.js and Supabase — a serverless database.
The completed project is on CodeSandbox. Fork it to get started quickly.
The source code is on GitHub.
To get the most out of this article, the following requirements apply:
- A basic understanding of CSS, JavaScript, and React.js.
- A Supabase account — Create one here.
- A Cloudinary account — Create one here.
Supabase is an open-source Firebase alternative. Supabase is a set of tools that helps developers build projects faster by handling the backend functions.
Behind the scenes, Supabase uses the PostgreSQL database. It is regarded widely as one of the best tools based on Postgres, a highly scalable relational database. The platform develops a REST API from the database’s tables and columns. Its autogenerated APIs include built-in features like filtering and sorting.
Create a Next.js app in a new folder by running the following command in your terminal:
   npx create-next-app <project-name>
Code language: HTML, XML (xml)
Navigate into the project directory and install Cloudinary React SDK and Supabase dependencies.
    cd <project-name>
    npm install cloudinary-react @supabase/supabase-js
Code language: HTML, XML (xml)
Running npm run dev starts the project on the local development server at https://localhost:3000 in our browser.
After successfully creating an account, Cloudinary will redirect us to our account’s dashboard page, where we can upload the demo video.
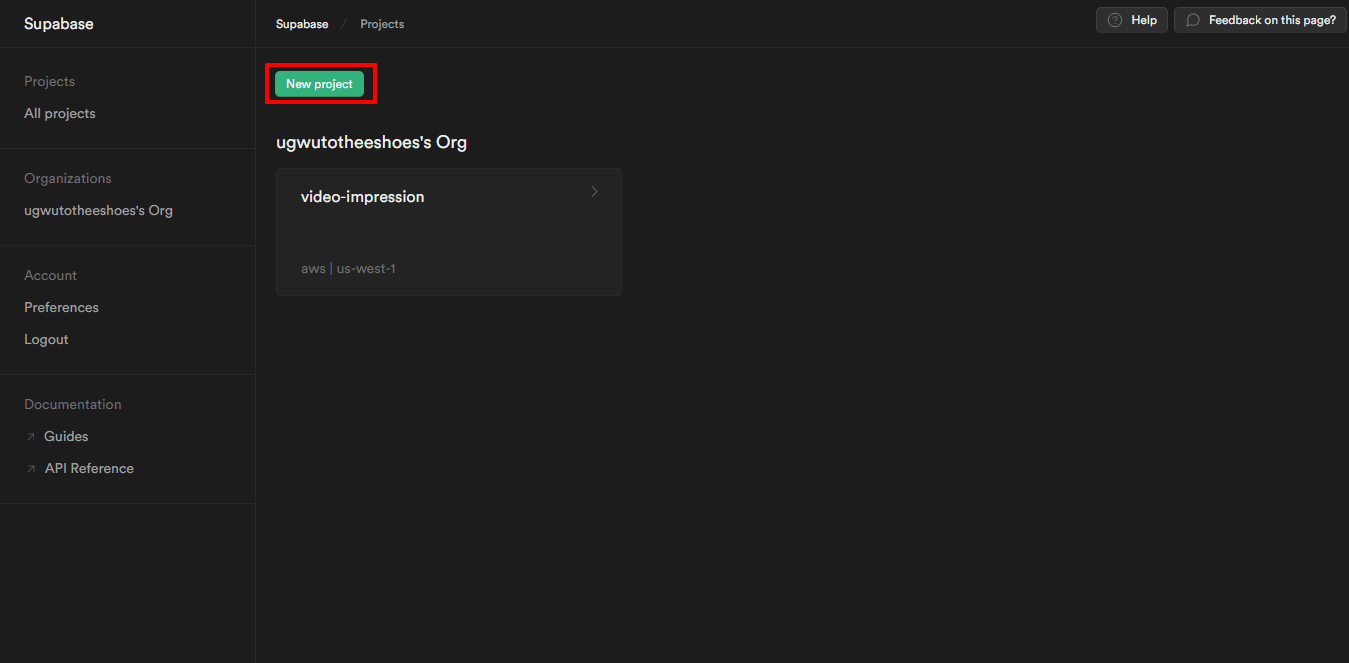
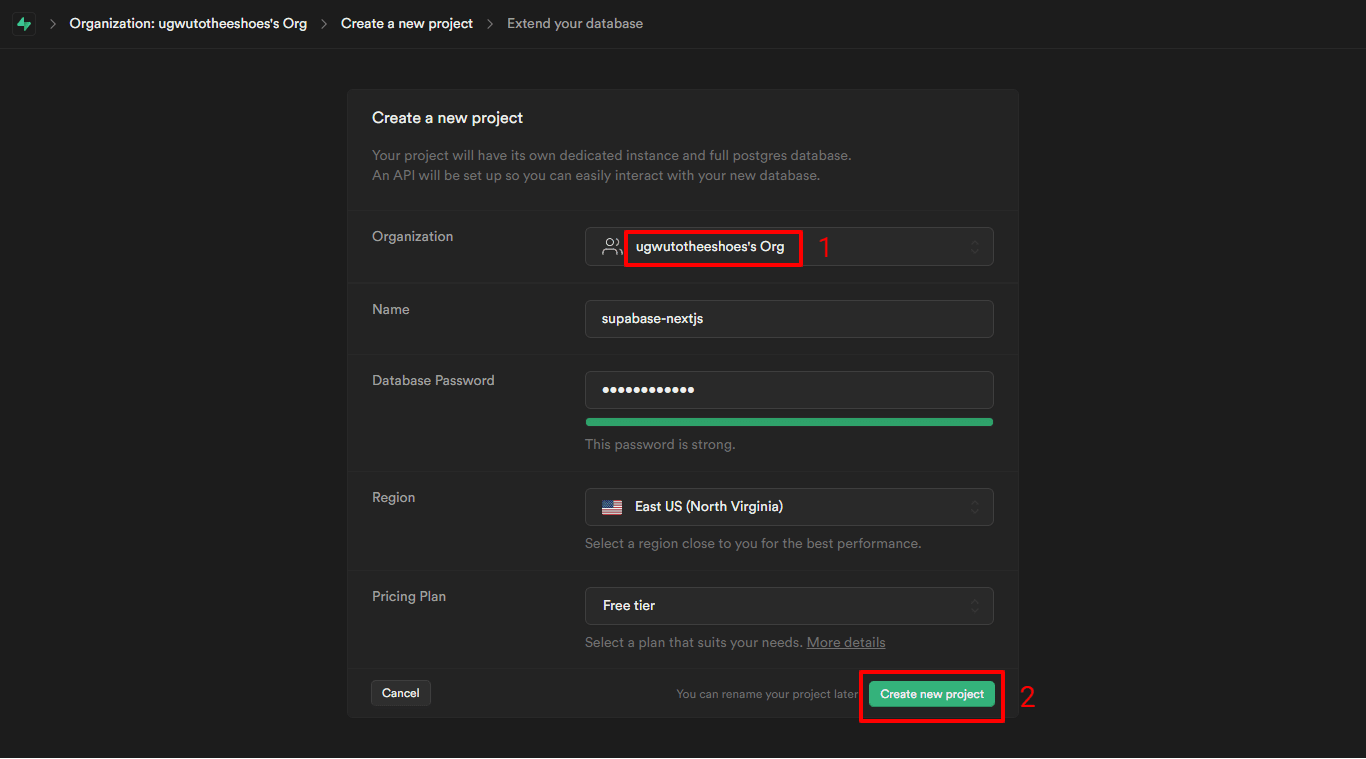
Set a name and password for the new project and click on the “New Project” button to create the project, as shown below.
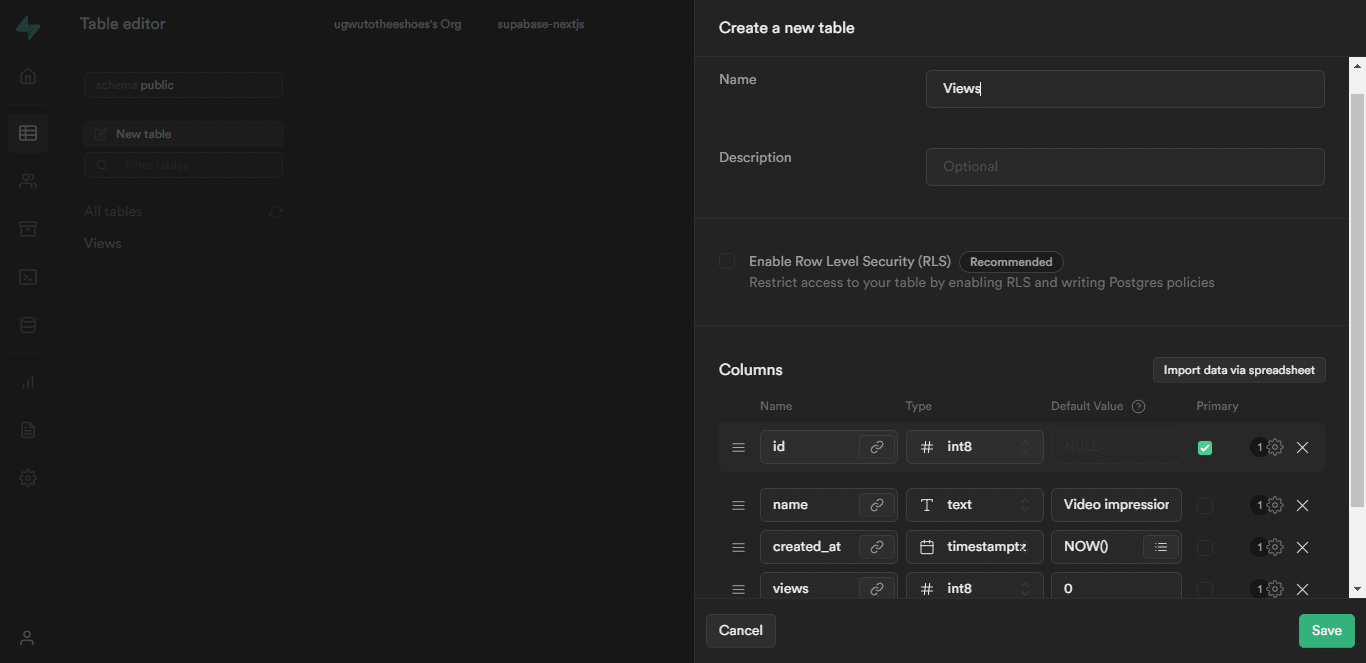
As the project is being built, we’ll create the database for the video impressions by clicking on the database icon shown on the sidebar. After that, click on the “New” button at the top right of the screen to create a table for the database.
Navigate to the SQL editor and create a query tab to add a stored procedure to our database. A stored procedure allows us to add or extend functionality to the database.
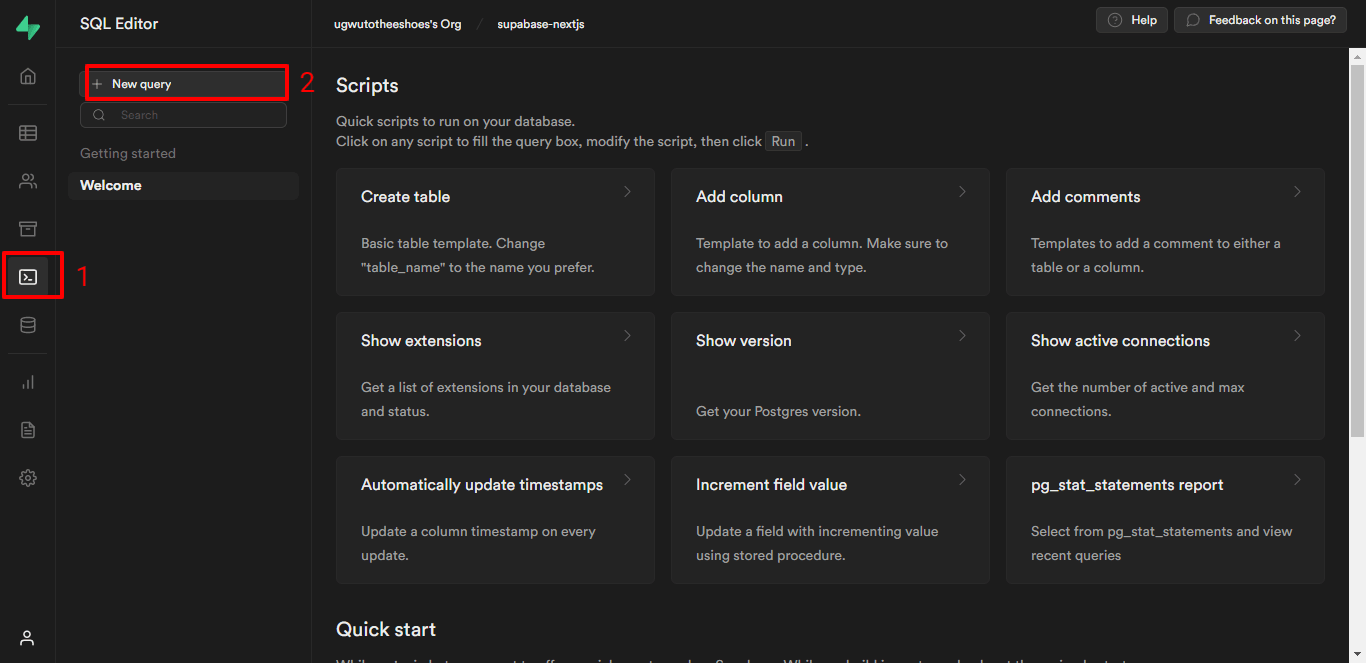
Add the code snippet below to the new query to create the stored procedure for our database.
    create function increment (row_id int)
    returns void as
    $$
      update pages
      set views = views + 1
      where id = row_id;
    $$
    language sql volatile;
Code language: JavaScript (javascript)
Let’s break down the query above.
- The query creates an increment function, with the row
idas an argument. -
set views = views + 1updates/increases the video impressions value calledviewsin the database table by 1.
Then, click the “RUN” button to create the function. Later we’ll utilize the function to update the video impressions.
To link the Supabase database to our demo application, we’ll head to Supabase’s homepage, where we can access our Supabase project’s API URL and API Key as shown below:
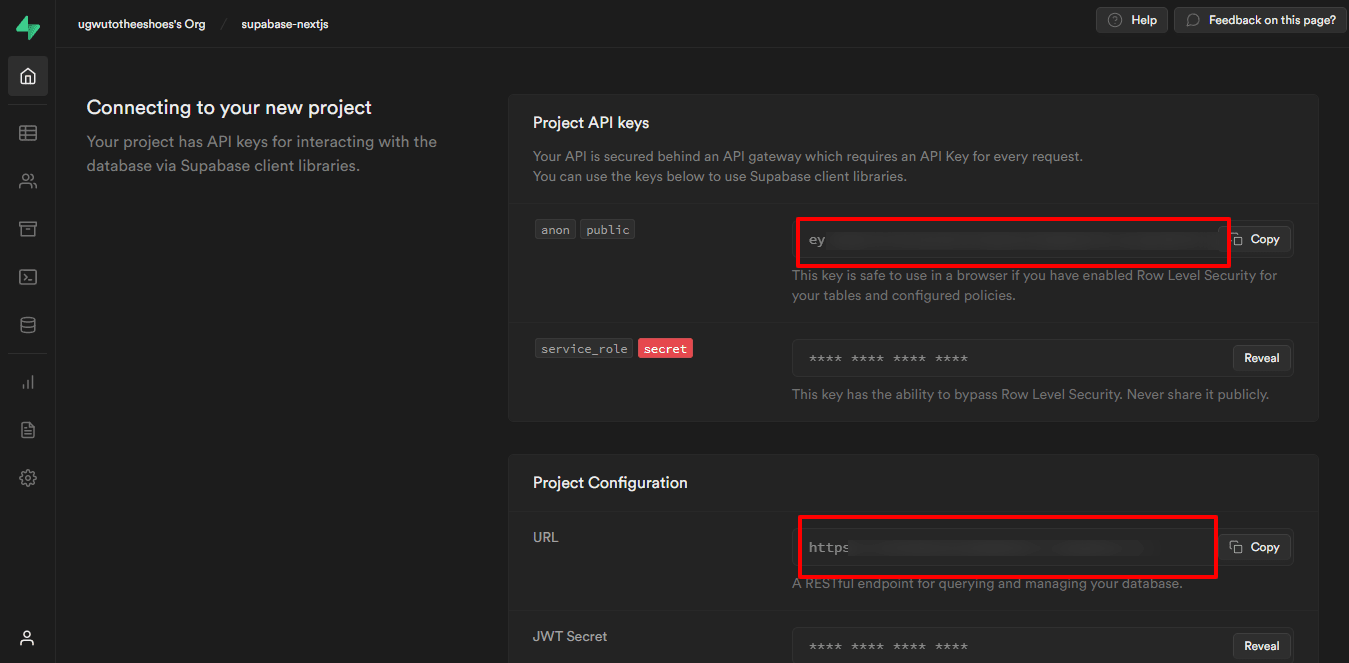
We need to create a .env file in the app’s root directory to store the API URL and API Key.
    #.env
    NEXT_PUBLIC_SUPABASE_URL= OUR_PUBLIC_SUPABASE_URL
    NEXT_PUBLIC_SUPABASE_KEY= OUR_PUBLIC_SUPABASE_KEY
Code language: PHP (php)
Next, we’ll create a file called Supabase.js in pages/components and then add the following code:
    //pages/components/Supabase.js
    import { createClient } from "@supabase/supabase-js";

    export const supabase = createClient(
      process.env.NEXT_PUBLIC_SUPABASE_URL,
      process.env.NEXT_PUBLIC_SUPABASE_KEY
    );
Code language: JavaScript (javascript)To access the video for the demo application, import the required components from Cloudinary React SDK to pages/components/index.js as shown below.
    import {Video, CloudinaryContext} from 'cloudinary-react';
Code language: JavaScript (javascript)
Then, in the CloudinaryContext component, apply the Cloud name from our Cloudinary account details on the dashboard page and also include the name of the video in the Video component:
    <CloudinaryContext cloud_name="ugwutotheeshoes">
        <div>
         <Video
           publicId="production_ID_3959604_vnbhqn"
           width="850px"
           height="450px"
           controls
           innerRef={videoRef}
           onEnded={endFunction}
         />
       </div>
    </CloudinaryContext>
Code language: HTML, XML (xml)
We’ll also apply some configuration parameters to the video, as shown above. Each of the parameters does the following:
-
publicId– This holds the name of the demo video. -
widthandheight– Displays the video with a width of 850px and a height of 450px -
controls– Gives the video a set of controls such as play, pause, skip, fullscreen, etc. -
innerRef– This is just another attribute on the custom component in Cloudinary. -
onEnded– This triggers a function after the video finishes.
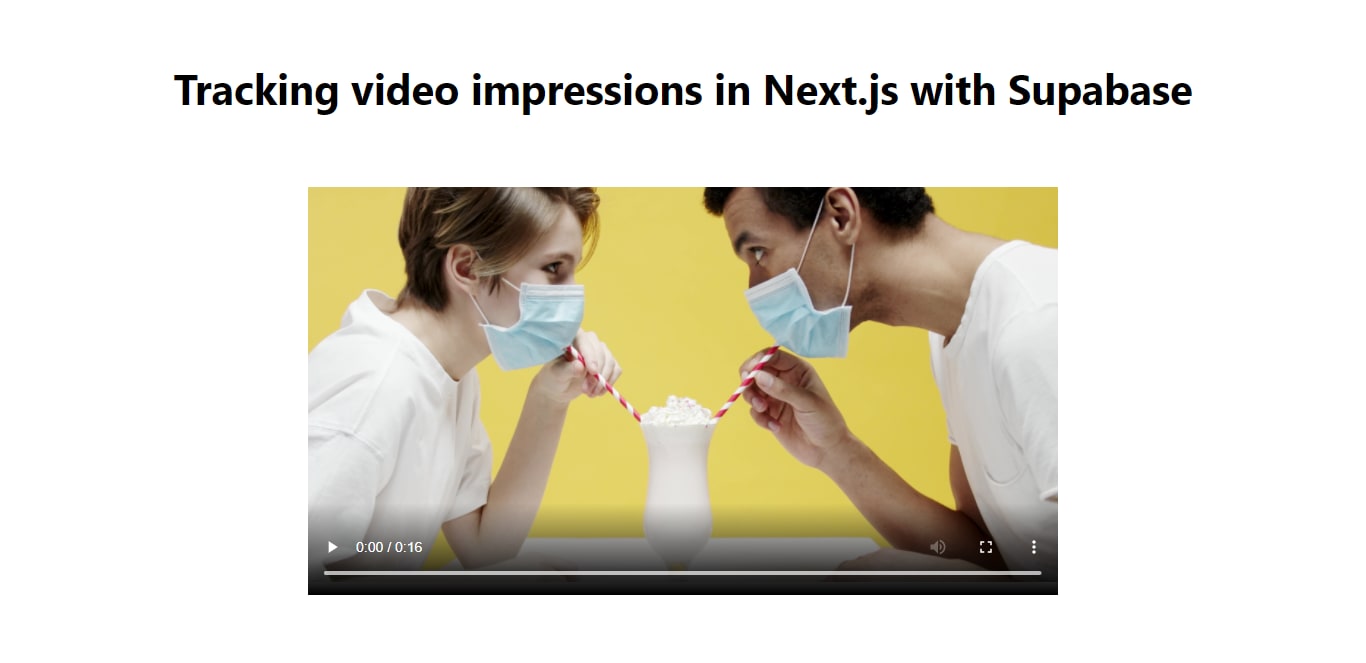
After configuring the video player, our demo application will look like this:
Next, we’ll import the Supabase.js file to access the API URL and API Key, then use the onEnded event to update the video impressions in Supabase using the code snippet below.
    //pages/components/index.js
    import {supabase} from "./supabase";

    export default function Home() {
    const endFunction = async () => {
        const { data} = await supabase.rpc('increment', { row_id: 1 })
      };
     // ....
    }
Code language: JavaScript (javascript)
The onEnded event occurs when the video has reached the end. The event invokes a function or message when the video ends.
In this instance, we’ll call the endFunction function using a Supabase Remote Procedure Call (RPC) after the video ends. This function call updates the video impressions, as shown below.
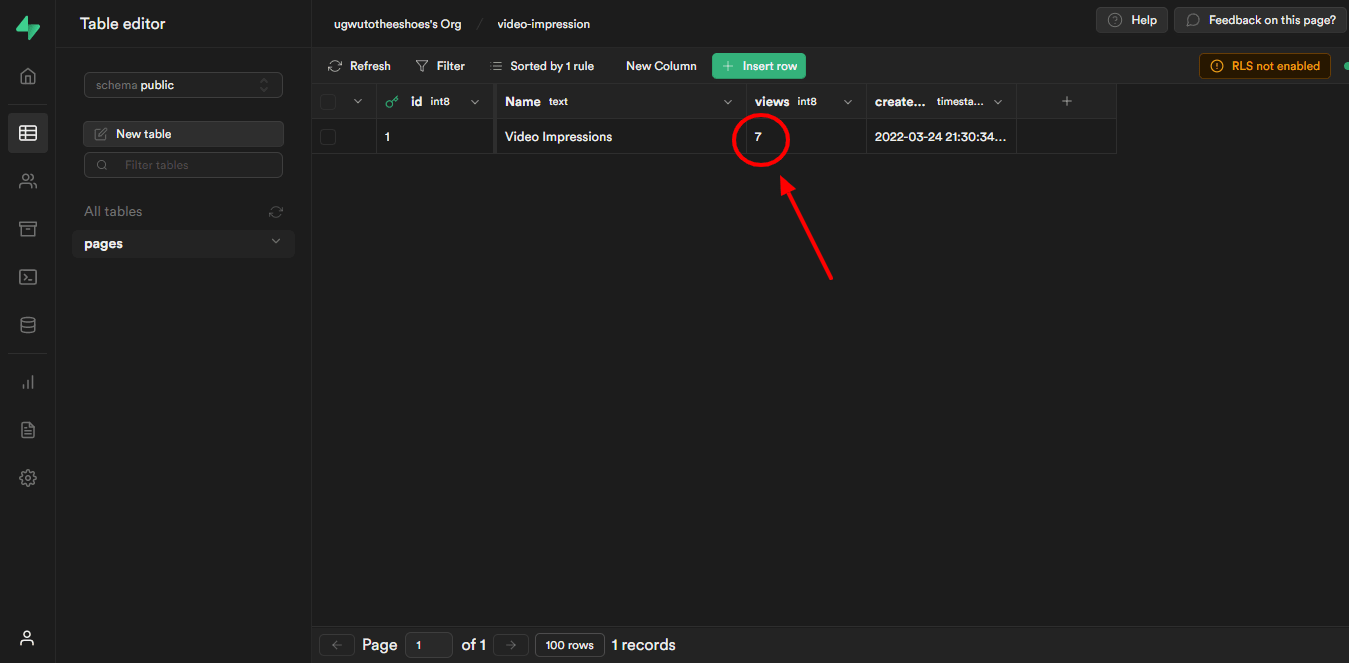
After testing our demo application, it should look like this: