
A Word document is an acceptable format for creating documents like letters and reports, including color, clip art, images, videos, or plain words. Over the years, Word documents have become one of the acceptable methods of conveying digital information. But, even with the advancement and adoption, it is still prone to compatibility issues, version history sharing, and metadata sharing, among others.
In this post, we will learn how to transform Word documents to images into a Next.js application using Cloudinary and Aspose.
Cloudinary is a visual media service we use to upload, store, manage, transform, and deliver images and videos for websites and applications.
Aspose is a technology company offering sets of file format APIs that developers can leverage to create, edit, or convert complex to simple file formats.
Cloudinary ships with Aspose as an add-on; part of the image management pipeline, and further extends the upload and transformation capabilities with options to convert Word documents to PDFs and images.
GitHub repository can be found here.
We completed this project in a CodeSandbox. Fork it to run the code.
To fully grasp the concepts presented in this tutorial, the following requirements apply:
- Basic understanding of JavaScript and React
- Cloudinary account (Create an account here)
We need to create a Next.js starter project by navigating to the desired directory and running the command below in our terminal.
npx create-next-app word-to-img && cd word-to-img
The command creates a Next.js project called word-to-img and navigates into the project directory.
We proceed to install the required dependencies by running the command below:
npm install cloudinary multer
multer is a library for handling file uploads.
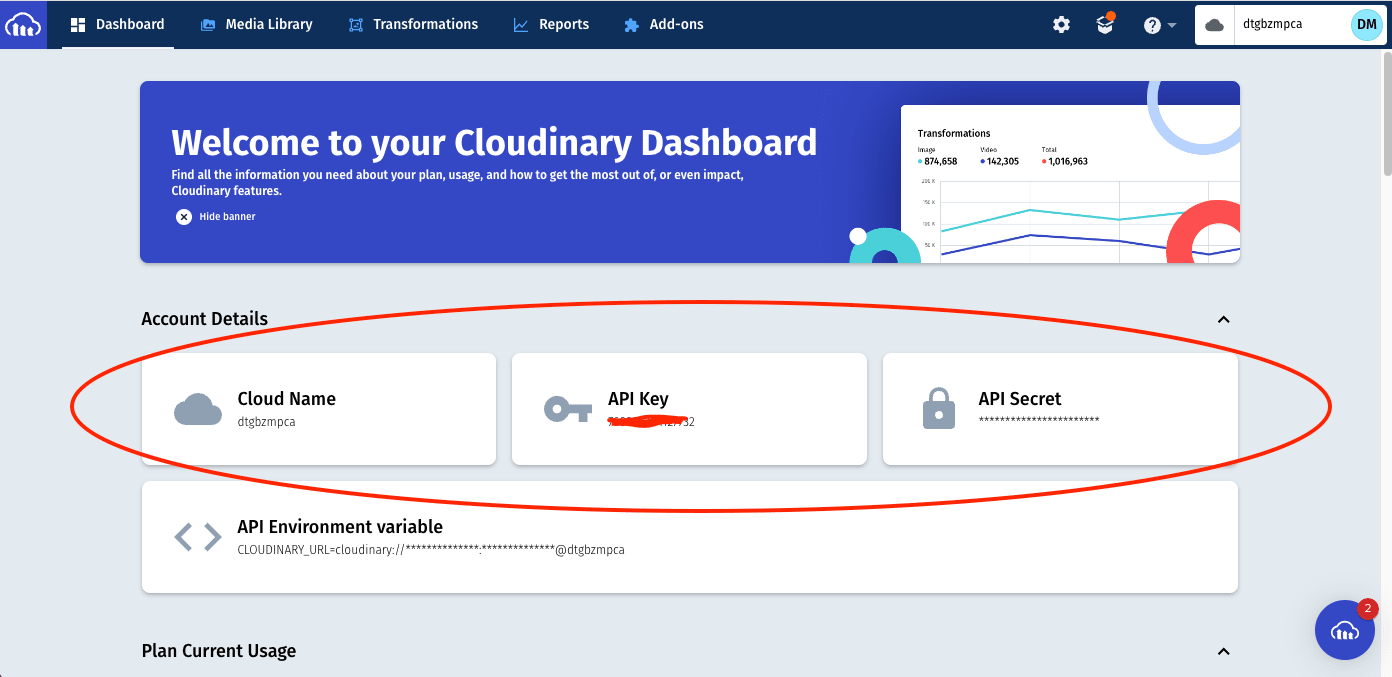
Configuring Cloudinary Next, we need to log into our Cloudinary dashboard, copy Cloudinary’s cloud name, API key, and API secret, and include it in our application. To do this, first, we need to create a .env file in the root directory and in this file, add the snippet below:
NEXT_PUBLIC_CLOUD_NAME=/*CLOUD NAME HERE/*
NEXT_PUBLIC_API_KEY=/*UPLOAD API KEY HERE/*
NEXT_PUBLIC_API_SECRET=/*UPLOAD API SECRET HERE/*
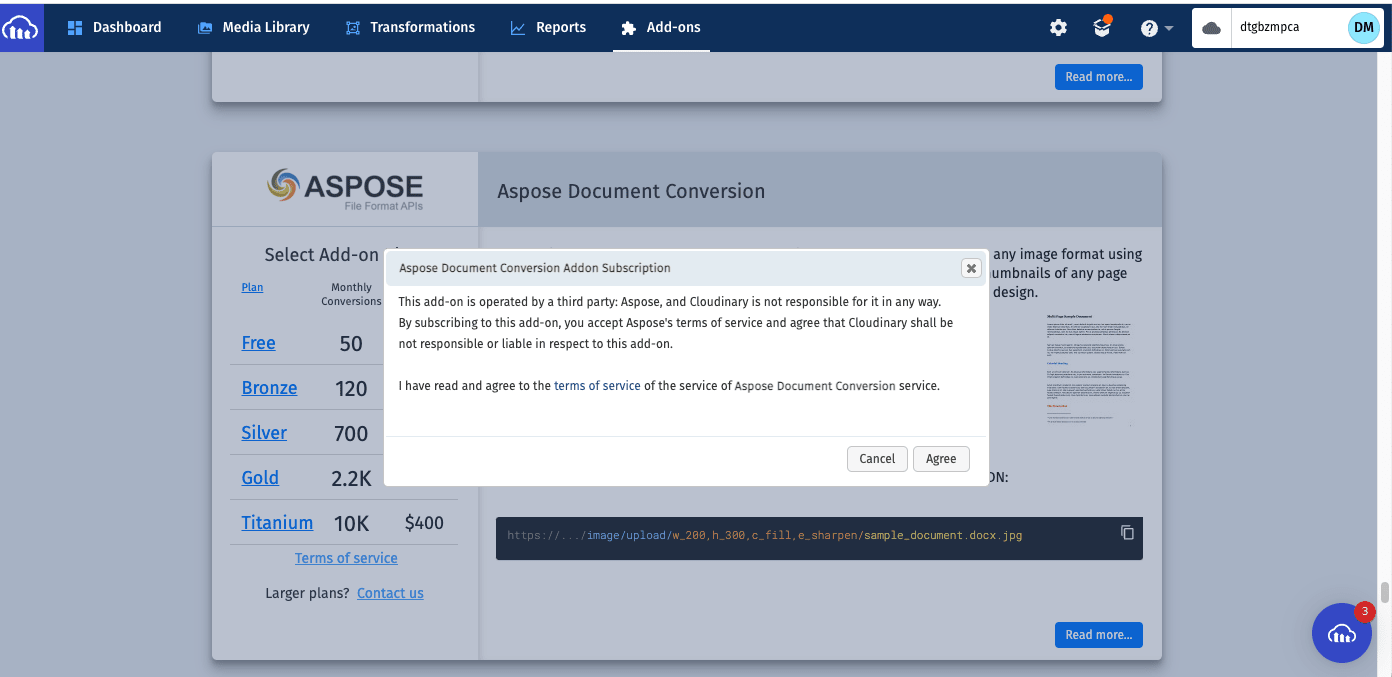
Enable Cloudinary’s Aspose Add-on To enable the add-on, we need to navigate to the Add-ons tab and click on the Aspose option.

Select the Free plan and Agree to activate the add-on.
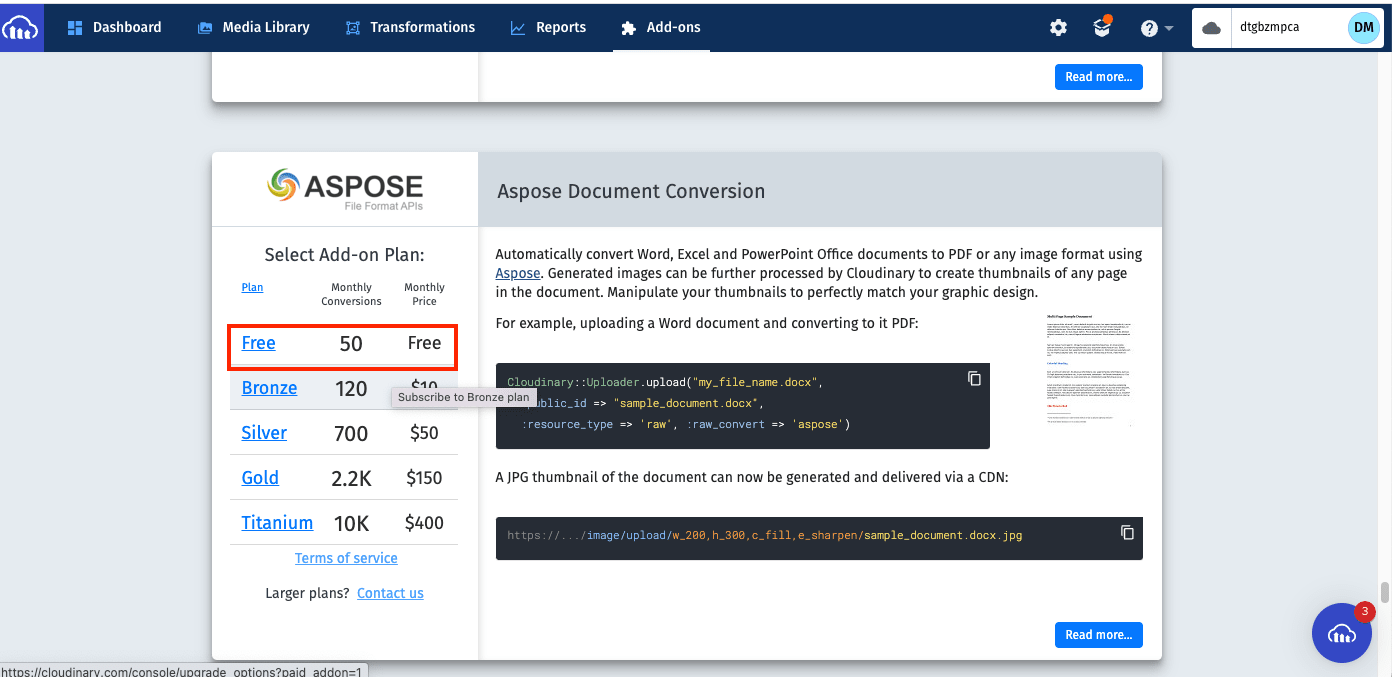
PS: For this demo, we selected the Free plan; however, Cloudinary ships with scalable plans to meet medium to enterprise need**s at an affordable rate.
With that done, we can leverage Next.js CSS Module support to style our page by replacing the content in Home.module.css in the styles folder with the code snippet below:
.container {
  padding: 0 2rem;
}

.main {
  min-height: 100vh;
  padding: 4rem 0;
  flex: 1;
  display: flex;
  flex-direction: column;
  justify-content: center;
  align-items: center;
}

.section {
  display: grid;
  grid-template-columns: 2fr;
}

.label {
  display: block;
  margin-bottom: 0.6rem;
}

.fileUpload {
  border: 1px solid #ccc;
  display: inline-block;
  padding: 6px 12px;
  margin-bottom: 0.6rem;
  width: 100%;
}

.description {
  margin: 2rem 0;
  line-height: 1.5;
  font-size: 1.5rem;
}

.img {
  margin-top: 6rem;
}

.button {
  display: block;
  border: none;
  padding: 0.6rem 2rem;
  margin: 1rem 0rem;
  background-color: blue;
  color: white;
  cursor: pointer;
}
Code language: CSS (css)
Next, we need to navigate to the api folder inside the pages folder to create a dynamic route. To do this, create a convert folder, create a [url].js file, and add the snippet below:
import cloudinary from 'cloudinary';
import multer from 'multer';

export const config = {
  api: {
    bodyParser: false,
  },
};

const storage = multer.diskStorage({
  destination: './public/uploads',
  filename: (req, file, cb) => cb(null, file.originalname),
});

const upload = multer({
  storage,
});

export default async function convert(req, res) {
  const cld = cloudinary.v2;

  cld.config({
    cloud_name: process.env.NEXT_PUBLIC_CLOUD_NAME,
    api_key: process.env.NEXT_PUBLIC_API_KEY,
    api_secret: process.env.NEXT_PUBLIC_API_SECRET,
  });

  const { url } = req.query;

  //set waiting time
  const wait = () => {
    return new Promise((resolve, reject) => {
      setTimeout(resolve, 5000);
    });
  };

  upload.single('file')(req, {}, (err) => {
    const filePath = `./public/uploads/${req.file.originalname}`;

    cld.uploader
      .upload(filePath, {
        resource_type: 'raw',
        raw_convert: 'aspose',
        notification_url: `http://${url}`,
      })
      .then(async (result) => {
        let state = null;

        if (result.info.raw_convert.aspose.status === 'pending') {
          //check if status is successful
          while (state !== 'success') {
            await wait();
            return cld.api
              .resource(
                result.public_id,
                { resource_type: 'raw' },
                function (error, result) {
                  if (result) {
                    return result;
                  } else {
                    return error;
                  }
                }
              )
              .then((_) => {
                state = 'success';

                return res.status(200).json({
                  msg: 'document converted successfully!',
                  converted: cld.url(`${result.public_id}.jpeg`, {
                    transformation: [{ width: 600, crop: 'scale' }],
                  }),
                });
              })
              .catch((_) => {
                return res.status(500).json({ msg: 'error' });
              });
          }
        } else if (result.info.raw_convert.aspose.status !== 'pending') {
          return res.status(200).json({
            msg: 'document converted successfully!',
            converted: cld.url(`${result.public_id}.jpeg`, {
              transformation: [{ width: 600, crop: 'scale' }],
            }),
          });
        } else {
          return res.status(500).json({ msg: 'error' });
        }
      })
      .catch((error) => {
        console.log(error);
        return res.status(500).json({ msg: error });
      });
  });
}
Code language: JavaScript (javascript)
The snippet above does the following:
- Imports the required dependencies
- Creates a
configobject to disable bodyParser, a Next.js default setting. This option lets us consume the request body in its raw format - Instantiates and configures Multer by specifying the upload folder and the filename
- Instantiates and configures Cloudinary
- Extracts the request query
- Creates a
waitfunction to set a delay of 5 seconds - Uses the
upload.singlemethod to process the selected file. The method also does the following:- Uses the
uploader.uploadfunction to upload the file to Cloudinary by referencing the relative path, the resource type, Aspose as an add-on, and uses the extracted request query as the notification URL. The notification URL is used to monitor the status of the transformation - Conditionally checks the uploaded file’s status at an interval of 5 seconds using the
waitfunction, confirms if it exists using Cloudinary’sapi.resourcefunction, and returns the correct response
- Uses the
PS: The uploaded files should be deleted periodically in a production environment to avoid bloating the server. Also, methods like Event Emitter and Webhooks are used to monitor the notification URL. However, we used a while loop to achieve this.
Finally, we modify the index.js file in the pages folder to the following:
import Head from 'next/head';
import Image from 'next/image';
import { useState } from 'react'; //add
import styles from '../styles/Home.module.css';
export default function Home() {
const [file, setFile] = useState(null);
const [imgSrc, setImgSrc] = useState(null);
const [isLoading, setIsLoading] = useState(false);
const handleSubmit = (e) => {
e.preventDefault();
setIsLoading(true);
const formData = new FormData();
formData.append('file', file);
fetch(`/api/convert/${window.location.host}`, {
method: 'POST',
body: formData,
})
.then((res) => res.json())
.then((res) => {
setImgSrc(res.converted);
setIsLoading(false);
})
.catch((_) => {
alert('File Upload error!');
});
};
return (
<div className={styles.container}>
<Head>
<title>Create Next App</title>
<meta name='description' content='Generated by create next app' />
<link rel='icon' href='/favicon.ico' />
</Head>
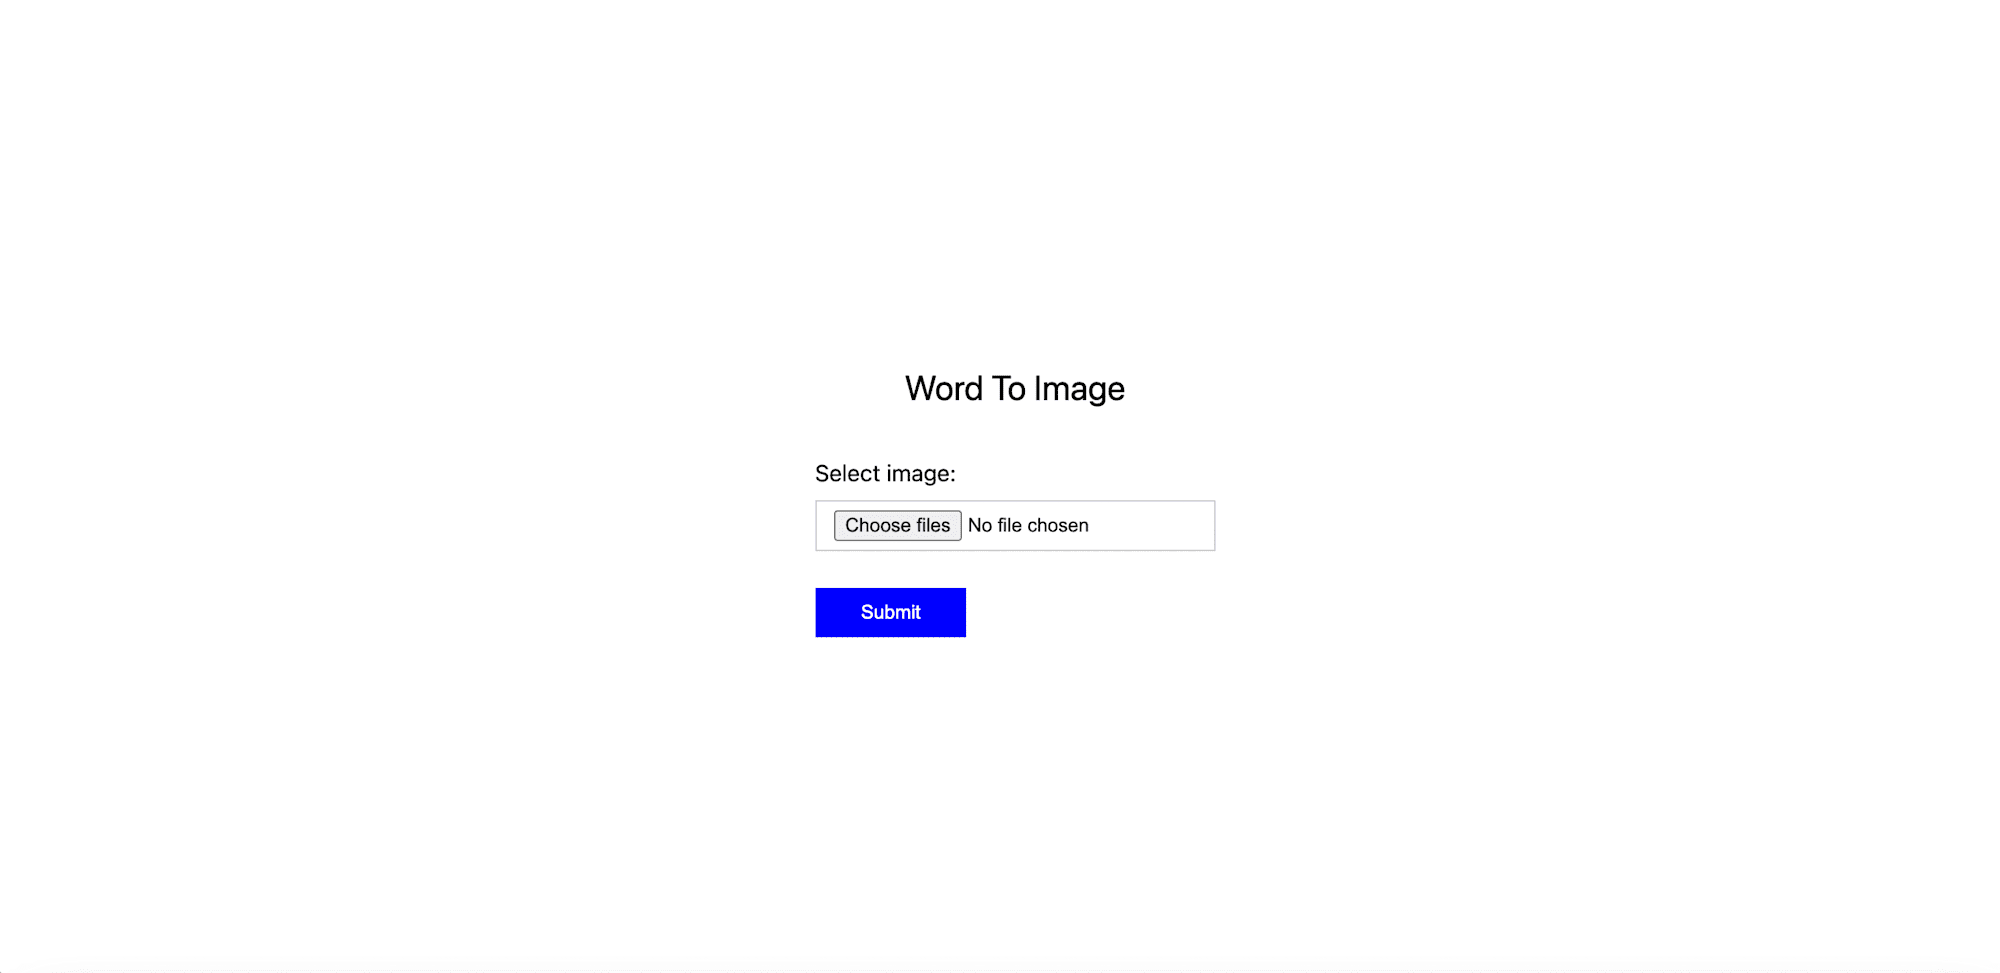
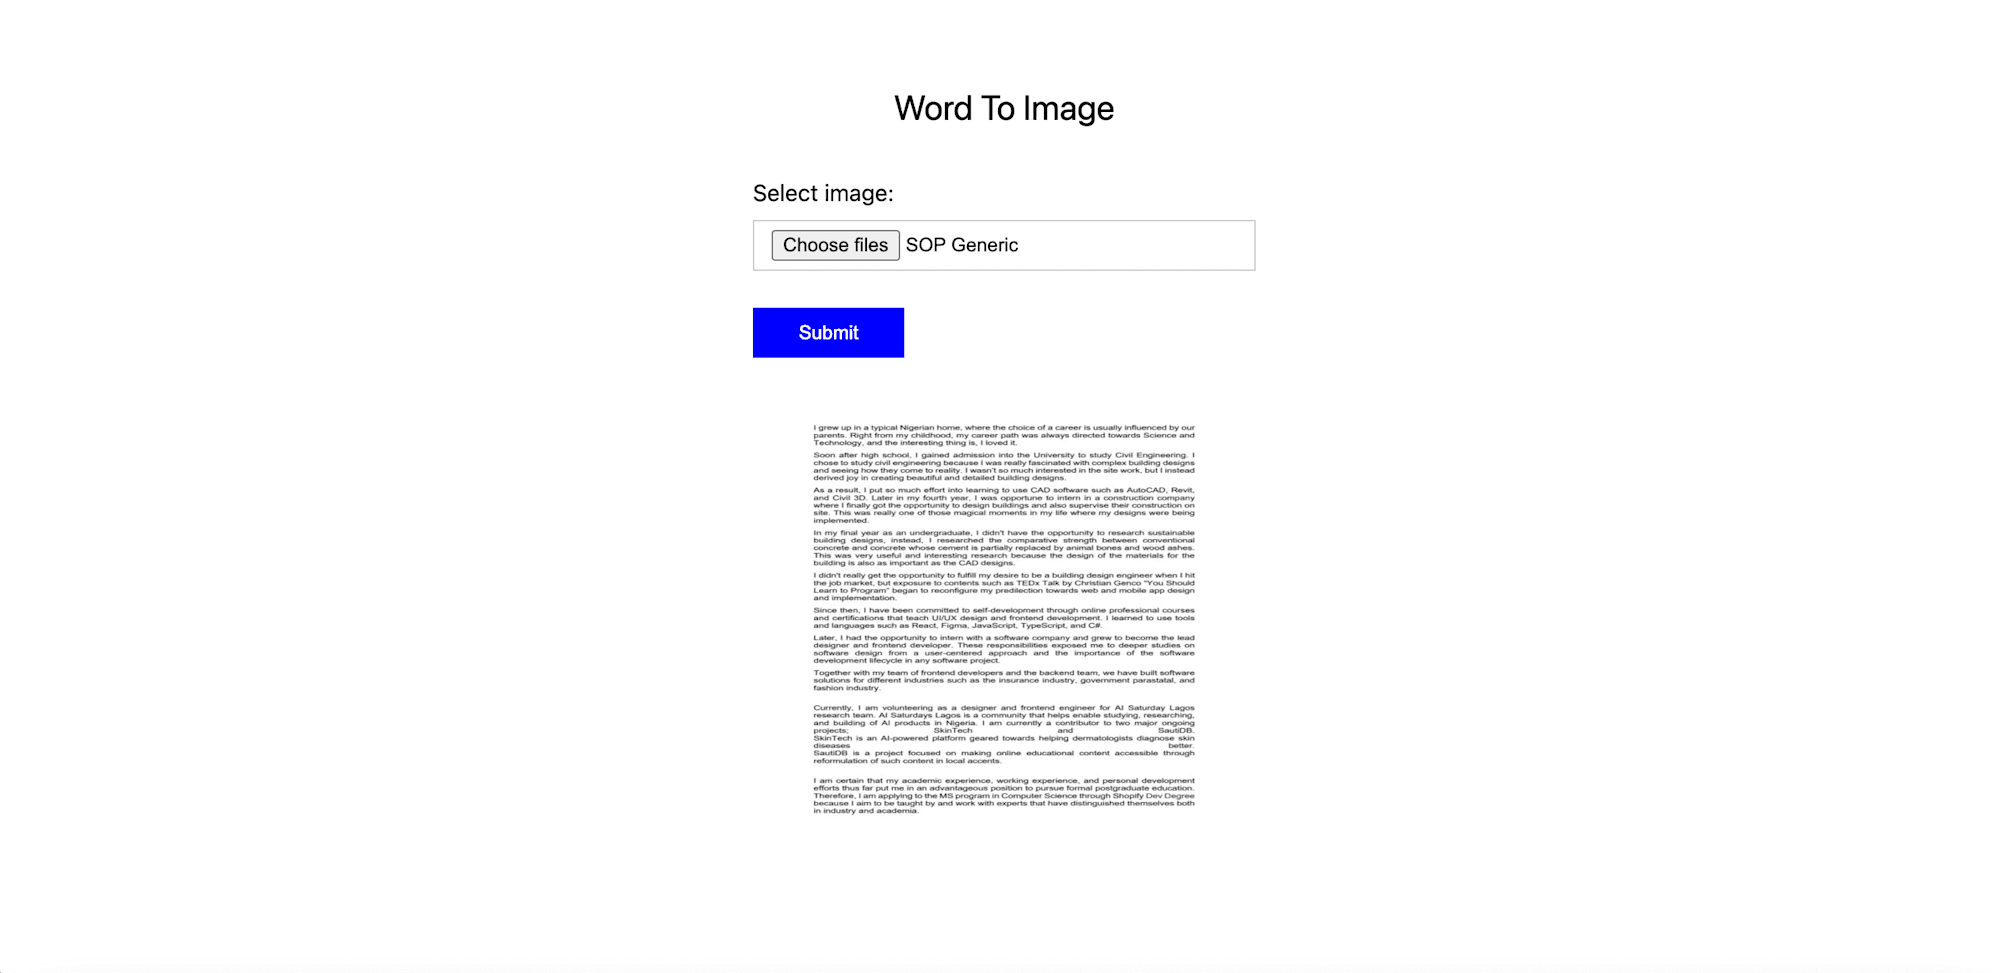
<main className={styles.main}>
<p className={styles.description}>Word To Image</p>
<section className={styles.section}>
<form method='post' onSubmit={handleSubmit}>
<label htmlFor='img' className={styles.label}>
Select image:
</label>
<input
type='file'
name='img'
accept='.doc, .docx'
required
multiple
className={styles.fileUpload}
onChange={(e) => setFile(e.target.files[0])}
/>
<button className={styles.button} disabled={isLoading}>
{isLoading ? 'Converting' : 'Submit'}
</button>
</form>
{imgSrc && (
<Image
src={imgSrc}
height={350}
width={350}
alt='uploads'
className={styles.img}
/>
)}
</section>
</main>
</div>
);
}
Code language: JavaScript (javascript)The snippet above does the following:
- Imports required dependency
- Creates state to manage the uploads (
files,imgSrc, andisLoading) - Creates a
handleSubmitfunction for uploading the file by calling the/api/convert/API we created earlier with the current URL as a query - Markup to for the upload form and conditionally show transformed
With that done, we can start a development server using the command below:
npm run dev
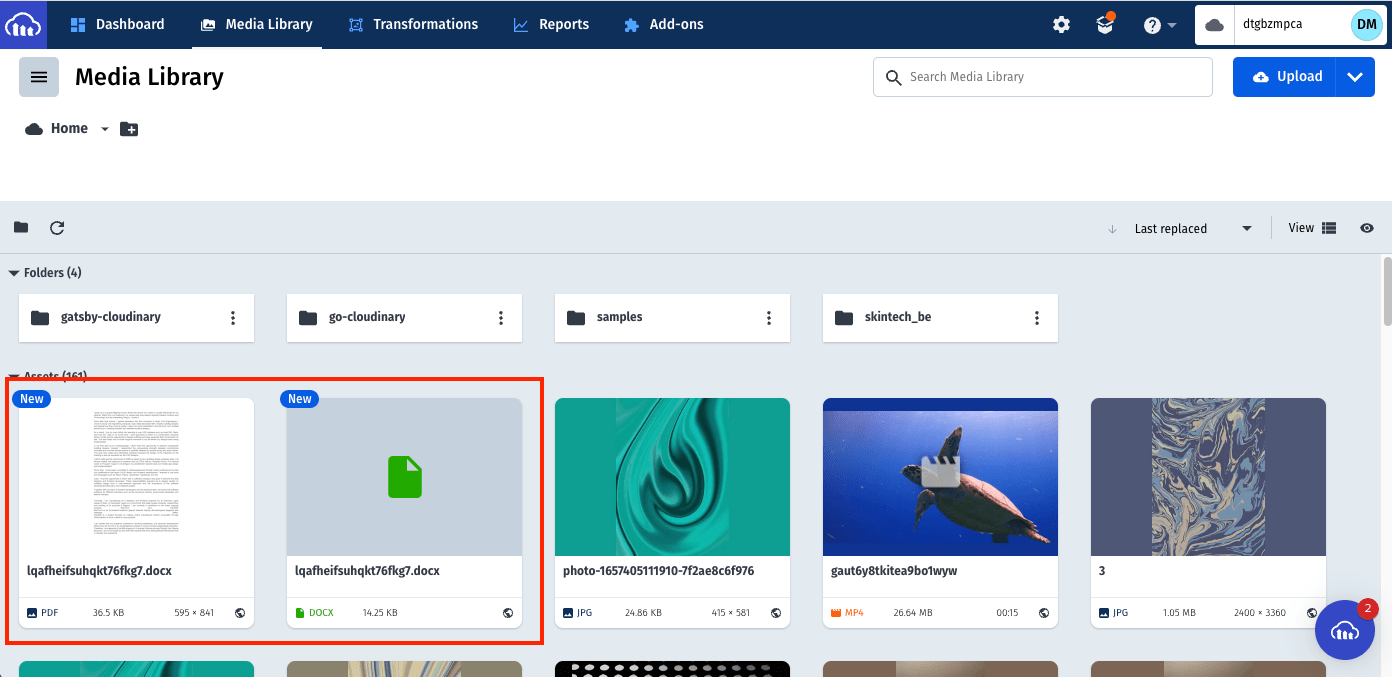
We can also validate the upload and transformation by checking Cloudinary.
This post discussed transforming Word documents into images in a Next.js application using Cloudinary and Aspose. The Cloudinary platform ships with a robust Add-on to manage media and file assets that developers can leverage to build solutions without spending more time programming complex file formats.
These resources might be helpful: