
The announcement of the iPhone 8, 8 plus and the iPhone X at the iPhone 10th anniversary Apple event on 12th September 2017, came with a massive buzz.
The iPhone X (pronounced “iPhone 10”) has a 5.8-inch super retina screen, which stands out amongst other Apples, giving the machine the tagline “it is all screen”. A resolution of 2436 x 1125 is also featured, making it the highest resolution iPhone to date.
Since the announcement, designers and prototypers have obviously been working in full gear to carve out products and designs to match the upcoming iPhone X.
This is arguably one of the fascinating features of the iPhone X! (and the wonderful portrait above too). The Notch up top. Bold, elegant, has the flows around it and still fascinating, even though the guy in the portrait below doesn’t seem so thrilled.
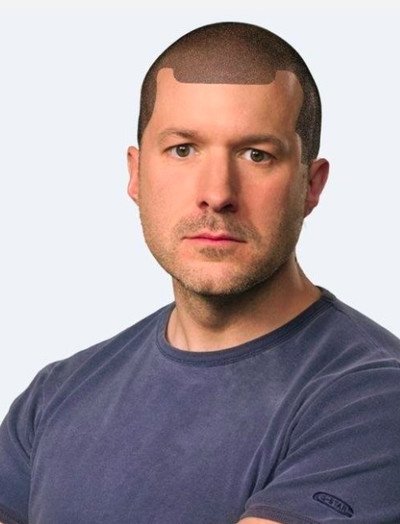
We have to find a way to make him happy, how to make the notch really beautiful and useful for our images. Let’s do this with Cloudinary image transformation tools.
The iPhone X screen is unique in that the dark space (notch) that houses the camera and other sensors are actually part of the hard glass screen and content displayed flows around this notch. This is a very important aspect to consider in the UI/UX design of products to fit the all screen iPhone. In this article, we will discuss a way to fix your images, testing how it would look on the iPhone X.

Image management and transformation can be done on-the-fly with Cloudinary. And when I say on-the-fly, that means that images are transformed using dynamic delivery of their URLs!
Cloudinary also offers mobile-first image optimization for mobile design and the best part, it’s easy to use. These images are cached on the CDN and are immediately available upon request.
Cloudinary’s image management and transformation service will be used in this article to simulate how images fit on the iPhone X screen. With this, you can test your images and products to see how well they fit on this new type of screenX.
Before we begin, let’s have a look at the sample image we will be transforming.
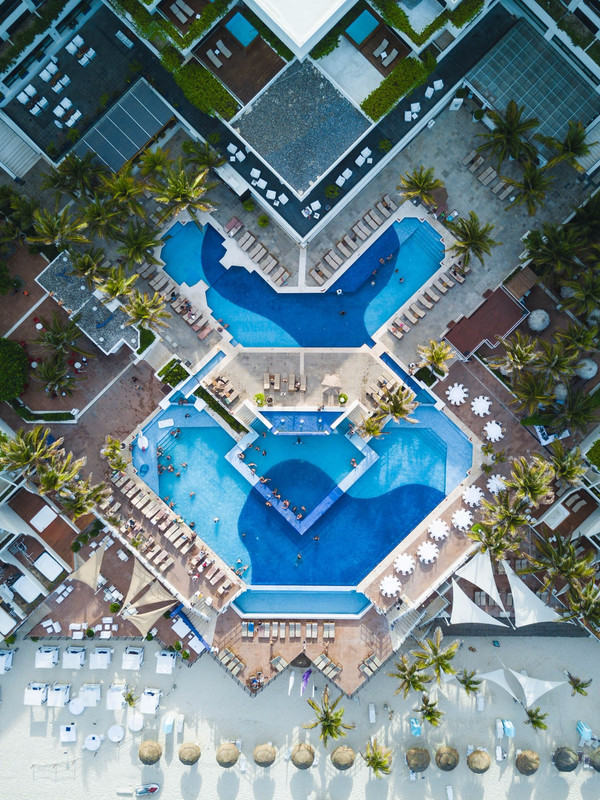
To perform this test, you need the notch image.
![]()
Next, upload the image to be transformed. In our case, we uploaded the overhead swimming pool image displayed above.
Now we need to apply the transformation. Images in Cloudinary take the form of:
https://res.cloudinary.com/<cloud_name>/image/upload/<transformation_parameters>/<public_ID>.<image_format_file_extension>
Code language: HTML, XML (xml)
So to adjust the swimming pool image, we use the URL below, and work on the <transformation parameters> portion:
https://cloudinary.com/ <transformation-parameters> /Spencer_Watson.jpg
Cloudinary offers lots of image URL transformation parameters and they can be found here. For this test, we are going to be using quite a few parameters. The URL might look a bit scary at first, but scroll down a bit and we will walk you through the whole thing.:
Looking at the URL, you can see what it means:
-
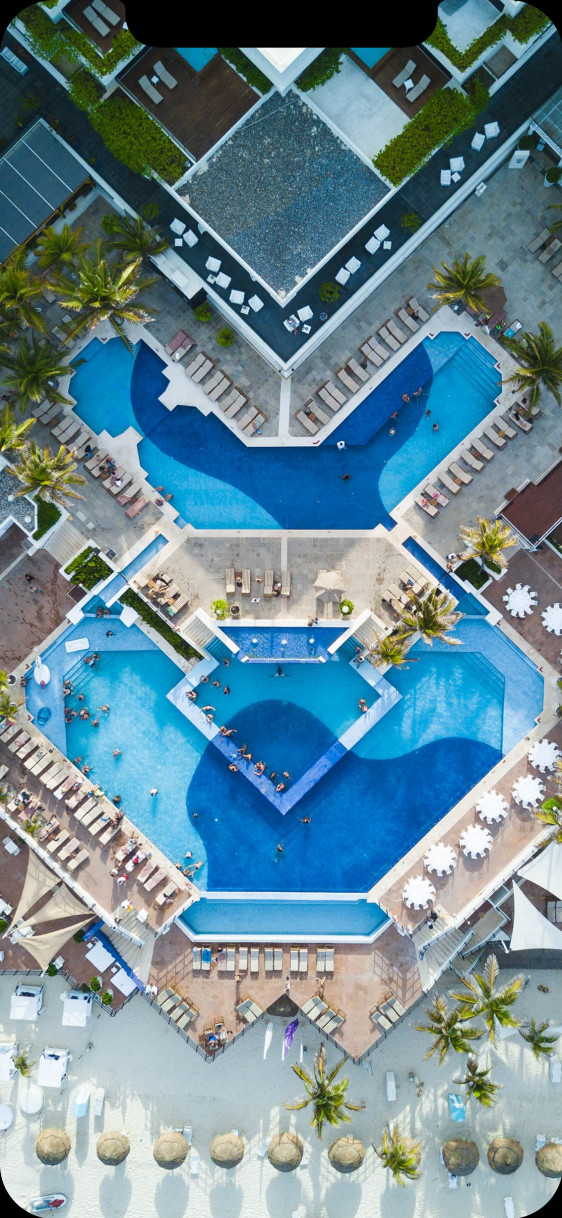
if_ar_gt_1: If the aspect ratio of the image is greater than 1 (landscape):,c_fill,h_562,w_1218: resize the image to a height of 562 and a width of 1218 maintaining aspect ratioc_scale,l_iphone_x_notch,w_325: add theiphone_x_notchimage as an overlay resized to a width of 325 (regardless of its aspect ratio)a_90/a_hflip: rotate theiphone_x_notchoverlay by 90 degrees and do a horizontal mirror flip on it,g_west,fl_layer_apply: ensure the f the notch overlay is located on the far left of the parent image. End transformations to this layer. -
if_else: But if the aspect ratio of the image is not greater than 1 (portrait):c_fill,h_1218,w_562: resize the image to a height of 1218 and a width of 562, maintaining aspect ratioc_scale,g_north,l_iphone_x_notch,w_325: add a layer of the iphone_x_notch image resized to a width of 325 regardless of its aspect ratio and place it at the center-north of the parent image. -
if_end: End the If statement. -
b_rgb:000000,r_54: Apply a black background to the image and round the corners to a border radius of 54.
Let’s take a look at this same transformation on another image, this time a landscape image. All you have to do is use the same conditional transformation URL with a different public ID:

Let’s do one more cool thing, it feels weird to have to write all those transformation parameters for every image to be transformed. Cloudinary offers the named transformation feature which is used to bundle transformation parameter into one single re-usable parameter.
In the transformation panel of the Cloudinary dashboard, a list of all transformations currently delivered by Cloudinary on the current user account can be found. Click the edit link at the bottom of each transformation and use “Save as” to save the transformation with whichever name you choose. I choose “iphonex”. Once saved, on the list of transformations you can find the named transformation listed as iphonex. This “transformation pack” is now available to all images stored and can be applied to our test image with:

Read more on named transformations here and how to implement them here.
Now you have seen how you can transform your images to test how they look on the iPhone X screen. You can try this out with several other images and if you are building a product be sure to test it to see how it looks on the iPhone X. This is just one of an unlimited number of cool things you can do with the Cloudinary image manipulation parameters. Check out the demo here