
Home improvements can be expensive, so it’s important to make sure you’ve made the right choices before committing to a project. It’s often difficult to decide which color combinations or pieces of furniture will work best in your living space. A splash of paint on a wall or a square meter of sample carpet can give you an idea, but not the whole picture.
This article discusses ways generative AI can help you visualize potential home improvements before making them a reality. Generative AI to recolor and remove objects lend themselves nicely to automation, while replacing and extending images involve a more creative generative process — which means fuel for the imagination!
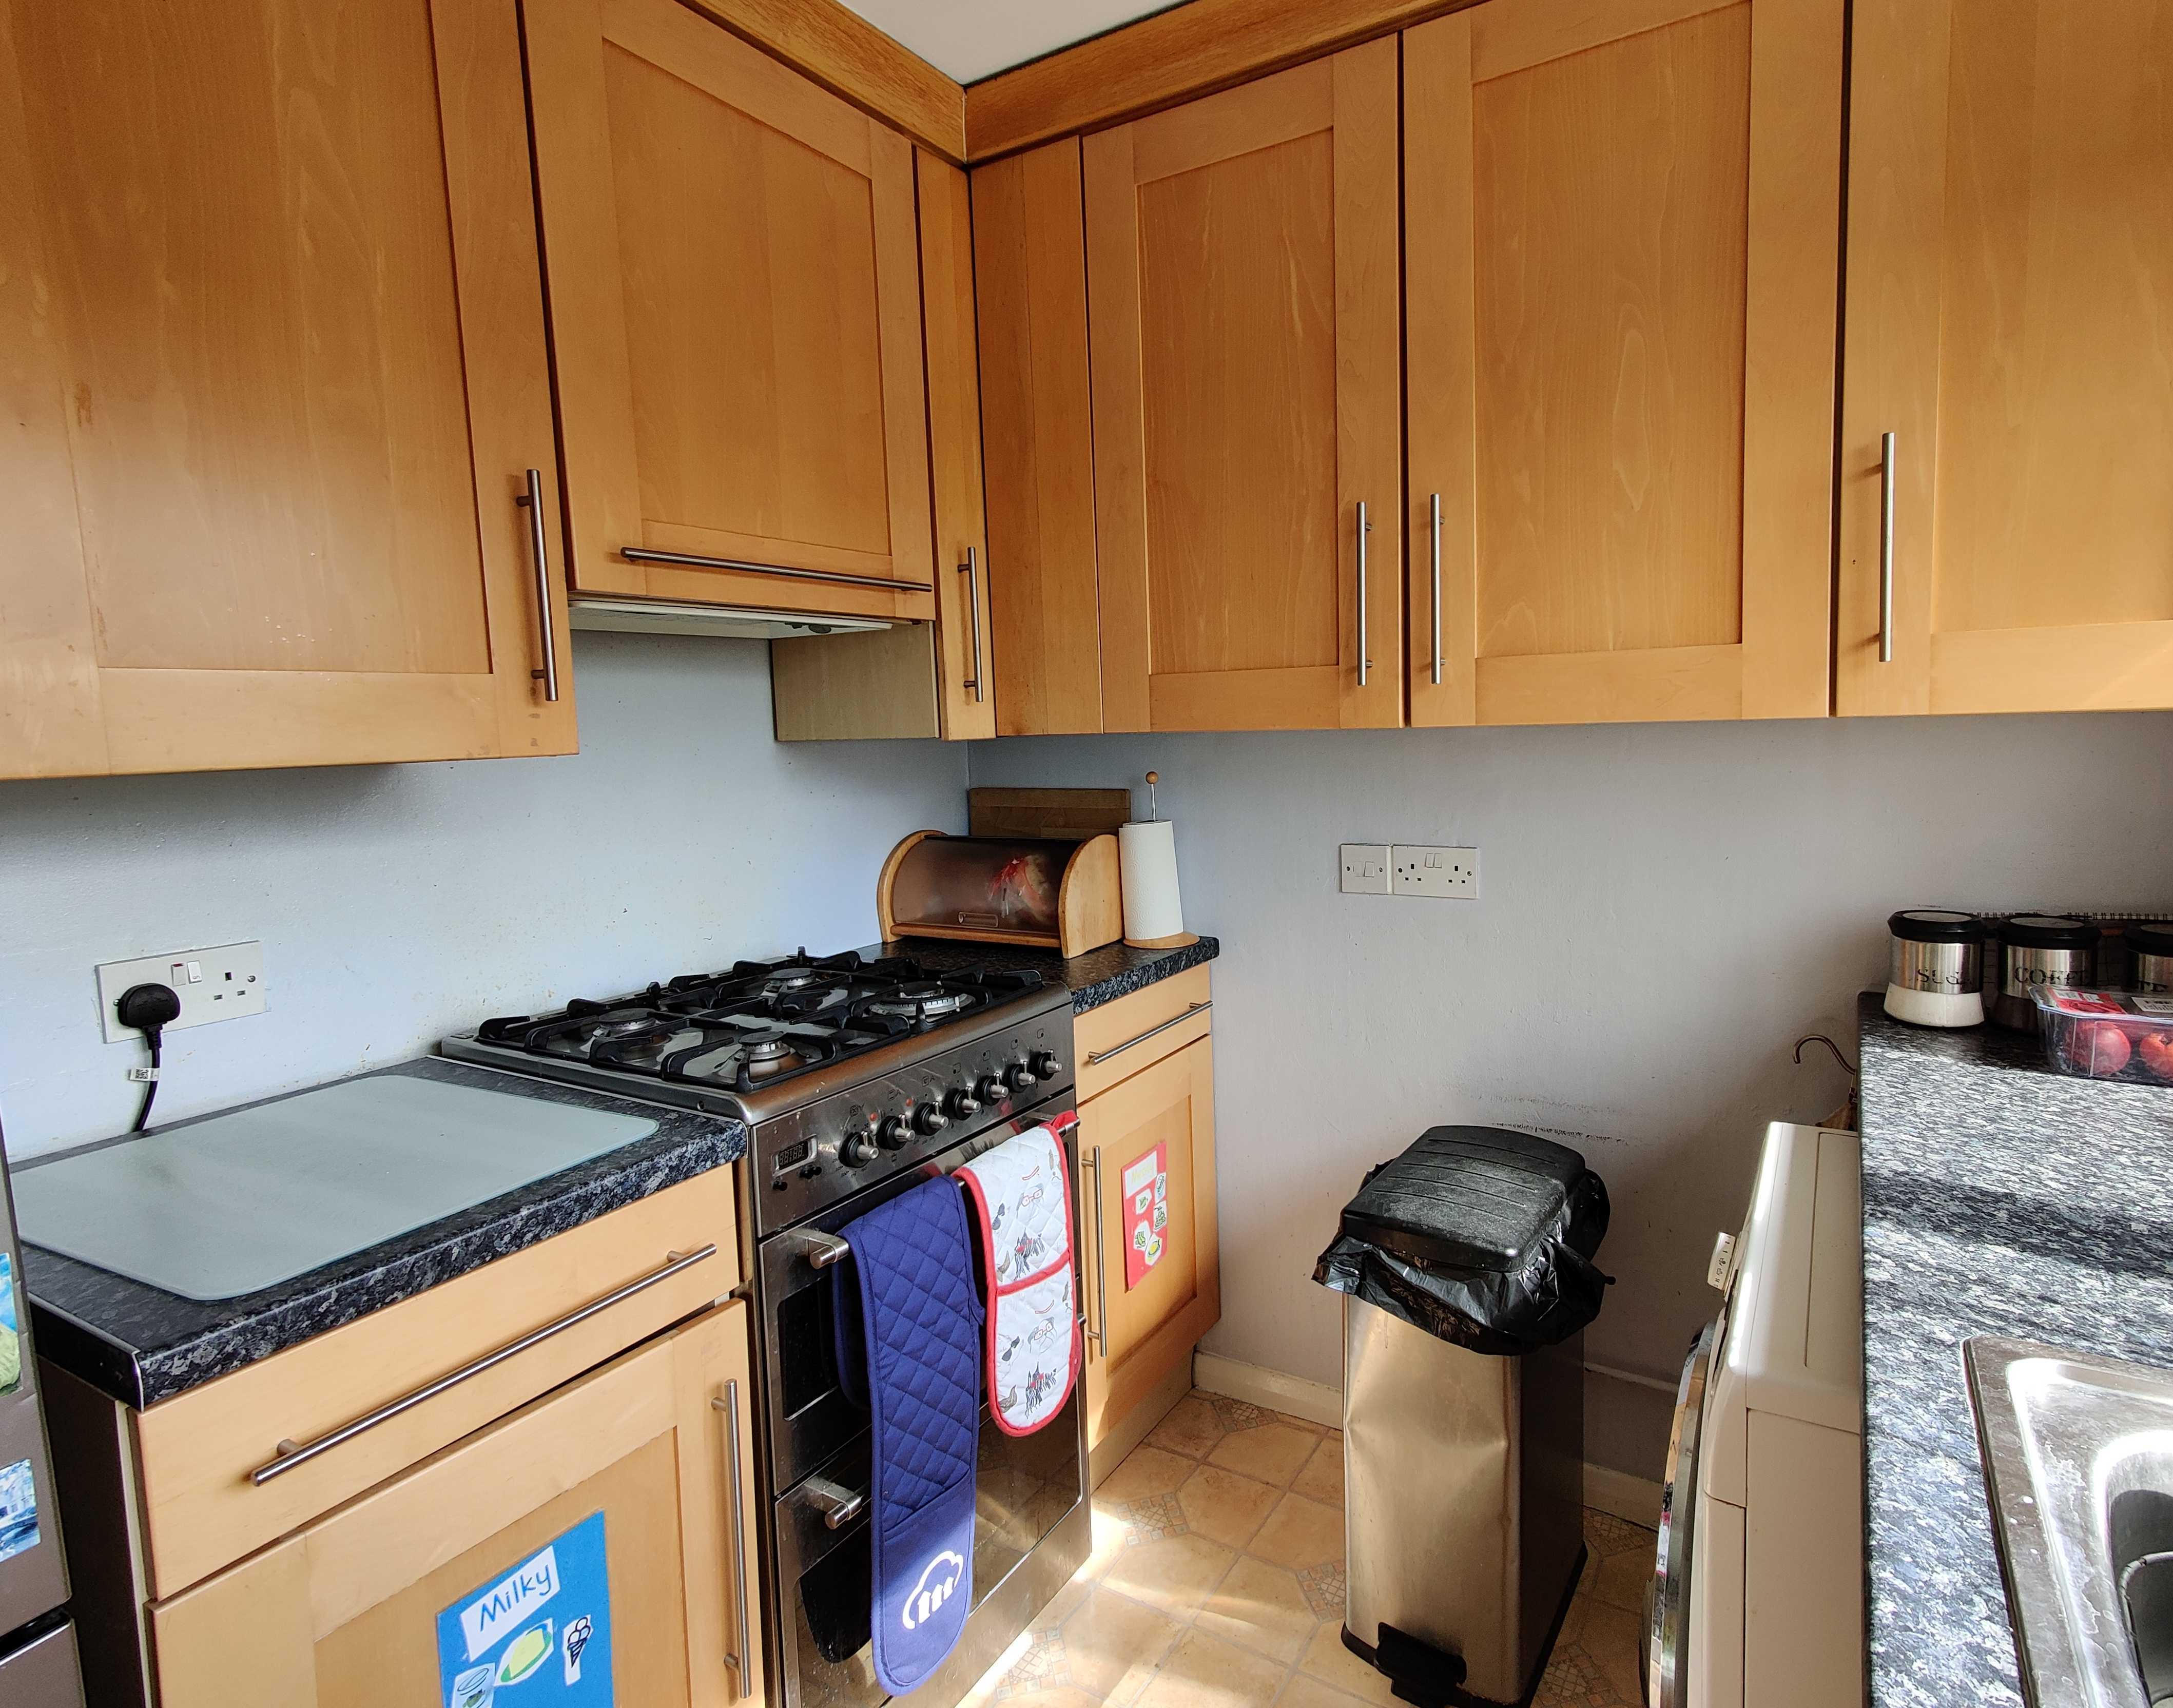
Even paint samples cost money, so instead of going out and buying different colors to test on your walls, just take a photo of your room. Then, upload your picture to Cloudinary and tell it what color you want to try on your walls.
If you’re new to Cloudinary, you can create a free account (no credit card info required). Then, head over to your Media Library and use the Upload button to upload your photo.
Once it’s uploaded, copy the URL for the image and paste it in a browser.
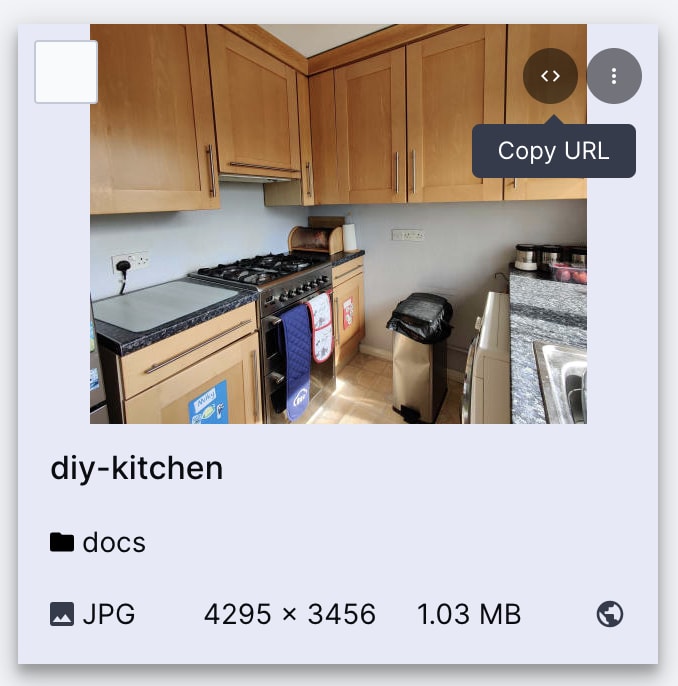
Here’s an example URL (this was uploaded to the docs folder and named diy-kitchen — yours may be called something different).
To make the walls green, for example, use the generative recolor transformation. In the URL, replace the version number (the ‘v’ followed by lots of digits) with this:
e_gen_recolor:prompt_wall;to-color_green;multiple_true
The multiple_true syntax ensures all the walls are recolored.

Well, it definitely turned the walls green, but it’s not a great look for this kitchen (it looks more like a film set!). A simple change to the URL can let you try other colors. You can use any HTML color name or even a hex code for accuracy.
DIY websites generally have swatches of their paints with color codes, or shade names. These rarely match up to HTML colors and it’s unlikely you’ll find the hex code displayed, so here’s a way to discover the hex code for a swatch using Cloudinary.
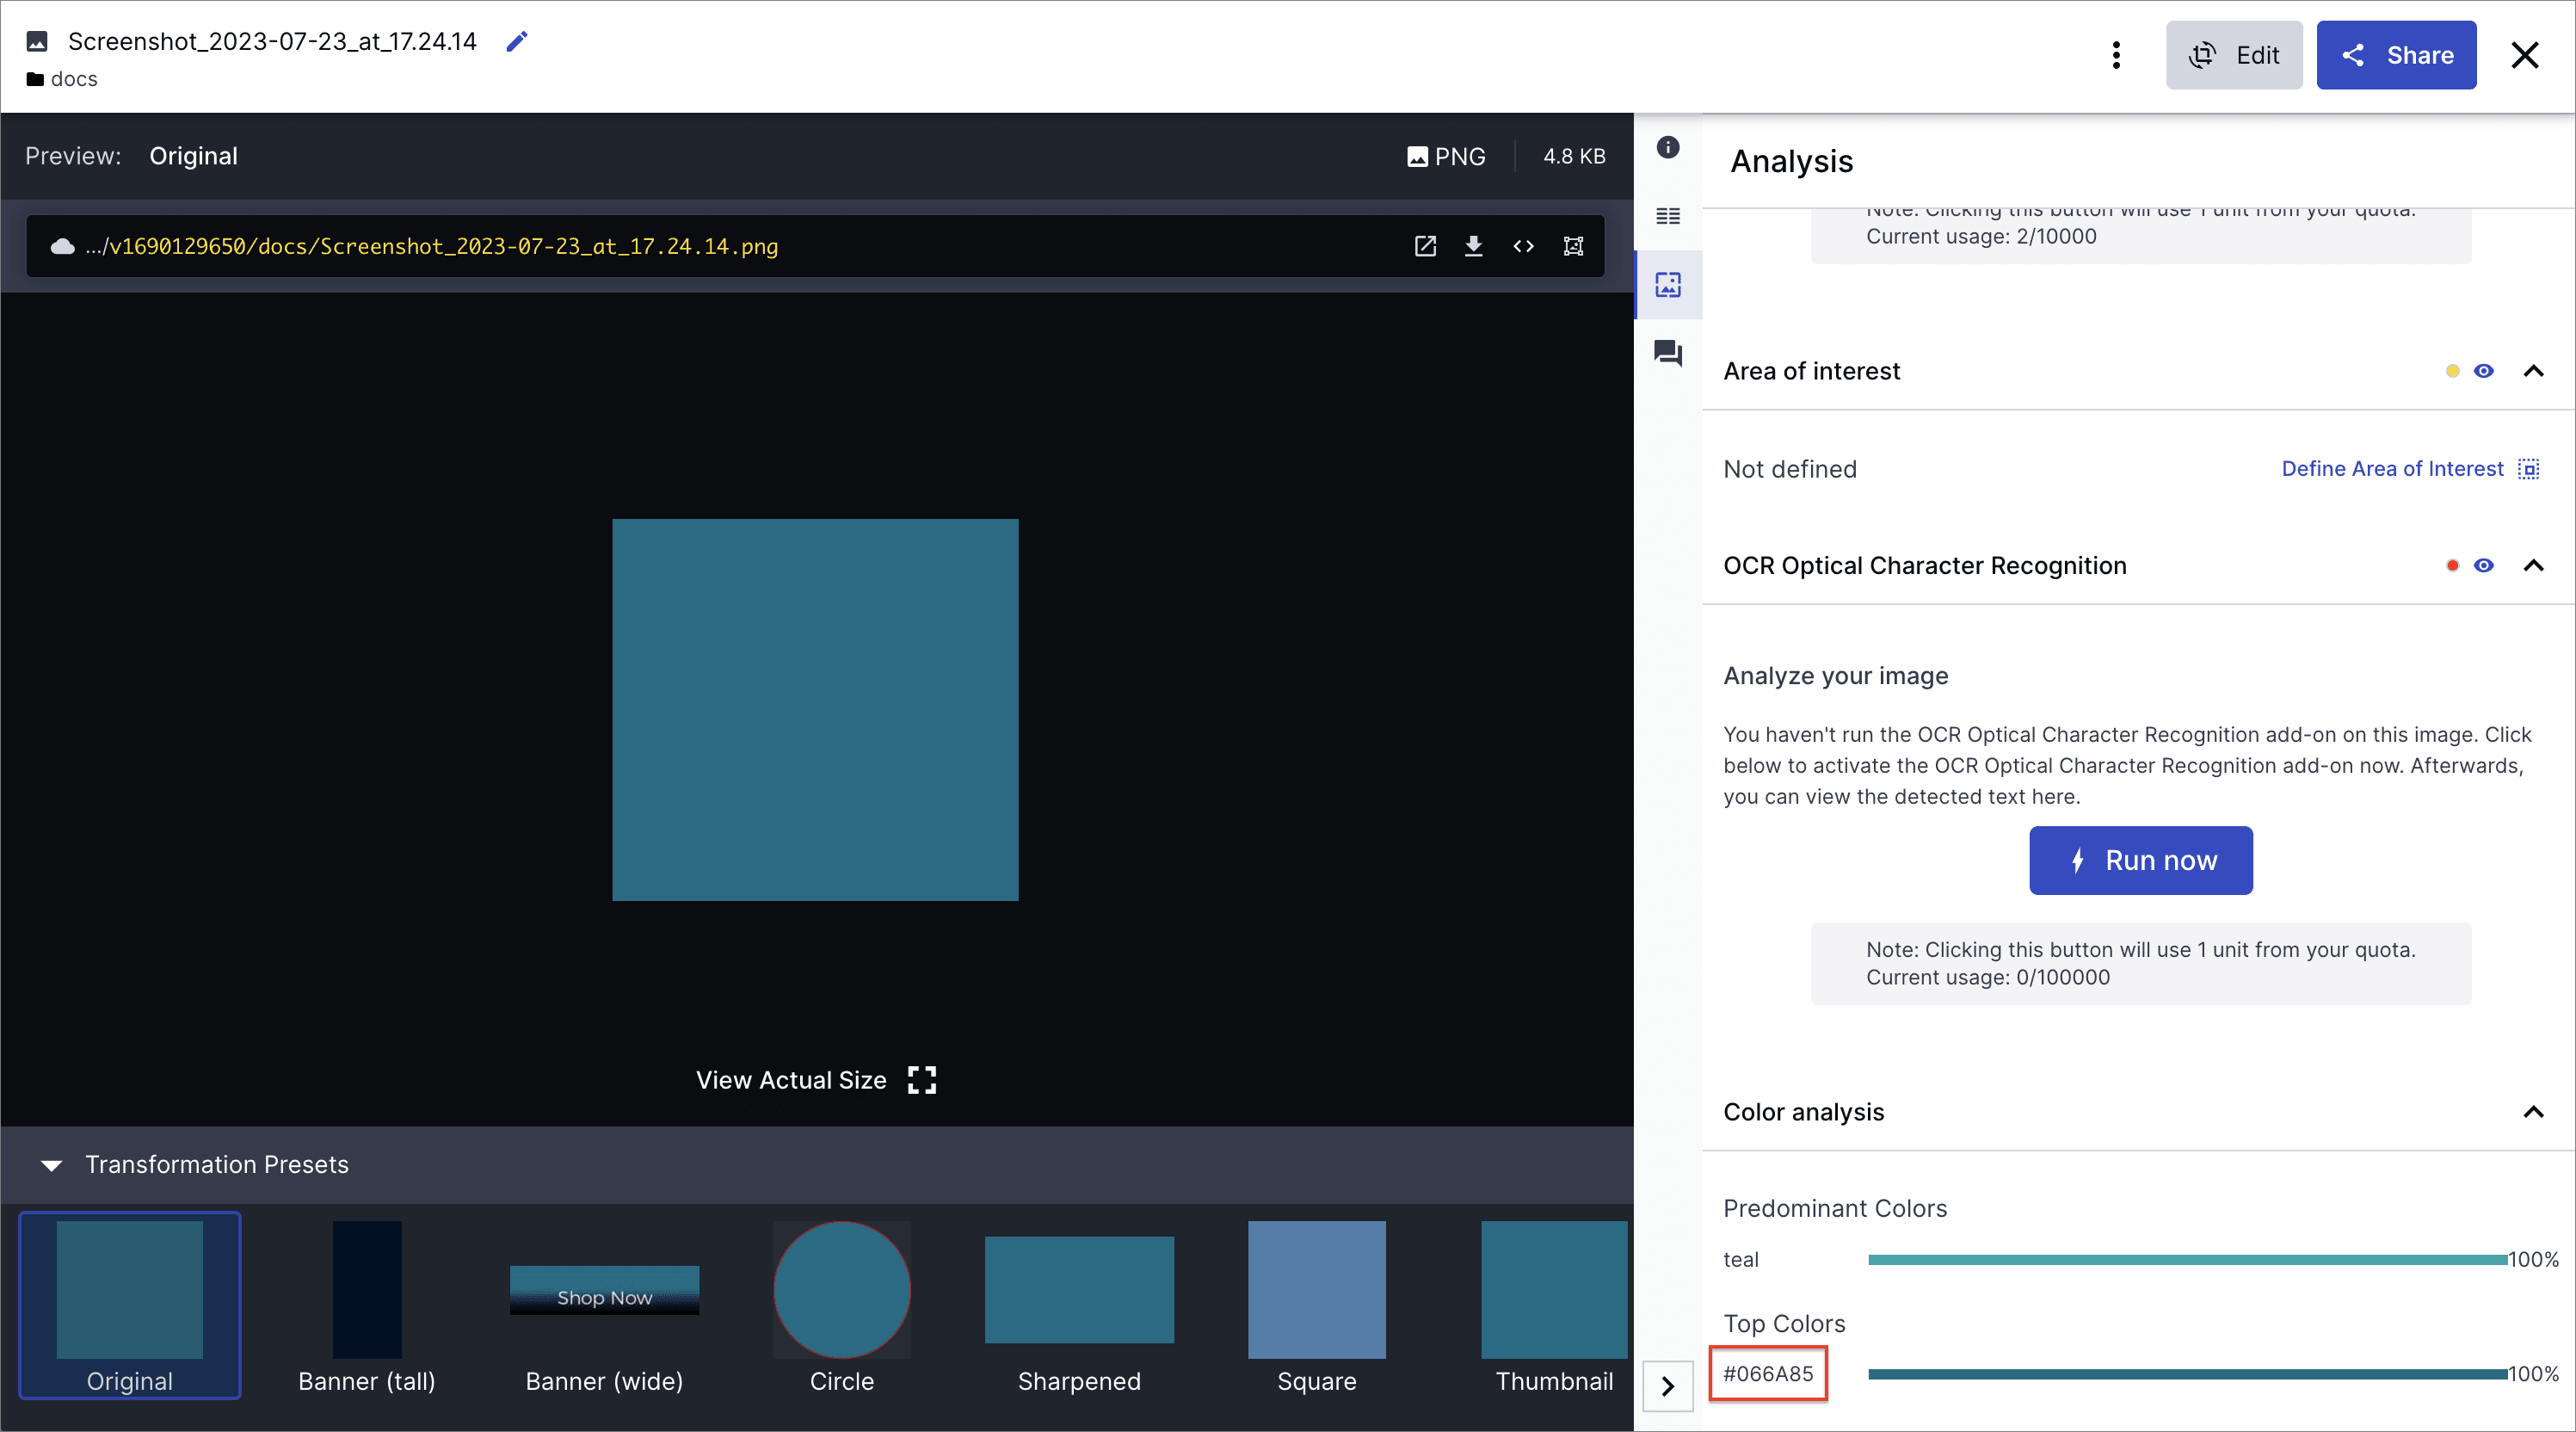
Make a screen capture of the page showing the swatch, and crop the capture so only the swatch is visible. You’ll end up with an image like this:

Upload this to Cloudinary, double-click the image and select the Analysis tab on the right. At the bottom of this tab, you’ll see Top Colors where you’ll find the hex code (in this case #066A85).
You can use this in your URL, without the hash (to-color_066a85):

That’s the DIY way to do it. However, if you’re a developer, you could create an app to let people upload their own images, create a color picker based on the available paint shades, and leave your customers to try different paints on their walls with no mess!
There are other features of a room you may want to try out in different colors, such as the sofa or carpet. Perhaps you only want to change the color of one of the sofas. With natural language for the prompt, you can! So, instead of ‘wall’, you can say, for example, ‘the sofa on the left’.
 Original image
 Sofa on the left recolored
Or, leave the sofas as they are and change the color of the carpet:

You can recolor both the sofas and the carpet at the same time by putting the prompts in parentheses, separated by a semi-colon (e_gen_recolor:prompt_(carpet;sofa)). When you use this syntax, all carpets and sofas in the picture are automatically recolored.
;to-color_abbacd/docs/diy-lounge.jpg)
What’s great is that you can still clearly see the material’s texture and shading!
When it comes to selling your home, you’ll want to make the property look its best on the real estate agent’s website. Perhaps you didn’t have time to declutter or remove personal items before the photos were taken. No worries! Clean up your photos on the fly with generative AI: the generative remove transformation.
For example, in my kitchen photo, I want to remove the red and blue signs on the cupboards. For this, we can use the generative remove transformation with specific prompts, such as e_gen_remove:prompt_(the%20red%20sign;the%20blue%20sign):
 Original image
/docs/diy-kitchen.jpg "Signs removed from cupboards") Signs removed from cupboards
Signs removed from cupboards
And hey presto! They’re gone without a trace! See how the color and texture of the wooden doors are generated automatically.
Another way to improve the look of the room, without altering anything significant to the purchase, is to replace unpleasant-looking objects with more attractive ones. You can use the generative replace transformation to do this. Let’s replace that old dented trash can with a more attractive flower pot:
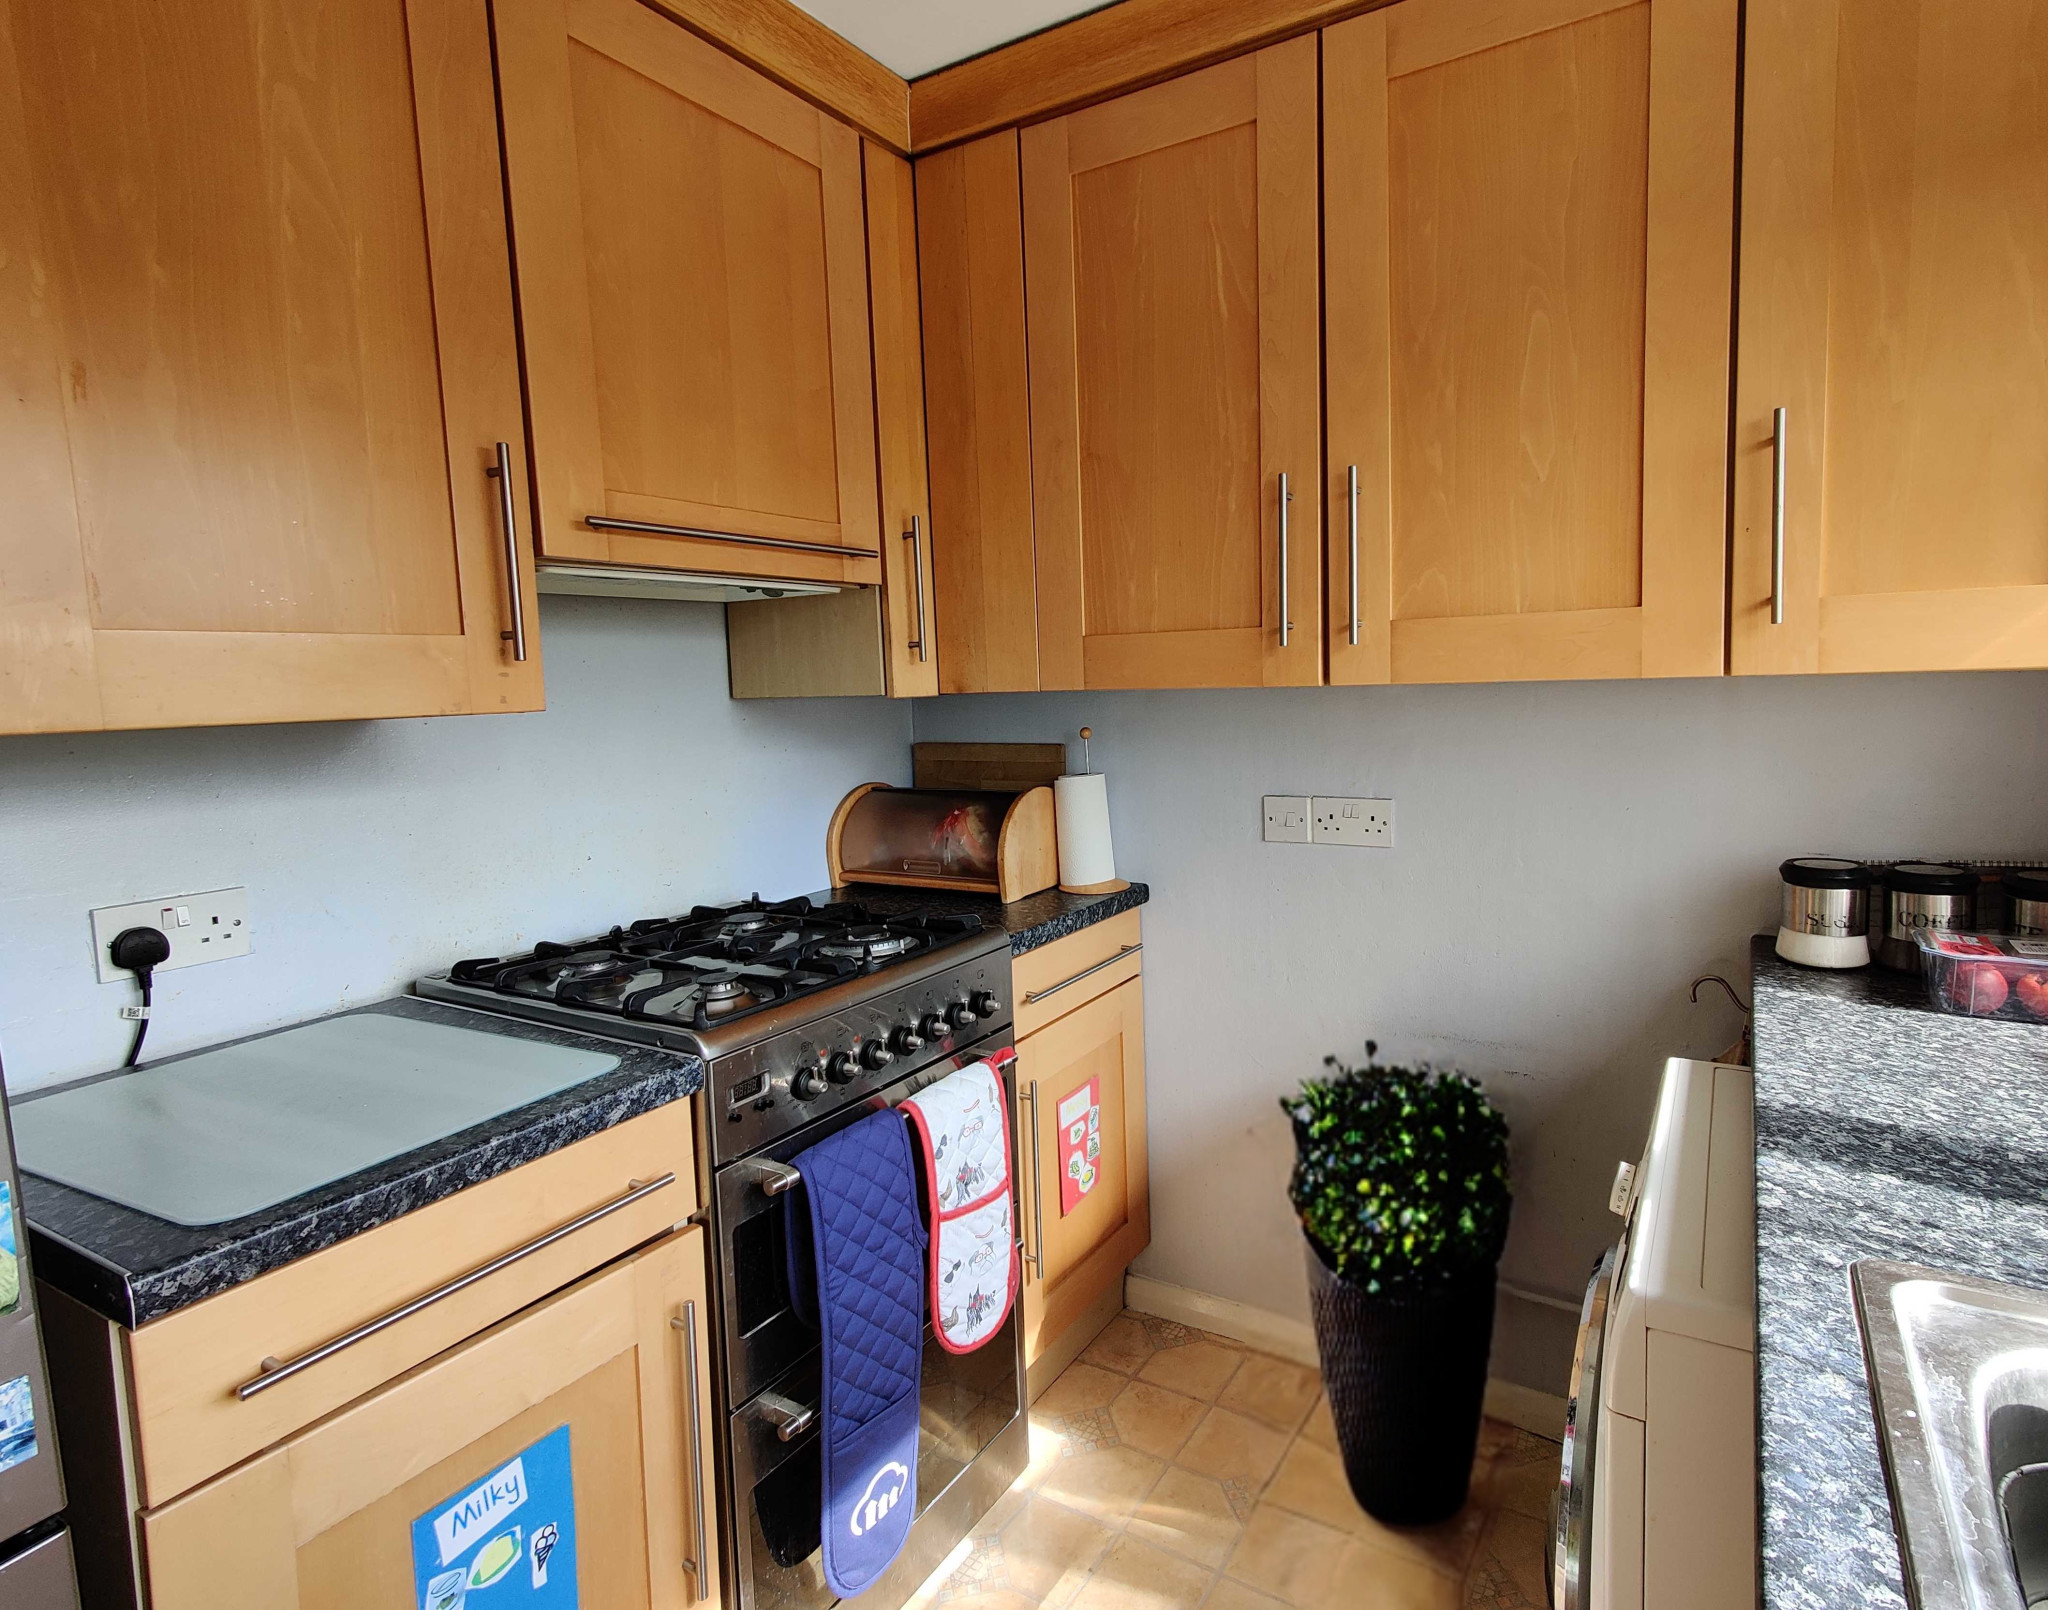
Again, notice how the AI generated pixels realistically fill the area covered by the trash can, including the flooring.
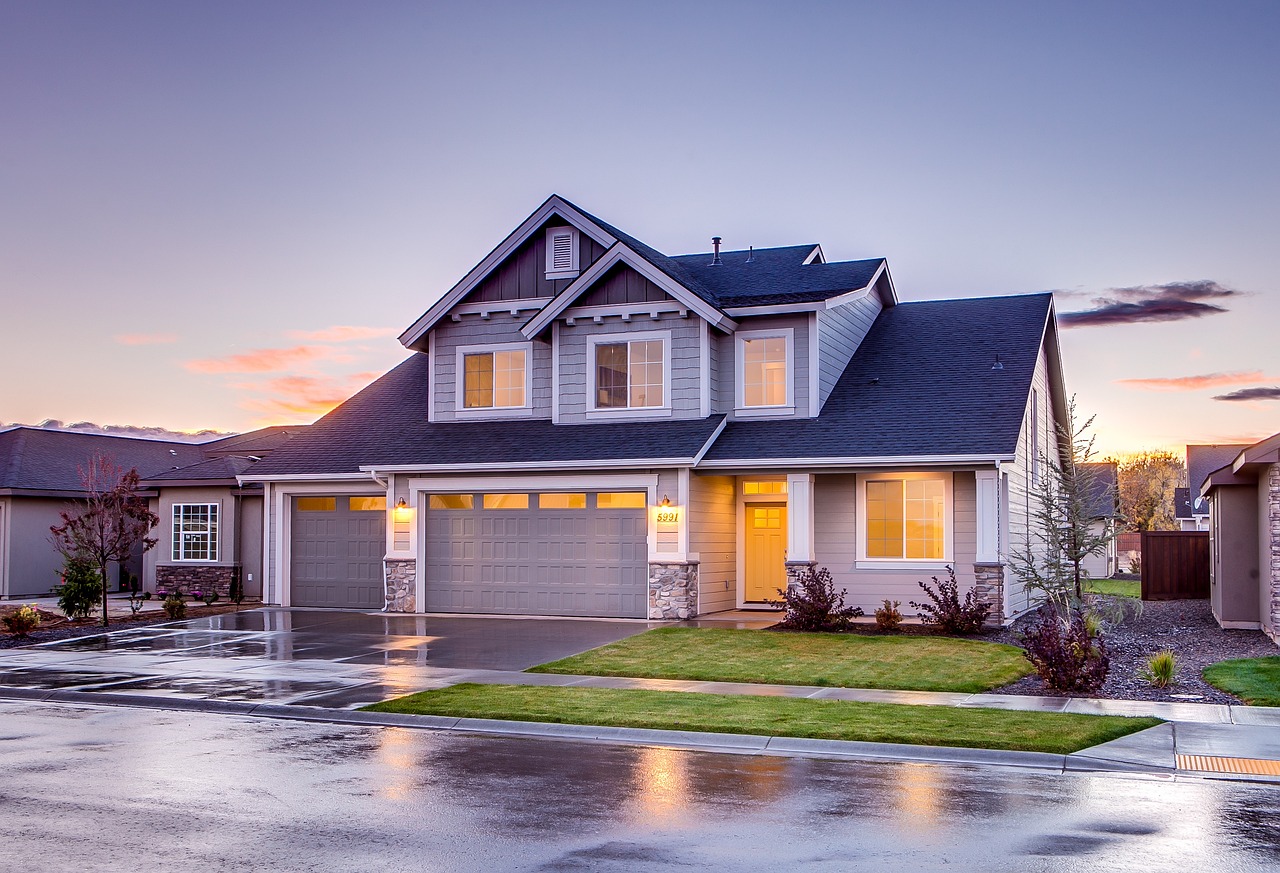
Perhaps you’ve decided not to move after all, but are instead looking for inspiration on extending your house? Another generative AI feature could help you here too! The generative fill transformation extends a photo to fit specific dimensions. Because it uses AI, you never quite know what you’re going to get, but perhaps it can provide some interesting ideas!
Here’s the original picture of a house:
First, we can crop the image roughly where we’d like the extension to start, and save this as a new image in Cloudinary:

We can then use generative AI to extend the house by specifying the original dimensions and using a pad crop with a generative-filled background (b_gen_fill,c_pad,h_873,w_1280):

Interestingly, an extra garage was added on the left side. We can try extending the photo only to the right side by specifying a gravity of west (g_west), which will give us even more inspiration (if a little impractical!):

Using generative fill this way isn’t its intended purpose, but it works best when you have a clear subject and want to extend the background naturally to fixed dimensions. A bit like this:
 Original image
 Background extended
Aww, gnome sweet gnome!
Cloudinary’s new generative AI transformations are both fun to play with but also provide practical use cases. Using AI means that you don’t have to manually edit images anymore. Whether you’re trying out different colors, or making your home look more attractive, by incorporating some of these techniques into your workflows, you’re definitely making the right move. Sign up for a free Cloudinary account today and try it yourself.