
There are a lot of useful tools built into the browser that we don’t take advantage of as much as we could. Working with WebRTC is one of those tools that doesn’t come up as often as it could.
Do you have an app where a user can upload photos or videos? Why not let them capture that media right there on your site instead of getting them to dig up a photo from somewhere? Or maybe you want to make some kind of custom video call app. WebRTC is one tool you can use to do that.
In this tutorial, you’ll learn how to build a full-stack photo booth app that applies filters to images and videos and uploads them to Cloudinary, while saving a link to them in your own database. Hopefully at the end of this, you’ll have a better understanding of how WebRTC works and one of the use cases for it.
There are a few things we need to have in place before we get started on code. First, we’ll be using a PostgreSQL database locally. If you don’t have that installed, you can download it for free here.
Next, you’ll need to have a Cloudinary account set up so you can upload the images and get the URL for your database. If you don’t have a Cloudinary account, you can make a free one here.
The last thing we need to do is initialize the Redwood app we’re going to build. Open a terminal and run the following command.
yarn create redwood-app --typescript photobooth
This will create a number of files and directories with different pre-built functionality. We’ll do all of our work in the api and web directories. The api directory holds all of the work for the back-end and the web directory contains all of the front-end code.
Let’s start by adding the business logic for the app on the back-end.
For this app, we want to upload the images a user takes to Cloudinary and then save the URL to the database. This is one of the ways you can have this image available in different parts of your web app.
Go to the api > db folder and open the schema.prisma file. This is where we’ll define the tables and relations for our database. Let’s start by updating the provider to postgresql instead of sqlite.
Then you’ll see the reference to DATABASE_URL. This is an environment variable that defines the database connection string. So open the .env file in the root of the project and uncomment the DATABASE_URL line and update it with your connection string. It might look something like this.
DATABASE_URL=postgres://postgres:admin@localhost:5432/photobooth
Code language: JavaScript (javascript)
This will let the app establish a connection to the database so you can work with the data you want to store. Now back in the schema.prisma file, let’s write our photo model. You can delete the example model and then add the following code.
model Photo {
  id     Int    @id @default(autoincrement())
  url    String @unique
  userId String @unique
  user   User   @relation(fields: [userId], references: [id])
}

model User {
  id    String @id @default(uuid())
  name  String
  photo Photo?
}
Code language: JavaScript (javascript)
We’ve defined a couple of models to show how these photos might be related to a specific user. The photos will have their own attributes and will be associated with a user based on the userId. Then we have a user model defined that has a few attributes.
Since we aren’t going to build out the functionality to manage users, we’re going to add a default user to the database so that we have an id to reference when we’re ready to upload pictures.
In the api > db directory, you’ll see a seed.js file. This is where we’ll add the default user’s information. There is a lot of commented out code in the main function. Feel free to delete everything in the main function and add this code.
const data = [
  { name: 'alice' },
]

return Promise.all(
  data.map(async (user) => {
    const record = await db.user.create({
      data: { name: user.name },
    })
    console.log(record)
  })
)
Code language: JavaScript (javascript)
This adds one user record to the database. With the models and seed data ready, we can run a migration to get these changes to the database.
In your terminal, run the following commands.
yarn rw primsa migrate dev
yarn rw prisma db seed
This will create the database and add two tables defined by our photo and user models. Then we add the default user to the database. That covers everything we need for our database. Now we can move on to the GraphQL back-end.
Since we’re working in the Redwood framework, there are a lot of commands we can use to generate a lot of the code we need. Normally to make a GraphQL back-end, you have to manually check that your types match the database schema exactly and that your resolvers call the right methods to trigger database changes.
We’re going to run a couple of commands that will create the types and resolvers we need for both models.
yarn rw g sdl user
yarn rw g sdl --crud photo
Take a look in the api > src > graphql directory and you’ll see two new files. These sdl files have the types for the queries and mutations we need to use for our GraphQL resolvers. Open the photos.sdl.ts file and you’ll see all of the types for the functionality we need to work with photos.
You’ll see similar types in the users.sdl.ts file, but since we added the --crud flag to the photo command we get a little extra functionality done for us. Now let’s look at the resolvers.
Go to api > src > services and you’ll see a couple of new folders. These folders have two test related files and one file with the resolvers for that respective table. Open photos.ts and you’ll see all of the resolvers for the CRUD functionality.
This is one of my favorite things about Redwood. If you want to get a functional app quickly, it generates all of the code you need. With those two commands, we’re done building the back-end.
Now we can turn our attention to the front-end where some of the fun stuff happens.
First thing we need to do on the front-end is generate the page that will hold the photo booth. There’s a handy Redwood command to do this. In your terminal, run this command.
yarn rw g page photobooth /
This will create a new folder in web > src > pages called PhotoboothPage. In that folder, you’ll find a test file, a Storybook file, and the page component. It also updates the Routes.tsx file to make this the home page route.
Open the Photobooth.tsx file in web > src > pages > PhotoboothPage because this is where we’ll be doing all of the coding. Let’s start by deleting all of the imports and the code inside the PhotoboothPage component.
Then we’ll add the mutation to create new photo entries in our database. That means we’ll import a mutation hook at the top of the file and right beneath it, we’ll define the mutation.
import { useMutation } from '@redwoodjs/web'

const CREATE_PHOTO_MUTATION = gql`
  mutation CreatePhotoMutation($input: CreatePhotoInput!) {
    createPhoto(input: $input) {
      id
    }
  }
`
Code language: JavaScript (javascript)
This uses a Redwood wrapper on Apollo to work with the mutation we’ve defined. Inside of the PhotoboothPage component, we’ll use this hook and definition to make a function we can use to execute the upload when a user takes a photo.
const [createPhoto] = useMutation(CREATE_PHOTO_MUTATION)
Code language: JavaScript (javascript)
That’s all for the mutation! Now we’ll add another import so we can use a few different hooks. So at the top of the file, right below the useMutation import, add the following.
import { useEffect, useRef, useState } from 'react'
Code language: JavaScript (javascript)
Now we’ll add a few states and refs we’ll be using. Inside the component, below the createPhoto method, add this.
const videoRef = useRef()
const canvasRef = useRef()
const [mediaStream, setMediaStream] = useState(null)
const [src, setSrc] = useState(null)
Code language: JavaScript (javascript)
videoRef is how we’ll interact with the video element that will show the user’s camera in the browser. This is where we get to play with the WebRTC stuff. canvasRef is how we’ll take a snapshot of the current frame of the video when the user wants to capture the picture.
mediaStream is how we’ll get the feed from a user’s camera. src is the image data for the snapshot a user takes. It lets us show the user the image as soon as they take the picture.
Let’s write out the functions we need before we start adding elements to the page.
We want to request access to the user’s camera as soon as they land on our page. To do that, we’ll use the useEffect hook. Beneath the last state declaration in the component, add this code.
useEffect(() => {
  async function enableStream() {
    const stream = await navigator.mediaDevices.getUserMedia({
      video: true,
      audio: false,
    })
    setMediaStream(stream)
  }

  if (!mediaStream) {
    enableStream()
  }
}, [mediaStream])
Code language: JavaScript (javascript)
This is where we get to use the WebRTC stuff! Calling getUserMedia with the options we passed opens a user’s camera but doesn’t open their mic. We don’t need access to their mic to take a picture. This goes into some data ethics with us taking the least amount of information from a user we need.
Now when the page loads or there are any changes to the user’s camera settings, the media stream will be updated. The next thing we need to do is set the media stream in the video element we’ll make shortly. For now, add this code below the hook we just finished.
if (mediaStream && videoRef.current && !videoRef.current.srcObject) {
  videoRef.current.srcObject = mediaStream
}
This checks that we have a media stream and a video element available. Then it sets the source of the video element to the media stream. This is how we show the camera in the browser.
Next we have a small function to make the video play once the user has given us permission. This goes below the video check we just added.
const handleCanPlay = () => {
  videoRef.current.play()
}
Code language: JavaScript (javascript)
Now we have the largest function in our component. It will handle the upload to Cloudinary and the mutation to add the photo record to the database.
const uploadImage = async (imgSrc) => {
  const uploadApi = `https://api.cloudinary.com/v1_1/${cloudName}/image/upload`

  const formData = new FormData()
  formData.append('file', imgSrc)
  formData.append('upload_preset', uploadPreset)

  const cloudinaryRes = await fetch(uploadApi, {
    method: 'POST',
    body: formData,
  })

  const input = {
    url: cloudinaryRes.url,
    userId: '1efeb34e-287f-11ec-9621-0242ac130002',
  }

  createPhoto({
    variables: { input },
  })
}
Code language: JavaScript (javascript)
First, there’s the upload API. You can get your cloud name from your Cloudinary dashboard. You might want to grab an upload preset while you’re in the dashboard as well. That’s where the uploadPreset value comes from in the form data. The file value will be the image data we get from the canvas.
Then we make a fetch request to the Cloudinary endpoint and take the url to store in the database. You can find the userId for the seeded user we made earlier directly in your Postgres instance and just paste it in there. At the very end, we add the photo record to the database.
Only one more function left! We’re going to get the image data from the canvas.
const takePicture = () => {
  const context = canvasRef.current.getContext('2d')

  context.drawImage(videoRef.current, 0, 0, 580, 320)

  const src = canvasRef.current.toDataURL()
  setSrc(src)

  uploadImage(src)
}
Code language: JavaScript (javascript)
This gets the context of the canvas element so that we can capture the video frame and get the image data. Then we call the uploadImage method we just wrote.
We’re finished with all of the functions now! All that’s is rendering elements on the page.
We finally get to add that beautiful return statement. This is the last bit of code we need to write to get everything working. This will be the last thing inside the PhotoboothPage component.
return (
  <>
    <h1>Photobooth</h1>
    <video
      id="video"
      ref={videoRef}
      onCanPlay={handleCanPlay}
      autoPlay
      playsInline
      muted
    >
      Video stream not available.
    </video>
    <button onClick={takePicture}>Take photo</button>
    <canvas
      style={{ display: 'none' }}
      ref={canvasRef}
      width={580}
      height={320}
    ></canvas>
    <img
      id="photo"
      alt="The screen capture will appear in this box."
      src={src}
    />
  </>
)
Code language: JavaScript (javascript)
The <video> element has the videoRef we setup earlier and it calls the handleCanPlay function we wrote to start up the video stream. Then we have a button that lets users take pictures when they’re ready.
Next is the <canvas> element with our canvasRef as a prop. Lastly, there’s the <img> element that lets users see the image they just took.
Now we can run the app and finally see all of our hard work in action! In your terminal, run this command.
yarn rw dev
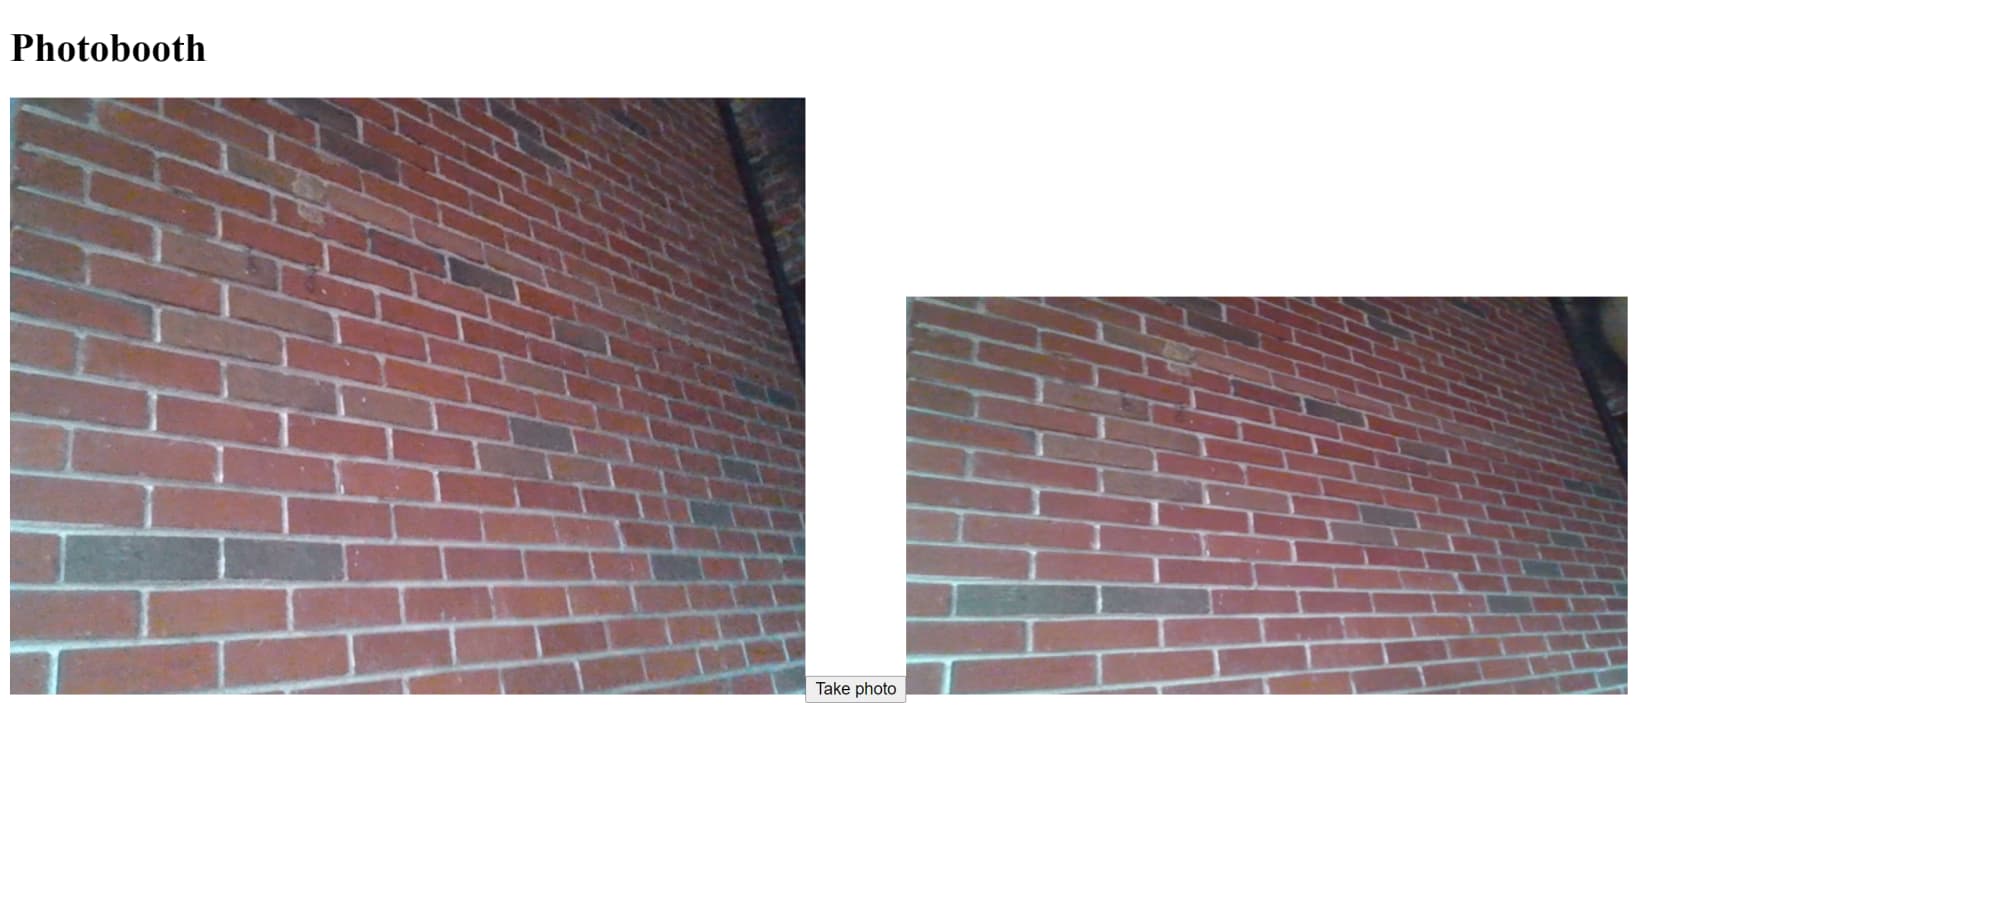
Your browser should open and ask you for permission to access your camera. Once you give it permission, you should see something like this.

If you take a picture, it’ll look similar to this.
We’re done and now you know how to get started with WebRTC! I’ll leave any style work to you, but hopefully you see how this could be useful.
If you want to check out the complete front-end and back-end code, you can see everything in the photobooth folder of this repo.
You can also check out the front-end in this Code Sandbox.
There are times when you’ll run into these kinds of seemingly obscure use cases for different web functionality, but they can be super handy. You might end up working on a video chat app for doctors or handle some facial recognition software for a security company.