
with Redwood
Deciding what to eat every day is something that a lot of us struggle with. It’d be so much easier if there was a button you could push and it would choose one of your favorite meals for you.
That’s why we’re going to make a meal picker in this tutorial. We’ll use Redwood to create the front-end and back-end of the app which will let us save recipes and choose a random meal. We’ll also be using Cloudinary to host the video we have associated with the recipes.
To get started, let’s make a new Redwood app that uses TypeScript. In a terminal, run this command.
yarn create redwood-app --typescript meal-picker
This will generate a lot of new files and folders in the meal-picker directory. The main two directories are web and api. The web folder contains all of the code for the front-end and the api directory contains all of the code for the back-end.
Most times, it’s a good practice to start building the data model of a new app first.
We’ll start by opening the prisma.schema file in api > db directory. This file holds all of the models for the tables we’ll have in the database. We’ll be using a local Postgres instance, so if you need to download that you can find the right version here.
The first thing we’ll do is update the provider value to postgresql. Next, we need to create a .env file in the root of the project. You’ll see the DATABASE_URL being read from the environment below the type of database we’re using. In the .env file, add the connection string to your local Postgres instance. It might look similar to this.
DATABASE_URL=postgres://postgres:admin@localhost:5432/meal_picker
Code language: JavaScript (javascript)Now you have everything set to connect to your database. We need to define the model for the meals we’ll be saving to choose from. You can delete the UserExample model and replace it with this.
model Meal {
  id      String @id @default(cuid())
  title   String
  recipe String
  video   String
}
Code language: JavaScript (javascript)
This model defines a table that will hold all of the details for our meals. There has to be a way for users to input their favorite meals and all of the details. With the model ready, we can go ahead and run the migration to get these changes on the database.
yarn rw prisma migrate dev
That will define the Meal table in Postgres. So now we can use one of the Redwood commands to generate this CRUD functionality for us.
We’ll need to have both the GraphQL back-end in place and the front-end in place to allow users to add, edit, and delete meals. This normally takes a bit of time, but the following command generates all of that for us.
yarn rw g scaffold meal
Check the api > src > graphql directory and you should see meals.sdl.ts file that has all of the types for the queries and mutations we need. If you check in api > src > services > meals, you’ll see three files. Two of them are for tests and the meals.ts file holds all of the resolvers for our queries and mutations. These already connect to the database so we have our entire back-end created!
Now that we have the GraphQL server ready to go, let’s take a look at the files the scaffold command created on the front-end. In web > src > pages > Meals, you’ll see several new directories that correspond to different views of the CRUD for meals.
If you take a look in web > src > components > Meal, you’ll see a number of components that we created. These components interact with and display the data that we get from the back-end. It’s worth taking the time to peek at these different files and see how they work, but you can still run the app and see all of the CRUD in action without ever looking at the code.
In your terminal, run this command and navigate to http://localhost:8910/meals.
yarn rw dev
You should see something like this in your browser.
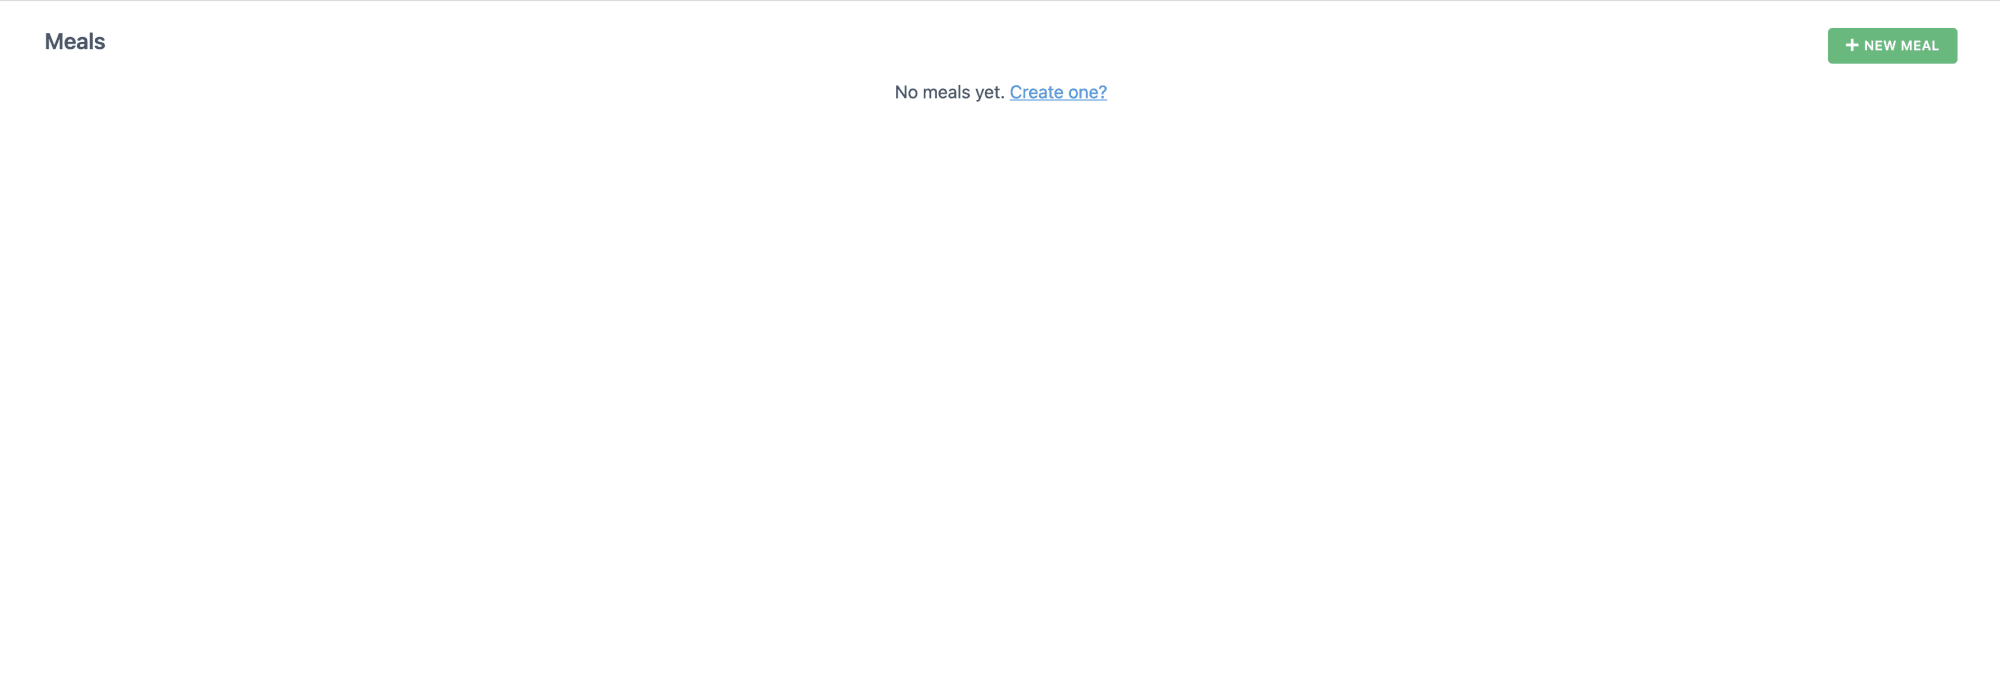
Now add a few entries by clicking the “New Meal” button. This will bring up a new page and let you add the details.

If you haven’t uploaded any videos for your meals, take a second to go to your Cloudinary account and add those. Make sure you grab the URLs for the videos you want to use because you’ll add them to your new meal entries.
Once you’ve added a few meals, you should see a table that lists all of your entries.

That’s everything we need to handle the CRUD functionality for our meals. You might think of this as an admin area in the app. Redwood generated all of this for us with just one command. All that’s left is making the random meal picker page.
Let’s make a new page for the picker. We’ll use another Redwood command.
yarn rw g page picker /
This updates our routes to make the picker page the root page and it generates some files for us. Go to web > src > pages > PickerPage and open PickerPage.tsx. This is where we’ll make the button that will tell us what to eat.
We’ll get rid of a lot of the boilerplate code in the PickerPage component. Let’s start by adding the import statements for the methods we’ll be using. So your list of import statements should look like this.
import { useQuery } from '@redwoodjs/web'
import { MetaTags } from '@redwoodjs/web'
import { useState } from 'react'
Code language: JavaScript (javascript)
Now let’s add the GraphQL query we need to get all of the meals we have available to choose from. This goes right below the import statements.
const GET_MEALS = gql`
  query {
    meals {
      title
      recipe
      video
    }
  }
`
Code language: JavaScript (javascript)
One more quick thing before we start using this query. Since this is a TypeScript app, let’s add the type for a single meal. Below the query just wrote, add the Meal type.
interface Meal {
  title: string
  recipe: string
  video: string
}
Code language: CSS (css)
When we get ready to work with the meals data, now we know exactly what to expect. Now we get to delete a lot of code. Inside the PickerPage component, delete everything except the <MetaTags> element. Your PickerPage.tsx should look like this now.
import { useQuery } from '@redwoodjs/web'
import { MetaTags } from '@redwoodjs/web'
import { useState } from 'react'

const GET_MEALS = gql`
  query {
    meals {
      title
      recipe
      video
    }
  }
`

interface Meal {
  title: string
  recipe: string
  video: string
}

const PickerPage = () => {
  return (
    <>
      <MetaTags
        title="Picker"
      />
    </>
  )
}

export default PickerPage
Code language: JavaScript (javascript)
All that’s left is adding the data and the elements to display it.
Let’s add a new meal state in the component. We’ll use our Meal type to define what values are expected.
const [meal, setMeal] = useState<Meal>()
Code language: HTML, XML (xml)
Next we’ll use the useQuery hook to fetch our data from the GraphQL server.
const { loading, data } = useQuery(GET_MEALS)
Code language: JavaScript (javascript)
We get both the data and a loading state for it. That way we can account for any latency in the request and show the users a loading screen. If we don’t handle this, the app will likely crash because the data isn’t available yet. Right below the useQuery call, we’ll add the code to handle this loading state.
if (loading) {
  return <div>Loading...</div>
}
Code language: JavaScript (javascript)
The last function we need to add before creating the elements to show our random meal will actually be responsible for choosing that meal. When we click a button on the screen, it’ll call this function and set the meal state to some random selection.
const loadMeal = () => {
  if (data.meals.length !== 0) {
    const max = data.meals.length
    const index = getRandomInt(0, max)
    setMeal(data.meals[index])
  }
}
Code language: JavaScript (javascript)
There is a tiny helper function we for to get that random integer. Add this code below the PickerPage component.
function getRandomInt(min, max) {
  min = Math.ceil(min);
  max = Math.floor(max);
  return Math.floor(Math.random() * (max - min) + min);
}
Code language: JavaScript (javascript)
We have the data in place and all of the accompanying functions we need. Let’s finally add the elements to display everything.
Below the <MetaTags> element, add these elements.
<h1>{meal ? meal.title : 'Find out what you are going to eat'}</h1>
<button onClick={loadMeal} style={{ fontSize: '18px', padding: '24px 32px', width: '500px' }}>Tell me what to eat</button>
Code language: HTML, XML (xml)
The text on the page will change based on whether or not you’ve had a random meal selected. Then there’s the button with a few styles on it that will call the function to choose a new random meal.
If you run the app again with yarn rw dev, you’ll see something like this in your browser.

The last piece of code is to display the info for the randomly selected meal. We’ll do this with a conditional render statement below the <button>.
{meal &&
<>
<p>{meal.recipe}</p>
<video src={meal.video} controls height='350' width='500'></video>
</>
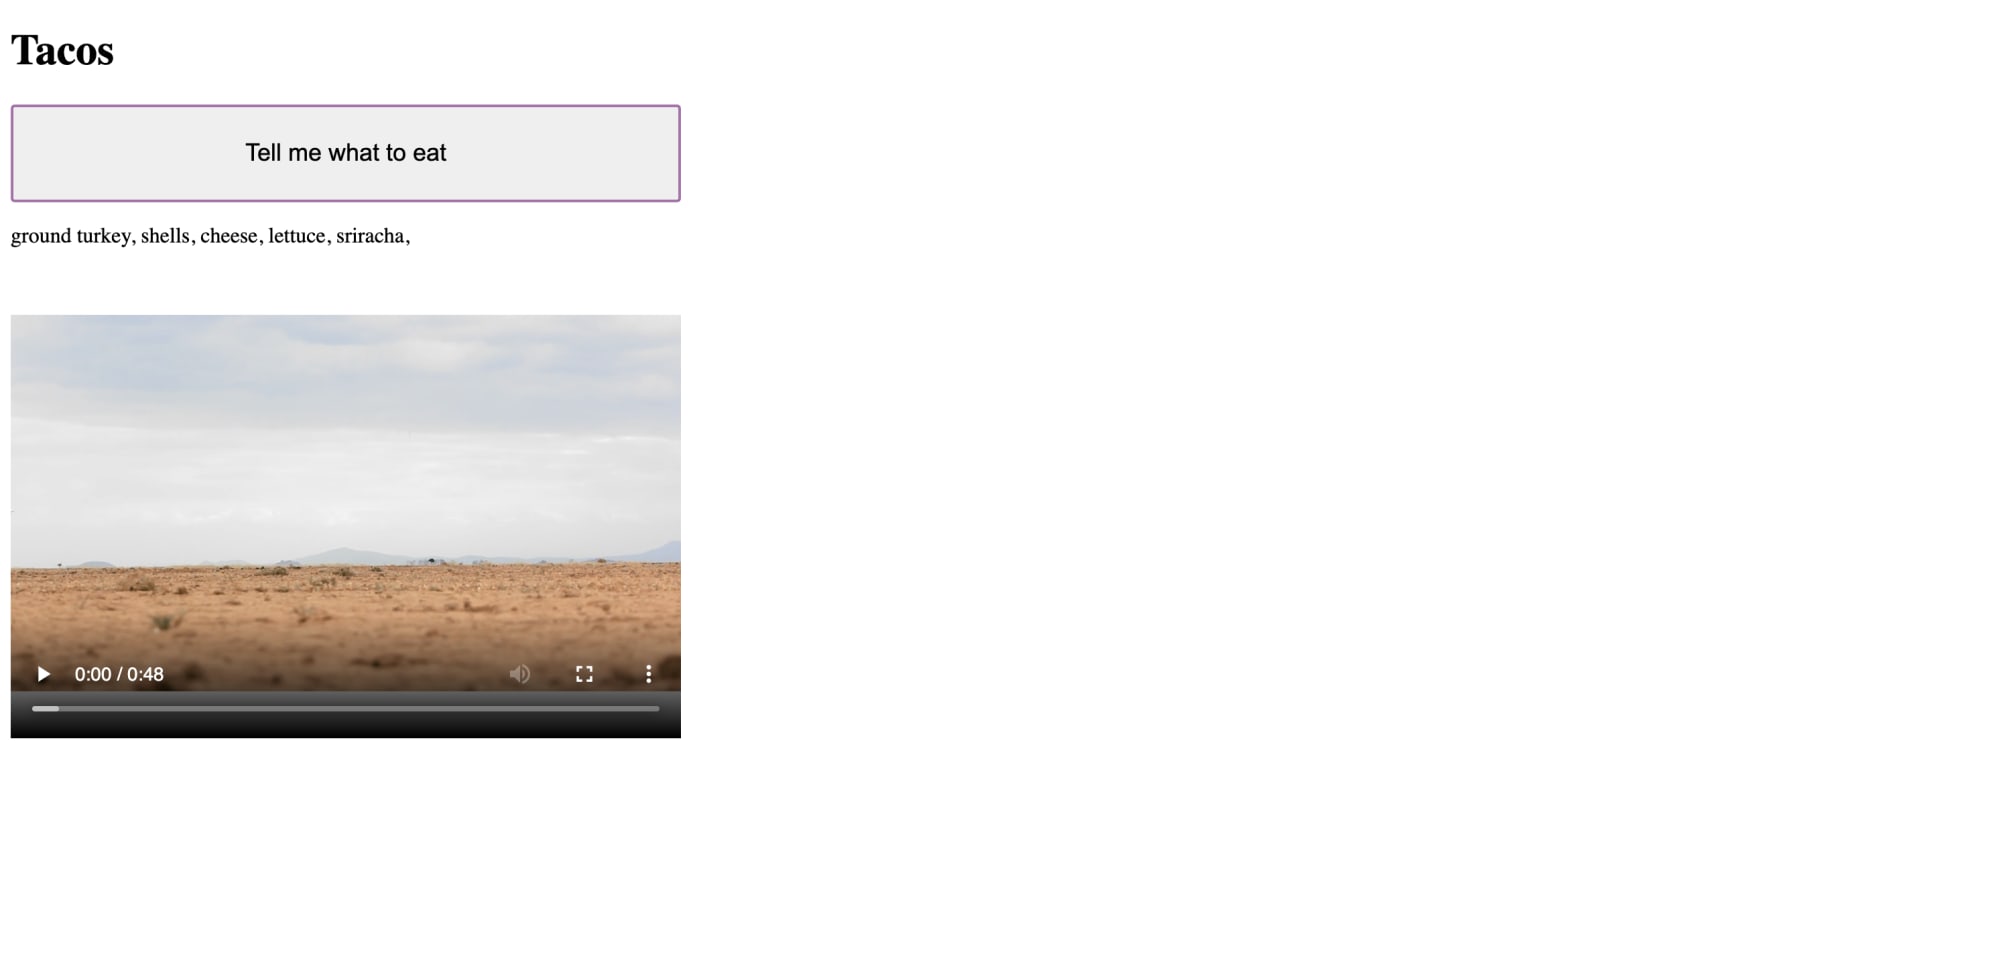
}
Code language: HTML, XML (xml)This will display the recipe and the video whenever the button is clicked and a meal is selected. Now if you look in the browser, you should see something like this.
That’s it! You now have a meal picker that will make it hard for you to say you can’t decide what to eat anymore.
If you want to check out the finished front-end and back-end code, check out the code in the food-picker folder of this repo. You can see an example of the front-end in this Code Sandbox.
Not every project you work on has to be super detailed. Sometimes you just need something to prove a concept or you want to make something for yourself. I know I’ve definitely used this app to pick what I’m going to eat more than I want to admit.