
Interactivity is a big part of today’s online pages. These responsibilities include gathering information on user involvement, processing form submissions, and controlling the interactivity of media assets.
In this tutorial, we will discuss how to trigger a feedback form on video completion in Nuxt.js.
This project was completed in a Codesandbox. To get started quickly, fork the Codesandbox or run the project.
GitHub Repository: https://github.com/Olanetsoft/video-event-trigger-in-nuxt
The knowledge of JavaScript and Vue.js is needed for this post. The knowledge of Nuxt.js is not required but preferred.
Nuxt.js provides the bedrock of our Vue.js project, providing structure and flexibility while allowing us to scale the application with confidence.
It is extensible, with a robust module ecosystem and hooks engine that makes it simple to integrate your REST or GraphQL endpoints, favourite CMS, CSS frameworks, and other third-party applications.
To create a new project, we will use the command below to scaffold a new project:
    npx create-nuxt-app <project-name>
Code language: HTML, XML (xml)
A series of prompts will appear as a result of the command. Here are the defaults we recommend:
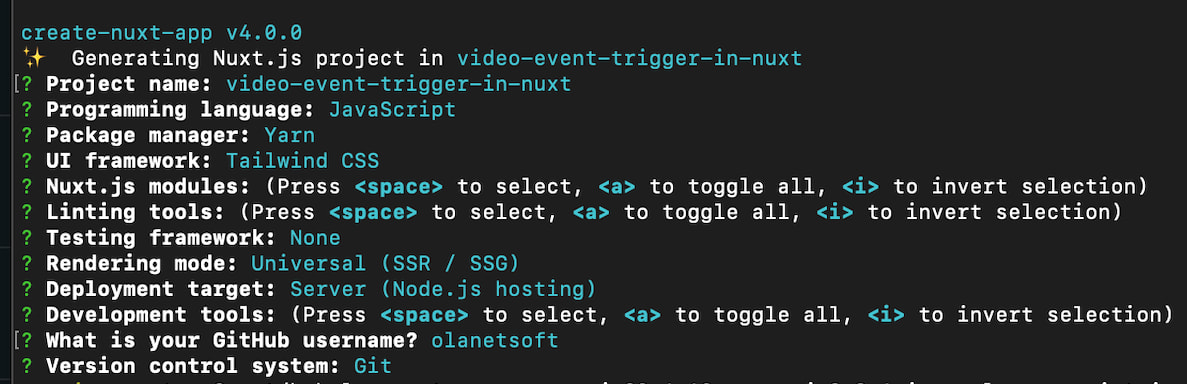
Next, we need to navigate the project directory and start the development server using the command below.
    cd <project name> && yarn dev
Code language: HTML, XML (xml)
Nuxt.js will start a hot-reloading development environment accessible by default at http://localhost:3000
We need to detect and respond when the status of a video player changes; thus, we will be relying on the Cloudinary Video Player for customization and integration.
Cloudinary video player is a JavaScript-based HTML5 video player that comes with a slew of helpful customization and integration features, as well as monetization and analytics support.
The video player’s assets will be added to our nuxt.config.js in the link and script section of the file using the following snippet:
    // nuxt.config.js

    export  default  {
      head:  {
          ...
      link: [
          ...
      {
        rel:  'stylesheet',
        href:  'https://unpkg.com/cloudinary-video-player@1.5.9/dist/cld-video-player.min.css'
      }
            ],
      script:  [
      {
      src:  'https://unpkg.com/cloudinary-core@latest/cloudinary-core-shrinkwrap.min.js'
      },
      {
      src:  'https://unpkg.com/cloudinary-video-player@1.5.9/dist/cld-video-player.min.js'
      },
              ],
      },
    };
Code language: JavaScript (javascript)
We need to save our Cloudinary cloud name to refer to it from any file. In the following step, it will be saved as an environmental variable in the global .env file at the project root.
You can get your cloud name from your Cloudinary dashboard by signing up for a Cloudinary Account.
Create a .env file at the root of the project with the command touch .env and update it with the following snippet:
    NUXT_ENV_CLOUDINARY_CLOUD_NAME=<cloudinary-cloud-name>
Code language: HTML, XML (xml)
We can now create our video player by updating pages/index.vue with the following code snippet:
    <template>
      <div class="flex justify-center items-center h-screen space-x-10">
        <div class="rounded overflow-hidden shadow-lg mb-4 content-center">
          <div class="px-6 py-4 pb-2">
            <div class="font-bold text-xl mb-2">Feedback Form Trigger</div>
            <video
              id="video-player"
              controls
              autoplay
              muted
              width="500px"
              class="width-full"
            ></video>
          </div>
        </div>
      </div>
    </template>

    <script>
    export default {
      data() {
        return {
          cld: null,
          player: null,
          video: "samples/animals/testvid",
        };
      },

      mounted() {
        this.cld = cloudinary.Cloudinary.new({
          cloud_name: process.env.NUXT_ENV_CLOUDINARY_CLOUD_NAME,
          secure: true,
        });

        this.player = this.cld.videoPlayer("video-player", {
          analytics: {
            events: ["ended"],
          },
        });

        this.player.source(this.video);
      },
      name: "IndexPage",
    };
    </script>
Code language: HTML, XML (xml)
In the code snippet above, we established a Cloudinary instance, used it to initialize the video player, and set up the video source in our mounted lifecycle hook.
We should have something similar to the image below:
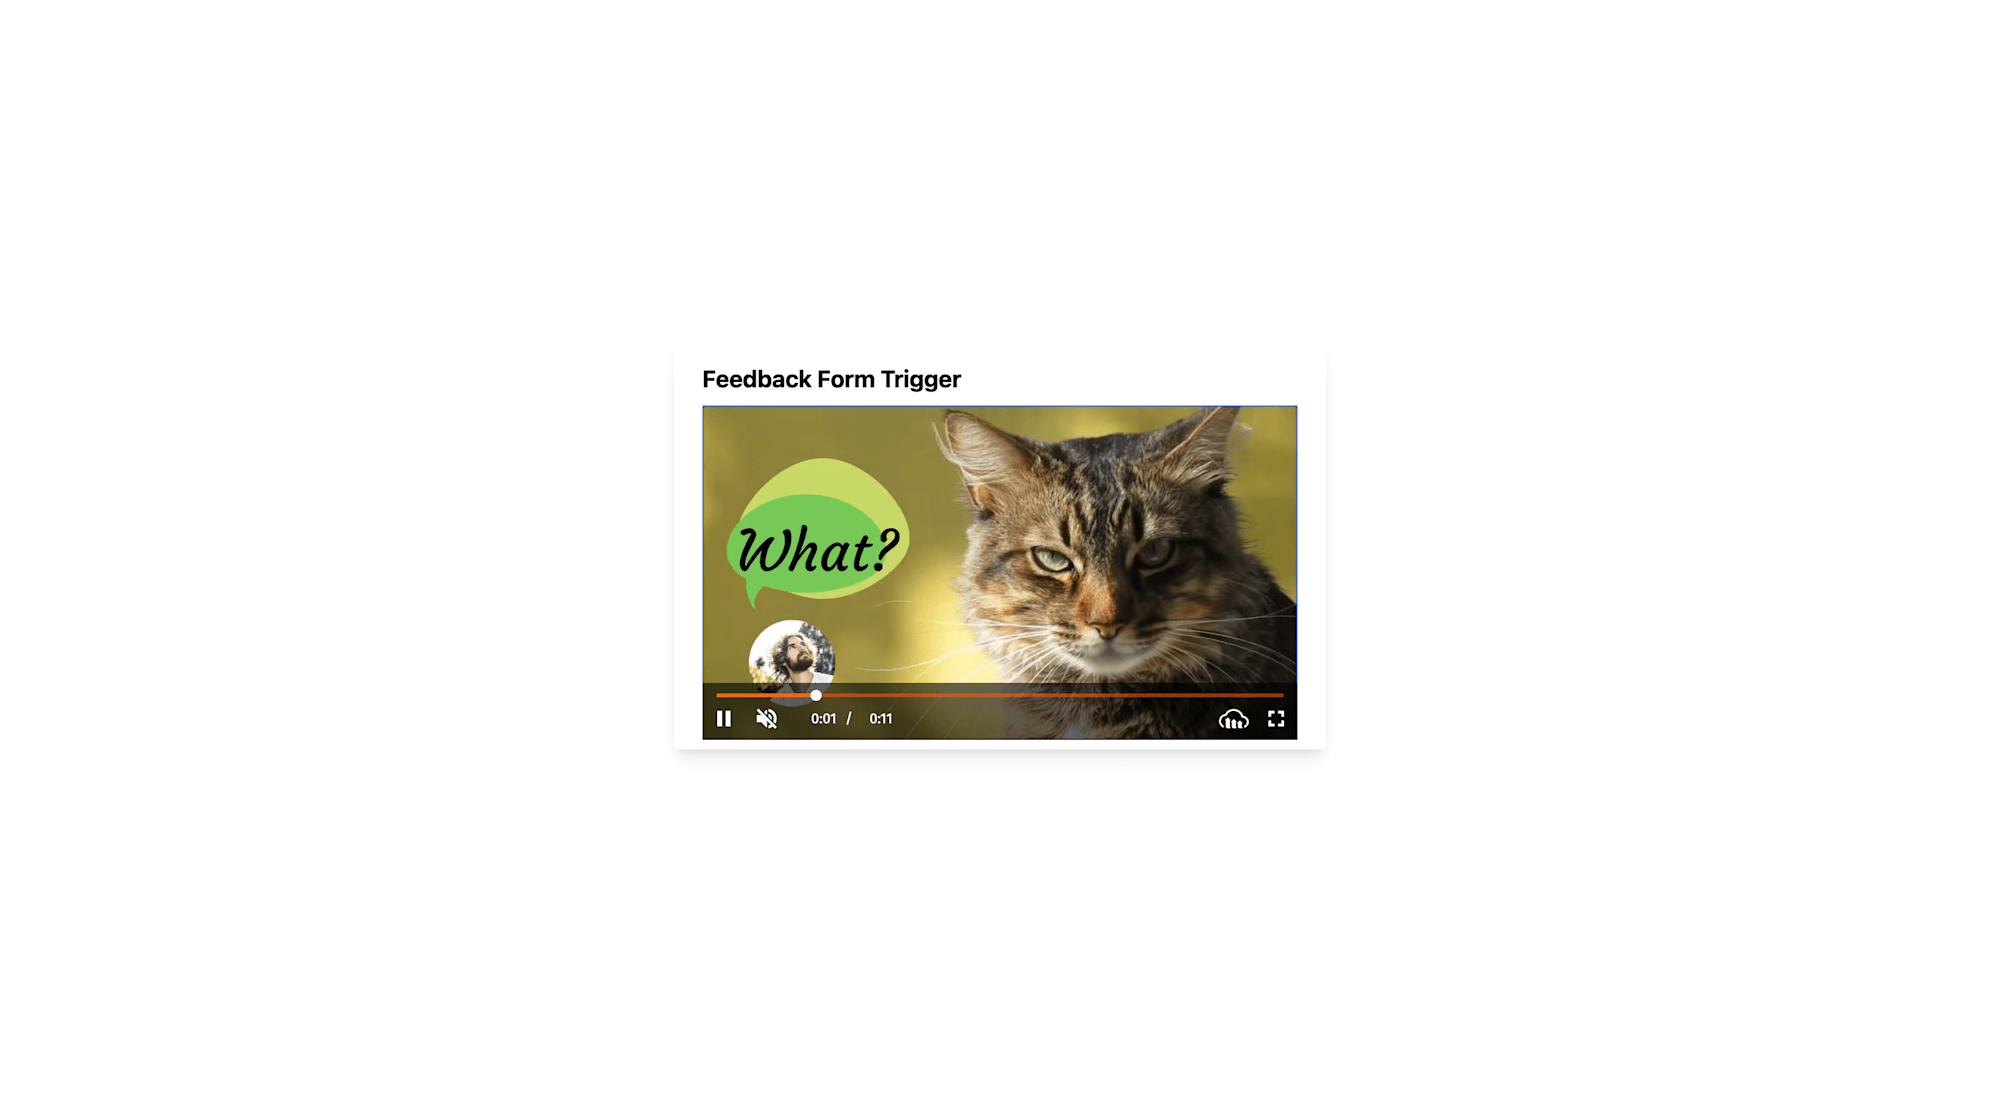
We have successfully integrated our video player, and we can set up a trigger action for when the video has ended. This is accomplished by simply adding the events to the analytics setting in the video player’s setup. The video state is then stored in the page’s state with the aid of event listeners.
Next, We will update the pages/index.vue with the code snippet below:
    <template>
      <!-- markup goes here -->
    </template>

    <script>
    export default {
      data() {
        return {
         //...
          ended: null,
        };
      },

      mounted() {
        //...
        this.player.on("ended", () => {
          this.ended = true;
        });
      },
      //...
    };
    </script>
Code language: HTML, XML (xml)
In the code snippet above, we created a state variable ended that keeps track of the event whenever our video ends.
Next, we will create a Form.vue file inside the components folder to display our feedback form with the snippet below:
    <template>
      <form class="bg-white shadow-md rounded px-8 pt-6 pb-8 mb-4">
        <div class="mb-4">
          <label class="block text-gray-700 text-sm font-bold mb-2" for="name">
            Name
          </label>
          <input
            class="shadow appearance-none border rounded w-full py-2 px-3 text-gray-700 leading-tight focus:outline-none focus:shadow-outline"
            id="name"
            type="text"
            placeholder="name"
            ref="name"
          />
        </div>
        <div class="mb-6">
          <label class="block text-gray-700 text-sm font-bold mb-2" for="feedback">
            Video Feedback
          </label>
            <textarea
          class="
            form-control
            block
            w-full
            px-3
            py-1.5
            text-base
            font-normal
            text-gray-700
            bg-white bg-clip-padding
            border border-solid border-gray-300
            rounded
            transition
            ease-in-out
            m-0
            focus:text-gray-700 focus:bg-white focus:border-blue-600 focus:outline-none
          "
          id="exampleFormControlTextarea1"
          rows="3"
          placeholder="Your message"
        ></textarea>
        </div>
        <div class="flex items-center justify-between">
          <button
            class="bg-blue-500 hover:bg-blue-700 text-white font-bold py-2 px-4 rounded focus:outline-none focus:shadow-outline"
            type="button"
            @click.prevent="getFormValues()"
          >
            Submit
          </button>
        </div>
      </form>
    </template>

    <script>
    export default {
      data() {
        return {
          name: "",
          feedback: "",
          videoEnded: "",
        };
      },
      methods: {
        getFormValues() {
          alert(`Feedback received successfully!`);
          console.log(this.$refs.name.value);
          console.log(this.$refs.feedback.value);
        },
      },
    };
    </script>
Code language: HTML, XML (xml)
Next, we update pages/index.vue by importing the Form.vue component with the following snippet below:
    <template>
      <div class="flex justify-center items-center h-screen space-x-10">
        <div class="rounded overflow-hidden shadow-lg mb-4 content-center">
          <div class="px-6 py-4 pb-2">
            <div class="font-bold text-xl mb-2">Feedback Form Trigger</div>
            <video
              id="video-player"
              controls
              autoplay
              muted
              width="500px"
              class="width-full"
            ></video>
          </div>
        </div>
        <!-- Form Added here -->
        <Form v-if="ended"></Form>
      </div>
    </template>

    <script>
    import Form from "../components/Form.vue";
      //...
      components: {
        Form,
      },
      name: "IndexPage",
    };
    </script>
Code language: HTML, XML (xml)
In the snippet above, we use the v-if="ended" attribute in the Form imported to show the feedback form when the ended variable is true.
Next, testing our application by opening a local development server, we should have something similar to what is shown below after the video ends.
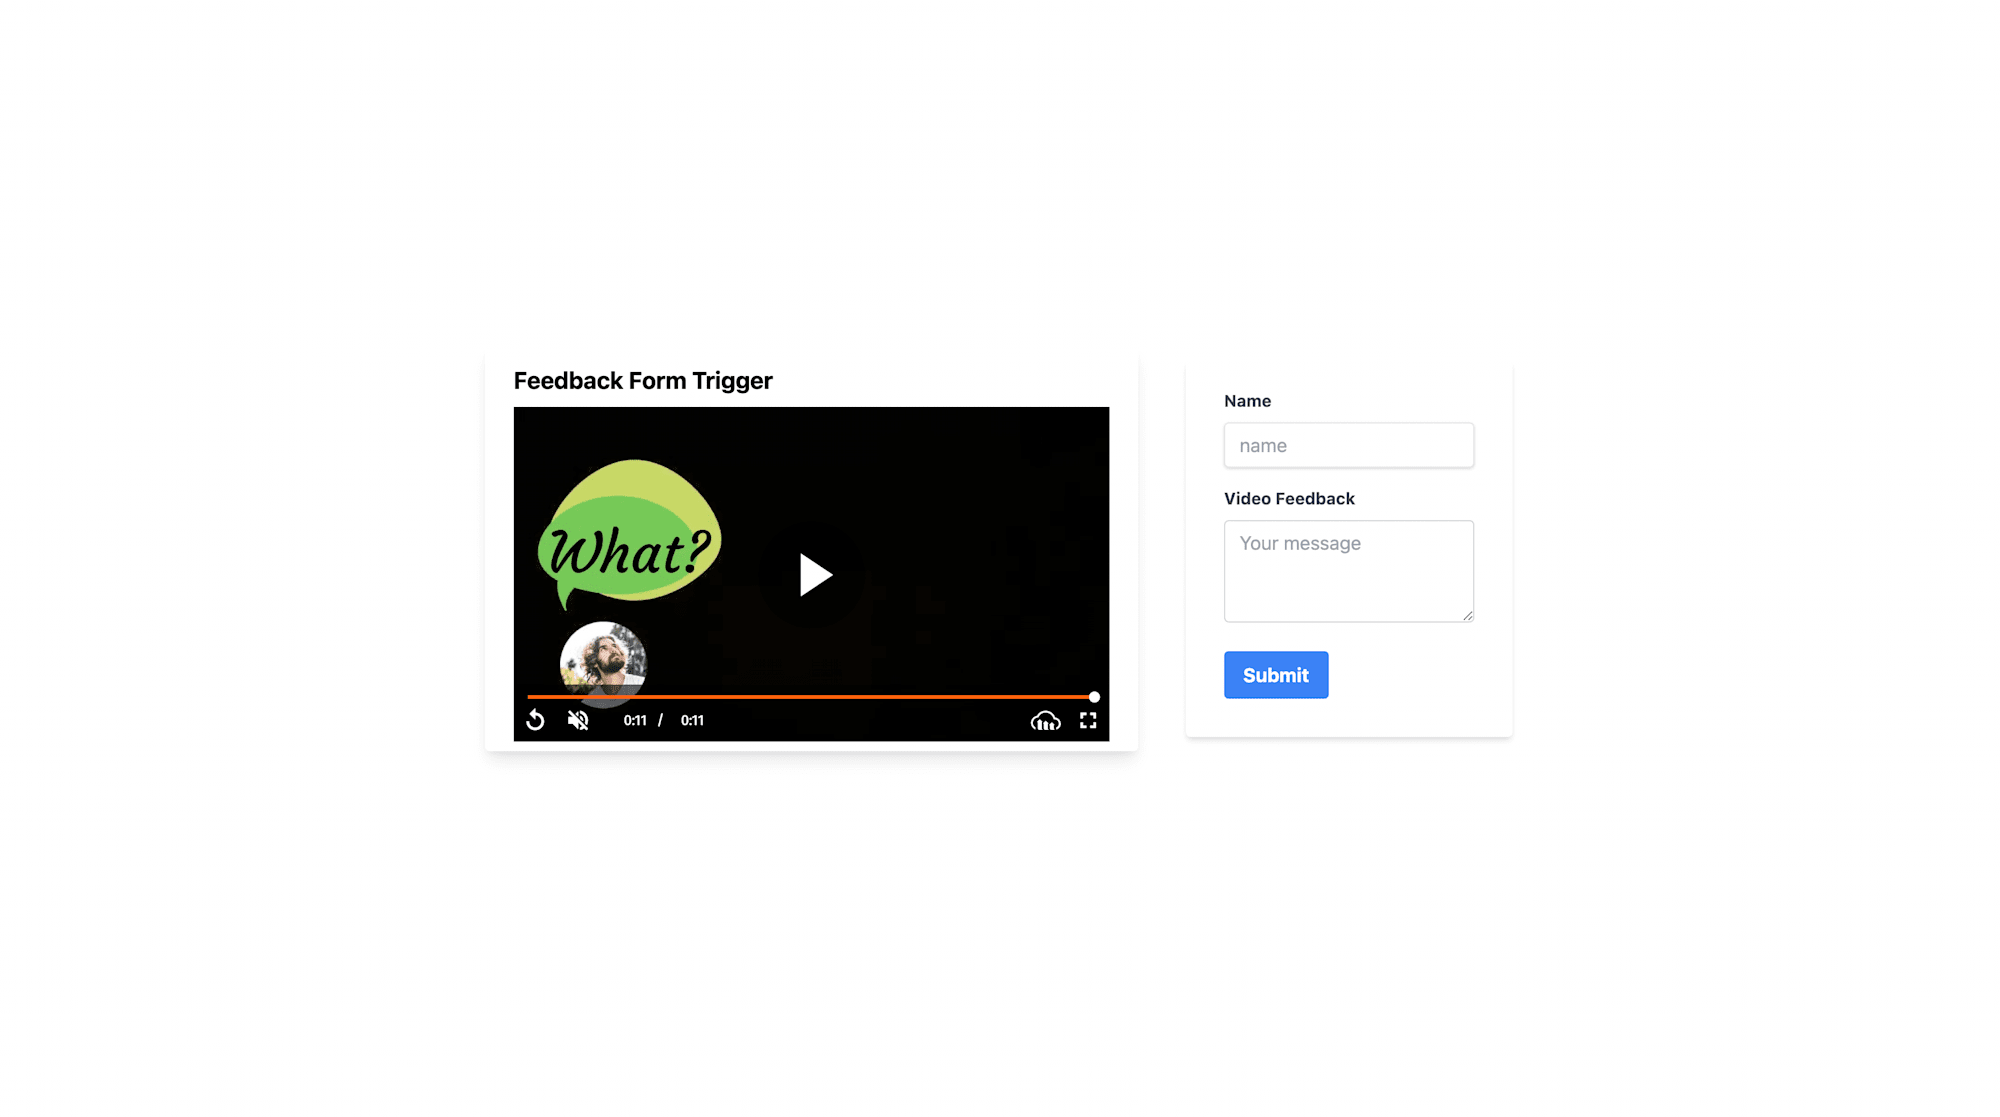
This article addressed triggering a feedback form on video Completion in Nuxt.js. Once a video has finished playing, we render a feedback form to receive the user’s input/feedback.
You may find these resources helpful.