
When displaying video on your site, adding your logo to the video makes the content look branded and more polished. In this tutorial, we’ll look at how we can automatically add our logo to a video using Cloudinary, and display it in a React component.
First, upload the video and the logo to Cloudinary. The fastest way to do this is using the Cloudinary console.
For this tutorial, we’ll use the following video:
https://res.cloudinary.com/jlengstorf/video/upload/mediajams/disappointed-coffee.mp4
And the following logo:
![]()
https://res.cloudinary.com/jlengstorf/image/upload/mediajams/logo.png
By the end of this tutorial, we’ll place the logo image at the bottom right of the video to add branding.
Before we add the logo, let’s create a React component that displays our Cloudinary video.
function Video({ cloudName, videoId, watermarkId }) {
  // set up a Cloudinary URL to use your cloud name and display video
  let videoSource = `https://res.cloudinary.com/${cloudName}/video/upload`;

  // automatically adjust the quality and set the video to 600px wide
  videoSource += "/q_auto,w_600";

  // set the publicId to display the video as an MP4
  videoSource += `/${videoId}.mp4`;

  // add the full URL to a standard HTML5 video element
  return (
    <video controls>
      <source src={videoSource} type="video/mp4" />
    </video>
  );
}
Code language: JavaScript (javascript)
The component, which we’ve named Video, accepts three values as props: cloudName, videoId, and watermarkId.
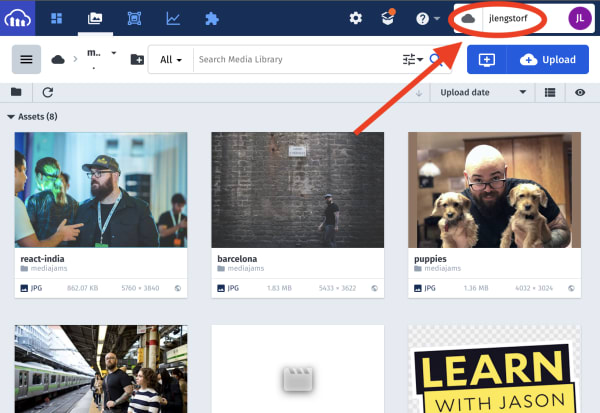
The cloudName should contain our Cloudinary cloud name, which is displayed at the top-right of the console.
The videoId will contain the video asset’s public ID, which is the name of the file on Cloudinary, including any folders. Using our example video from above, the public ID is mediajams/disappointed-coffee.
Finally, the watermarkId will contain the public ID of the logo asset. In the logo file above, the public ID is mediajams/logo.
To set up our video, we build a Cloudinary URL that contains:
- The public Cloudinary URL,
https://res.cloudinary.com/ - Our cloud name
- The asset type,
/video/upload/ - Transformations to adjust the quality automatically, and resize to 600px wide:
q_auto,w_600 - The public ID of our video
- A file type of MP4 using a file extension
Once we have the URL, we can add it as the src value in a video element, and return it from our component.
Right now, we’re not using the watermark. To add that in, we need to include an overlay to the video.
Overlays in URLs are created by setting the public ID of the asset to overlay prefixed with l_. Cloudinary uses the / character to denote groups of effects, so we need to replace all / characters in the public ID with a colon (:).
Then, using the gravity transformation, we move the image to the bottom-right corner, set its width to 100px, and nudge it 20px away from the right and bottom edges.
  function Video({ cloudName, videoId, watermarkId }) {
    // set up a Cloudinary URL to use your cloud name, and display video
    let videoSource = `https://res.cloudinary.com/${cloudName}/video/upload`;

    // automatically adjust the quality, and set the video to 600px wide
    videoSource += "/q_auto,w_600";

    // for watermarks, replace folder slashes with colons
    const watermark = `l_${watermarkId.replace("/", ":")}`;

+   // add the watermark to the bottom-right of the video,
+   // and set it to 100px wide, offset 20px from the edges
+   videoSource += `/${watermark},g_south_east,w_100,x_20,y_20`;
+
+   // set the publicId to display the video as an MP4
+   videoSource += `/${videoId}.mp4`;

    // add the full URL to a standard HTML5 video element
    return (
      <video controls>
        <source src={videoSource} type="video/mp4" />
      </video>
    );
  }
Code language: JavaScript (javascript)Now that we have our Video component ready to add a logo watermark to our videos, we can render it on screen.
In any React app, we can use the component like this:
function App() {
  return (
    <main>
      <h1>Branded Video With React & Cloudinary!</h1>
      <Video
        cloudName="jlengstorf"
        videoId="mediajams/disappointed-coffee"
        watermarkId="mediajams/logo"
      />
    </main>
  );
}
Code language: JavaScript (javascript)
Setting the cloud name, video public ID, and logo public ID will render a branded video on screen!