
Privacy is considered paramount when delivering optimal web experiences.
This post discusses how to blur human faces in images in Nuxt.js.
We completed this project in a Codesandbox. Fork and run it to quickly get started.
https://github.com/Olanetsoft/Blur-Faces-in-Images-in-Nuxt
The knowledge of JavaScript and Vue.js is needed to follow along in this tutorial. The knowledge of Nuxt.js is not required but preferred.
Nuxt.js is the bedrock of our Vue.js project, providing structure and flexibility while allowing us to scale with confidence.
It is extensible, with a robust module ecosystem and hooks engine that makes it simple to integrate our REST or GraphQL endpoints, favorite CMS, CSS frameworks, and other third-party applications.
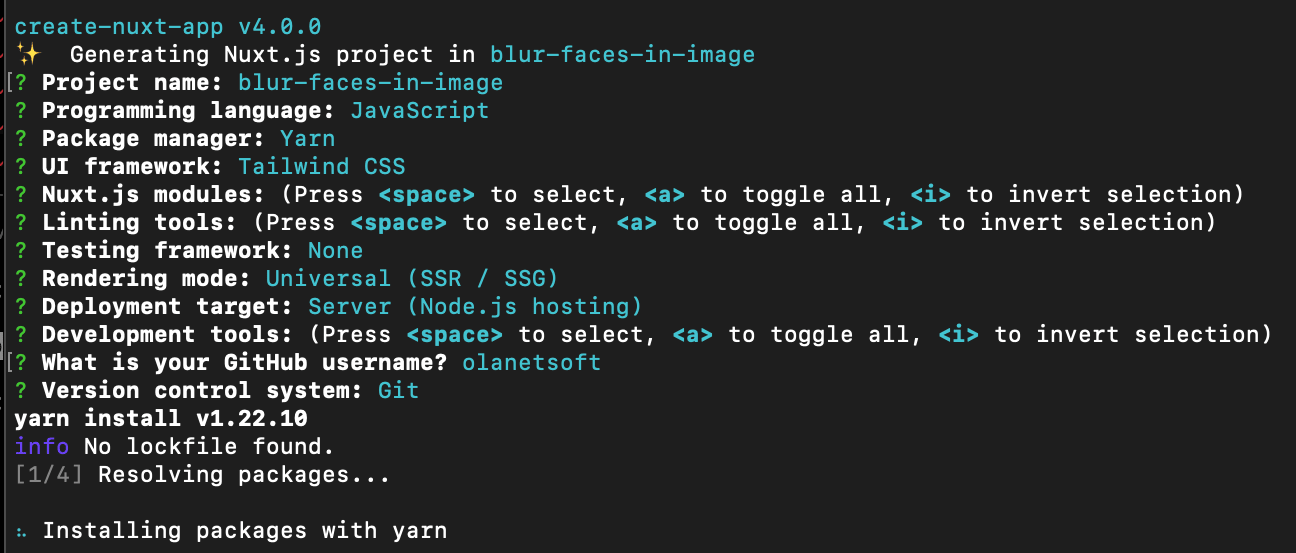
To create a new project, we will use the command below to scaffold a new project:
    npx create-nuxt-app <project-name>
Code language: HTML, XML (xml)
A series of prompts will appear as a result of the command. Here are the defaults we recommend:
Next, we need to navigate the project directory and start the development server using the command below.
    cd <project name> && yarn dev
Code language: HTML, XML (xml)
Nuxt.js will start a hot-reloading development environment accessible by default at http://localhost:3000
We proceed to install the @nuxtjs/cloudinary dependency with:
    npm install @nuxtjs/cloudinary
Code language: CSS (css)First, we need to modify the nuxt.config.js file by adding @nuxtjs/cloudinary as a module in the modules section:
    modules: [
        '@nuxtjs/cloudinary', //add this
      ],
Code language: JavaScript (javascript)
Next, we need to configure Cloudinary by adding a cloudinary section below the modules section as shown below:
    modules: [
        '@nuxtjs/cloudinary',
      ],

    // add this
    cloudinary: {
        cloudName: '<your-cloud-name>',
        useComponent: true,
    },
Code language: JavaScript (javascript)
The useComponent flag set to true lets us use the built-in Cloudinary components. Our cloud name is obtained from our Cloudinary dashboard.
With our project fully set up and configured, we can start building the image.
We’ll create a new file called BlurImage``s``.vue in the components folder and update it with the code snippet below.
    <template>
      <div
        class="relative flex items-top justify-center min-h-screen bg-gray-100 sm:items-center sm:pt-0"
      >
        <div class="max-w-4xl mx-auto sm:px-6 lg:px-8">
          <h1
            class="text-center mt-10 text-3xl leading-9 font-extrabold text-gray-900"
          >
            Blur Faces in Images in Nuxt
          </h1>
          <div class="mt-8 bg-white overflow-hidden shadow sm:rounded-lg p-6">
          </div>
          <div class="mt-8 bg-white overflow-hidden shadow sm:rounded-lg p-6">
          </div>
          <div class="mt-8 bg-white overflow-hidden shadow sm:rounded-lg p-6">
          </div>
        </div>
      </div>
    </template>
    <script>
    export default {
      name: "BlurImages",
    };
    </script>
Code language: HTML, XML (xml)
Next, we will import the BlurImage``s component into the pages/index.vue file with the code snippet below.
<template>
<BlurImages/>
</template>
<script>
export default {
name: 'IndexPage'
}
</script>
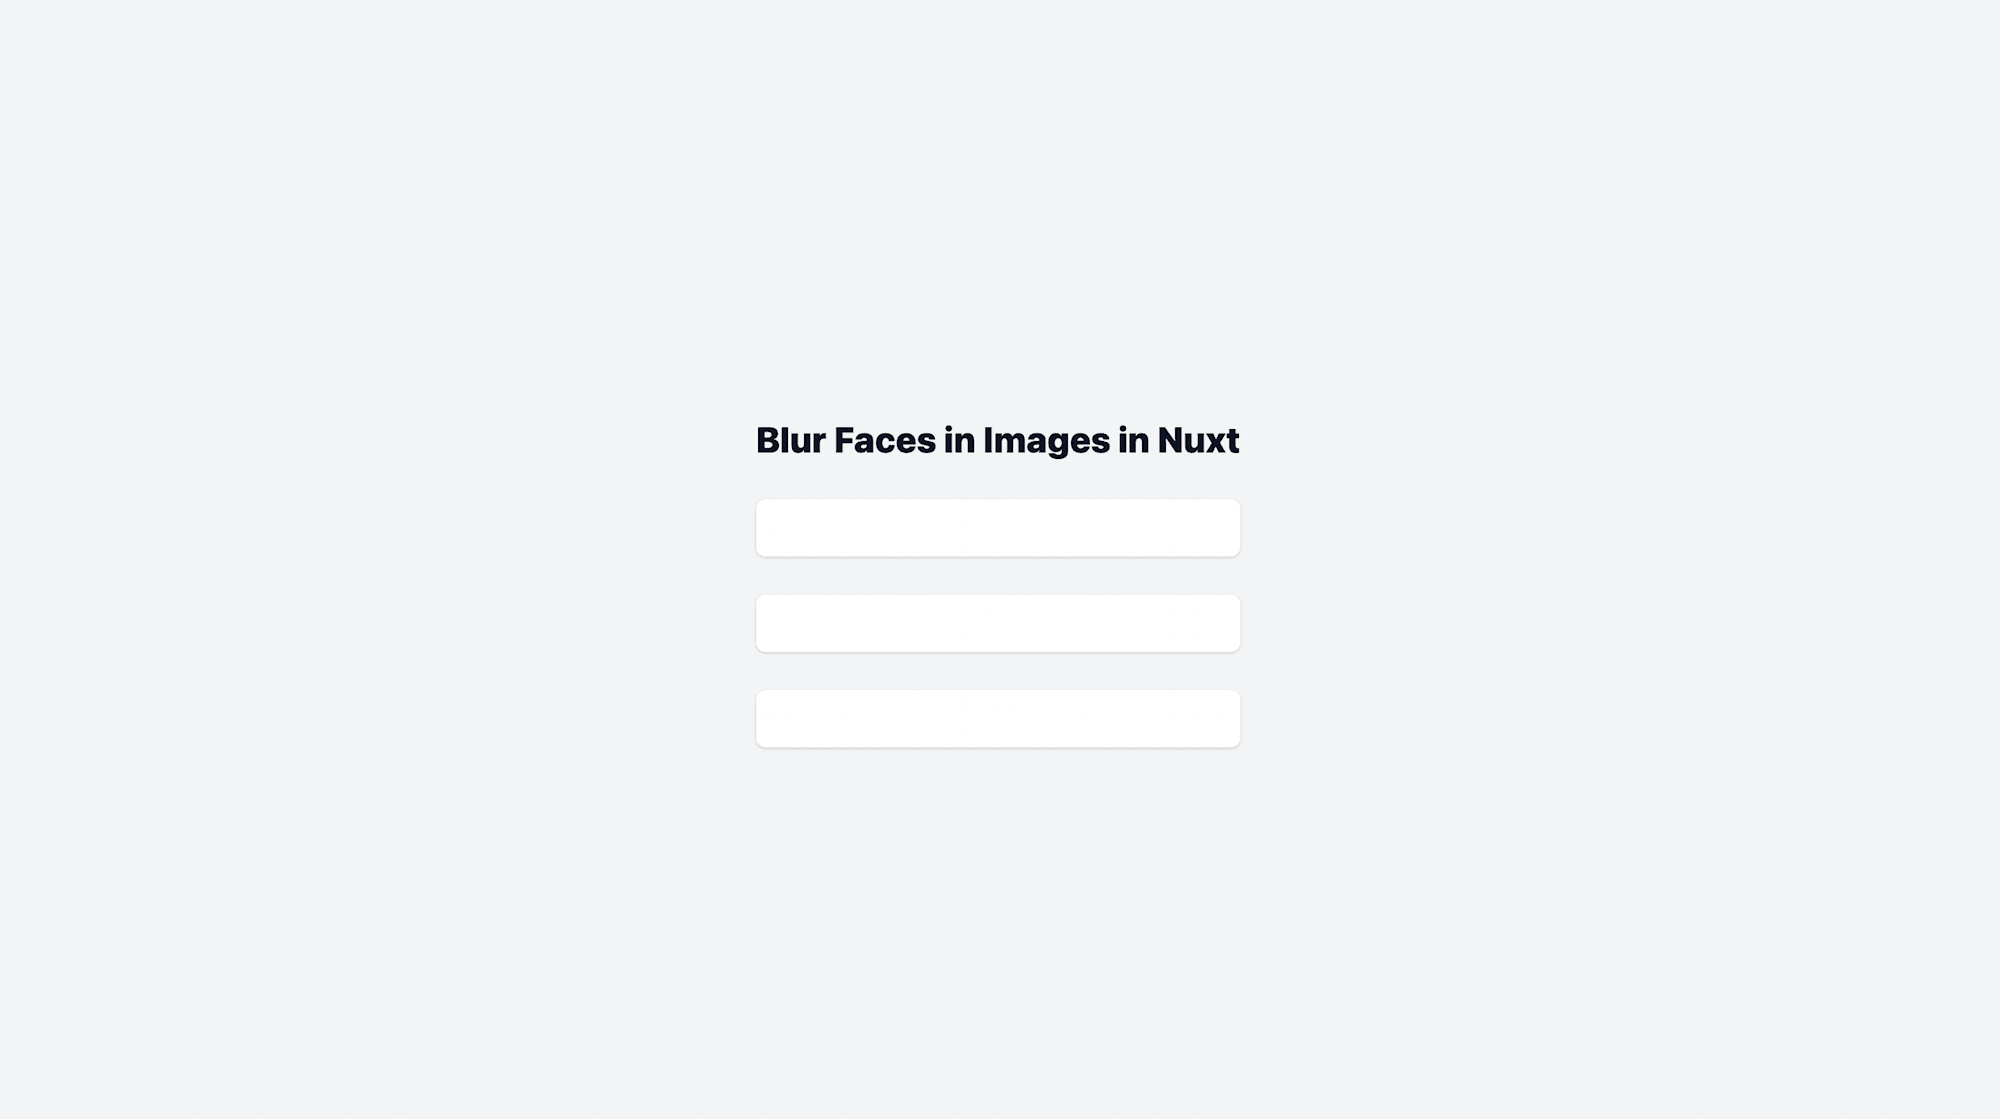
Code language: HTML, XML (xml)Let’s open our browser, and we should see something similar to the image below.
Then we will update the components/BlurImage``s``.vue component by rendering images using the Cloudinary image component.
    <template>
      <div
        class="relative flex items-top justify-center min-h-screen bg-gray-100 sm:items-center sm:pt-0"
      >
        <div class="max-w-4xl mx-auto sm:px-6 lg:px-8">
          <h1
            class="text-center mt-10 text-3xl leading-9 font-extrabold text-gray-900"
          >
            Blur Faces in Images in Nuxt
          </h1>
          <div class="mt-8 bg-white overflow-hidden shadow sm:rounded-lg p-6">
            <cld-image public-id="/samples/people/group-picture-3.jpg">
              <cld-transformation effect="pixelate_faces" />
            </cld-image>
          </div>
          <div class="mt-8 bg-white overflow-hidden shadow sm:rounded-lg p-6">
            <cld-image public-id="/samples/people/group-picture.jpg">
              <cld-transformation effect="pixelate_faces:9" />
            </cld-image>
          </div>
          <div class="mt-8 bg-white overflow-hidden shadow sm:rounded-lg p-6">
            <cld-image public-id="/samples/people/group-picture-2.jpg">
              <cld-transformation effect="pixelate_faces:5" />
            </cld-image>
          </div>
        </div>
      </div>
    </template>
    <script>
    export default {
      name: "BlurImages",
    };
    </script>
Code language: HTML, XML (xml)
In the code snippet above, we:
- Utilize the
cld-imagecomponent from Cloudinary - Apply the ****
pixelate_faceseffect to hide the faces of the people in the original image - Apply the ****
pixelate_faces:9effect to slightly obscure the faces of the people in the original image - Apply the ****
pixelate_faces:5impact to hide the faces of the people in the original image
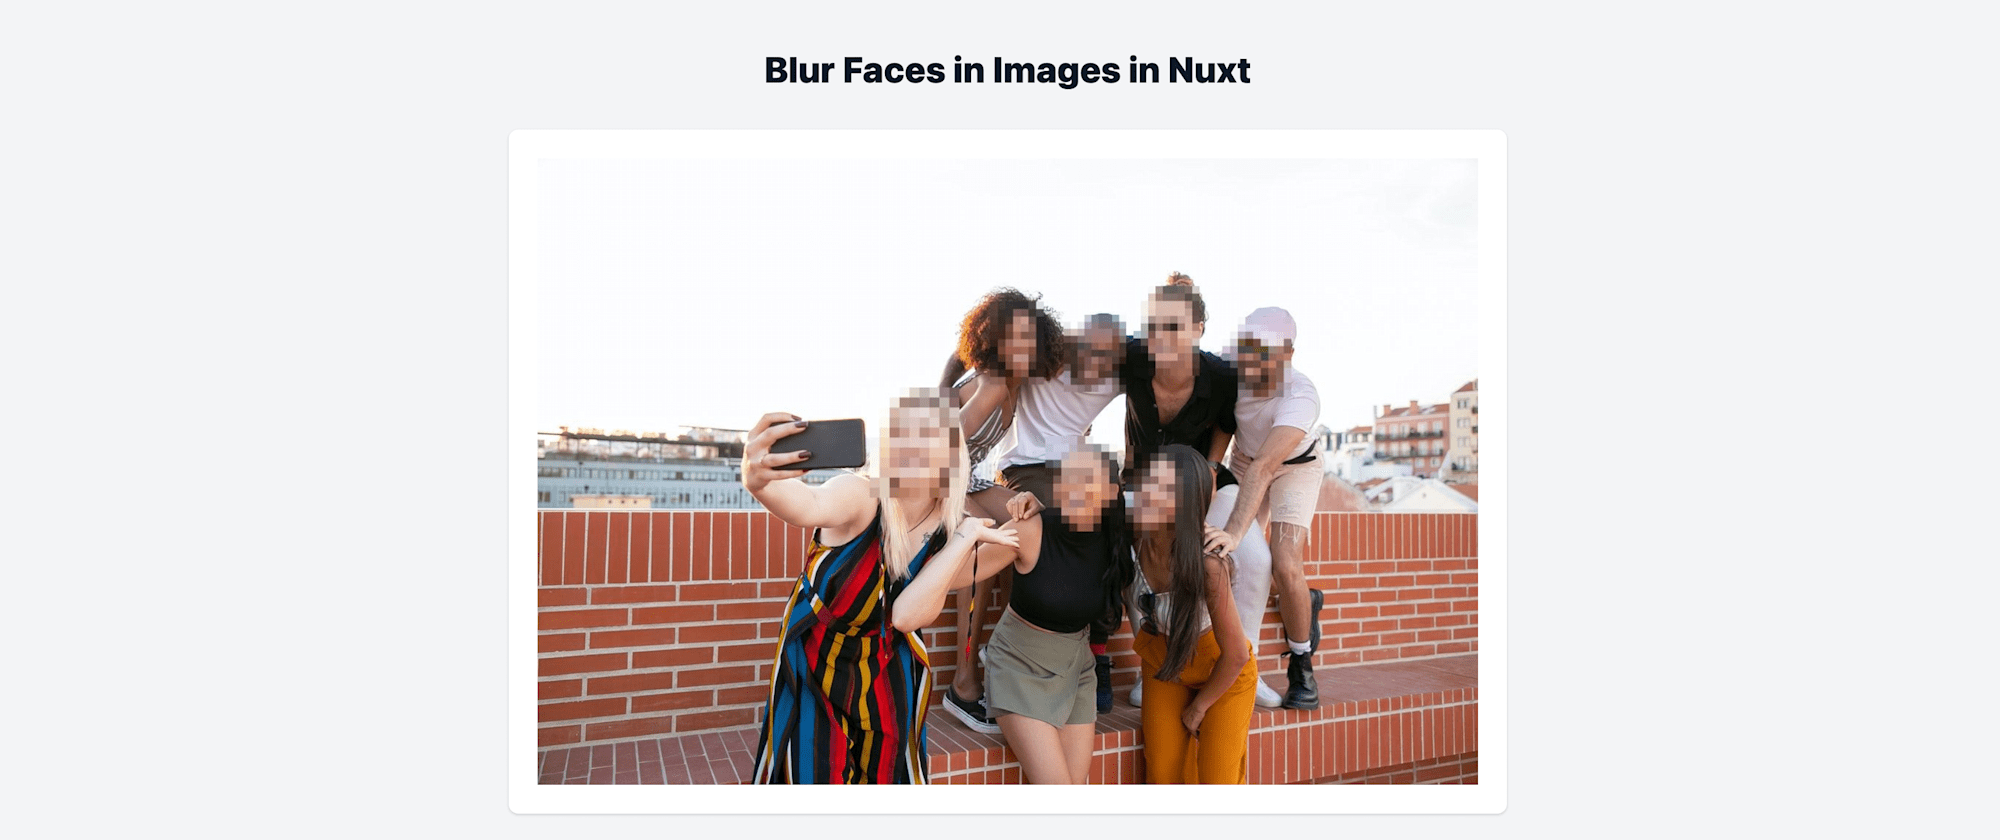
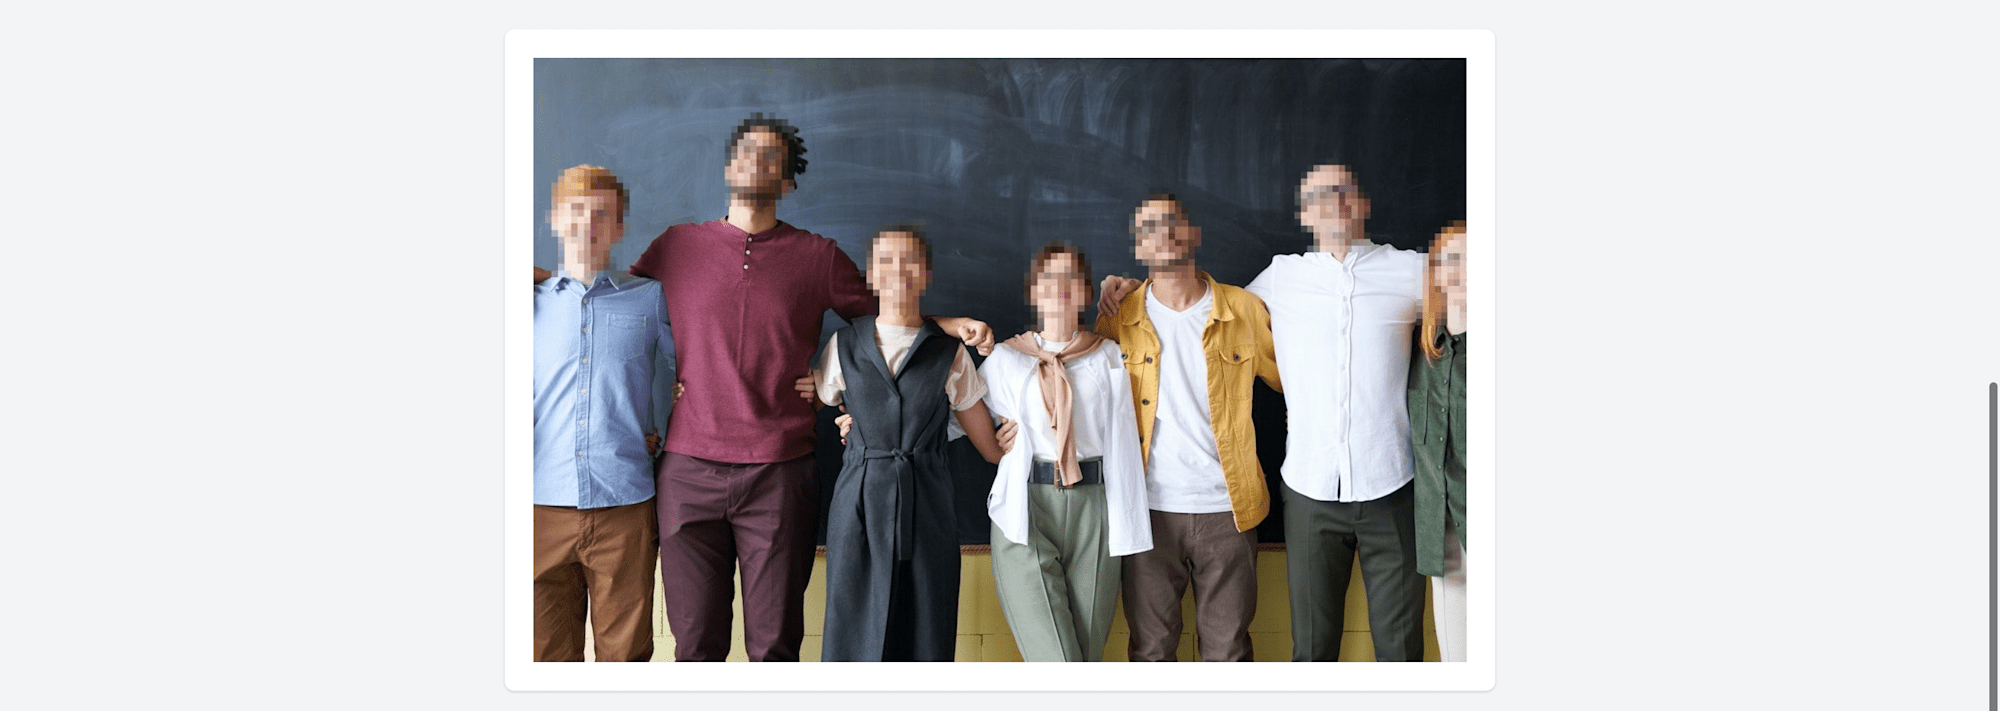
Finally, after testing our application, we should get something similar to what we have below for individual images.

This article addressed Blur Faces in Images in Nuxt.js.
We may find these resources helpful.