
The HTML5 video player code specification was introduced via the <video> element, which can be used to embed video content into web pages, and it is well supported across modern browsers. In this post, you’ll learn how to embed an HTML5 video player and define an HTML video custom controls that are independent of the browser defaults.
There’s a link to the demo in the CodeSandbox tool below so you can open it and play around on your own.
Run the following command to create three files, index.html, style.css, and script.js, in a folder called custom-video-player.
mkdir custom-video-player
cd custom-video-player
touch index.html style.css script.js
Code language: CSS (css)
To embed an HTML video player into our application, let’s add the following to our index.html file:
<!DOCTYPE html>
<html lang="en">
<head>
<meta charset="UTF-8" />
<meta name="viewport" content="width=device-width, initial-scale=1.0" />
<title>Custom HTML5 Video Player</title>
<link rel="stylesheet" href="style.css" />
</head>
<body>
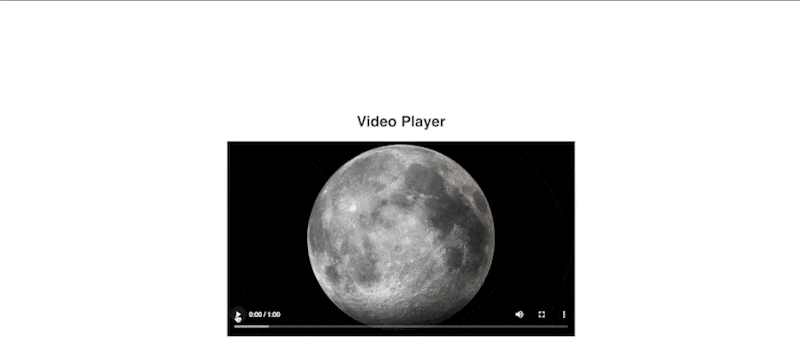
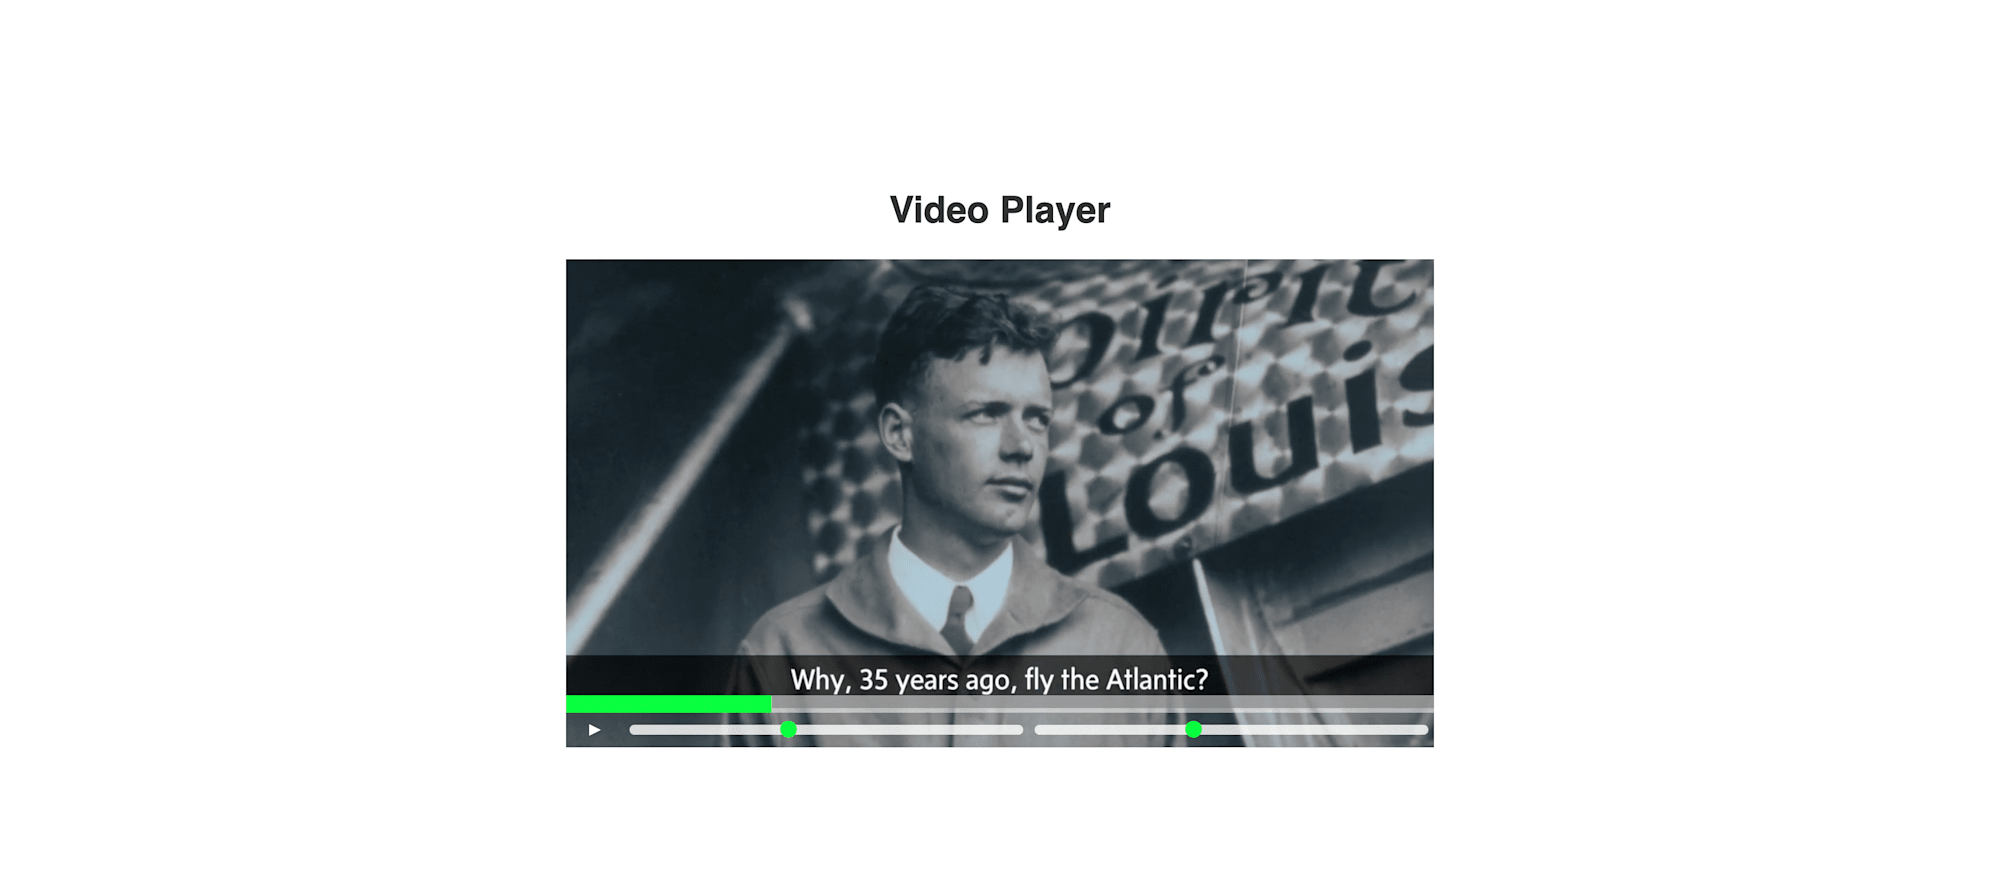
<h1>Video Player</h1>
<div class="video-player">
<video class="video" controls>
<source
src="https://res.cloudinary.com/ifeomaimoh/video/upload/v1650567487/speech_ofvfzq.mp4"
type="video/mp4"
/>
<source
src="https://res.cloudinary.com/ifeomaimoh/video/upload/v1650567487/speech_ofvfzq.mp4"
type="video/webm"
/>
<p>Your browser doesn't support HTML5 video.</p>
</video>
</div>
<script src="script.js"></script>
</body>
</html>
Code language: HTML, XML (xml)In the code above, we rendered the video> element. You can either add a video from your local computer to the src attribute or go with the default Cloudinary link used in the code. The HTML5 player specification currently supports three video formats, but we used multiple <source> tags to make two formats of the same video available in MP4 and WebM. In addition, we specified predefined content to be displayed for user agents that do not support the video element.
The video tag also accepts several optional native attributes, such as controls, which display the standard HTML5 player controls interface when specified or set to true. Click here to find out more about other attributes.
Before we continue, let’s add some styles to give our app a decent look. Populate your style.css file with styles from this CodeSandbox link. If you preview the page in your browser, you should see the embedded video player as seen below:
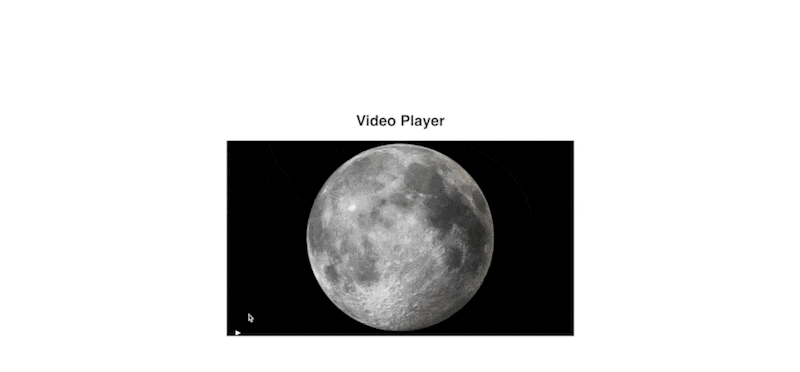
Before customizing the video player code, we need to remove the controls attribute, which displays video controls such as Play, Pause, etc., and then build our custom controls. Update the <video> element in your index.html file as shown below:
<video class="video">
  <source
    src="https://res.cloudinary.com/ifeomaimoh/video/upload/v1650352188/production.mp4"
    type="video/mp4"
  />
  <source
    src="https://res.cloudinary.com/ifeomaimoh/video/upload/v1650352188/production.mp4"
    type="video/webm"
  />
  <p>Your browser doesn't support HTML5 video.</p>
</video>
Code language: HTML, XML (xml)
If you check your browser, you should see a non-interactive player.
To add the pause and play functionality to our player, let’s update our index.html file with the following:
<div class="video-player">
  <video class="video">//...</video>
  <div class="controls">
    <button class="controls__button toggleButton" title="Toggle Play">►</button>
  </div>
</div>
Code language: HTML, XML (xml)
In order to add some interactivity to your JavaScript video player, add the following to your script.js file.
const video = document.querySelector(".video");
const toggleButton = document.querySelector(".toggleButton");
function togglePlay() {
  if (video.paused || video.ended) {
    video.play();
  } else {
    video.pause();
  }
}
function updateToggleButton() {
  toggleButton.innerHTML = video.paused ? "►" : "❚❚";
}
toggleButton.addEventListener("click", togglePlay);
video.addEventListener("click", togglePlay);
video.addEventListener("play", updateToggleButton);
video.addEventListener("pause", updateToggleButton);
Code language: JavaScript (javascript)
We started by selecting the video element, which gives access to the video attributes and methods. We then selected the button element and added an event listener to it that triggers the togglePlay function when clicked. The togglePlay function executes a condition that toggles playing or pausing the video based on its current state.
Next, we added a play and pause event listener to the video element that calls the updateToggleButton function, which updates based on the video’s state.
After that, you should be able to pause and play the video by clicking on the button or the video itself.
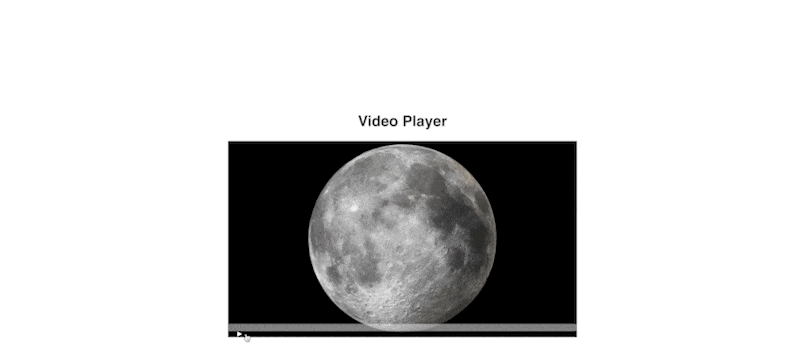
To add a progress bar that updates the video when played, update your index.html file with the following:
<h1>Video Player</h1>
<div class="video-player">
  //...
  <div class="controls">
    <div class="progress">
      <div class="progress__filled"></div>
    </div>
    <button class="controls__button toggleButton" title="Toggle Play">►</button>
  </div>
</div>
Code language: HTML, XML (xml)
To make your JavaScript video player progress bar interactive, Update your script.js file to look like this:
const video = document.querySelector(".video");
const toggleButton = document.querySelector(".toggleButton");
const progress = document.querySelector(".progress");
const progressBar = document.querySelector(".progress__filled");

function togglePlay() {
  if (video.paused || video.ended) {
    video.play();
  } else {
    video.pause();
  }
}

function updateToggleButton() {
  toggleButton.innerHTML = video.paused ? "►" : "❚ ❚";
}

function handleProgress() {
  const progressPercentage = (video.currentTime / video.duration) * 100;
  progressBar.style.flexBasis = `${progressPercentage}%`;
}

function scrub(e) {
  const scrubTime = (e.offsetX / progress.offsetWidth) * video.duration;
  video.currentTime = scrubTime;
}

toggleButton.addEventListener("click", togglePlay);
video.addEventListener("click", togglePlay);
video.addEventListener("play", updateToggleButton);
video.addEventListener("pause", updateToggleButton);

video.addEventListener("timeupdate", handleProgress);
progress.addEventListener("click", scrub);
let mousedown = false;
progress.addEventListener("mousedown", () => (mousedown = true));
progress.addEventListener("mousemove", (e) => mousedown && scrub(e));
progress.addEventListener("mouseup", () => (mousedown = false));
Code language: JavaScript (javascript)
We selected the progress bar DOM element and added an event listener to the video object that executes the handleProgress function on timeupdate. The handleProgress function calculates the percentage of the video’s current time relative to its total duration and then updates the style as the video progresses.
We also added a scrub function to scrub the video to a specific point in relation to the progress bar.
Save the changes and preview the app in your browser to see the updated state of the video player.
To add custom sliders that will be used to manage the volume and playback rate states, update your index.html file with the following:
<div class="video-player">
  <video class="video">//...</video>
</div>
<div class="controls">
  <div class="progress">
    <div class="progress__filled"></div>
  </div>
  <button class="controls__button toggleButton" title="Toggle Play">►</button>

  // Add these
  <input
    type="range"
    name="volume"
    class="controls__slider"
    min="0"
    max="1"
    step="0.05"
    value="1"
  />
  <input
    type="range"
    name="playbackRate"
    class="controls__slider"
    min="0.5"
    max="2"
    step="0.1"
    value="1"
  />
</div>
Code language: HTML, XML (xml)
We added two input tags with a type of range with a predefined min and max value for the volume and playback rate, respectively.
Now update your script.js file with the following code to make the sliders functional:
const video = document.querySelector(".video");
const toggleButton = document.querySelector(".toggleButton");
const progress = document.querySelector(".progress");
const progressBar = document.querySelector(".progress__filled");
// Add this
const sliders = document.querySelectorAll(".contols__slider");
function togglePlay() {
  //...
}
function updateToggleButton() {
  //...
}
function handleProgress() {
  //...
}
function scrub(e) {
  //...
}
function handleSliderUpdate() {
  video[this.name] = this.value;
}
//...
sliders.forEach((slider) => {
  slider.addEventListener("change", handleSliderUpdate);
});
Code language: JavaScript (javascript)
We selected the slider elements and attached an event listener to each of them that triggers the handleSliderUpdate function. This function uses the slider’s name and value attributes to define the slider’s state.
If you preview the page in your browser, you should see the sliders.
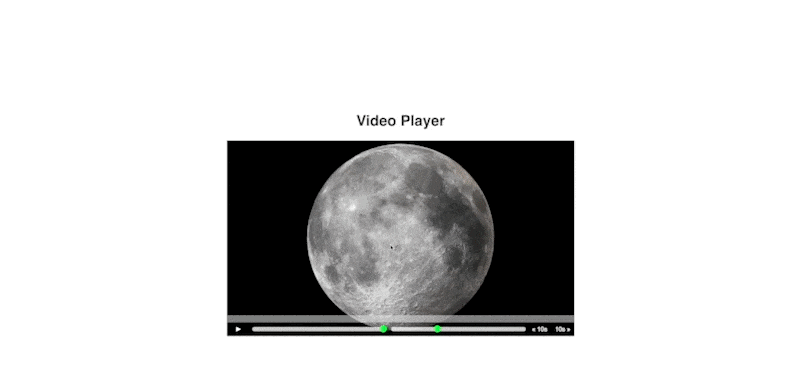
Add the following to your index.html file:
<div class="video-player">//...</div>
<div class="controls">
  <div class="progress">
    <div class="progress__filled"></div>
  </div>
  <button class="controls__button toggleButton" title="Toggle Play">►</button>
  <input //... /> <input //... />

  <!-- Add these -->
  <button class="controls__button" data-skip="-10">« 10s</button>
  <button class="controls__button" data-skip="25">10s »</button>
</div>
Code language: JavaScript (javascript)
We added two buttons with data attributes that will be accessed with JavaScript. To make the buttons functional, update your script.js file with the following:
//...

// Add this
const skipBtns = document.querySelectorAll("[data-skip]");
//...
function handleSliderUpdate() {
  video[this.name] = this.value;
}

// Add this
function handleSkip() {
  video.currentTime += +this.dataset.skip;
}
//...

// Add this
skipBtns.forEach((btn) => {
  btn.addEventListener("click", handleSkip);
});

let mousedown = false;
progress.addEventListener("click", scrub);
progress.addEventListener("mousedown", () => (mousedown = true));
progress.addEventListener("mousemove", (e) => mousedown && scrub(e));
progress.addEventListener("mouseup", () => (mousedown = false));
Code language: JavaScript (javascript)
We selected our buttons using the querySelectorAll method and added a listener to each button that calls the handleSkip function on click. This function then updates the video’s current time based on the value specified in the data attribute.
We can take advantage of the default keyboard keydown event to customize the video player further. To add a keyboard shortcut to the application, add this to the bottom of your script.js file.
document.addEventListener("keydown", (e) => {
  if (e.code === "Space") togglePlay();
});
Code language: JavaScript (javascript)
To keep things simple, we added just a keyboard shortcut that toggles play when the space key on the keyboard is pressed. You can log the event object to the console to see other properties.
Find the project here on GitHub.
So far, we’ve looked at the default HTML5 video element and how to create custom video player controls for it, but you don’t have to stop here. Discover how Cloudinary gives you a powerful suite of video tools to help you build beautiful, expertly customized videos and more.
Resources you may find helpful:

