
Blogs are public websites or spaces to express thoughts through text, audio, pictures, or video. When a blog’s content is primarily in video form, it is referred to as a video blog or sometimes a “vlog”. In this article, you will learn how to build a video blog in Nuxtjs.
Nuxtjs is a Vue framework that enables you to build server-rendered apps quickly. It comes with several handy features such as automatic file system routing, data fetching capabilities, and a rich ecosystem of modules.
We’ll use Cloudinary, a visual media platform to store and deliver the videos on the blog.
Click the link below to view a complete demo of this article on CodeSandbox
To view the source code on GitHub, click here.
To follow this article, you’ll need the following:
- Knowledge of JavaScript and Vuejs.
- A Cloudinary account for your blog videos – Create a free one here.
- Yarn package manager installed on your computer to handle the node packages used in this project. You’ll need to install Nodejs first, which comes with npm.
- Knowing Nuxtjs isn’t a strict requirement, but it’ll be nice to have.
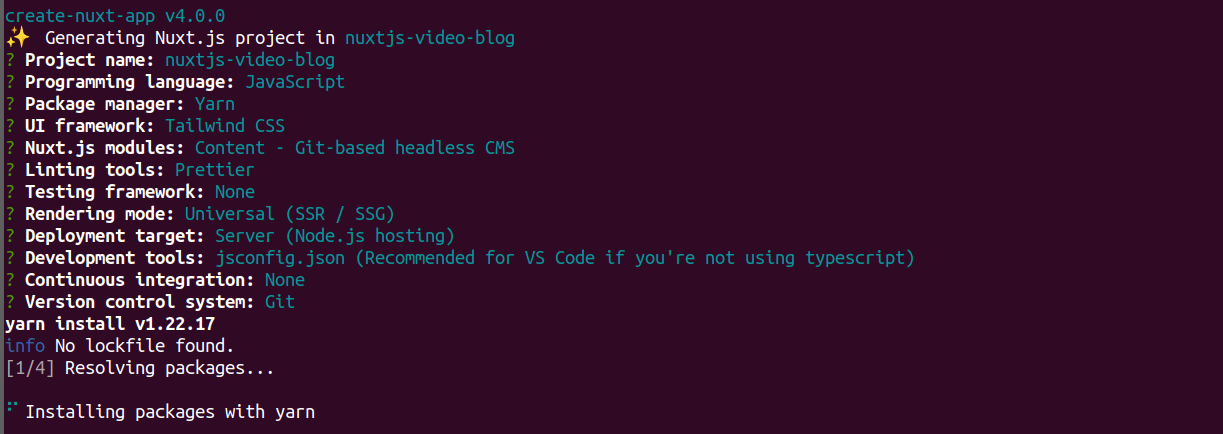
In your terminal, navigate to the directory where you want to store your project and initialize it using the command create-nuxt-app:
npx create-nuxt-app nuxtjs-video-blog
Read, respond to the prompts and select your preferred options. However, ensure you select “Content – Git-based headless CMS” for Nuxt.js modules. Here’s what a setup using “TailwindCSS” looks like:
Content – Git-based headless CMS uses @nuxt/content module to create content for your Nuxtjs blog.
It creates a content/ directory where you create blog posts in Markdown documents, and subsequently render the posts in HTML and Vue components.
With the project’s successful set up, move into the directory and open it with your preferred code editor. Here we use VS Code.
cd nuxt-video-blog && code .
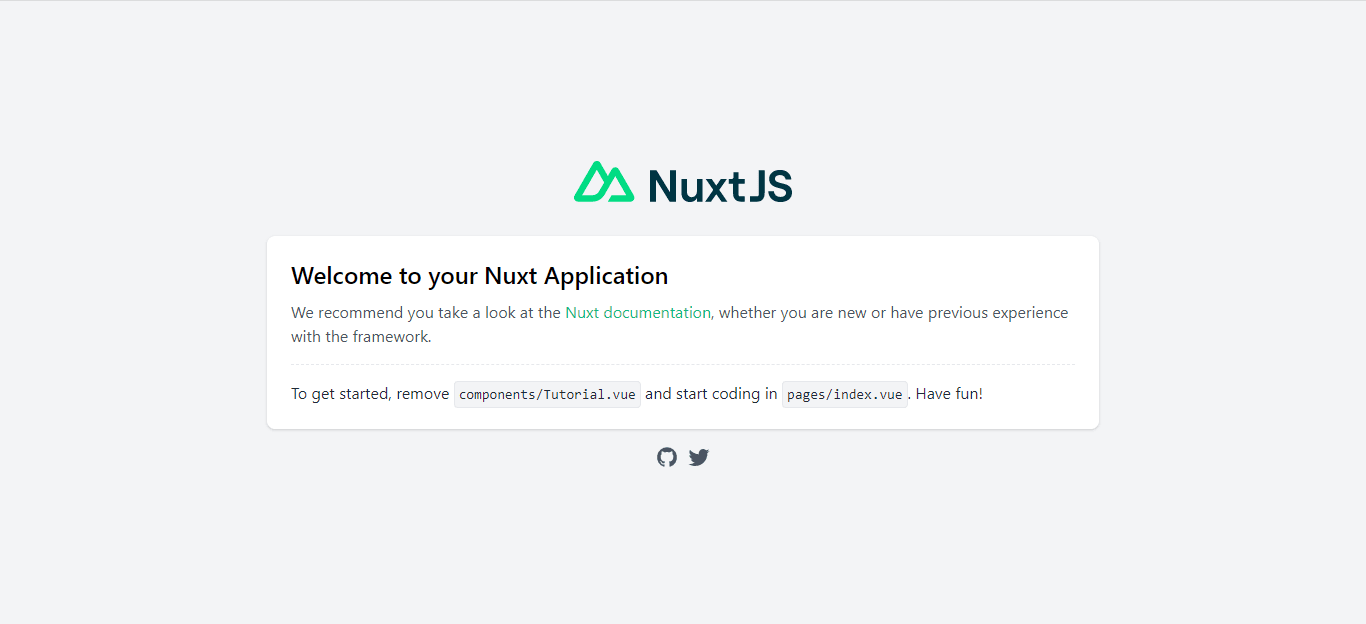
In the terminal, run yarn dev or npm run dev to start the a development server on localhost:3000.
When you create a new Nuxt project with @nuxt/content, you will find a hello.md file inside its content/ folder. Open it to view:
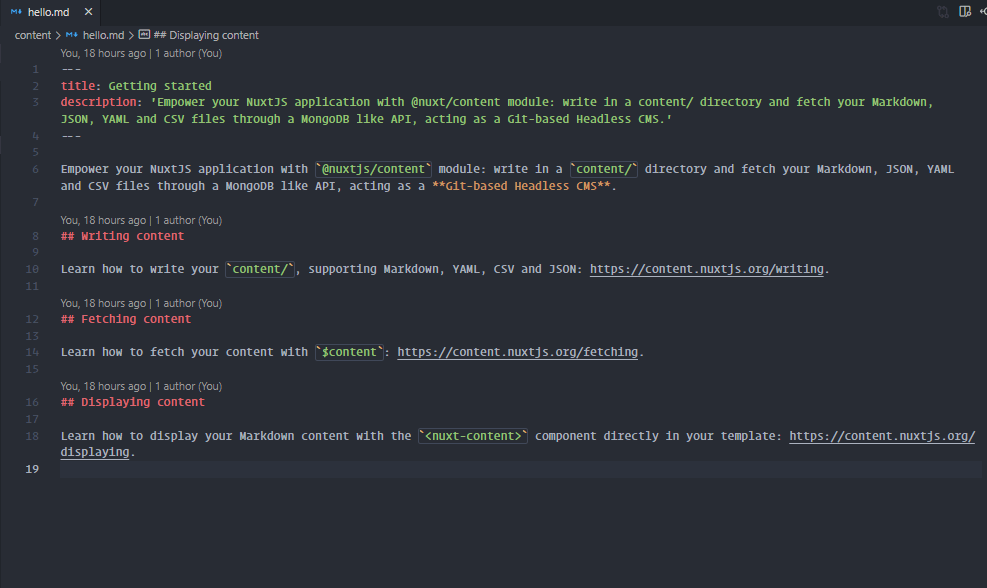
The text in-between the triple-dashes (---) at the top of the file is called frontmatter. It stores some data about your post. Below the frontmatter, you will see the blog’s main content in Markdown format.
In your content/ directory, create a new Markdown file for your first blog post and name it first-post.md, then set up its frontmatter and content like this:
---
title: My first video blog post
description: 'A nice video for my first blog post'
publishDate: 'Jan 25, 2022'
author: 'Divine Orji'
tags:
  - Digital Marketing
  - Social Media
---
## Hello
Welcome to my first video blog post. Tap the video to view its content. Thanks!
Create as many markdown files as you want, and fill them with content. For this article, we will create two more files and delete hello.md leaving the content/ file directory like this:
├── content
|  ├── first-post.md
|  ├── second-post.md
|  └── third-post.md
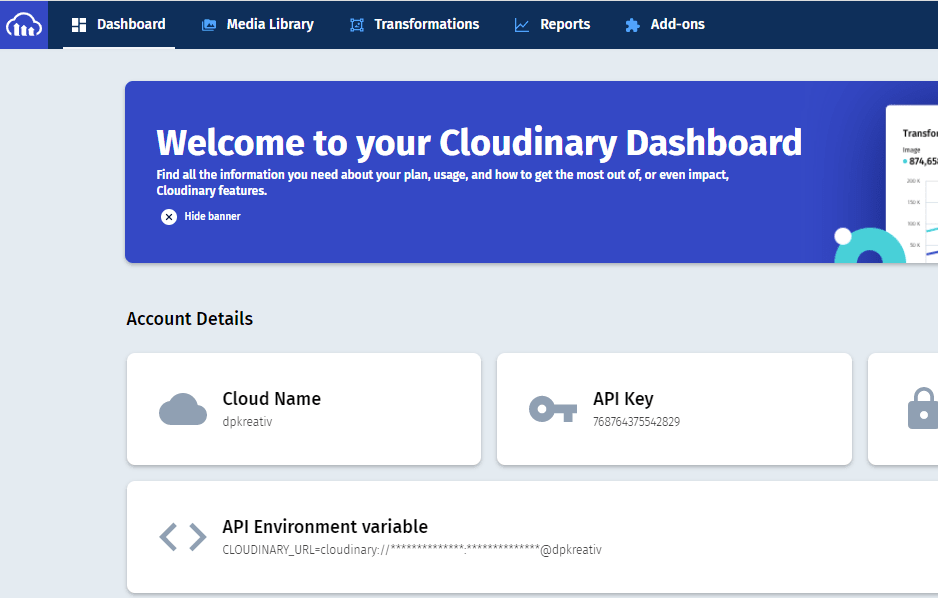
In your browser, head over to cloudinary.com/console and log in to access your Cloudinary dashboard.
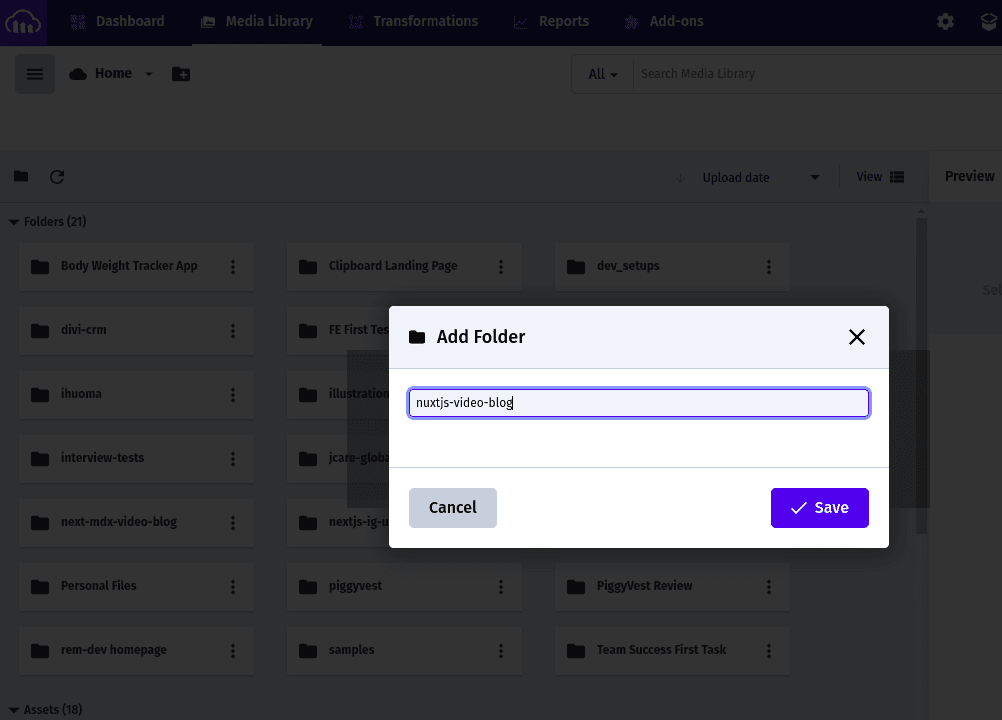
Click on the “Media Library” tab and create a new folder named nuxtjs-video-blog. Here, you would store all your blog’s video content.
Open your nuxtjs-video-blog folder on Cloudinary, and upload the videos you would like to use for your blog.
Here are the videos used for this blog:
In your nuxt-video-blog folder on Cloudinary, hover over the video you want to add to your blog and click on the URL icon to copy its link:

In your code editor, open the md file of the blog post you want to add your video and update its frontmatter with a video property like this:
---
title: My first video blog post
description: 'A nice video for my first blog post'
video: https://res.cloudinary.com/dpkreativ/video/upload/v1644204126/nuxtjs-video-blog/first-post_pon18t.mp4
publishDate: 'Jan 25, 2022'
author: 'Divine Orji'
tags:
  - Digital Marketing
  - Social Media
---
To serve your users an optimized version of the video content, tweak your video URL by adding q_auto:eco/ in-between upload/ and v1643684496/. This tells Cloudinary to serve a video with its quality in economy mode.
Your video parameter will now look like this:
https://res.cloudinary.com/dpkreativ/video/upload/q_auto:eco/v1644204126/nuxtjs-video-blog/first-post_pon18t.mp4
Update your blog post’s frontmatter with a thumbnail to display a snapshot of the video as a preview. To do this is, copy the video URL and change .mp4 to .jpg like this:
---
title: My first video blog post
description: 'A nice video for my first blog post'
thumbnail: https://res.cloudinary.com/dpkreativ/video/upload/q_auto:eco/v1644204126/nuxtjs-video-blog/first-post_pon18t.jpg
video: https://res.cloudinary.com/dpkreativ/video/upload/q_auto:eco/v1644204126/nuxtjs-video-blog/first-post_pon18t.mp4
publishDate: 'Jan 25, 2022'
author: 'Divine Orji'
tags:
  - Digital Marketing
  - Social Media
---
Using Nuxt’s asyncData hook, you can fetch and display data about your blog on your homepage.
In your code editor, navigate to pages/index.vue and update <script> section with the code below:
<script>
export default {
  name: 'IndexPage',
  async asyncData({ $content }) {
    const posts = await $content()
      .only(['title', 'thumbnail', 'tags', 'slug'])
      .sortBy('createdAt', 'desc')
      .fetch()
    console.log('posts', posts)
    return {
      posts,
    }
  },
}
</script>
Here, asyncData gets each post’s title, thumbnail, tags, and slug, sorts the posts based on their creation time and returns the fetched data.
On your browser, refresh the localhost:3000 tab, and take a look at your console. You will see the data for all your blog posts:

Still in pages/index.vue, update <template> with some markup to display the fetched data using the code below:
<template>
  <main>
    <section>
      <h1 class="font-bold text-center text-5xl">My Nuxt Video Blog</h1>
    </section>
    <section v-for="post in posts" :key="post.title">
      <h2 class="font-semibold text-xl">{{ post.title }}</h2>
    </section>
  </main>
</template>
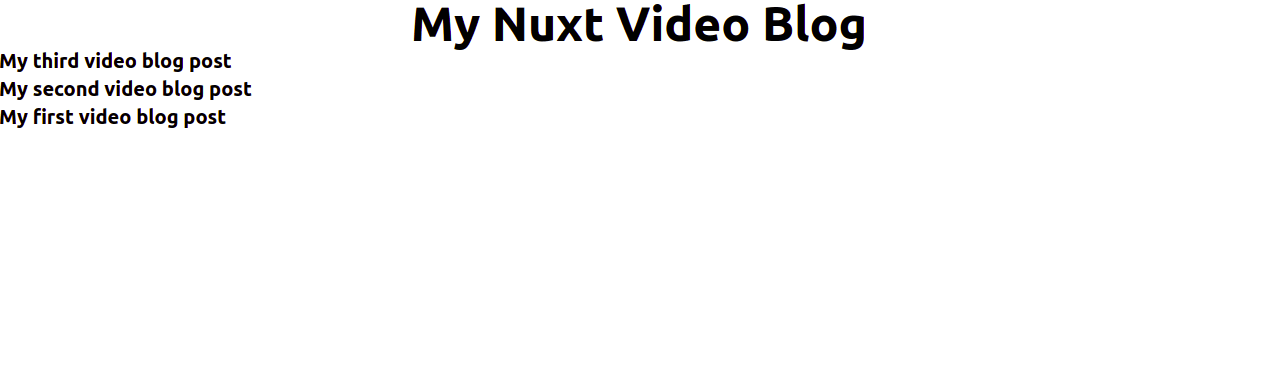
In this code, v-for="post in posts" will loop through your posts array, select each post.title and display it as an h2 element. On your browser, localhost:3000 will look like this:
In your components/ directory, create a PostPreview.vue file, and paste in the code below:
<template>
  <div>
    <a :href="`/blog/${post.slug}`">
      <div class="w-full max-w-sm h-64 overflow-hidden rounded-lg">
        <img
          :src="post.thumbnail"
          alt="blogpost preview"
          class="object-cover w-full h-full"
        />
      </div>
      <ul v-if="post.tags" class="flex space-x-3 mt-2">
        <li v-for="tag in post.tags" :key="tag">{{ tag }}</li>
      </ul>
      <h2 class="font-semibold text-xl mt-2">{{ post.title }}</h2>
    </a>
  </div>
</template>
<script>
export default {
  props: {
    post: Object,
  },
}
</script>
In this code:
- You created a
postprop, and used it as a placeholder for the data you want to display in your PostPreview component. -
<a :href=``"```/blog/${post.slug}“>` will be used to create dynamic routes.
In your pages/index.vue file, update <template> with the PostPreview component:
<template>
  <main>
    <section class="py-5">
      <h1 class="font-bold text-center text-5xl">My Nuxt Video Blog</h1>
    </section>
    <section class="p-5 grid gap-5 md:grid-cols-2 lg:grid-cols-3">
      <PostPreview
        v-for="post in posts"
        :key="post.slug"
        :post="post"
      ></PostPreview>
    </section>
  </main>
</template>
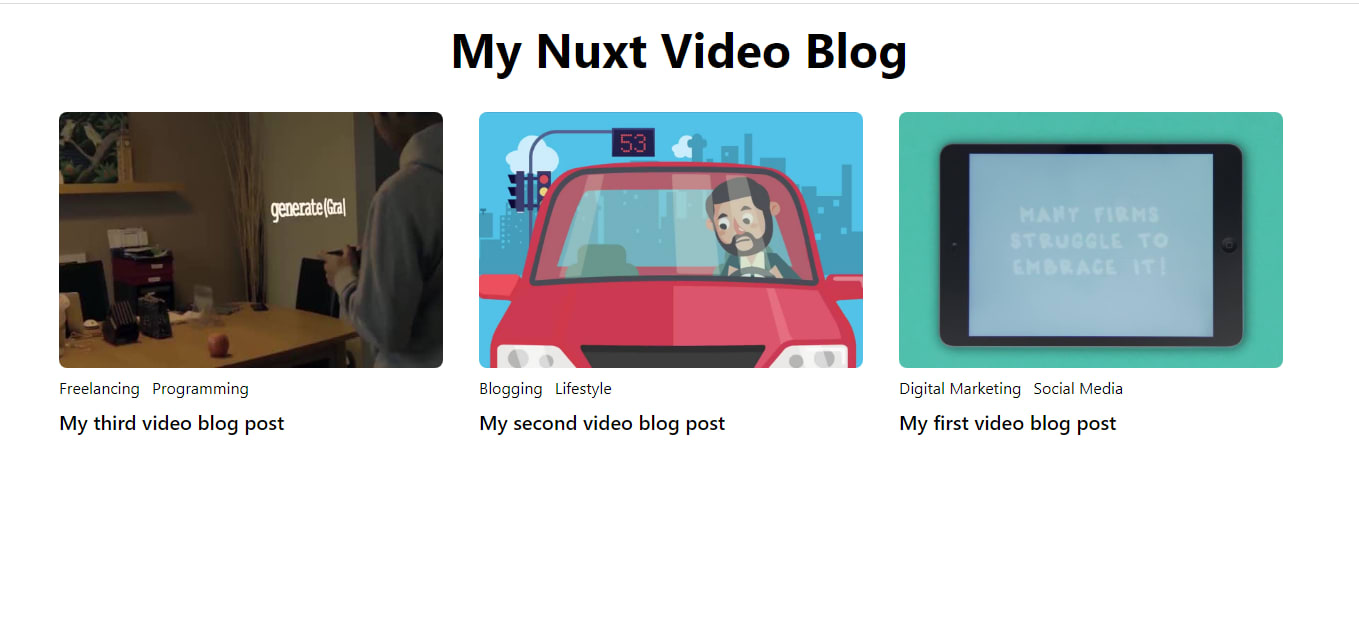
In the code above, you used the :post prop to pass in each post object in your posts array. At this point, your blog’s homepage should look like this:
Right now, when you click on any of your post previews, it will display a 404 page. To fix that, create a page that will dynamically display the contents of each blog post based on its route. In pages/, create a blog/ folder with a _slug.vue file and add the following content to the file:
<template>
  <h1>{{ post.title }}</h1>
</template>
<script>
export default {
  async asyncData({ $content, params }) {
    const post = await $content(params.slug).fetch()
    return { post }
  },
}
</script>
In this code:
-
asyncDatafetches the$contentof a blog post based on the parameters specified in the URL and returns it as apostobject. -
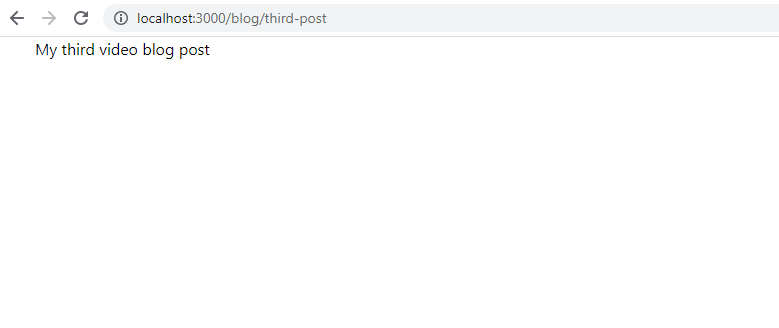
<h1>{{ post.title }}</h1>shows the post’s title on the page.
Now when you click a post preview link, it will display this:
Right now, your blog looks unpolished. You can use Nuxt Layouts feature to set up its layout. In your project’s root directory, create a layouts/ folder and add a default.vue file to it with the following code:
<template>
  <div class="w-screen min-h-screen">
    <div class="w-full max-w-6xl mx-auto">
      <Nuxt />
    </div>
  </div>
</template>
Restart your server in your terminal for this layout to take effect.
In blog/_slug.vue, update <template> with more content from your blog post:
<template>
  <div class="py-20">
    <section class="px-5">
      <NuxtLink to="/" href="/" class="py-2 text-gray-500 flex items-center">
        <svg width="20" height="20" viewBox="0 0 24 24" fill="none">
          <path
            d="M5.83 11L8.41 8.41L7 7L2 12L7 17L8.41 15.59L5.83 13H22V11H5.83Z"
            fill="currentColor"
          />
        </svg>
        <div class="ml-1">Go back</div>
      </NuxtLink>
      <div class="mt-5">
        <video controls class="w-full" preload="metadata">
          <source :src="post.video" type="video/mp4" />
          <p>Your browser doesn't support HTML5 video.</p>
        </video>
      </div>
      <h1 class="mt-5 font-bold text-3xl">{{ post.title }}</h1>
      <ul v-if="post.tags" class="flex space-x-3 mt-2">
        <li
          v-for="tag in post.tags"
          :key="tag"
          class="px-2 py-1 bg-green-400 text-white text-xs"
        >
          {{ tag }}
        </li>
      </ul>
      <p class="text-gray-500 mt-2 text-sm">{{ post.description }}</p>
      <p class="mt-2 text-gray-500">{{ post.publishDate }}</p>
      <h2 class="mt-2 font-semibold">{{ post.author }}</h2>
    </section>
    <section class="my-5 px-5">
      <nuxt-content :document="post" />
    </section>
  </div>
</template>
In the code above:
- You used HTML elements with TailwindCSS classes to set up how a browser will display the blog’s content.
-
<NuxtLink>is a built-in component in Nuxtjs that enables you to navigate between pages in your app. -
<video>is an element in HTML5 that enables you to embed videos from different sources using a URL. It contains the<source>element with:src="post.video"– the video URL in the frontmatter. -
<nuxt-content>is used to display the markdown content of your blog post.
Your blog post page will look like this:

In this article, you learned how to create a video blog in Nuxtjs with content from Cloudinary. You can take this further by learning how to improve your blog’s SEO using metadata or even build a complete website around your blog.
- Nuxt – Create a blog with Nuxt Content
- Building your own blog with Nuxt Content and TailwindCSS
-
<video>: The Video Embed element – HTML: HyperText Markup Language | MDN - An analysis of video blogs