
Depending on the type of experience we aim for, normal videos might not be adequate for our users. We might need additional interactivity in our videos for a better experience. Let us explore how we can achieve this in an easy way.
Check the sandbox demo on Codesandbox.
You can also get the project GitHub repo using Github.
To be able to follow along with this tutorial, working knowledge of HTML, CSS and JavaScript is required. Vue.Js knowledge is a plus but is not required.
For this tutorial, we will be using Nuxt. Js, a performant and simple-to-use Vue.Js framework. To get started ensure you have Yarn or NPM v5.2+/v6.1+ installed. Open the terminal in your preferred working directory and run the following command.
yarn create nuxt-app nuxtjs-interactive-videos
# OR
npx create-nuxt-app nuxtjs-interactive-videos
# OR
npm init nuxt-app nuxtjs-interactive-videos
Code language: PHP (php)
The above command will lead to a set of setup questions. Here are the settings we used and recommend.

Once the setup is complete, you may now enter and run your project.
cd nuxtjs-interactive-videos

yarn dev
# OR
npm run dev
Code language: PHP (php)
This will run your project on localhost:3000.
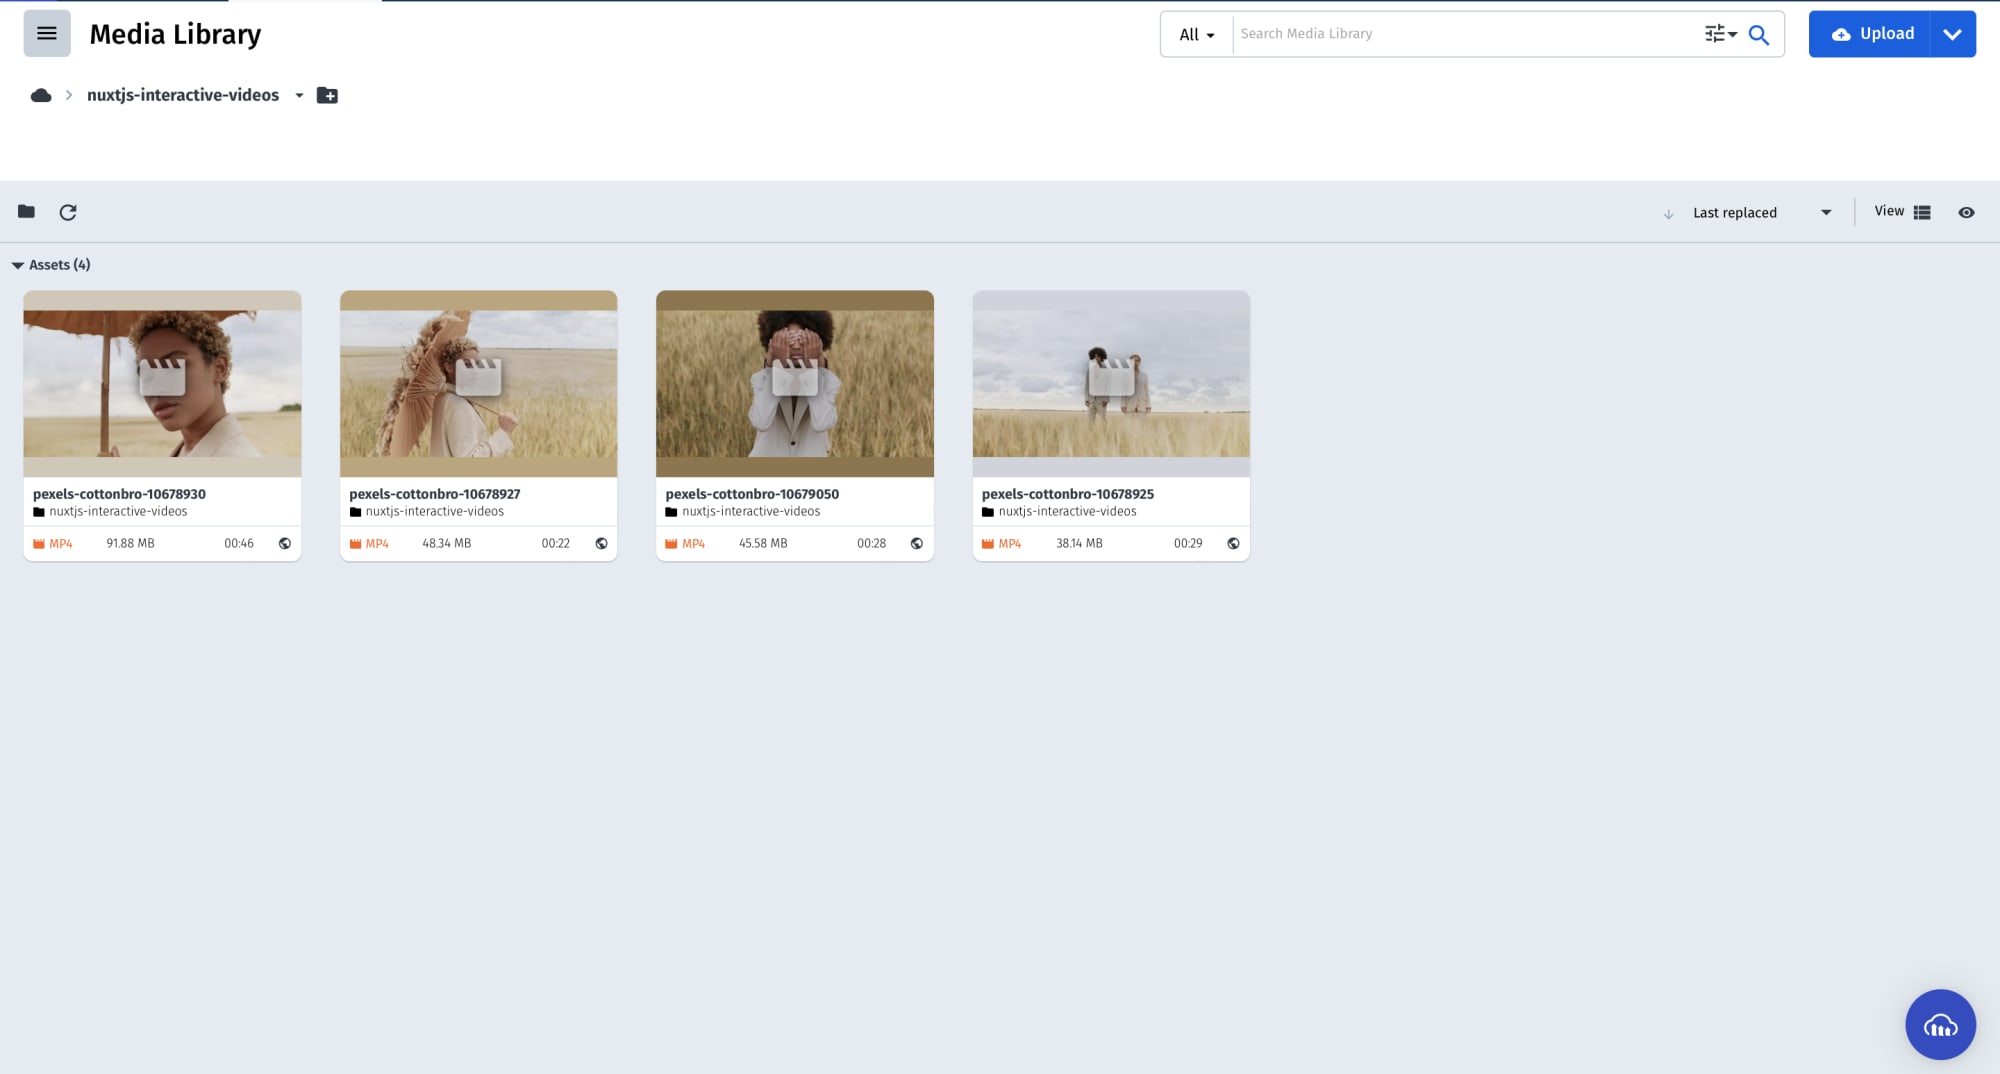
Once the app is complete, we need to log in and upload some videos on Cloudinary. Cloudinary is a media-management platform that allows us to make the most of our assets through its comprehensive set of SDKs and APIs.
If you do not have an account, register here. Once registered, and logged in, navigate to your media library and create a folder called nuxtjs-interactive-videos. In this folder, upload the following videos:
- pexels-cottonbro-10678930
- pexels-cottonbro-10678927
- pexels-cottonbro-10679050
- pexels-cottonbro-10678925
You should have a resultant folder that looks similar to this one:
We now need to add a reference to our account into our codebase. Proceed to your dashboard and copy your account’s cloud-name.
<!-- .env -->
NUXT_ENV_CLOUDINARY_CLOUD_NAME=<your-account-cloud-name>
Code language: HTML, XML (xml)
We are now ready to add videos to our codebase.
Now that our codebase and our Cloudinary account are both ready, we can now add a video player to our codebase. First, let us add the required source files to our code. Add the following to the head section of the nuxt.config.js file.
// nuxt.config.js
export default {
head: {
...
link: [
...
{ rel: 'stylesheet', href: 'https://unpkg.com/cloudinary-video-player@1.9.0/dist/cld-video-player.min.css' }
],
script: [
{ src: 'https://unpkg.com/cloudinary-core@latest/cloudinary-core-shrinkwrap.min.js' },
{ src: 'https://unpkg.com/cloudinary-video-player@1.9.0/dist/cld-video-player.min.js' },
],
}
...
}
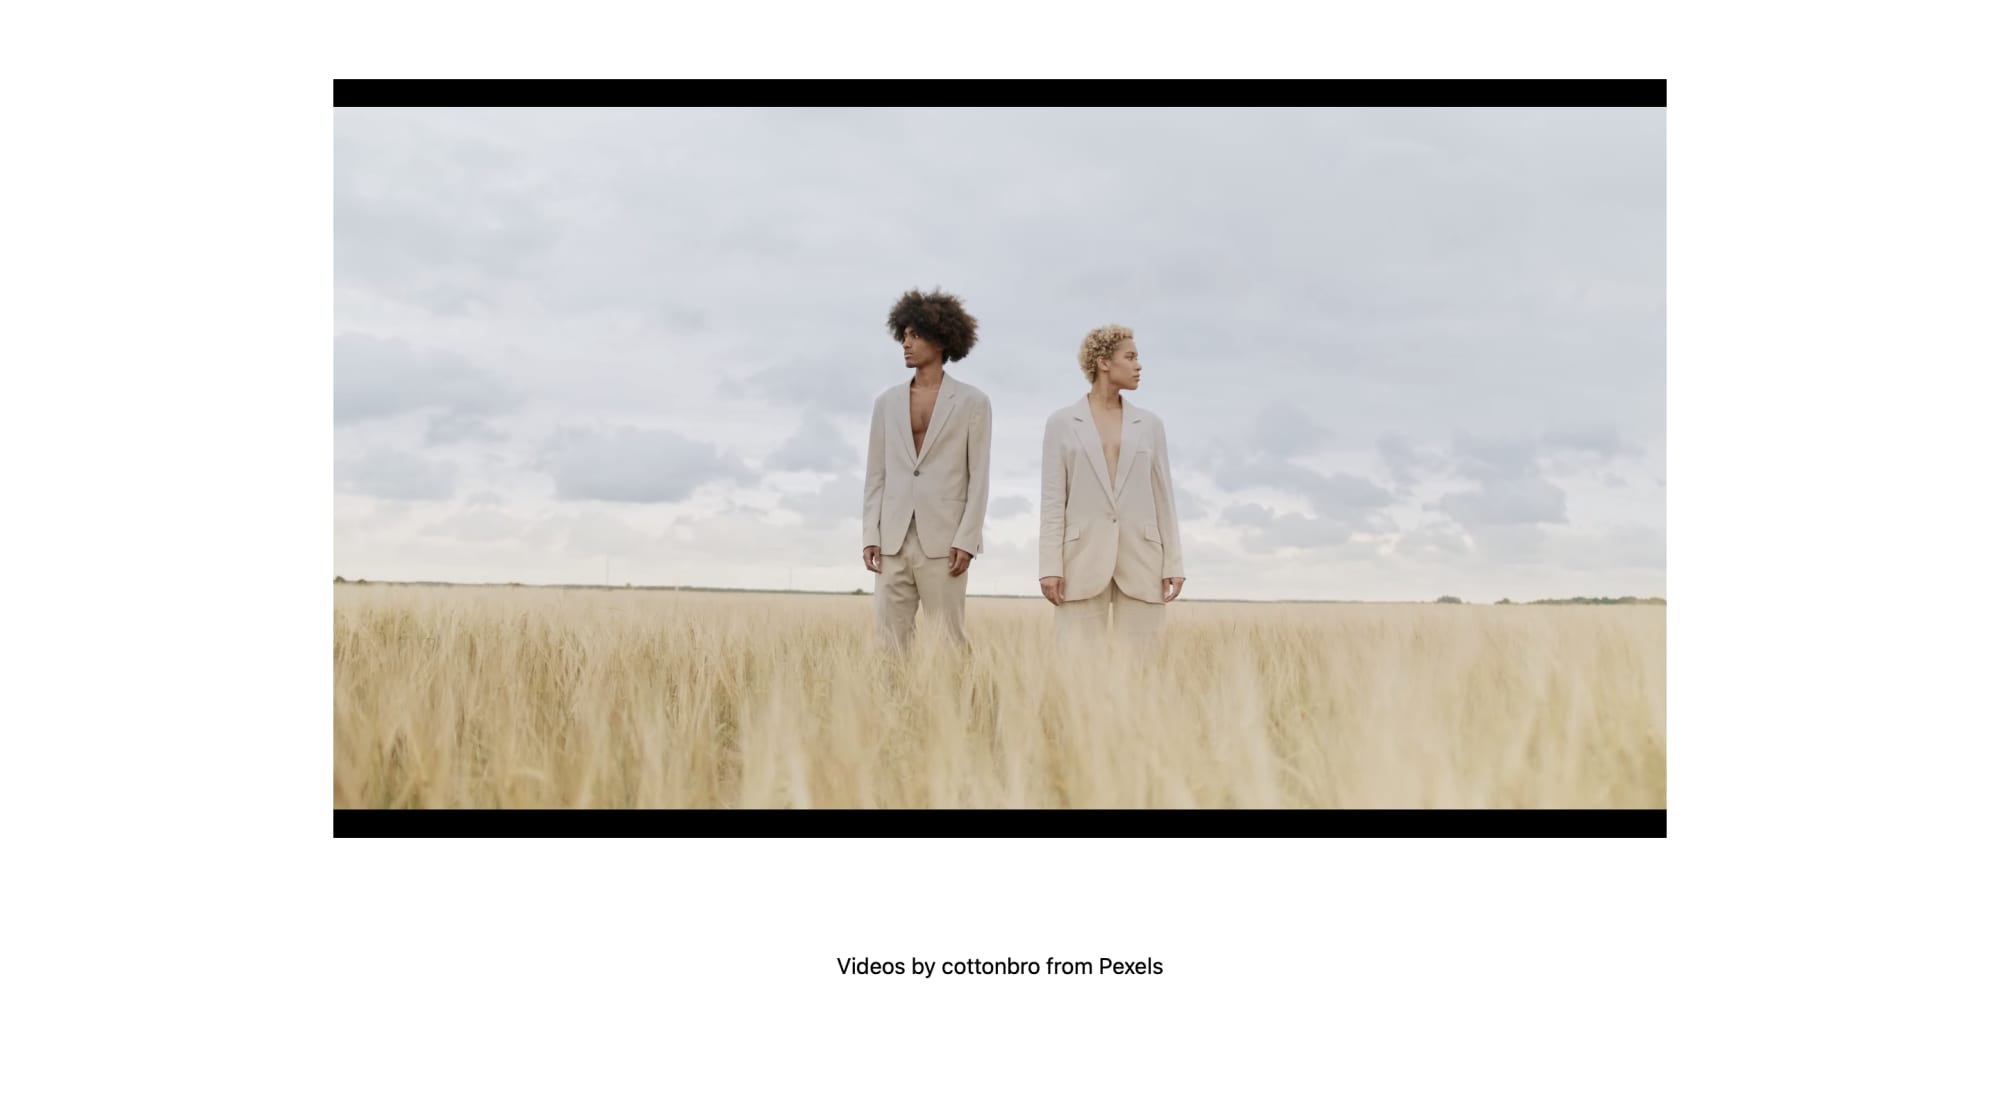
Code language: JavaScript (javascript)Let us now add the video player to our app. We start with some basic HTML.
<!-- pages/index.vue -->
<template>
  <div>
    <video
      id="player"
      controls
      muted
      autoplay
    >
    </video>
    Videos by cottonbro from Pexels
  </div>
</template>
Code language: HTML, XML (xml)
Now we can add the corresponding JavaScript which initializes a Cloudinary video player and configures the sources.
// pages/index.vue
<script>
export default {
  data(){
    return {
      player:null,
      mainSouce: "nuxtjs-interactive-videos/pexels-cottonbro-10678925",
    };
  },
  mounted(){
    this.player = cloudinary.videoPlayer(
      'player',
      {
        cloud_name: process.env.NUXT_ENV_CLOUDINARY_CLOUD_NAME,
        transformations: {
          quality: 50
        }
      }
    );

    this.player.source(this.mainSouce);
  }
}
</script>
Code language: HTML, XML (xml)
With the above code, we can now see a simple video player.
To make our video interactive, we add our interactionAreas to the source declaration. Set enabled to true as well as define the template areas. We are also going to add a listener to the onClick event. The listener will change the source using the event.zoom method.
Let us view the JavaScript required to achieve this.
// pages/index.vue
<script>
export default {
  data(){
    return {
      player:null,
      mainSouce: "nuxtjs-interactive-videos/pexels-cottonbro-10678925",
      clickSources:{
        man: "nuxtjs-interactive-videos/pexels-cottonbro-10679050",
        woman: "nuxtjs-interactive-videos/pexels-cottonbro-10678927",
        grass: "nuxtjs-interactive-videos/pexels-cottonbro-10678930",
      }
    };
  },
  mounted(){
    this.player = cloudinary.videoPlayer(
      'player',
      {
        cloud_name: process.env.NUXT_ENV_CLOUDINARY_CLOUD_NAME,
        transformations: {
          quality: 50
        }
      }
    );

    this.player.source(
      this.mainSouce,
      {
        interactionAreas: {
          enable: true,
          template: [
            {
                left : 35,
                top: 50,
                width: 20,
                height: 20,
                id: 'man'
            },
            {
                left : 50,
                top: 50,
                width: 20,
                height : 20,
                id: 'woman'
            },
            {
                left : 40,
                top: 70,
                width: 20,
                height : 20,
                id: 'grass'
            }
          ],
          onClick: (event) => event.zoom(this.clickSources[event.item.id])
        }
      });
  }
}
</script>
Code language: HTML, XML (xml)
We should now have an outcome similar to the one below. When any of the interactive areas are clicked, the video source will change.

With the above steps, we have successfully set up our interactive video. To learn more about the capabilities and flexibility of interactive videos, feel free to review the documentation.