
Remix is the newest trending JavaScript framework in the ecosystem right now. It is a full stack web framework that lets you focus on the user interface and work back through web standards to deliver a fast, slick, and resilient user experience. Personally, i like the fact that Remix is carrying us back to web development foundations with amazing features such as:
-
Nested Routes: Remix loads data in parallel on the server and sends a fully formed HTML document. This almost eliminates loading states and makes your site super lightning fast. You might not need Skeleton UI anymore. This is good news to most frontend developers like me.
-
Simple: If you know HTML, you will enjoy working with Remix. For example, you can implement a form without JavaScript. Remix runs actions server side, revalidates data client side, and even handles race conditions from resubmissions.
-
Error Handling: Remix makes Error handling easy with Error boundaries. While we are still waiting for React to provide Error boundaries for functional components, Remix handles errors while Server Rendering and while Client Rendering too.
-
Actions and Loaders: After Nested Routes, this is the next most amazing feature of Remix. In Remix, you use actions for mutations and loaders for retrieving data. Interesting fact about Loaders is that you can do most of your data transformation and calculations there, like check if a list is empty, limit the number of records, only send specific attributes, so your React component just receives the data and renders it, no logic needed.
You can think of loaders as “GET” request handlers, the code snippet below shows how loaders work:
import { json } from "@remix-run/node"; // or "@remix-run/cloudflare"

export const loader = async () => {
  // The `json` function converts a serializable object into a JSON response
  // All loaders must return a `Response` object.
      return json({ ok: true });
};
Code language: JavaScript (javascript)
The loader() function is only run on the server. Later in this article, we will be making use of loaders.
- Lightning page speed: With nested routes, instant transitions leveraging distributed systems and native browser features, built on web fetch api, and cloudfare workers, Remix could have 99 problems, but page speed ain’t one.
Cloudinary is a platform on which we can upload, store, manage, transform, and deliver images and videos for web and mobile applications. Cloudinary provides an exhaustive API for uploading media (including images, video and audio). The Upload API enables you to upload your media assets (resources) and provides a wide range of functionality, including basic and advanced asset management, metadata management, and asset generation. Chakra UI is a simple, modular and accessible component library that gives you the building blocks you need to build your React applications.
In this tutorial, we will be building a Remix app that allows us to upload images to Cloudinary.
You will need the following to follow this tutorial:
- Nodejs >=v14 installed
- Knowledge of JavaScript
- A code editor (preferably VSCode)
The complete code is on Codesandbox.
Disclaimer: Codesanbox does not support Remix out of the box yet. To view this demo on Codesandbox, fork the project, provide your cloudinary credentials, open the terminal, and run these commands
cd my-remix-app
npm run dev
The app will be running on port 3000.
Let’s begin setting up our Remix project. Run this command to bootstrap a new Remix project
#bash
npx create-remix@latest
Code language: CSS (css)
When the script is done installing, you’ll be prompted with some questions, make sure you choose these options:
#bash
? Where would you like to create your app? remix-upload-image
? What type of app do you want to create? Just the basics
? Where do you want to deploy? Choose Remix App Server if you're unsure; it's easy to change deployment targets. Remix App Server
? TypeScript or JavaScript? JavaScript
? Do you want me to run `npm install`? Yes
Code language: PHP (php)
Once it’s done installing dependencies, run this command to change directory to our project directory:
#bash
cd remix-upload-image
Code language: CSS (css)
Open the folder with your code editor, and let’s go through the directory structure of our remix app.
#bash
.
├── README.md
├── app
│   ├── entry.client.jsx
│   ├── entry.server.jsx
│   ├── root.jsx
│   └── routes
│       └── index.jsx
├── package-lock.json
├── package.json
├── public
│   └── favicon.ico
├── remix.config.js
└── jsconfig.json

Code language: CSS (css)app: this folder is where all the Remix code goes
app/entry.client.tsx: this is the first file that runs when the app loads in the browser
app/entry.server.tsx: this is the first file that runs when a request is made to the server
app/root.tsx: this is the root of our remix application. Similar to index.tsx in Next
app/routes : just like Nextjs, this folder handles routing and pages
public : this is where you put static files such as images, fonts, etc
remix.config.js: similar to next.config.js, this has all Remix configurations
Let’s write our first Hello World program.
Navigate to app/routes and delete index.jsx. Go to app/root.jsx, delete everything, and add these lines of code:
//app/root.jsx

import { LiveReload } from "@remix-run/react";

export default function App() {

return (
  <html lang="en">
    <head>
      <meta charSet="utf-8" />
      <title>Remix Upload Images</title>
    </head>

    <body>
      Hello Remix world
      <LiveReload />
    </body>
  </html>
);
}

Code language: JavaScript (javascript)
Here, LiveReload handles hot reload in Remix.
Go ahead and run npm run dev in your terminal to serve the development build. You should get something like this:
➜  remix-upload-image npm run dev

> dev
> remix dev

Watching Remix app in development mode...
💿 Built in 736ms
Remix App Server started at http://localhost:3000 (http://192.168.80.200:3000)

Code language: JavaScript (javascript)
Built in 736ms!
Navigate to http://localhost:3000 in your browser and you should see your hello world program.

Let’s go ahead to implementing the cloudinary image uploading functionalities.
Firstly, we’ll update our app/root.jsx to look like this:
#root.jsx

import {
    Links,
    LiveReload,
    Meta,
    Outlet,
    Scripts,
    ScrollRestoration,
} from "@remix-run/react";
import stylesUrl from "~/styles/global.css";

export const links = () => {
      return [{ rel: "stylesheet", href: stylesUrl }];
    };

export const meta = () => ({
      charset: "utf-8",
      title: "Remix Upload image",
      viewport: "width=device-width,initial-scale=1",
    });

export default function App() {
  return (
    <html lang="en">
      <head>
        <Meta />
        <Links />
      </head>
      <body>
        <Outlet />
        <ScrollRestoration />
        <Scripts />
        <LiveReload />
      </body>
    </html>
  );
}

export function ErrorBoundary({ error }) {
  return (
    <div className="error-container">
      <h1>App Error</h1>
      <pre>{error.message}</pre>
    </div>
  );
}
Code language: PHP (php)
Here, we import components from the @remix-run/react package and set an Error Boundary. Most important of those components are the <Links /> and <Meta />. The <Link /> component handles all link exports all through the app and the <Meta /> component handles all meta exports on all routes while <Outlet /> gives room for Children routes. Earlier, i mentioned that one of my favourite features of Remix is how it handles errors, well you can see how easy it is to create ErrorBoundaries. We have a global.css ****file referenced in our code, let’s create it now.
Create a styles/global.css directory and add these lines of code:
/* styles/global.css */

body {
    background-color: #000000;
    color: #ffffff;
    width: 1200px;
    margin: auto;
    font-family: sans-serif;
}

.error-container {
  background-color: hsla(356, 77%, 59%, 0.747);
  border-radius: 0.25rem;
  padding: 0.5rem 1rem;
}
a {
  color: wheat;
  text-decoration: none;
}

a:hover {
    text-decoration: underline;
    opacity: 0.8;
}
Code language: CSS (css)
This will be the styles used throughout our app.
Let’s go ahead to create our Index route. Create a app/route/index.jsx directory and add the following lines of code:
#app/route/index.jsx

import { Link } from "@remix-run/react";

export default function Index() {
  return (
    <div>
      <h1> Remix image upload </h1>
        <p>
          This is a Remix app for uploading images to cloudinary
        </p>
      <Link to="/cloudinary-upload"> Upload Images here </Link>
    </div>
  );
}
Code language: HTML, XML (xml)
This is going to be our / route and page. Nothing much is going here except importing the @remix-run/react Link. It represents the <a> ****anchor tag and it’s the main method of navigation in a remix app.
Let’s go ahead to create the main thing, the cloudinary upload route. Create a cloudinary.jsx in the route folder and add these lines of code:
#app/route/cloudinary.jsx

import {
    json,
    unstable_composeUploadHandlers as composeUploadHandlers,
    unstable_createMemoryUploadHandler as createMemoryUploadHandler,
    unstable_parseMultipartFormData as parseMultipartFormData,
} from "@remix-run/node";
import { Form, useActionData } from "@remix-run/react";
import { uploadImage } from "~/utils/utils.server";
import formStylesUrl from "~/styles/form.css";

export const links = () => {
    return [{ rel: "stylesheet", href: formStylesUrl }];
};

export const action = async ({ request }) => {
    const uploadHandler = composeUploadHandlers(
        async ({ name, data }) => {
            if (name !== "img") {
                return undefined
            }
            const uploadedImage = await uploadImage(data)
            return uploadedImage.secure_url;
        },
        createMemoryUploadHandler()
    );

    const formData = await parseMultipartFormData(request, uploadHandler);
    const imgSource = formData.get("img");
    const imgDescription = formData.get("description");

    if (!imgSource) {
        return json({
            error: "something is wrong",
        });
    }
    return json({
        imgSource, imgDescription
    });
};

export default function Index() {
    const data = useActionData();
    return (
        <>
          <Form method="post" encType="multipart/form-data" id="upload-form">
            <div>
              <label htmlFor="img"> Image: </label>
              <input id="img" type="file" name="img" accept="image/*" />
            </div>
            <div>
              <label htmlFor="description"> Image description: </label>
              <input id="description" type="text" name="description" />
            </div>
            <div>
              <button type="submit"> Upload to Cloudinary </button>
            </div>
          </Form>

          {data?.errorMsg && <h3>{data.errorMsg}</h3>}
          {data?.imgSource && (
            <>
              <h2>Uploaded Image: </h2>
              <img src={data.imgSource} alt={data.imgDescription || "Upload result"} />
                <p>{data.imgDescription}</p>
            </>
          )}
        </>
    )
}

export function ErrorBoundary({ error }) {
    return (
        <div className="error-container">
            <pre>{error.message}</pre>
        </div>
    );
}
Code language: PHP (php)
Let’s break this into snippets.
Firstly, we imported some functions from the nodejs part of remix.
-
jsonconverts a response object to a JSON object, -
unstable_composeUploadHandlers: this is an upload handler that accepts our HTML input field name as parameter and file bytes from the uploaded images as data. -
unstable_createMemoryUploadHandler: this is another upload handler that stores streamedmultipart/form-dataparts in memory.
These functions makes up our uploadHandler function. Before we leave the uploadHandler let’s take a look at this code snippet:
//javascript
const uploadedImage = await uploadImage(data)
return uploadedImage.secure_url;
Code language: JavaScript (javascript)
The uploadImage(data) takes in the image bytes as parameter, returns a Promise that resolves if our image has been saved to the cloudinary folder we’ll specify soon and rejects if there’s an error. If an image is uploaded successfully, it returns an object that looks like this for us to use:
{
  asset_id: '1c80a31297c4748b7d655190d1e5023b',
  public_id: 'remixImages/nrubhrrcv030zhiulzzb',
  version: 1657796627,
  version_id: 'e78d675b8199040f471c89ce1903a8b0',
  signature: 'f50122a9819e3458630afde2927dab615f05437c',
  width: 1000,
  height: 1333,
  format: 'jpg',
  resource_type: 'image',
  created_at: '2022-07-14T11:03:47Z',
  tags: [],
  bytes: 204402,
  type: 'upload',
  etag: 'ccd7e9f2ecda9e91de437ce15a9464b5',
  placeholder: false,
  url: 'http://res.cloudinary.com/sammy365/image/upload/v1657796627/remixImages/nrubhrrcv030zhiulzzb.jpg',
  secure_url: 'https://res.cloudinary.com/sammy365/image/upload/v1657796627/remixImages/nrubhrrcv030zhiulzzb.jpg',
  folder: 'remixImages',
  original_filename: 'file',
  api_key: '<api-key>'
}
Code language: CSS (css)
We’ll be creating the utils.server.js very soon.
Let’s look at another code snippet here:
const formData = await parseMultipartFormData(request, uploadHandler);
const imgSource = formData.get("img");
const imgDescription = formData.get("description");

if (!imgSource) {
    return json({
      error: "something is wrong",
    });
}
return json({
  imgSource, imgDescription
});
Code language: JavaScript (javascript)
The unstable_parseMultipartFormData is a remix utility that handles multipart formdata file uploads instead of using request.formData. It returns the field value that our uploadHandler returns. For instance, the value of imgSource will the URL of the image uploaded to cloudinary.
Finally, all of this is wrapped by Remix actions. Remember what we said about Actions and loaders earlier, here we use actions. It’s important that the action({ request }) is an async function that comes before the loader and your template.
So, how do we access the data from our actions right?
const *data* = *useActionData*``();
This line of code does that. The useActionData() hook returns the JSON parsed data from our action.
If you’ve understood through these parts, you’re awesome! Let’s create two files that we called in our route.
First, create a form.css file in the styles directory and add these lines of css:
#styles/form.css

#upload-form {
  width: 280px;
  margin: 5rem auto;
  background-color: #fcfcfc;
  padding: 20px 50px 40px;
  box-shadow: 1px 4px 10px 1px #aaa;
}
#upload-form * {
    box-sizing: border-box;
}
#upload-form input {
  margin-bottom: 15px;
}
#upload-form input[type=text] {
  display: block;
  height: 32px;
  padding: 6px 16px;
  width: 100%;
  border: none;
  background-color: #f3f3f3;
}
#upload-form label {
  color: #777;
  font-size: 0.8em;
}
#upload-form button[type=submit] {
  display: block;
  margin: 20px auto 0;
  width: 150px;
  height: 40px;
  border-radius: 5px;
  border: none;
  color: #eee;
  font-weight: 700;
  box-shadow: 1px 4px 10px 1px #aaa;
  background: #207cca; /* Old browsers */
  background: -moz-linear-gradient(left, #207cca 0%, #9f58a3 100%); /* FF3.6-15 */
  background: -webkit-linear-gradient(left, #207cca 0%,#9f58a3 100%); /* Chrome10-25,Safari5.1-6 */
  background: linear-gradient(to right, #207cca 0%,#9f58a3 100%); /* W3C, IE10+, FF16+, Chrome26+, Opera12+, Safari7+ */
  filter: progid:DXImageTransform.Microsoft.gradient( startColorstr='#207cca', endColorstr='#9f58a3',GradientType=1 ); /* IE6-9 */
}
img {
  width: 100%;
}
input#img {
  color: red;
}
Code language: PHP (php)
Another awesome thing about Remix is how it handles styles. When we navigate to the cloudinary-upload it loads this form.css file and when we leave the route, it unloads the styles. Take a second to imagine how that improves the overall site speed.
Let’s finally create the utils/util.server.js directory. Add the following lines of code:
// utils/util.server.js

import cloudinary from "cloudinary";
import { writeAsyncIterableToWritable } from "@remix-run/node";

cloudinary.v2.config({
    cloud_name: process.env.CLOUD_NAME,
    api_key: process.env.API_KEY,
    api_secret: process.env.API_SECRET,
});

async function uploadImage(data) {
    const uploadPromise = new Promise(async (resolve, reject) => {
        const uploadStream = cloudinary.v2.uploader.upload_stream(
            { folder: "remixImages" },
            (error, result) => {
                if (error) {
                    reject(error)
                    return;
                }
                resolve(result)
            }
        )
        await writeAsyncIterableToWritable(data, uploadStream);
    });
        return uploadPromise;
}

export { uploadImage }
Code language: JavaScript (javascript)
This is is the server side of Remix. The file above is a server module. It’s best practice in Remix to handle all server side code in a *.server.js module, Remix also uses “tree shaking” to remove server code from browser bundles.
One last thing, create a .env file and add these details from your cloudinary dashboard:
// .env
CLOUD_NAME=cloud name here
API_KEY= api key here
API_SECRET= api secret here
Code language: JavaScript (javascript)
Now go ahead and run your development server with:
npm run dev
You should be presented with these screens:

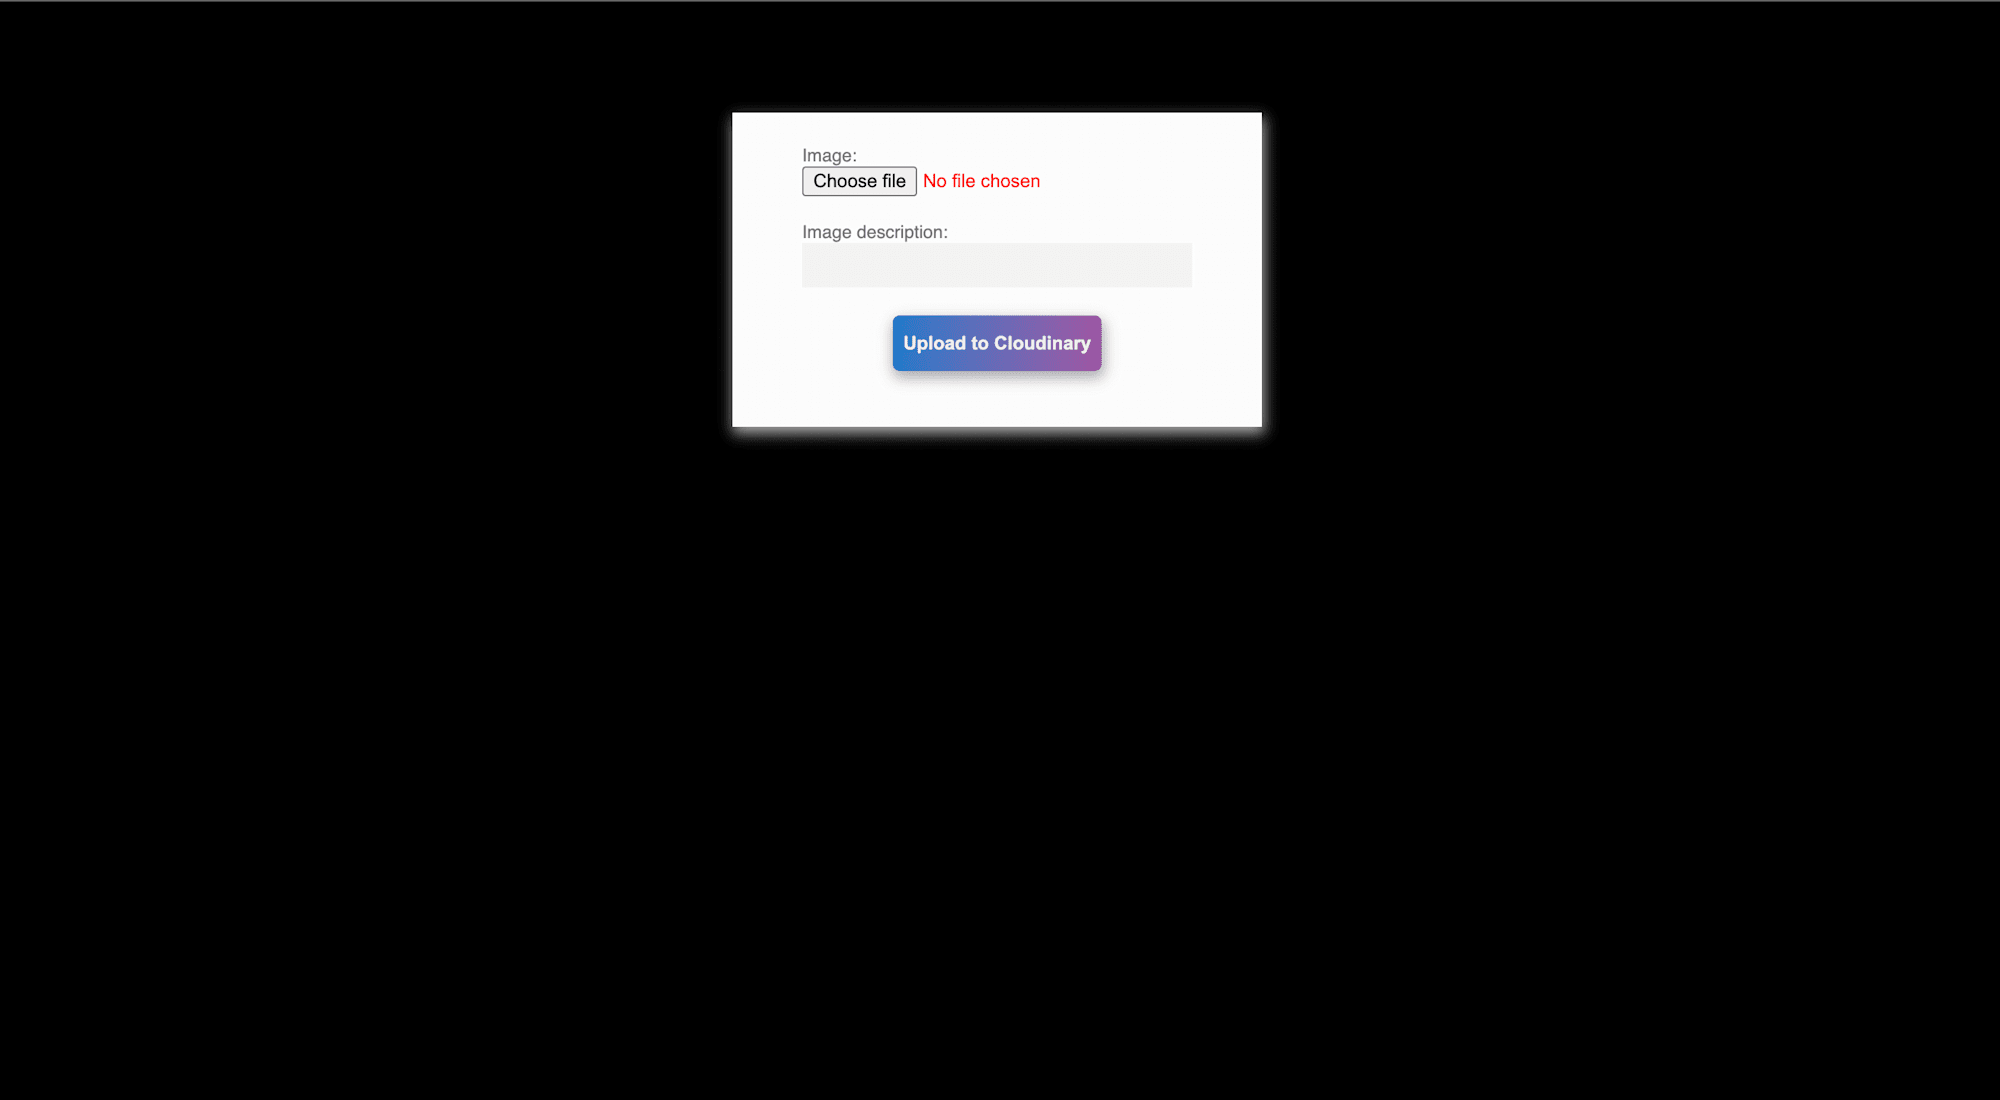

Go ahead to cloudinary and check our Media Uploads for the remixImage folder and our cat image.
In this guide, we learned about Remix and it’s top features, we also explored cloudinary and used it upload API to build a Remix app that enables users to upload images to Cloudinary.
Happy Coding!