When including video on your website, one of your top priorities should be optimizing it to provide a smooth user experience. Slow-loading videos are the fastest ways to lose a visitor, leading to higher bounce rates and fewer conversions. They should load quickly, be formatted correctly, and load in under three seconds.
In this blog post, we’ll show you how to optimize videos in your Nuxt app using Cloudinary, streamline your video workflow, and enhance your website’s performance.
You should have:
- Node.js installed on your computer.
- Knowledge of Nuxt.js.
- An understanding of JavaScript.yt
- A free Cloudinary account. If you haven’t already, sign up for a Cloudinary account. It’s where our videos will live and be managed.
Let’s kick things off by setting up our Nuxt.js app. Start with this command:
npx nuxi@latest init <my-app>Code language: HTML, XML (xml)Replace <my-app> with the actual name of your app. After running the command, you’ll see a couple of prompts that will set the app’s details for you. It’s up to you to decide what to choose, in my case, I went for pnpm as my package manager and didn’t initialize git.
Afterward, let’s go into our app:
cd <my-app>Code language: HTML, XML (xml)Then, to integrate our videos in a smooth way, we’ll use the Nuxt Cloudinary module. To install it, let’s run the following command:
npx nuxi@latest module add @nuxtjs/cloudinaryCode language: JavaScript (javascript)One more step is left. We’ll need to set up an environment variable to help us securely store key information for our app to communicate with Cloudinary:
CLOUDINARY_CLOUD_NAME. This is your Cloudinary cloud name, a unique identifier for your Cloudinary account. This can be found at the top-left corner of your Cloudinary console.
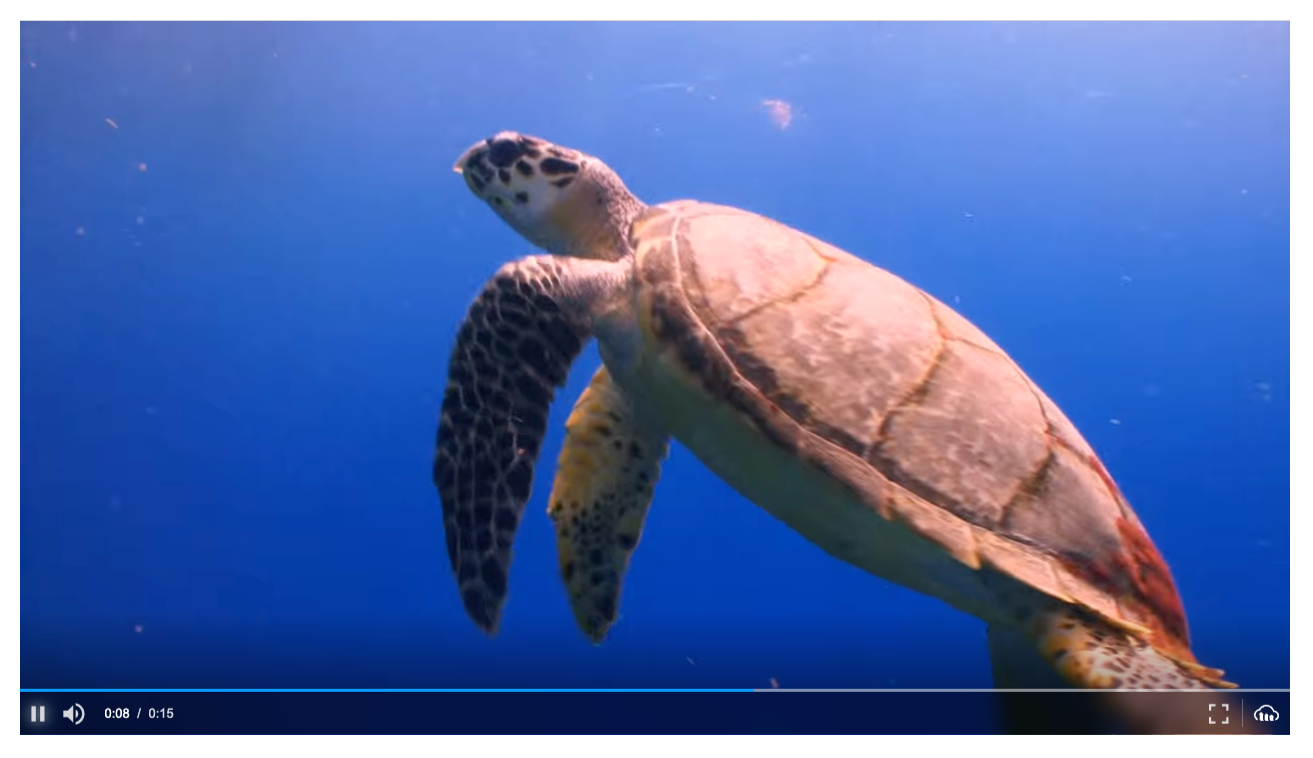
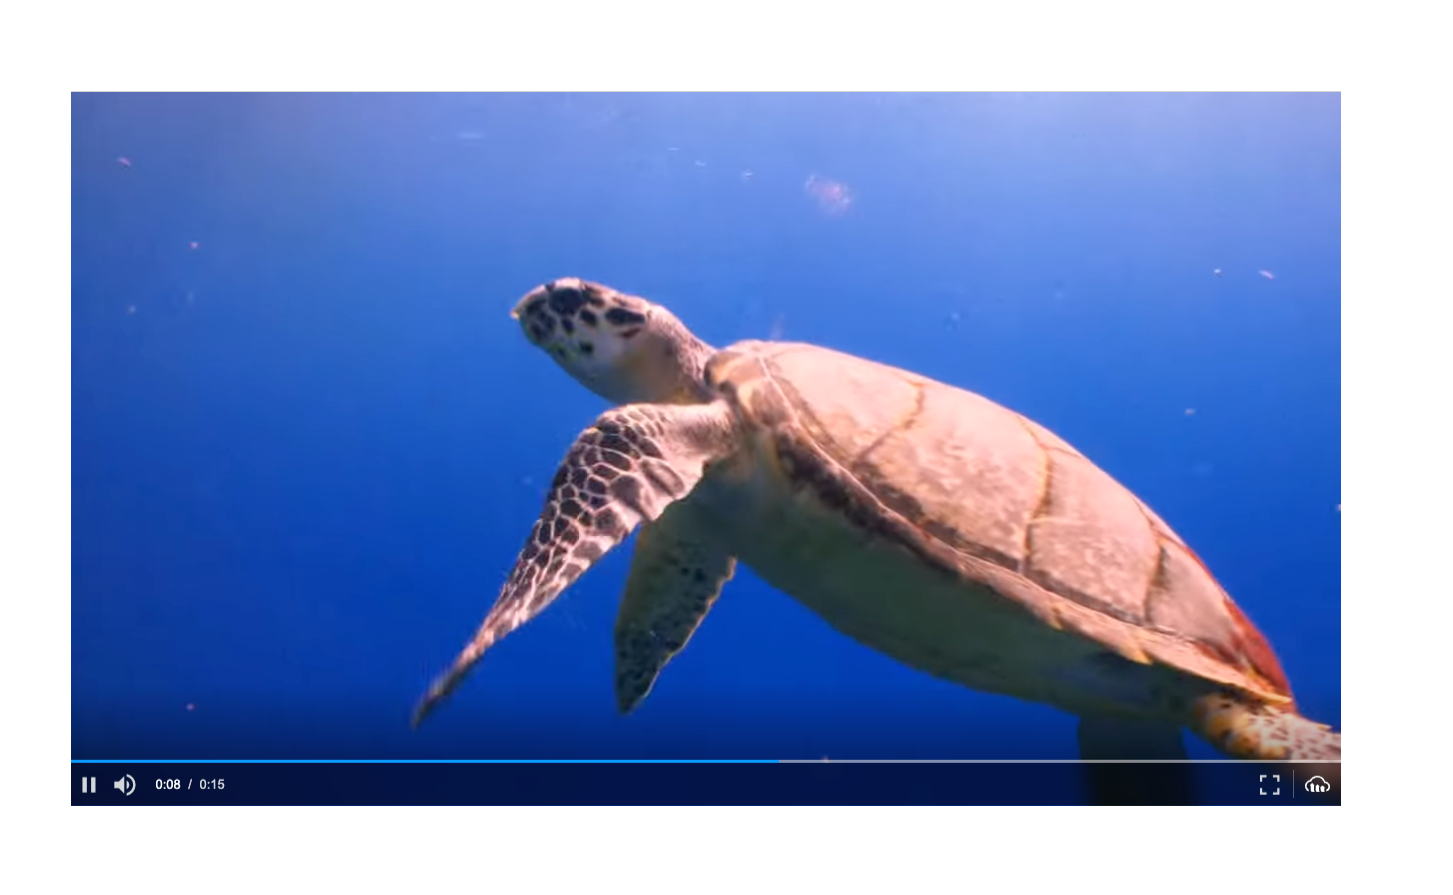
And that’s it! Now let’s go to our app.vue file and use the CldVideoPlayer component from “Nuxt Cloudinary”. This component will help us to easily embed our video in our app using the video public ID as the source of the video:
<template>

  <section>

    <div class="video-container">

      <CldVideoPlayer

          width="1920"

          height="1080"

          // Public ID of the video

          src="sea-turtle"

      />

    </div>

  </section>

</template>

<style scoped>

.video-container {

  position: absolute;

  top: 50%;

  left: 50%;

  transform: translate(-50%, -50%);

  width: 50vw;

}

</style>Code language: HTML, XML (xml)
If we run our app, we’ll see our video loaded and playable:
npm run dev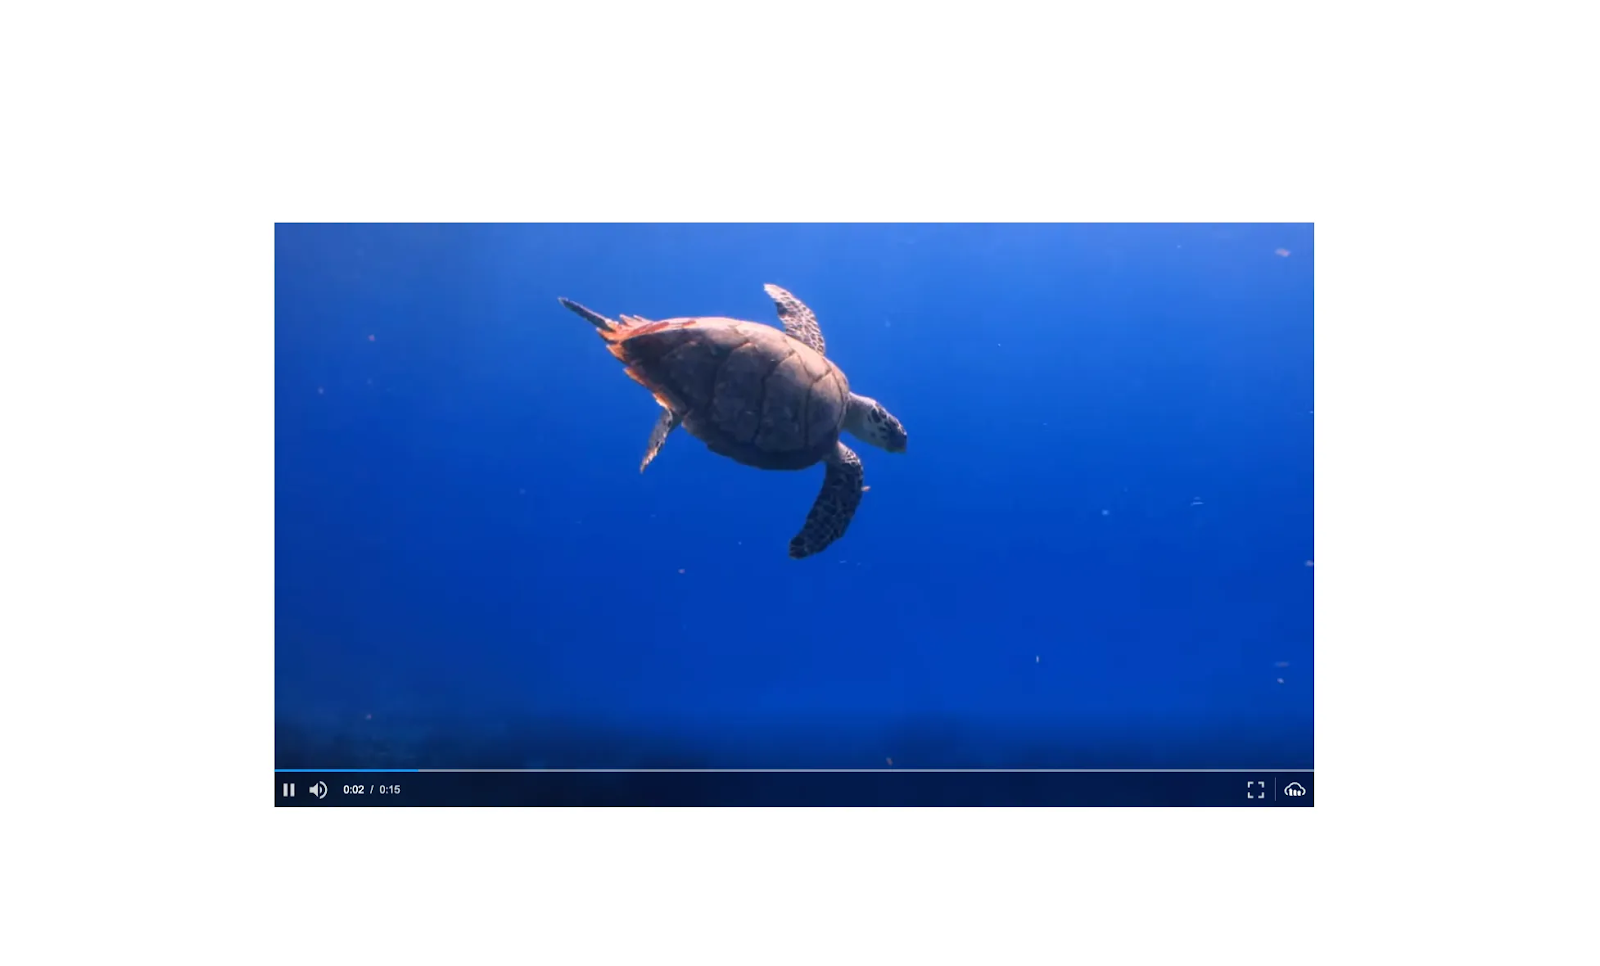
By default, when using the Cloudinary CldVideoPlayer component, our video will be optimized out of the box, considering the end-user’s device and connection speed. Depending on our case, we can go even further with video transformations.
You can use URL transformations as extra options in your content URLs to change how your content is delivered. These options let you control things like quality, format, bitrate, and effects for videos. Cloudinary automatically handles all the re-encoding when you modify the URL, so you don’t need to upload multiple versions manually.
Depending on our use case, we might want to deliver only a little quality to our video. Decreasing our video quality to 40 would downgrade its size from 1.6MB to 1.2MB:
<template>

  <section>

    <div class="video-container">

      <CldVideoPlayer

          width="1920"

          height="1080"

          src="sea-turtle"

          :transformation="{ quality: 40 }"

      />

    </div>

  </section>

</template>

...Code language: HTML, XML (xml)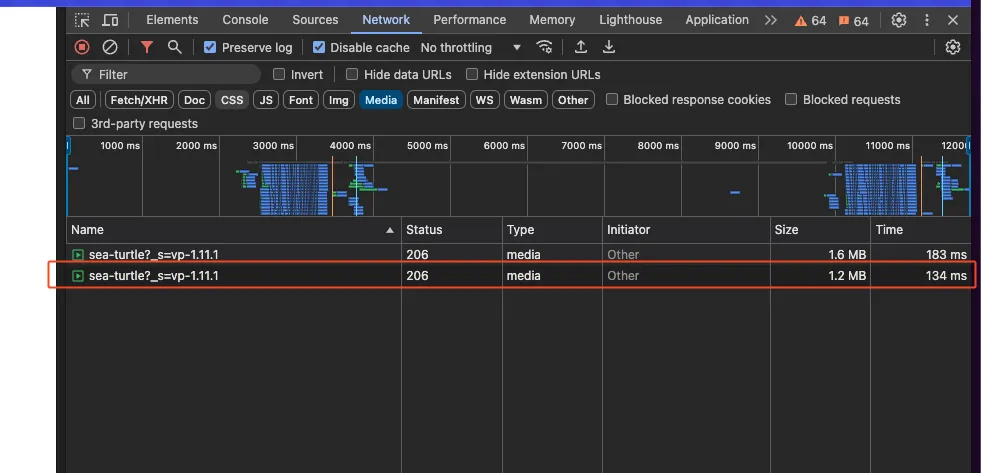
Instead of using a fixed number, we can let Cloudinary decide for us. For example, if we want to reduce the size of a video — maybe it’s a background video, and we’re not too concerned about the quality — we can use the auto:eco value instead:
<template>

  <section>

    <div class="video-container">

      <CldVideoPlayer

          width="1920"

          height="1080"

          src="sea-turtle"

          // New quality

          :transformation="{ quality: 'auto:eco' }"

      />

    </div>

  </section>

</template>

...Code language: HTML, XML (xml)
Quality isn’t the only thing we can adjust to optimize our video. Our sea turtle video was uploaded in MP4 format, but we could transcode it to WebM format, which offers the key benefit of a smaller file size.
<template>

  <section>

    <div class="video-container">

      <CldVideoPlayer

          width="1920"

          height="1080"

          src="sea-turtle"

          // Format to WebM

          :transformation="{ quality: 'auto:eco', fetch_format: 'webm',  }"

      />

    </div>

  </section>

</template>

...Code language: HTML, XML (xml)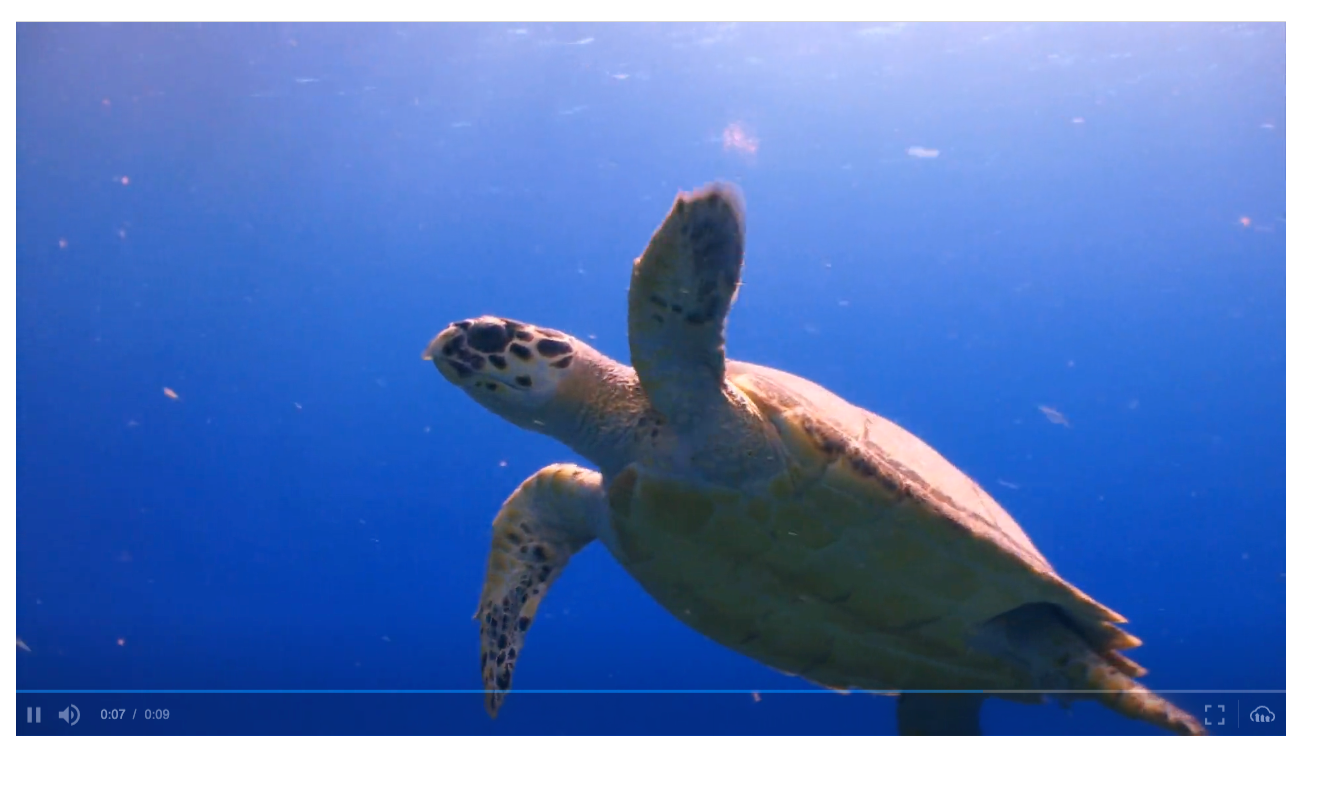
Notice that the image quality isn’t affected much.
Like with the quality, we can set the fetch_format value to “auto” to let Cloudinary decide for us. When transcoding our video formats, we also need to consider the codec since different browsers might require different ones. The “auto” option allows Cloudinary to choose the best format and codec by considering the end user’s browser. See fetch_format: auto caveats.
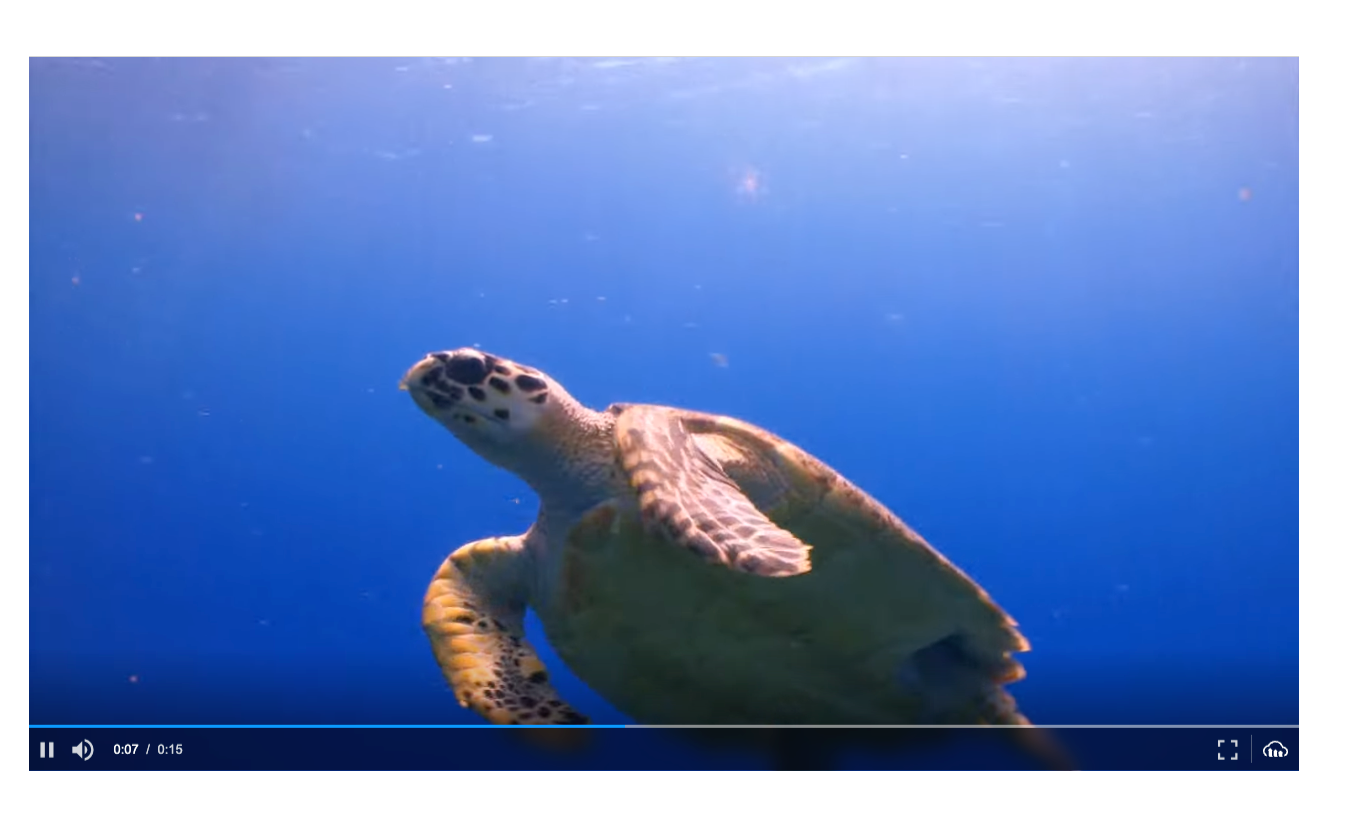
We can also make a significant impact on our video by doing something that might seem obvious from the start: resizing it. Consider that resizing our video could potentially impact its quality.
We can adjust the size of our video to fit our design best, also using transformations:
<template>

  <section>

    <div class="video-container">

      <CldVideoPlayer

          width="1920"

          height="1080"

          src="sea-turtle"

          // New size, we also fill

          :transformation="{ quality: 'auto:eco', fetch_format: 'auto', width: 1280, height:720, crop: 'fill'  }"

      />

    </div>

  </section>

</template>

...Code language: HTML, XML (xml)
Notice that the crop parameter was also added. This option resizes an asset to the exact width and height you specify without distorting it. It scales the asset to fill both dimensions and if the aspect ratio doesn’t match the original, it crops the excess on the dimension that goes beyond the requested size.
Now, when looking at our network one more time, we can see the impact of our changes:

In this tutorial, we explored how to embed Cloudinary videos and optimize them using transformations for our Nuxt.js app.
Check out our documentation for a more in-depth guide on how to optimize your videos and improve your site’s page load. Then, sign up for a free Cloudinary account today.
If you have any feedback or want to discuss this blog post in more detail, please share in the Cloudinary Community forums or the associated Discord.