Images are the modern internet’s eye candy. Images are employed to capture the user’s attention and spark their interest. With images, information appears uniquely, making it more appealing.
Open Graph serves as a medium that extracts key points of a web application and creates a dynamic preview to increase user engagement and interest.
In this article, we’ll use Open Graph, Netlify, and Cloudinary to implement our application. Open Graph to add meta tags, Netlify to create a live demo of the app, and Cloudinary to host the image used in the app.
The completed project is on CodeSandbox. Fork it to get started quickly.
A live demo of this project is available on Netlify, and the source code is on GitHub.
To get the most out of this article, the following requirements apply:
- Knowledge of CSS, JavaScript, and React.js.
- The latest version of Node.js or Yarn installed.
- A Cloudinary account — Create one here.
First, we’ll create a Next.js app in a new folder by running the following command in our terminal:
   npx create-next-app <project-name>
Code language: HTML, XML (xml)
Next, we’ll navigate into the project directory.
    cd <project-name>
Code language: HTML, XML (xml)
Running npm run dev starts the project on the local development server at localhost:3000 in our browser.
After successfully creating an account, Cloudinary will redirect us to our account’s dashboard page, where we can upload our image.
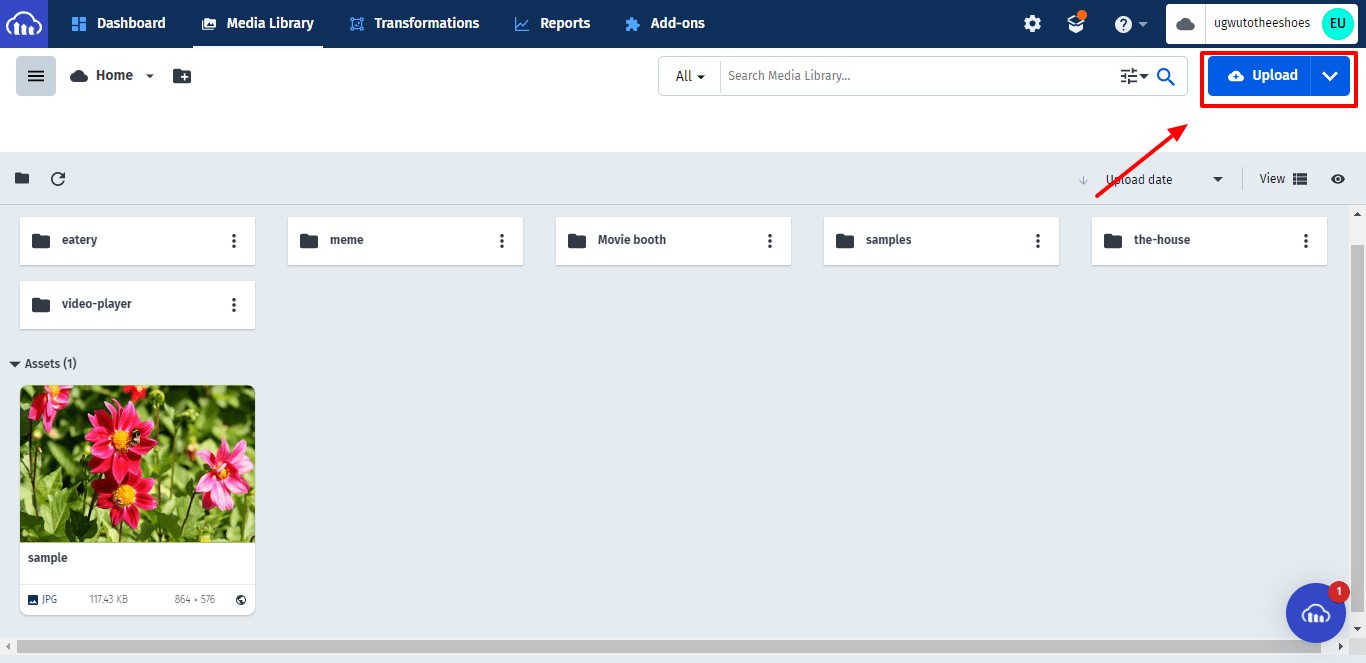
After uploading the image, copy its URL; we’ll use it later in this article.
The Open Graph protocol is an Internet protocol designed by Facebook to standardize the use of metadata and various technologies within a website to reflect the site’s content.
Open Graph creates a dynamic, engaging preview of our website when shared on a social platform or application. The preview can provide details such as the website’s title, a description of the website content, the duration of a video, etc. The preview also piques users’ interest, prompting them to interact with the content.
Open Graph uses meta tags that inform the web on how to display the website’s content.
Meta tags are snippets of text that describe a website’s content; the meta tag appears only in the source code, not on the site itself.
The basic Open Graph meta tags required for a website are as follows:
-
og:title– This is the website’s title. -
og:type– This describes what type of web page it is. It includes types such as website, article, or video. -
og:image– A link to an image file representing a website’s content -
og:url– This is the link to the current web page. -
og:description– This is a brief description of a website. Unless we choose to present it differently, this may be similar toog:title. -
og:video– This describes a link to a video file that complements a website.
Each tag is unique and has its function or use. Without the tag, we can’t depict a good preview of our website. For example, the image below shows a website without Open Graph’s meta tag.
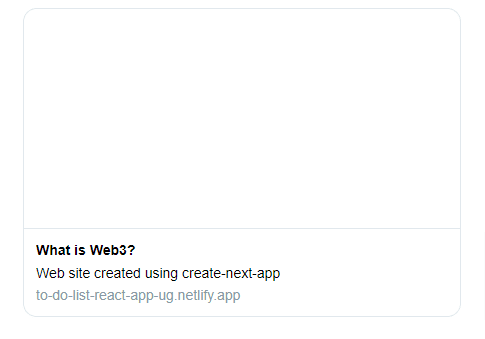
By default, most social media platforms will attempt to create a preview of a website. However, most of the time, this does not proceed as planned. It successfully captures the title, the website’s description, and the link to the site, but it isn’t the most appealing and typically does not invite engagement.
When placing a meta tag on our website, it should be between the Head tag and any other metadata. The meta tag used should look like this:
    <meta property=“[NAME]” content=“[VALUE]” />
Code language: HTML, XML (xml)
Our Next.js app will use some meta tags to show a preview of its content. Here, we’ll make use of the image we hosted in Cloudinary.
In the index.js file, we’ll add the code snippet below to the Head tag.
<meta property="og:title" content="What is Web3?" />
<meta property="og:type" content="website" />
<meta property="og:description" content="Web3 is the next step in the evolution of the internet and, possibly, the organization of society. According to legend, Web 1.0 was the era of decentralized, open protocols, when the majority of internet activity consisted of visiting individual static webpages." />
<meta property="og:image" content="cloudinary-image-url" />
<meta property="og:url" content="https://ugwu-opg.netlify.app/" />
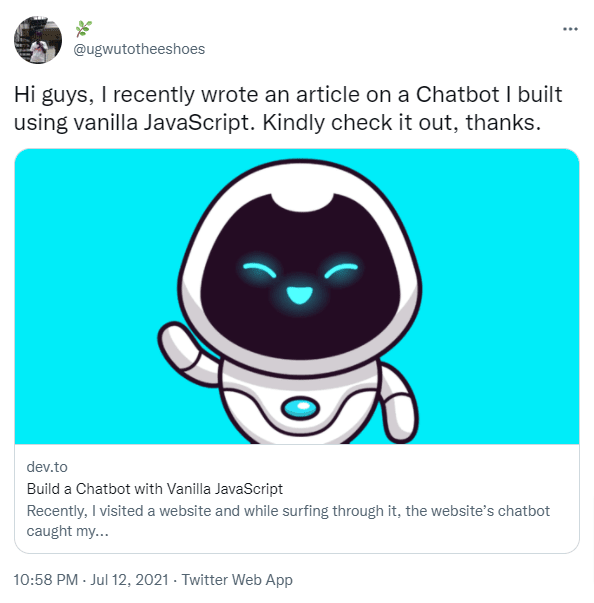
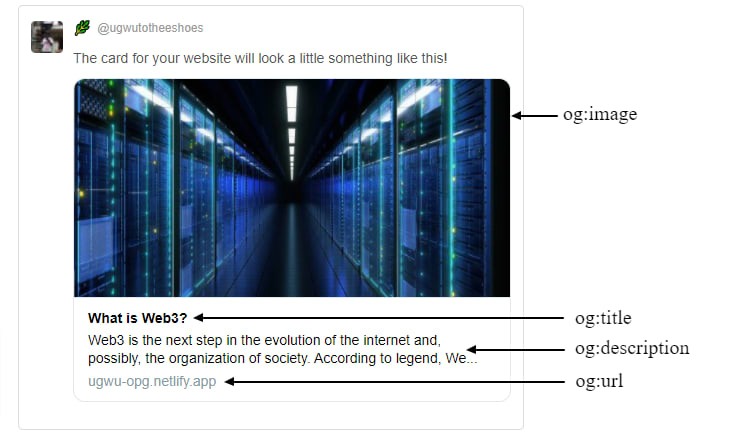
Code language: HTML, XML (xml)The image below shows what the preview of our app will look like when we add our meta tags.
Deploying our demo website
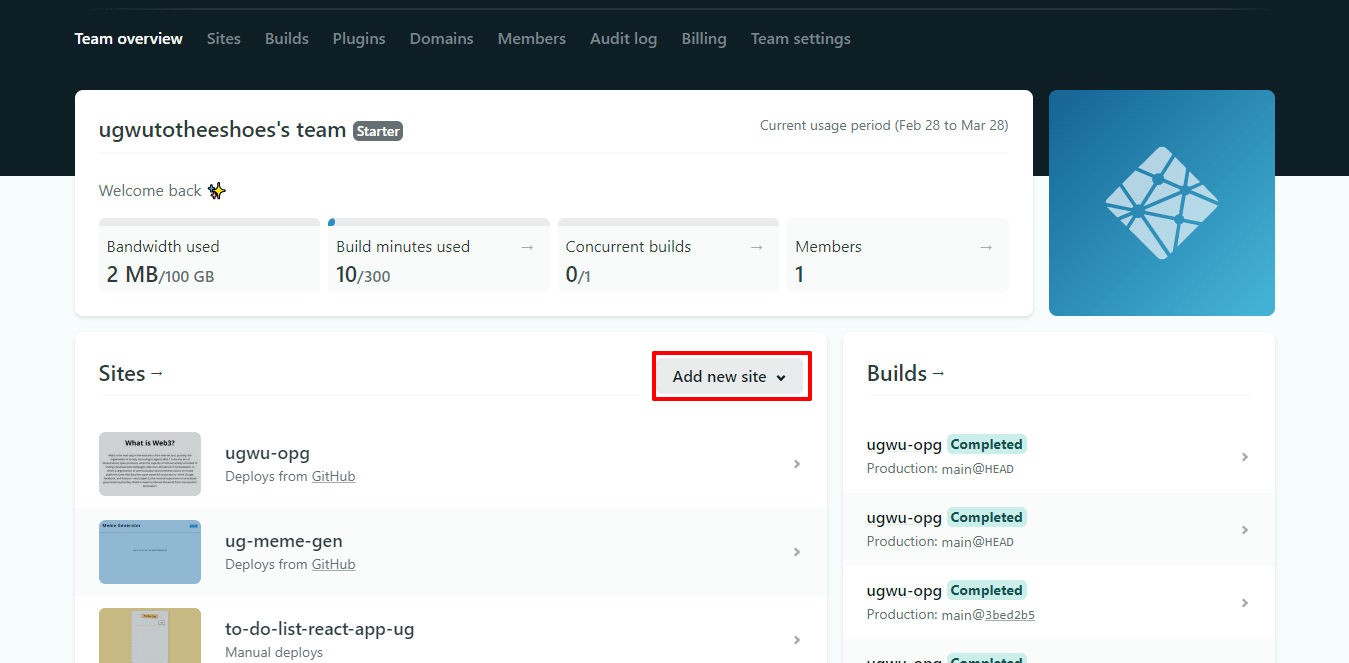
We’ll use Netlify to deploy our demo. To do this, we must have an existing repository for the app on GitHub. Then, we will access Netlify’s dashboard and click on the “Add new site” button, as shown below.
Next, we’ll click on “Import from an existing project.” This will redirect us to a page where we can access our repositories on GitHub.
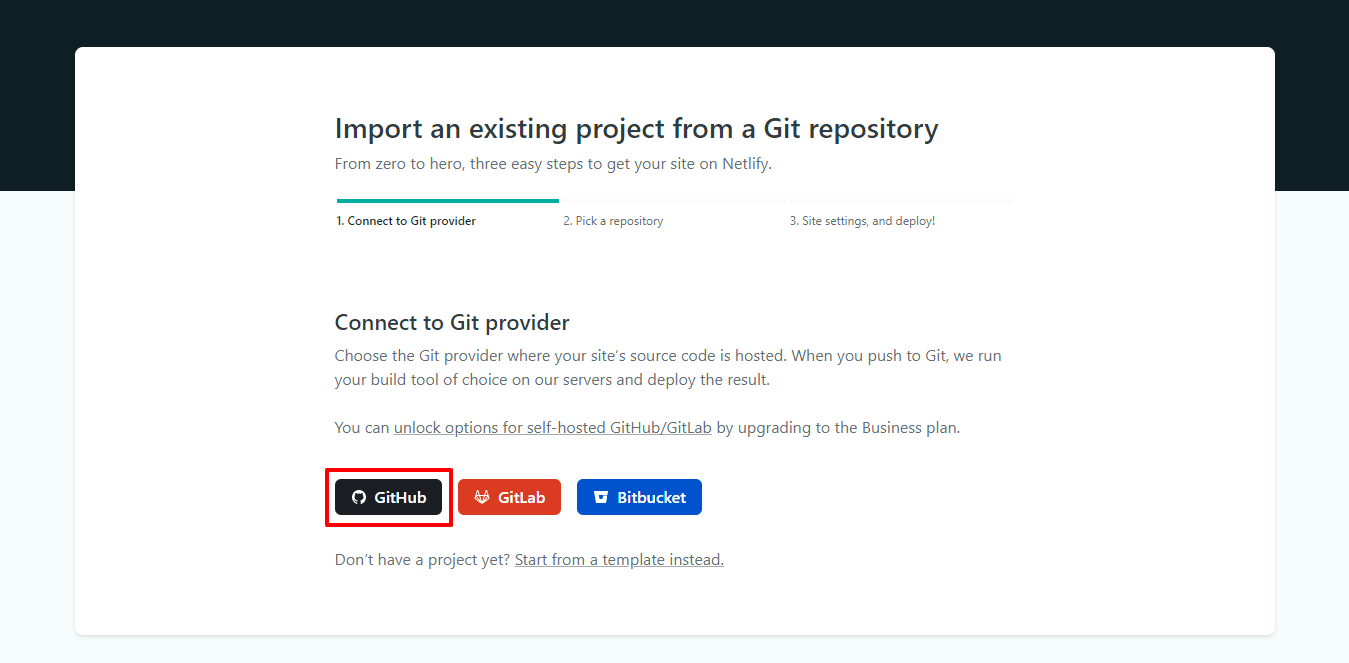
Once we’ve accessed our GitHub page, we can then choose the repo of our demo to deploy.
Most social networks follow the Open Graph basics, but a few of them have their extensions to customize the appearance and feel of their ecosystem. For instance, Twitter allows us to specify twitter:card, which is the type of card we can use to show a preview of the website on Twitter. Twitter card types include:
-
summary -
summary_large_image -
creator -
site
These types will assist us in determining how our links are displayed. Using summary_large_image, Twitter will display our links with large, high-resolution photos — as long as we include them in the og:image tag.
Some of our favorite social media platforms have provided tools to assist us in debugging our tags. We can preview our website once we’ve deployed a live demo of the site and verified that our meta tags are in the website’s source code. The tools include:
This article discussed the basics of Open Graph, the advantages of implementing it in applications, and how to integrate it.
Social networks using Open Graph