
This article demonstrates Next.js framework can be used to generate AI faces. The faces can be used in presentations or database demos since they do not represent any real human characters.
Find the sandbox demo using Codesandbox.
U can also explore the Github repo Github.
Entry-level javascript and React/Next.js knowledge.
Create a new Next.js app using npx create-next-app facegenerator in your terminal.
Head to your project root directory cd facegenerator
We will begin by setting up the backend. It will only consist of Cloudinary integration.
First, the user this link to create your own Cloudinary account and log into it to access your dashboard and environment variables.
include Cloudinary in your project dependencies npm install Cloudinary
In your project root directory, create a new file named .env.local and use the following.enc.example to insert your environment variables.
".env.example"


CLOUDINARY_CLOUD_NAME =

CLOUDINARY_API_KEY =

CLOUDINARY_API_SECRET =
Restart your project using: npm run dev
In the pages/api folder, create a new file named upload.js and begin by configuring the environment keys and libraries.
var Cloudinary = require("Cloudinary").v2;

Cloudinary.config({
    cloud_name: process.env.CLOUDINARY_NAME,
    api_key: process.env.CLOUDINARY_API_KEY,
    api_secret: process.env.CLOUDINARY_API_SECRET,
});
Below the above code, add the following
export default async function handler(req, res) {
    if (req.method === "POST") {
        let url = ""
        try {
            let fileStr = req.body.data;
            const uploadedResponse = await Cloudinary.uploader.upload_large(
                fileStr,
                {
                    resource_type: "video",
                    chunk_size: 6000000,
                }
            );
            url = uploadedResponse.url
        } catch (error) {
            res.status(500).json({ error: "Something wrong" });
        }

        res.status(200).json({data: url});
    }
}
Next.js uses the above handler function to achieve server-side rendering in the project backend. After sending the file to Cloudinary the file’s Cloudinary url is sent back to the frontend as a response.
Now let’s look at the front end.
Start by downloading material-ui to design our button element: npm install material-ui/core
Include the following necessary imports the following in your Home component.
import { Button } from '@material-ui/core';
import React, { useEffect, useState } from 'react';
Declare the following state hooks to track the image string and links received from their respective website sources.
We will use the following code to create random integers
const randomInt = (min, max) => {
    return Math.floor(Math.random() * (max - min + 1) + min)
}
We will also need to move around different sets of folders as we track the faces files randomly.
Paste the following code to create the algorithm we will use.
    const strPad = str => {
        return '000'.slice(str.toString().length) + str
    }
Now use the following code to browse through the image files as json. notice the line that generates a random File.
    const randomImageUrl = () => {
        const baseUrl = 'https://ozgrozer.github.io/100k-faces/'
        const firstFolder = '0'
        const secondFolder = randomInt(0, 9)
        const randomFile = strPad(randomInt(0, 999))
        const filename = `00${secondFolder}${randomFile}`
        const fullUrl = `${baseUrl}${firstFolder}/${secondFolder}/${filename}.jpg`
        const result = {
            url: fullUrl
        }
        return result
    }
We then capture the result and assign it to the image state hook.
    const changeHandler = async (req, res) => {
        const result = randomImageUrl()
        setImage(result.url)
    }
Use the useEffect hook to activate the changeHandler function when the page is rendered.
Finally, use the uploadHandler function to upload the image to Cloudinary and save its response using the link state-hook.
Use the following code in your return statement. The css files are in the Github repo.
return (
        <div className="row">
            <div className="column">
                <div className="status">
                    Photo Link: <a href={link}>Use Link</a>
                </div>
                <div className='result'  >
                    {image && <img id='photo' src={image} alt='AI Face' />}<br />
                    <Button variant='contained' color='primary' onClick={changeHandler}>New Image</Button>{' '}
                    <Button variant='contained' color='primary' onClick={uploadHandler}>Upload</Button>
                </div>
            </div>
        </div>
    )
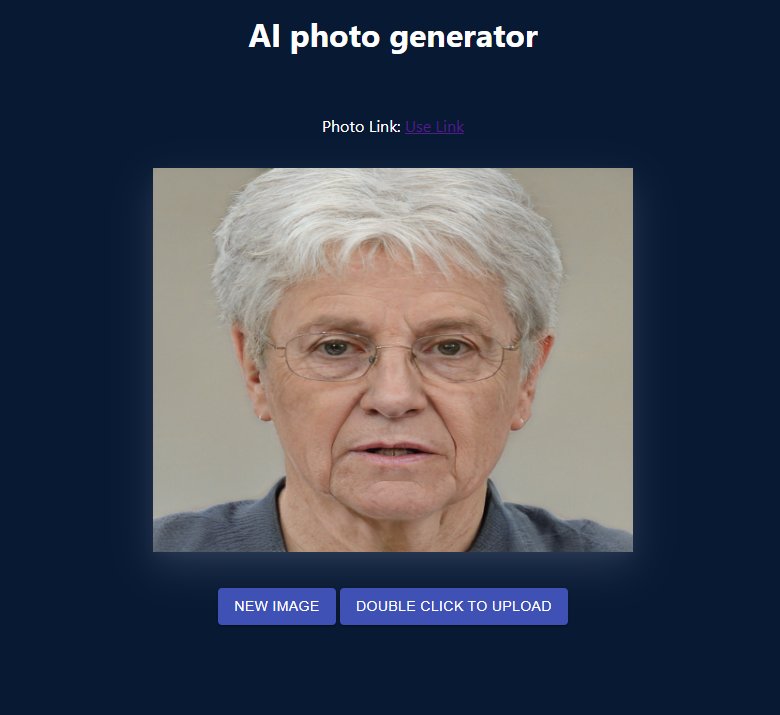
The UI should look like below:
That’s it. You can now upload any of these pictures from the website. All the best as you enjoy your article experience