
Few years ago, when COVID-19 hit the world, we depended on video conferencing software such as Zoom, and Google Meet for remote work. One technology that makes video conferencing on the web possible is WebRTC. In this article, we’ll be learning what WebRTC is, how it works, and we will be building a basic video chat app using Reactjs.
WebRTC (stands for Web Real Time Connection) is a technology that that allows you to create peer to peer connections using real time communications without needing a server. It supports video, voice, and generic data to be sent between peers, allowing developers to build powerful voice- and video-communication solutions.
You might ask, if WebRTC is establishing p2p connections, what’s differs it from web sockets?
With web sockets, there’s a connection only between the client and server. If a client wants something, it makes request to the server and the server responds to establish the connection. Now imagine that with multiple clients and a server. If one of the clients has an update, it sends it to the server, the server processes the data and sends the update to the other clients. It’s important to note that there’s a some sort of delay in this process. This delay becomes very noticeable when it comes down to applications such as live video streaming, voice chat, and every other application where a second changes a lot of things.
With WebRTC, the client can directly communicate with each other and completely bypass the server. This in turn decreases latency by a lot because the receiving client doesn’t have to wait for the server. You can think of it this way, client 1 asks the server for information from client 2, the server informs client 2 that client 1 needs information from it, a connection is established between client 1 and client 2 and the server becomes obselete.
I recommend you have the following to flow with this tutorial
- Knowledge of JavaScript and React
- Nodejs >v14 installed
- A code editor (VS Code preferably)
The complete code and demo is on Codesandbox
Now we’ve gotten a brief overview of WebRTC, we will be building a web application that utilizes the technology. We will use express and socket.io for our server and on the frontend, we’ll use socket.io-client and simple-peer. simple-peer is a JavaScript wrapper for WebRTC and we’ll be using it to simplify the WebRTC integration in our app.
Let’s get started already.
We will start by setting up our server. Run this command to create a folder and node project
#bash
mkdir webrtc-react-video-chat && cd webrtc-react-video-chat
npm init --y
Code language: CSS (css)
npm init --``y will generate a package.json. Open the directory in your code editor and install these dependencies.
npm i cors express nodemon socket.io
Code language: CSS (css)cors: this package will enable cors on our server, so we won’t have cross-origin issues when we try connecting the frontend.
express: express is a nodejs web framework.
nodemon: nodemon is a tool that helps develop Node.js based applications by automatically restarting the node application when file changes in the directory are detected. We will use it to watch live changes.
socket.io: this is the server library for Socket IO. Socket.IO enables real-time bidirectional event-based communication.
Go ahead to create an index.js and add these lines of code
//index.js
const app = require("express")();
const server = require("http").createServer(app);
const cors = require("cors");

app.use(cors());
const PORT = process.env.PORT || 8080;

app.get('/', (req, res) => {
    res.send('Hello World');
});

server.listen(PORT, () => console.log(`Server is running on port ${PORT}`));
Code language: PHP (php)
If you’ve worked with JavaScript at some level, you will find this familiar. We’ve just created a simple express server. To run this server, run this command on your terminal.
node index.js
Code language: CSS (css)
You should get something like this:
➜  webrtc-react-video-chat node index.js
Server is running on port 8080
Code language: CSS (css)
Now, add this line to the scripts block in your package.json
"start": "nodemon index.js"
Code language: JavaScript (javascript)
This ensures we use nodemon to run our server. You can now use npm run start to start the server. Awesome!
Let’s go ahead to integrate Socket.IO to our server. Update your index.js to look like this:
#index.js
const app = require("express")();
const server = require("http").createServer(app);
const cors = require("cors");
const io = require("socket.io")(server, {
    cors: {
        origin: "*",
        methods: ["GET", "POST"]
    }
});

app.use(cors());
const PORT = process.env.PORT || 8080;
app.get('/', (req, res) => {
        res.send('Hello World');
});

io.on("connection", (socket) => {
    socket.emit("me", socket.id);
    socket.on("disconnect", () => {
        socket.broadcast.emit("callEnded")
    });
    socket.on("callUser", ({ userToCall, signalData, from, name }) => {
        io.to(userToCall).emit("callUser", { signal: signalData, from, name });
    });
    socket.on("answerCall", (data) => {
        io.to(data.to).emit("callAccepted", data.signal)
    });
});
server.listen(PORT, () => console.log(`Server is running on port ${PORT}`));
Code language: PHP (php)
Firstly, we initialize the socket.io Server library. Because of this, we have to use the express HTTP module and then the HTTP.createServer() method for our server instance. Now we have initialized the socket server instance, we can now emit and listen to events between the server and client.
We start with emitting a me message and passing the socket.id. This is going to be our id (we will get to see this soon).
Next, we create a disconnect handler and broadcast a callEnded message.
Next, we have a callUser handler, the callback function will receive the following data from the frontend: userToCall, signalData, from, name.
Finally, the last handler is for answering calls. We emit a message callAccepted and pass data.signal as a callback.
Awesome! that’s our entire server for this project.
Let’s go ahead to build the frontend with WebRTC.
We will start by installing a React project in our directory. Run this command to do that, make sure you’re in the project directory.
npx create-react-app ./frontend
This will create a frontend directory with our React app in it. Change directory to frontend and install these dependencies.
#bash
npm i @chakra-ui/react @emotion/react @emotion/styled framer-motion react-icons react-copy-to-clipboard simple-peer socket.io-client
Code language: CSS (css)chakra-ui/react: Chakra UI is a simple, modular and accessible component library that gives you the building blocks you need to build your React applications.
react-icons: We will be using some icons from the react-icons library.
react-copy-to-clipboard: We will be using this package to copy our socket id to clipboard.
simple-peer: Nodejs wrapper for WebRTC.
socket.io-client: Client side JavaScript wrapper for Socket IO.
Let’s flesh out the structure of our project. Delete everything in the src folder except App.js and index.js. Update your index.js to add Chakra UI so we can use Chakra UI globally.
//src/index.js

import React from 'react';
import ReactDOM from 'react-dom/client';
import App from './App';
import { ChakraProvider } from '@chakra-ui/react'

const root = ReactDOM.createRoot(document.getElementById('root'));
root.render(
    <React.StrictMode>
        <ChakraProvider>
          <App />
        </ChakraProvider>
      </React.StrictMode>
);
Code language: JavaScript (javascript)
Next, create a components folder in the src directory and add these 3 files; Notifications.jsx, VideoPlayer.jsx, and Options.jsx. The components should initially look like this:
#src/components/VideoPlayer.jsx

const VideoPlayer = () => {
    return (
        <div>VideoPlayer</div>
    )
}
export default VideoPlayer
Code language: PHP (php)
#src/components/Options.jsx
const Options = () => {
return (
<div>Options</div>
)
}
export default Options
Code language: PHP (php)#src/components/Notifications.jsx
const Notifications = () => {
return (
<div>Notifications</div>
)
}
export default Notifications
Code language: PHP (php)Update your App.js to look like this:
#src/App.js
import { Box, Heading, Container } from '@chakra-ui/react';
import Notifications from './components/Notifications';
import Options from './components/Options';
import VideoPlayer from './components/VideoPlayer';

function App() {
    return (
        <Box>
          <Container maxW="1200px" mt="8">
            <Heading as="h2" size="2xl"> Video Chat App </Heading>
            <VideoPlayer />
            <Options />
            <Notifications />
          </Container>
        </Box>
    );
}
export default App;
Code language: PHP (php)
Navigate to https://localhost:3000 on your browser and you should see something like this:

Awesome. Now let’s write the logic for our application. We will be using React Context API for this. If you haven’t used it before, pause here and read the documentation on Context API.
Create a Context.js in your src folder and add these lines of code.
#src/Context.js
import { createContext, useState, useRef, useEffect } from 'react';
import { io } from 'socket.io-client';
import Peer from 'simple-peer';

const SocketContext = createContext();
const socket = io('http://localhost:8080');
const ContextProvider = ({ children }) => {
    const [callAccepted, setCallAccepted] = useState(false);
    const [callEnded, setCallEnded] = useState(false);
    const [stream, setStream] = useState();
    const [name, setName] = useState('');
    const [call, setCall] = useState({});
    const [me, setMe] = useState('');
    const myVideo = useRef();
    const userVideo = useRef();
    const connectionRef = useRef();

    useEffect(() => {
        navigator.mediaDevices.getUserMedia({ video: true, audio: true })
        .then((currentStream) => {
            setStream(currentStream);
            myVideo.current.srcObject = currentStream;
        });

        socket.on('me', (id) => setMe(id));
        socket.on('callUser', ({ from, name: callerName, signal }) => {
            setCall({ isReceivingCall: true, from, name: callerName, signal });
        });
    }, []);

    const answerCall = () => {
        setCallAccepted(true);
        const peer = new Peer({ initiator: false, trickle: false, stream });
        peer.on('signal', (data) => {
            socket.emit('answerCall', { signal: data, to: call.from });
        });
        peer.on('stream', (currentStream) => {
            userVideo.current.srcObject = currentStream;
        });
        peer.signal(call.signal);
        connectionRef.current = peer;
    };

    const callUser = (id) => {
        const peer = new Peer({ initiator: true, trickle: false, stream });
        peer.on('signal', (data) => {
                socket.emit('callUser', { userToCall: id, signalData: data, from: me, name });
        });
        peer.on('stream', (currentStream) => {
            userVideo.current.srcObject = currentStream;
        });
        socket.on('callAccepted', (signal) => {
            setCallAccepted(true);
            peer.signal(signal);
        });
        connectionRef.current = peer;
    };

    const leaveCall = () => {
        setCallEnded(true);
        connectionRef.current.destroy();
        window.location.reload();
    };

    return (
        <SocketContext.Provider value={{
            call,
            callAccepted,
            myVideo,
            userVideo,
            stream,
            name,
            setName,
            callEnded,
            me,
            callUser,
            leaveCall,
            answerCall,
        }}
        >
            {children}
        </SocketContext.Provider>
    );
};
export { ContextProvider, SocketContext };
Code language: PHP (php)
Let’s break down this code snippet into chunks.
First, we create our initial context with const *SocketContext* = *createContext*``();.
Next, we create the initial instance of Socket IO with const *socket* = *io*``('http://localhost:8080');. You can recall that’s our server address.
Next, we call a useEffect hook that asks for permission to use the camera and microphone. We do that using *navigator.mediaDevices.getUserMedia*``({ *video*``: *true*``, *audio*``: *true* }).
const myVideo = useRef();
.then((currentStream) => {
    setStream(currentStream);
    myVideo.current.srcObject = currentStream;
});
Code language: JavaScript (javascript)
Here, we set the current stream. Furthermore, since we want to populate the video iframe with the src of our stream we introduce a myVideo ref.
const [me, setMe] = useState('');
const [call, setCall] = useState({});
socket.on('me', (id) => setMe(id));
    socket.on('callUser', ({ from, name: callerName, signal }) => {
        setCall({ isReceivingCall: true, from, name: callerName, signal });
});
Code language: JavaScript (javascript)
Remember in the server when we emitted the socket.id with a me action, we listen to it here and set it to setMe.
We have 3 functions here, let’s deal with each of them.
const answerCall = () => {
    setCallAccepted(true);
    const peer = new Peer({ initiator: false, trickle: false, stream });
    peer.on('signal', (data) => {
        socket.emit('answerCall', { signal: data, to: call.from });
    });
    peer.on('stream', (currentStream) => {
        userVideo.current.srcObject = currentStream;
    });
    peer.signal(call.signal);
    connectionRef.current = peer;
};
Code language: PHP (php)
We set a boolean state to check if the call has been accepted. Next, we introduce WebRTC by initializing a Peer using the simple-peer package. Peer has actions and handlers just like Socket IO. Once we receive a signal, we execute the data as callback function. In the function, we emit the answer call event and pass in the signal data, and who we are answering the call from.
Next, we call the stream handler. Here, we get the current stream and pass the ref for the userVideo(we will be creating this soon). Finally, we create a connectionRef. This means our current connection is equal to the current peer.
Let’s take a look at the callUser()
const callUser = (id) => {
    const peer = new Peer({ initiator: true, trickle: false, stream });
    peer.on('signal', (data) => {
        socket.emit('callUser', { userToCall: id, signalData: data, from: me, name });
    });
    peer.on('stream', (currentStream) => {
        userVideo.current.srcObject = currentStream;
    });
    socket.on('callAccepted', (signal) => {
        setCallAccepted(true);
        peer.signal(signal);
    });
    connectionRef.current = peer;
};
Code language: PHP (php)
This is similar to the answerCall().
Notice that the initiator key here is set to true. This is because we are the user initiating the call. The signal handler here is emitting the callUser event and we pass in the following { *userToCall*``: **``id, *signalData*``: **``data, *from*``: **``me, **``name}. Finally, the callAccepted action which has signal passed as callback function enables the user to accept our call.
Next is the leaveCall(). This function contains logic for leaving a call.
const leaveCall = () => {
    setCallEnded(true);
    connectionRef.current.destroy();
    window.location.reload();
};
Code language: JavaScript (javascript)
We set callEnded to be true here, then we destroy the connection and stop receiving input from user camera and audio. That’s it for the functions.
return (
    <SocketContext.Provider value={{
        call,
        callAccepted,
        myVideo,
        userVideo,
        stream,
        name,
        setName,
        callEnded,
        me,
        callUser,
        leaveCall,
        answerCall,
    }}
    >
        {children}
    </SocketContext.Provider>
);
Code language: JavaScript (javascript)
Finally for our SocketContext, we return all the state values, refs and functions.
Update your index.js to look like this so we have access to the SocketContext all over the app.
#src/index.js
import React from 'react';
import ReactDOM from 'react-dom/client';
import App from './App';
import { ChakraProvider } from '@chakra-ui/react'
import { ContextProvider } from './Context';
const root = ReactDOM.createRoot(document.getElementById('root'));
root.render(
    <React.StrictMode>
        <ContextProvider>
          <ChakraProvider>
            <App />
          </ChakraProvider>
        </ContextProvider>
    </React.StrictMode>
);
Code language: PHP (php)
If you’ve reached this point, you’re awesome! We’re almost done, let’s go ahead to implement our components.
Let’s start with implementing the VideoPlayer component.
#src/components/VideoPlayer

import { Grid, Box, Heading } from "@chakra-ui/react"
import { SocketContext } from "../Context"
import { useContext } from "react"

const VideoPlayer = () => {
    const { name, callAccepted, myVideo, userVideo, callEnded, stream, call } = useContext(SocketContext)

return (
    <Grid justifyContent="center" templateColumns='repeat(2, 1fr)' mt="12">
            {/* my video */}
        {
            stream && (
                <Box>
                    <Grid colSpan={1}>
                        <Heading as="h5">
                            {name || 'Name'}
                        </Heading>
                        <video playsInline muted ref={myVideo} autoPlay width="600" />
                    </Grid>
                </Box>
            )
        }
              {/* user's video */}
        {
            callAccepted && !callEnded && (
                <Box>
                    <Grid colSpan={1}>
                        <Heading as="h5">
                            {call.name || 'Name'}
                        </Heading>
                        <video playsInline ref={userVideo} autoPlay width="600" />
                    </Grid>
                </Box>
            )
        }
    </Grid>
)
}
    export default VideoPlayer
Code language: HTML, XML (xml)
Let’s go through the working parts of this snippet.
Firstly, we get state, and refs values from our SocketContext. Then, we created two grids. The first grid will be our video, while the other will be the user’s video. We then state that if the stream is active, show my video. Notice the myVideo ref in the <video> tag there.
However, we want to show the user when they have accepted the call and when the call hasn’t ended. We also display the name of the user, if there’s none we set a placeholder. That’s it!
Navigate to your browser and allow access to the camera and audio, your page should look like this:
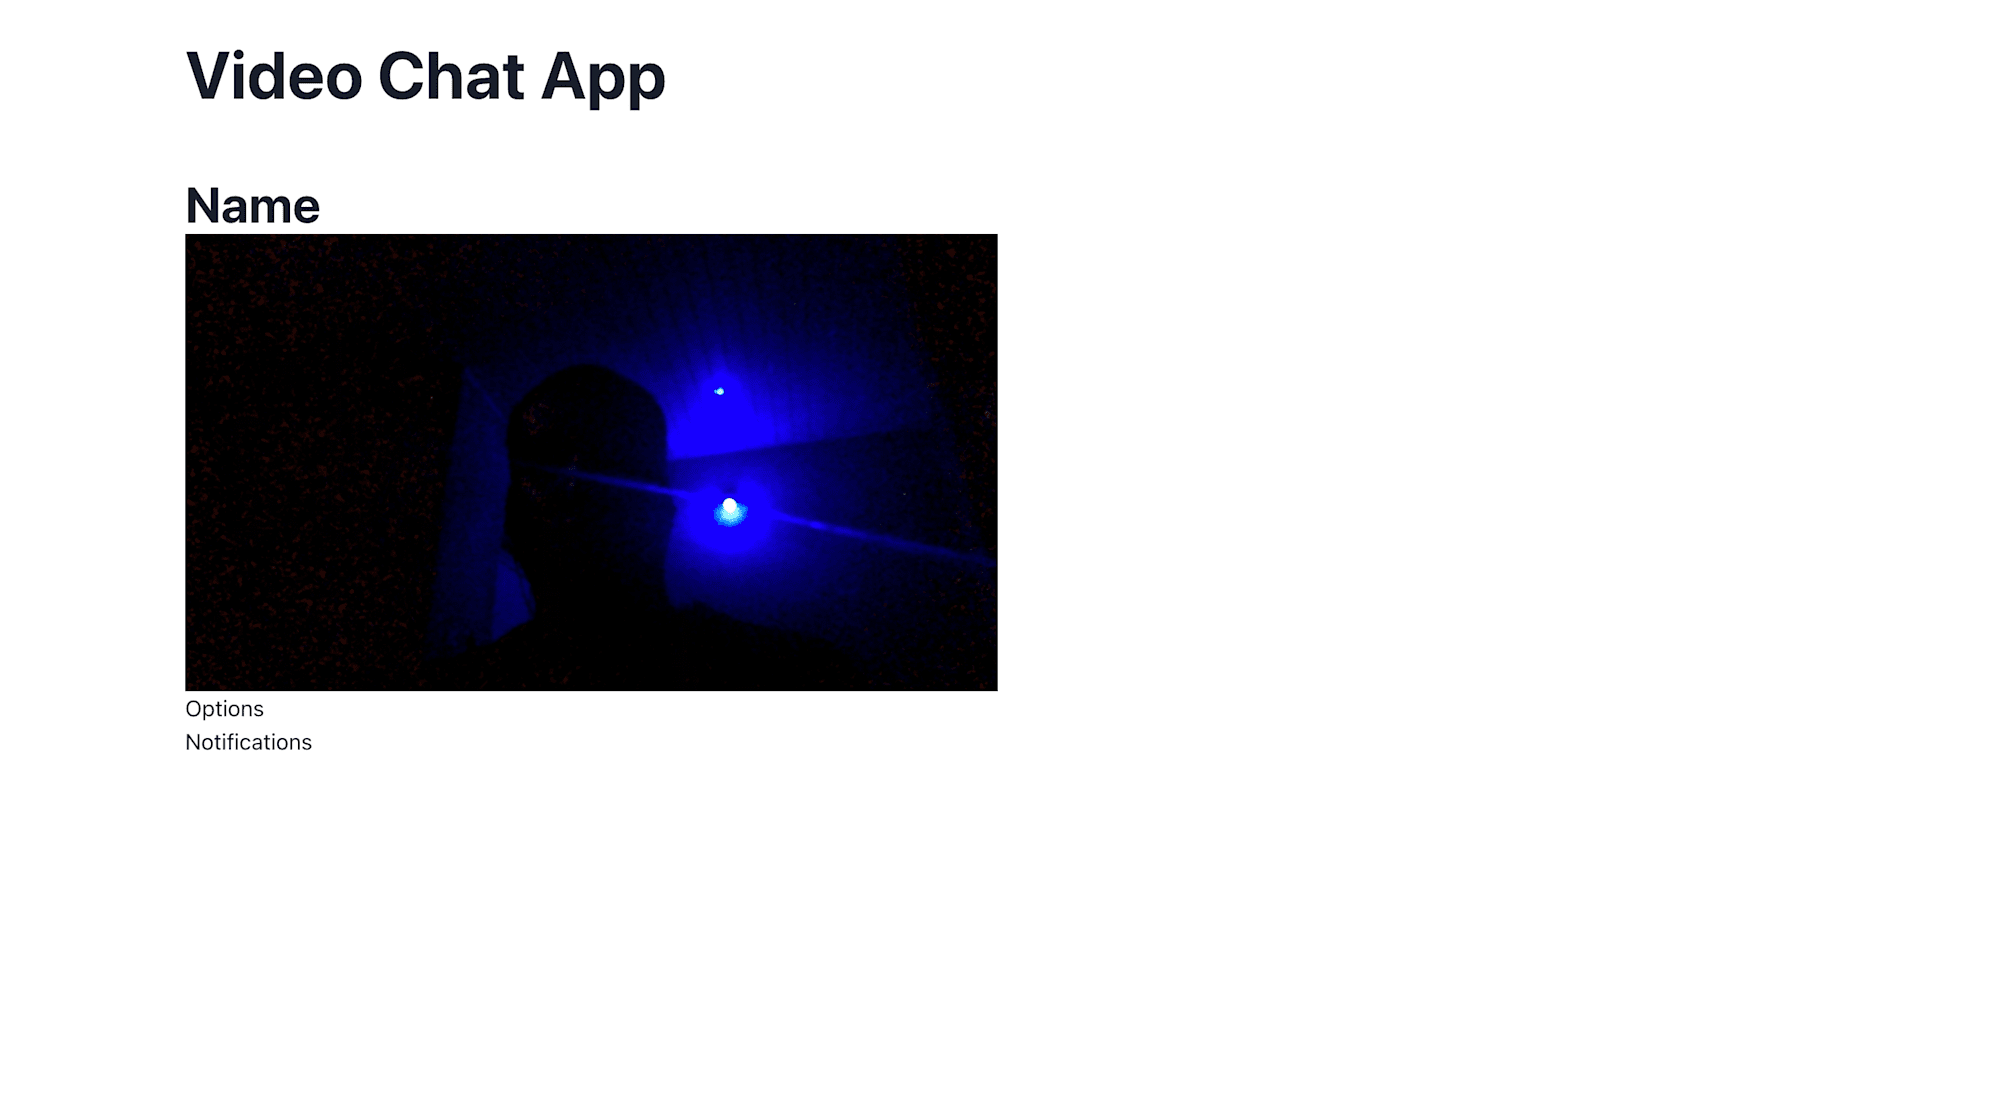
It works fine! Awesome.
Let’s move on to create our Options component. Add these lines of code to Options.jsx
#src/components/Options.jsx
import { useState, useContext } from "react"
import { Button, Input, FormLabel, Heading, Grid, Box, Container, FormControl } from "@chakra-ui/react"
import { CopyToClipboard } from 'react-copy-to-clipboard';
import { BiClipboard, BiPhoneCall, BiPhoneOff } from "react-icons/bi";
import { SocketContext } from "../Context";
const Options = () => {
const { me, callAccepted, name, setName, callEnded, leaveCall, callUser } = useContext(SocketContext);
const [idToCall, setIdToCall] = useState('');
return (
<Container maxW="1200px" m="35px 0" p="0">
<Box p="10px" border="2px" borderColor="black" borderStyle="solid">
<FormControl display="flex" flexDirection="column" noValidate aria-autocomplete="none">
<Grid templateColumns='repeat(2, 1fr)' mt="12">
<Grid colSpan={1} p="6">
<Heading as="h6"> Account Info </Heading>
<FormLabel>Username</FormLabel>
<Input type='text' value={name} onChange={(e) => setName(e.target.value)} width="100%" />
<CopyToClipboard text={me} mt="20">
<Button leftIcon={<BiClipboard />} colorScheme='teal' variant='solid'>
Copy ID
</Button>
</CopyToClipboard>
</Grid>
<Grid colSpan={1} p="6">
<Heading as="h6"> Make a Call </Heading>
<FormLabel> User id to call </FormLabel>
<Input type='text' value={idToCall} onChange={(e) => setIdToCall(e.target.value)} width="100%" />
{
callAccepted && !callEnded ? (
<Button leftIcon={<BiPhoneOff />} onClick={leaveCall} mt="20" colorScheme='teal' variant='info'>
Hang up
</Button>
) : (
<Button leftIcon={<BiPhoneCall />} onClick={() => callUser(idToCall)} mt="20" colorScheme='teal' variant='solid'>
Call
</Button>
)
}
</Grid>
</Grid>
</FormControl>
</Box>
</Container>
)
}
export default Options
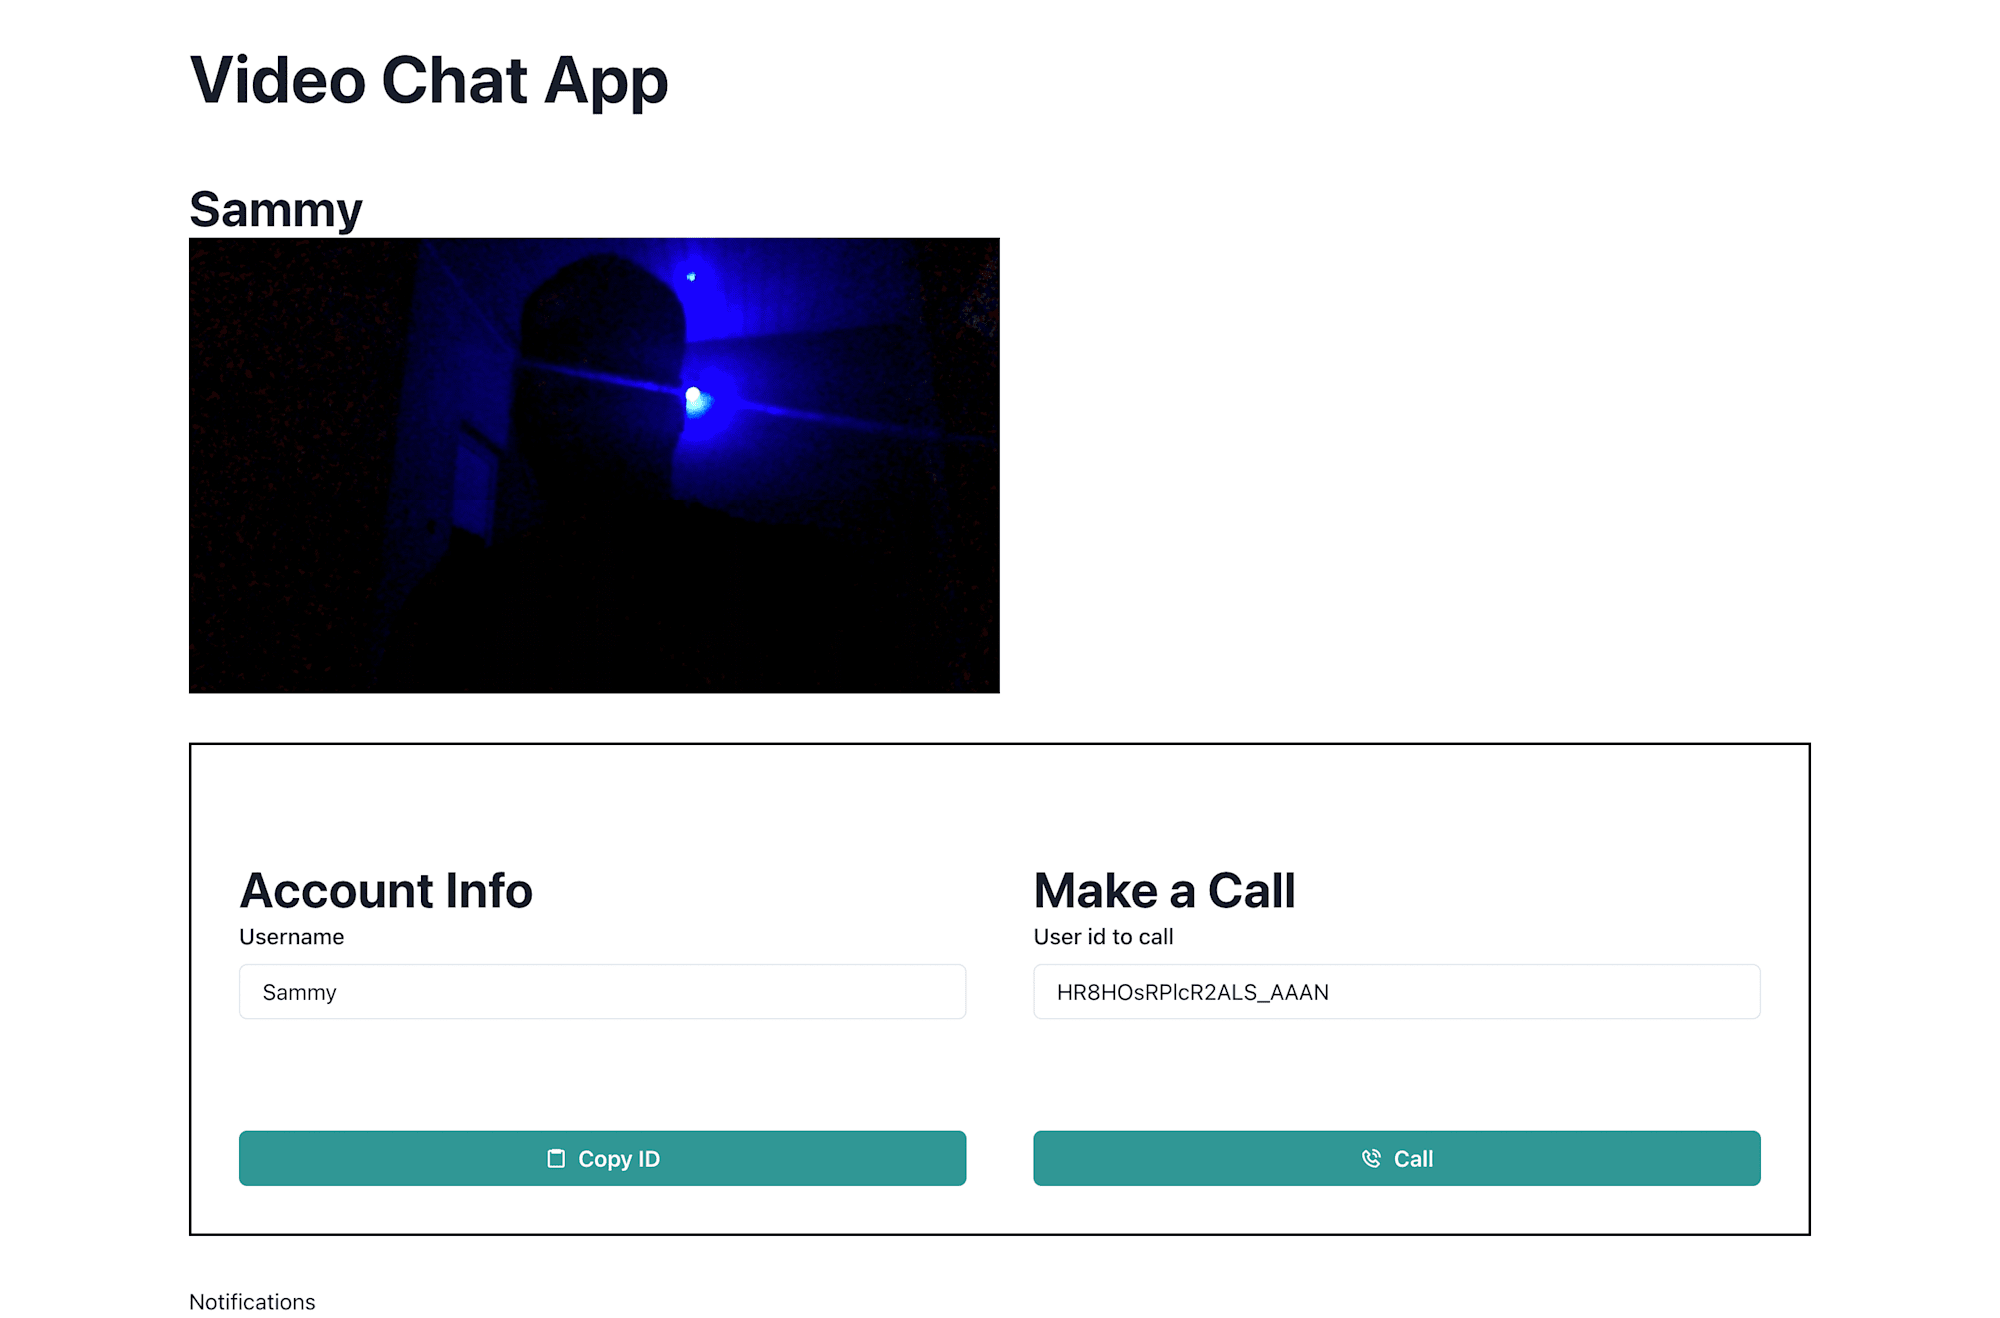
Code language: PHP (php)Let’s go through the moving parts in this code snippet.
Here, we get functions, handlers, and state from our SocketContext. We have two Grids, the first allows the user to type their username and copy the socket id. In the other grid, we have an input that accepts an idToCall. Finally, we state that if the call is accepted and ongoing, show the Hang Up button else, show the Call button.
Save and Navigate to your browser and you will see something like this:
Awesome! Right now, when we click on the call button nothing happens, let’s fix that with the Notifications component.
Add these lines of code to Navigation.jsx
#src/components/Navigation.jsx
import { useContext } from "react"
import { Box, Button, Heading } from "@chakra-ui/react"
import { SocketContext } from "../Context"

const Notifications = () => {
    const { answerCall, call, callAccepted } = useContext(SocketContext);

return (
    <>
        {call.isReceivingCall && !callAccepted && (
            <Box display="flex" justifyContent="space-around" mb="20">
                <Heading as="h3"> {call.name} is calling </Heading>
                <Button variant="outline" onClick={answerCall} border="1px" borderStyle="solid" borderColor="black">
                    Answer Call
                </Button>
            </Box>
        )}
    </>
)
}
export default Notifications
Code language: PHP (php)
Nothing much is going here. We just get a notification to answer the call. Navigate to your browser, you should have something like this
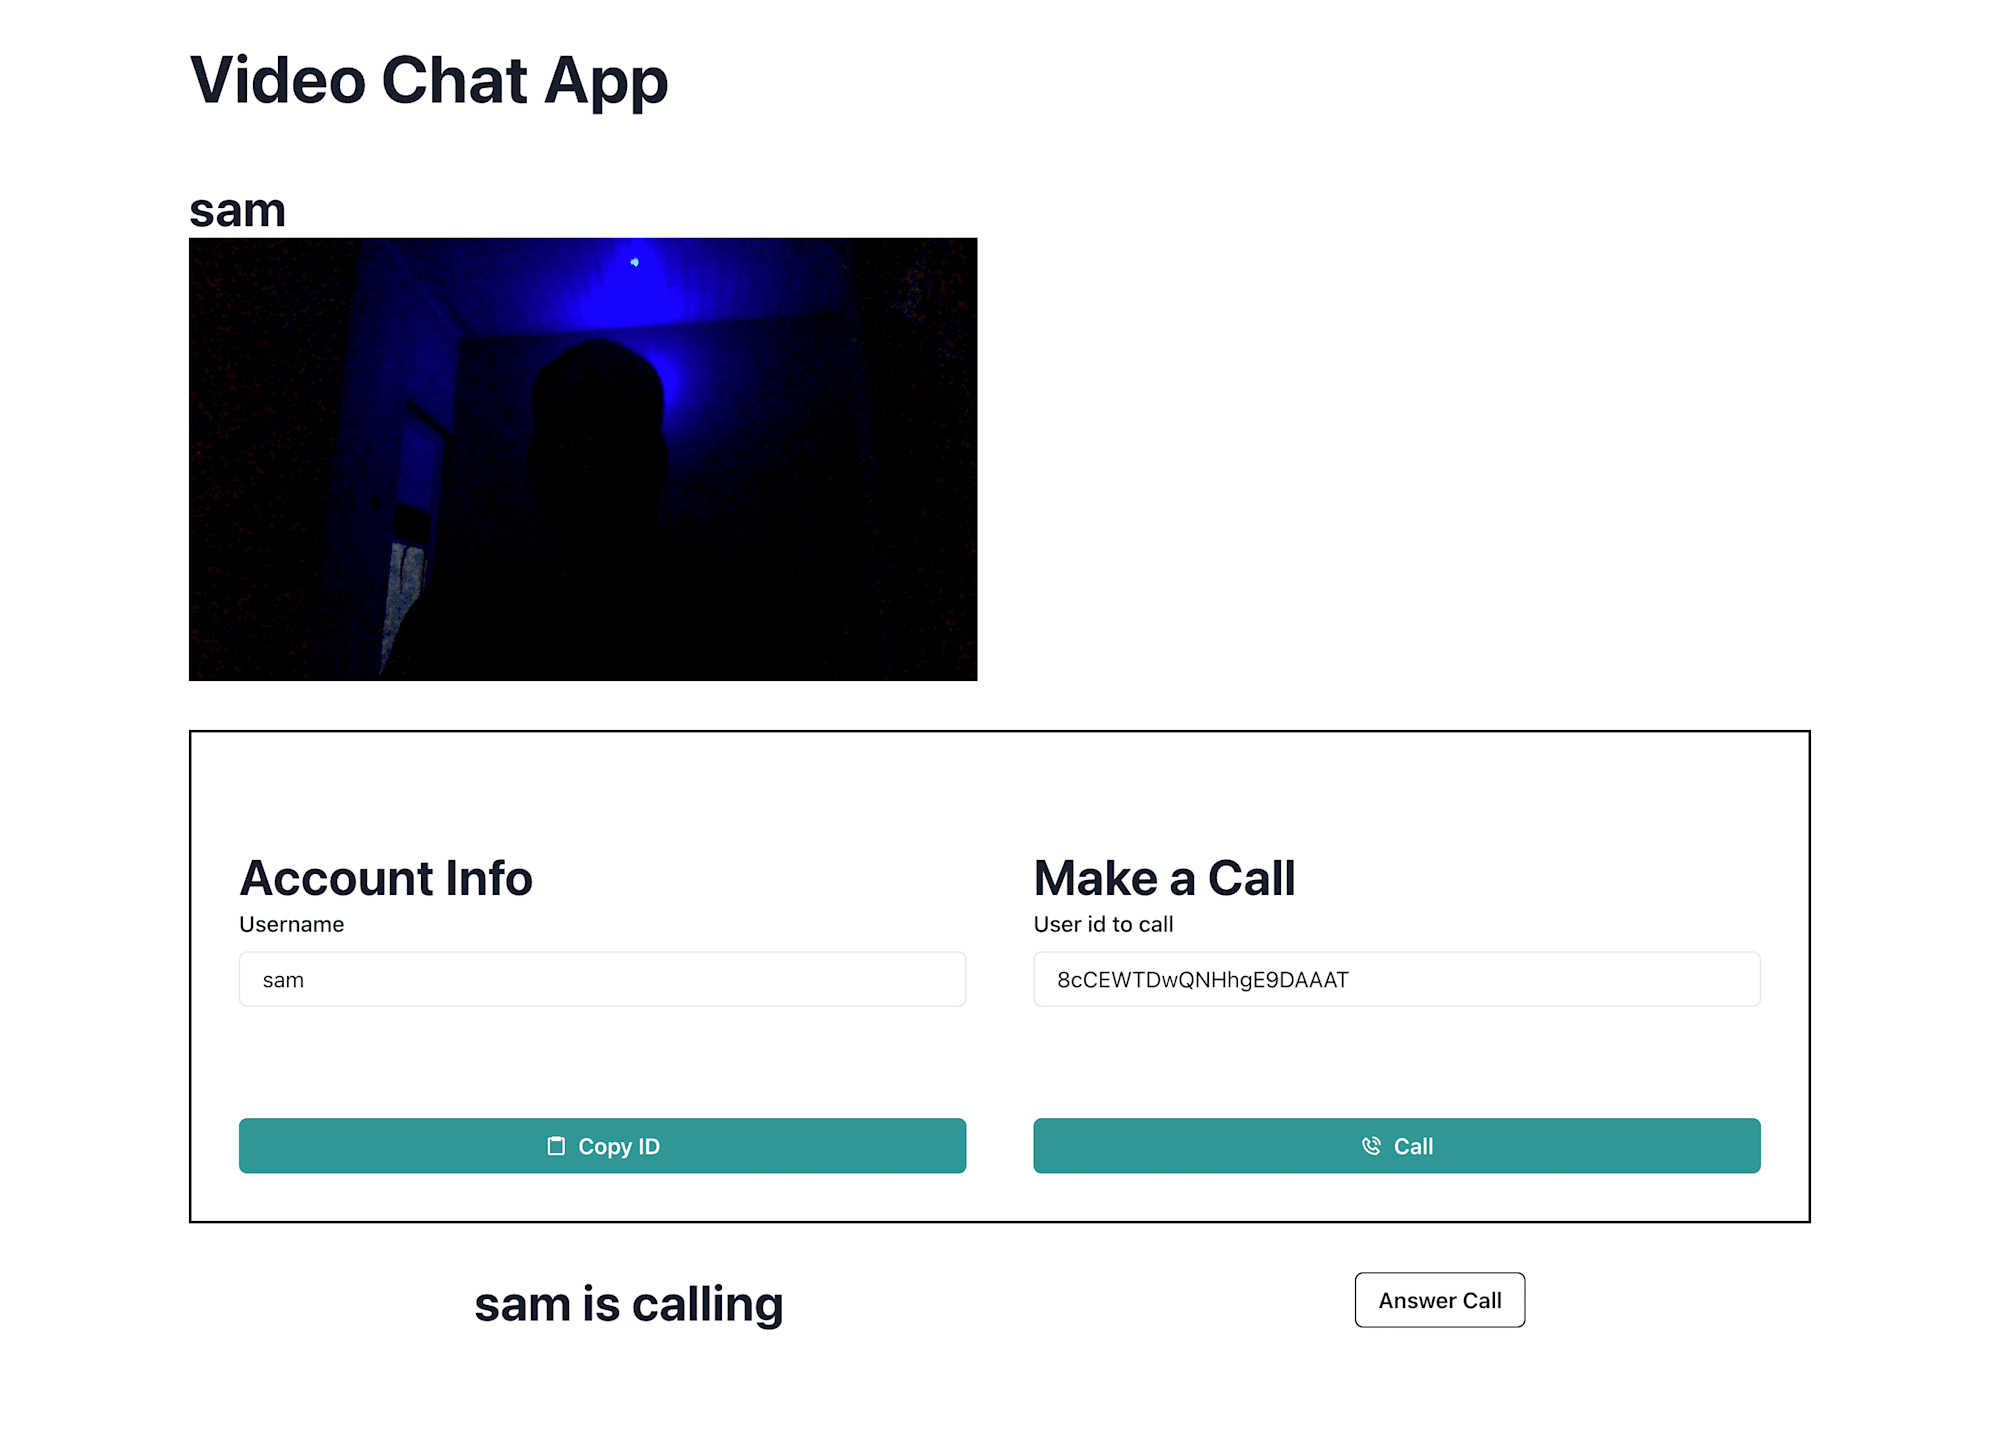
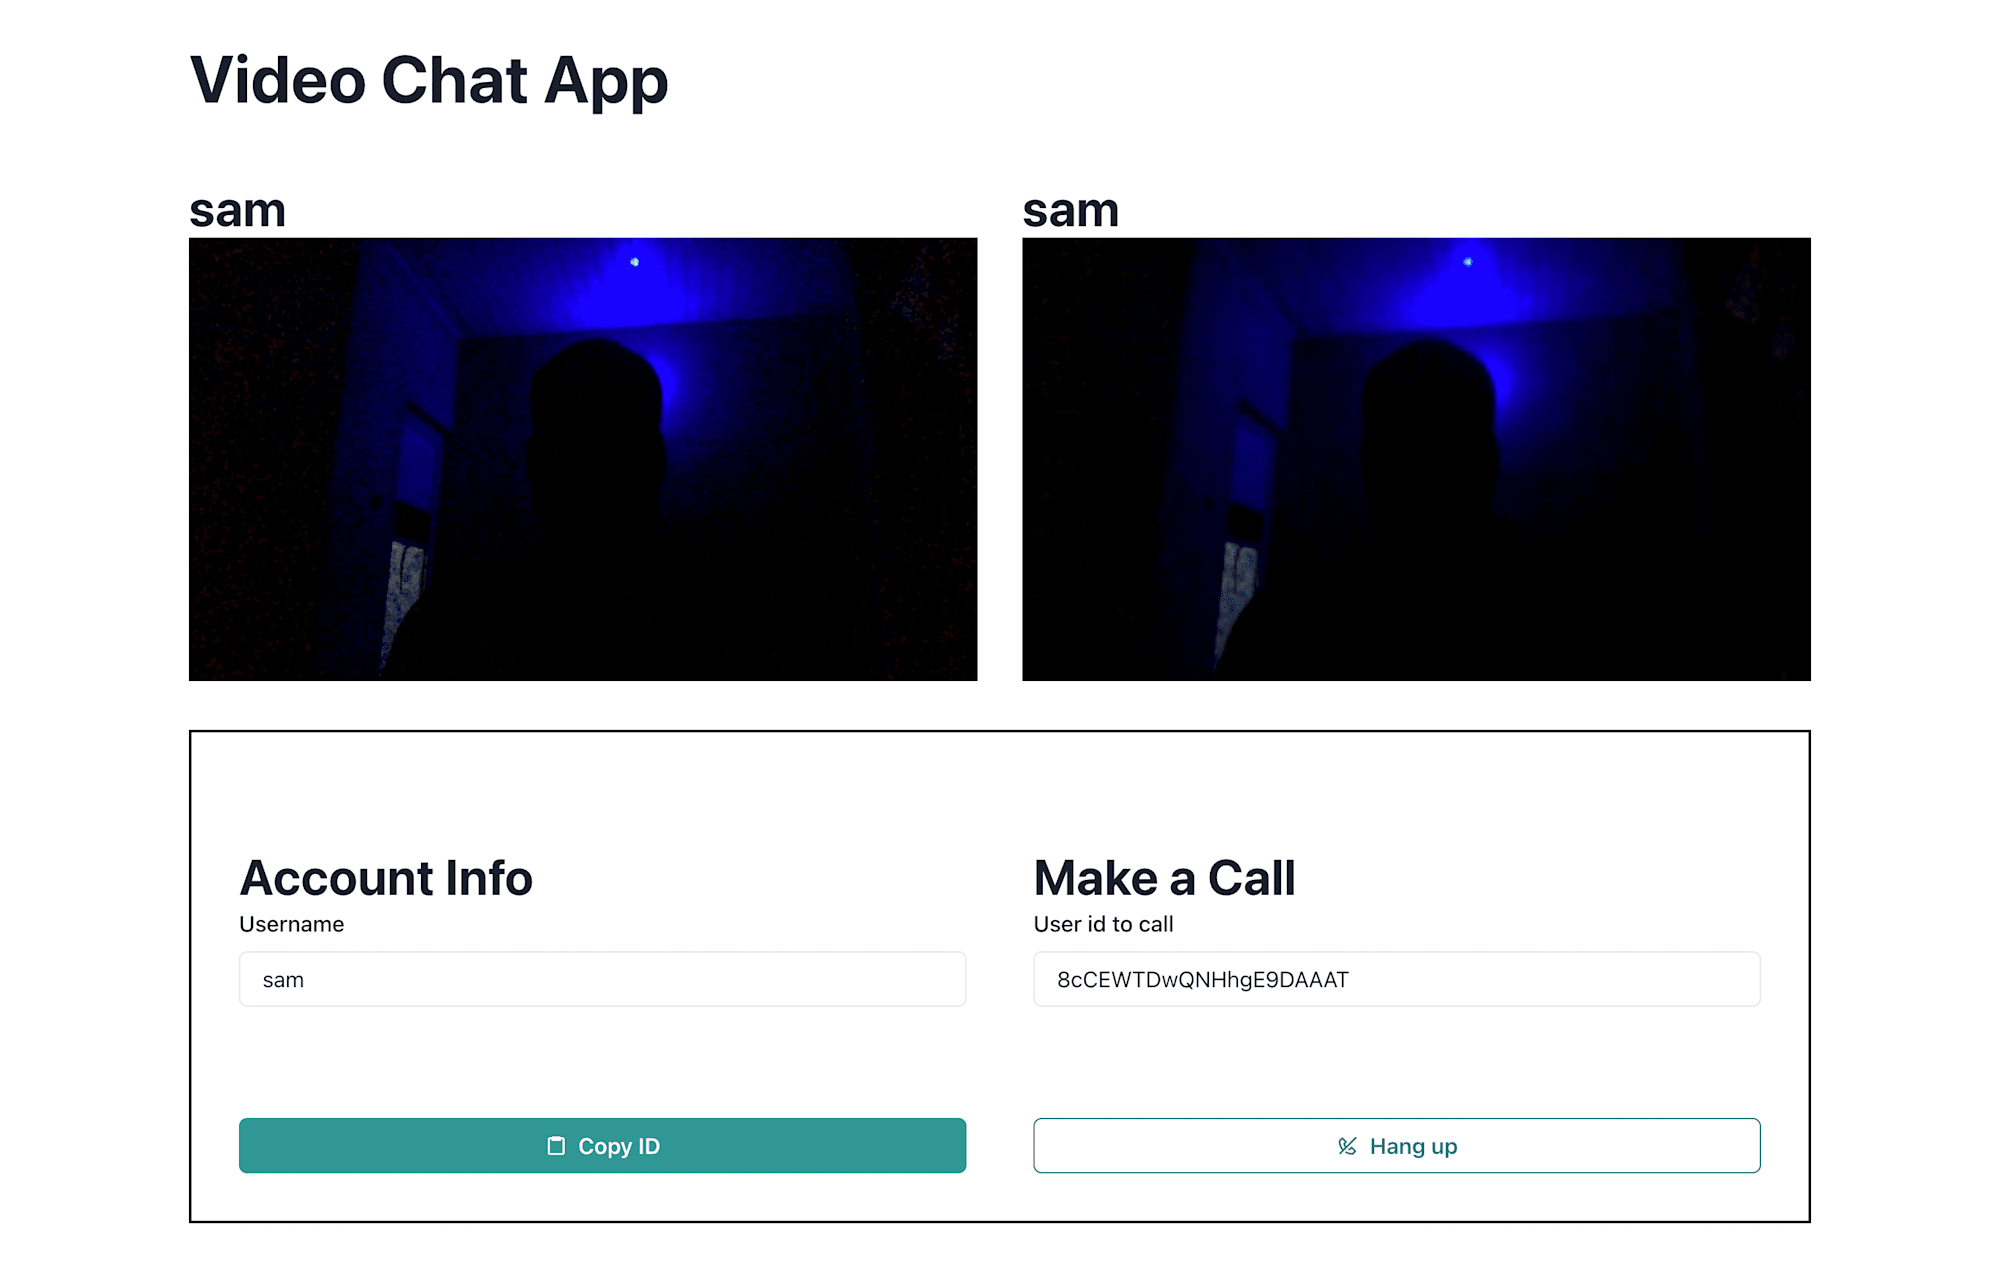
Awesome!
We’ve come to the end of this tutorial. We discussed about WebRTC and how it works, we then went on to build a React video chat app with Socket and Peer (a JS wrapper for WebRTC). I hope you learned one or two things from this.
Happy Coding!