Carousels, referred to as image sliders or sliders, provide an improved visual experience on websites by highlighting essential aspects of a product, service, or value proposition.
An image carousel is a series of images that are moved automatically with a timer or manually using some buttons.
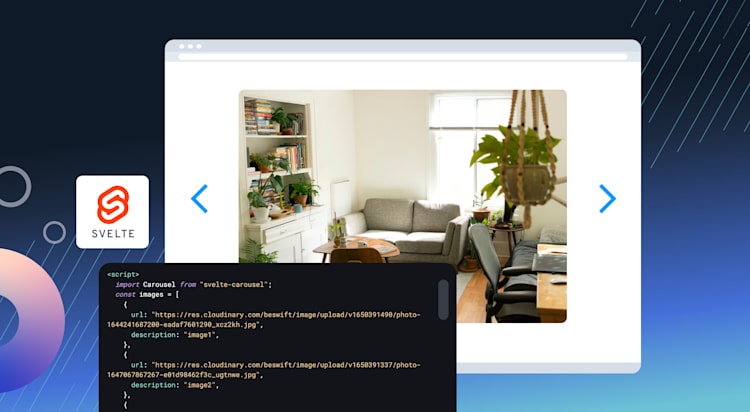
This article discusses three different ways you can add carousels to a Svelte application. You’ll get a Svelte carousel example for each of svelte-carousel, siema carousel, and svelte-transition.
The completed project is on CodeSandbox. Fork it via the link in the sandbox and run it to quickly get started.
View the source code on Github.
Before we start creating a Svelte image carousel, you should have:
- A basic understanding of HTML, CSS, and JavaScript.
- Node and its package manager, npm (we run the command
node -v && npm -vto verify we have them installed or install them from here). - A Cloudinary account for storing and delivering our images. You can create a Cloudinary account for free and for life and get full Cloudinary functionality, including of course, handling the Svelte image carousel.
- Knowledge of Svelte, which will help you follow this tutorial more easily.
Svelte is a radical new approach to building user interfaces. Svelte is a compiler and syntax. The entire Svelte project compiles into a single JavaScript file; it’s not an external library included in the bundle like React, which allows Svelte projects to be tiny and fast.
To set up our Svelte carousel project, we’ll open our terminal or command line and run:
npx degit sveltejs/template svelte-carousel
npm install
npm run dev
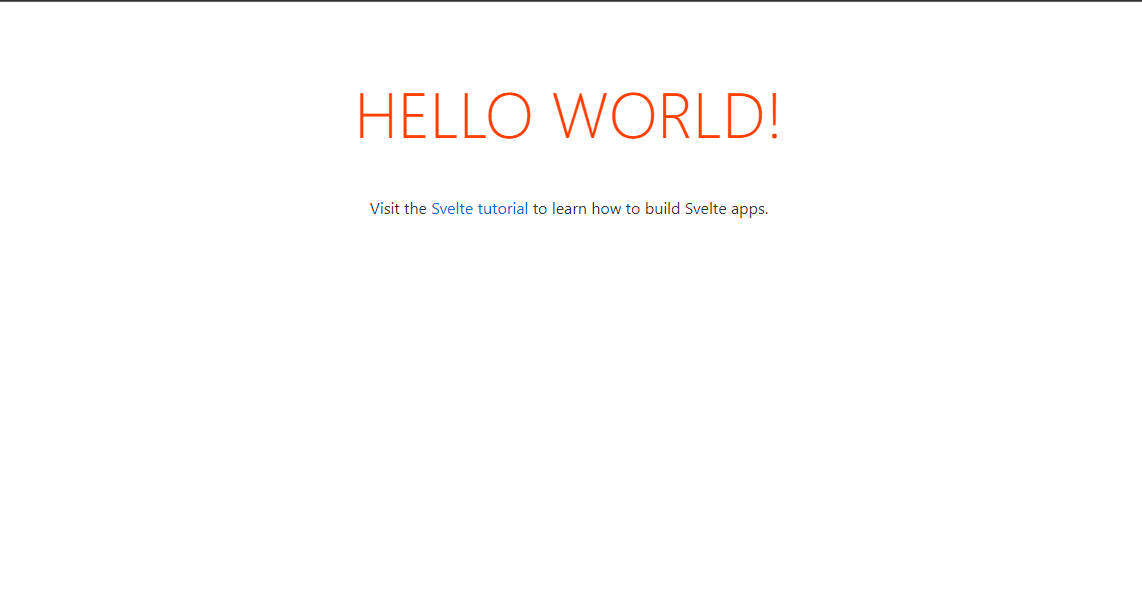
This will create a new project in the Svelte carousel directory, install its dependencies, and start a server on http://localhost:8080.
Carousels don’t automatically create optimal slide dimensions. We’ll use additional utilities or custom styles to size it appropriately.
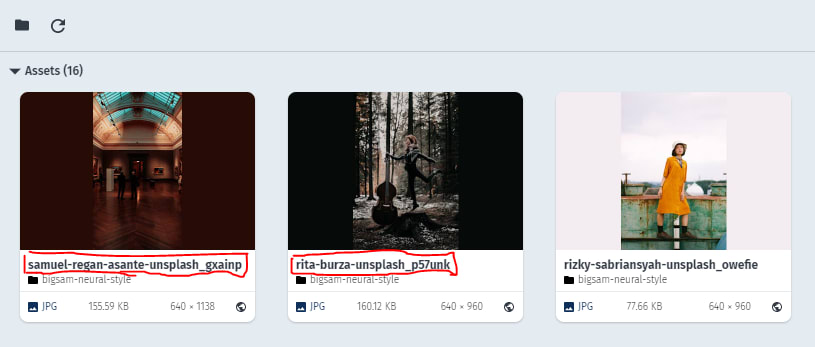
Cloudinary allows us to upload images via the dashboard by clicking the Media Library tab.
![]()
Next, we’ll need to copy the publicId for the saved images from our dashboard, which will be necessary to generate the article banner.
Svelte-carousel is an incredible component for Svelte 3. This carousel automatically cycles through a series of images, text, or custom markup. It supports next/prev controls and also supports indicators.
We’ll start by installing the svelte-carousel with the following command so that we have access to the carousel component:
npm install svelte-carousel
Next, let’s create a carousels folder in the src directory, and inside the folder, create SvelteCarousel.svelte file with the following code:
<script>
  import Carousel from "svelte-carousel";
  const images = [
    {
      url: "https://res.cloudinary.com/beswift/image/upload/v1650391490/photo-1644241687200-eadaf7601290_xcz2kh.jpg",
      description: "image1",
    },
    {
      url: "https://res.cloudinary.com/beswift/image/upload/v1650391337/photo-1647067867267-e01d98462f3c_ugtnwe.jpg",
      description: "image2",
    },
    {
      url: "https://res.cloudinary.com/beswift/image/upload/v1650391131/photo-1648800475313-2bb7fbec8701_ae60yw.jpg",
      description: "image3",
    },
    {
      url: "https://res.cloudinary.com/beswift/image/upload/v1650390102/photo-1649894222226-056a1a79d9fb_xlv73h.jpg",
      description: "image4",
    },
    {
      url: "https://res.cloudinary.com/beswift/image/upload/v1650389425/photo-1649894221695-45abb718a190_sgjhwd.jpg",
      description: "image5",
    },
  ];
  let carousel; // for calling methods of the carousel instance
  const handleNextClick = () => {
    carousel.goToNext();
  };
</script>

<Carousel
    bind:this={carousel}
    let:loaded
    autoplay
    autoplayDuration={3000}
    autoplayProgressVisible
>
    {#each images as src, imageIndex (src)}
      <div class="img-container">
        {#if loaded.includes(imageIndex)}
          <img src={src.url} alt={src.description} width={1000} height={600} />
        {/if}
      </div>
    {/each}
</Carousel>
Code language: HTML, XML (xml)
From the code snippet above, we’ll:
- Import the
Carouseldependency fromsvelte-carousel. - Create an array of items that contain the URL and descriptions of the images.
- Create a variable called
carouselfor calling methods of the carousel instance. - Declare a
handleNextClick()function. - Loop through the array with
#eachand then use thesrcas the key for the loop.
In the App.svelte, let’s clean it up, import the SvelteCarousel.svelte component, and render it.
<script>
import Carousel from './carousels/SvelteCarousel.svelte'
</script>
<main>
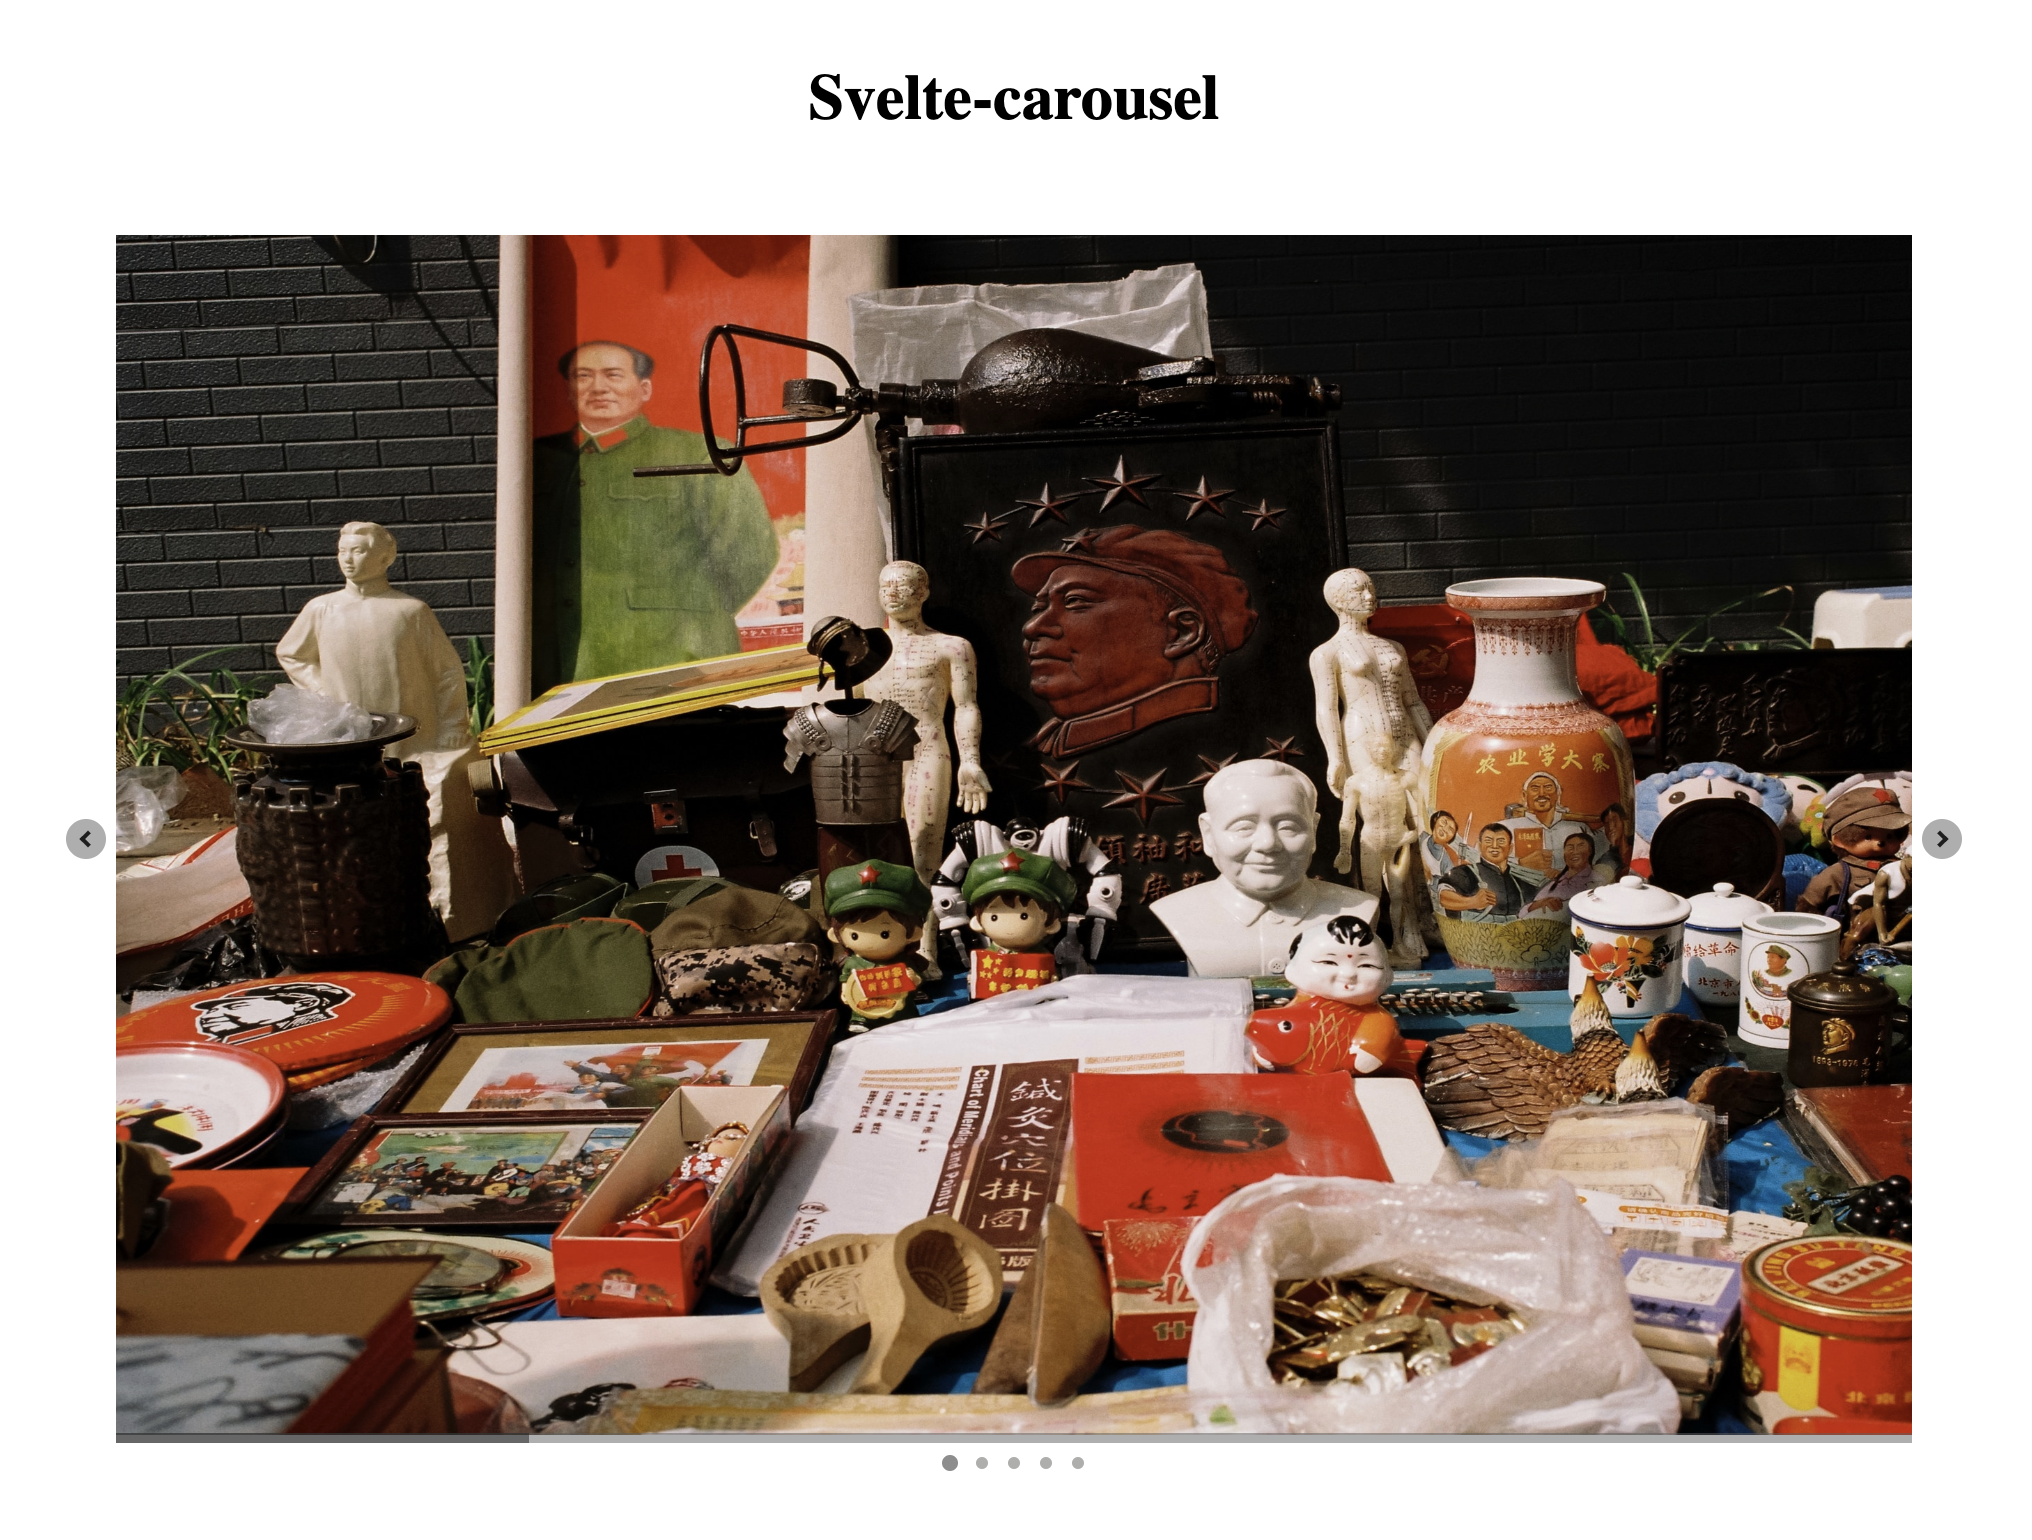
<h1>Svelte-carousel</h1>
<Carousel />
</main>
Code language: HTML, XML (xml)Now, if we go to the browser, we should see a functional carousel.
Svelte contains some in-built transitions that are useful for creating an easy animation. Let’s learn about transitions in Svelte by creating an image carousel component.
We’ll create a new file called SvelteTransition.svelte file in the src directory and start adding a simple image component.
<script>
    import {slide, fade} from 'svelte/transition';
    import {elasticInOut} from 'svelte/easing';
  const gallery_items = [
    {
      url: "https://res.cloudinary.com/beswift/image/upload/v1650390102/photo-1649894222226-056a1a79d9fb_xlv73h.jpg",
      description: "Dog",
    },
    {
      url: "https://res.cloudinary.com/beswift/image/upload/v1650391131/photo-1648800475313-2bb7fbec8701_ae60yw.jpg",
      description: "Building",
    },
    {
      url: "https://res.cloudinary.com/beswift/image/upload/v1650391337/photo-1647067867267-e01d98462f3c_ugtnwe.jpg",
      description: "Staircase",
    },
    {
      url: "https://res.cloudinary.com/beswift/image/upload/v1650391490/photo-1644241687200-eadaf7601290_xcz2kh.jpg",
      description: "Staircase",
    },
  ];
  let currentSlideItem = 0;
  const nextImage = () => {
    currentSlideItem = (currentSlideItem + 1) % gallery_items.length;
  }
  const prevImage = () => {
    if (currentSlideItem != 0) {
        currentSlideItem = (currentSlideItem - 1) % gallery_items.length;
    } else {
        currentSlideItem = gallery_items.length - 1;
    }
  }
</script>

  {#each [gallery_items[currentSlideItem]] as item (currentSlideItem)}
    <img in:slide="{{ duration: 1000, easing: elasticInOut}}" out:fade src={item.url} alt={item.description} width={1000} height={600}/>
  {/each}
  <div class="carousel-buttons">
    <button class="btn" on:click={() => prevImage()}>Previous</button>
    <button class="btn" on:click={() => nextImage()}>Next</button>
  </div>
Code language: HTML, XML (xml)
From the code snippet above, we’ll:
- Import the required dependencies from
svelte/transition. - Create an array of items that contain the URL and descriptions of the images.
- Create a variable called
currentSlideItem()which will decide the item to show from the array. - Declare
nextImage()andprevImage()function that’ll control the carousel. - Loop through the array with
#eachand then using thesrcas the key for the loop. - Invoke the
nextImage()andprevImage()inside thebuttonelement.
In the App.svelte, we’ll import the SvelteTransition.svelte component, and render it.
<script>
import Carousel from './carousels/SvelteCarousel.svelte'
import SvelteTransition from './carousels/SvelteTransition.svelte'
</script>
<main>
<h1>Svelte-carousel</h1>
<Carousel />
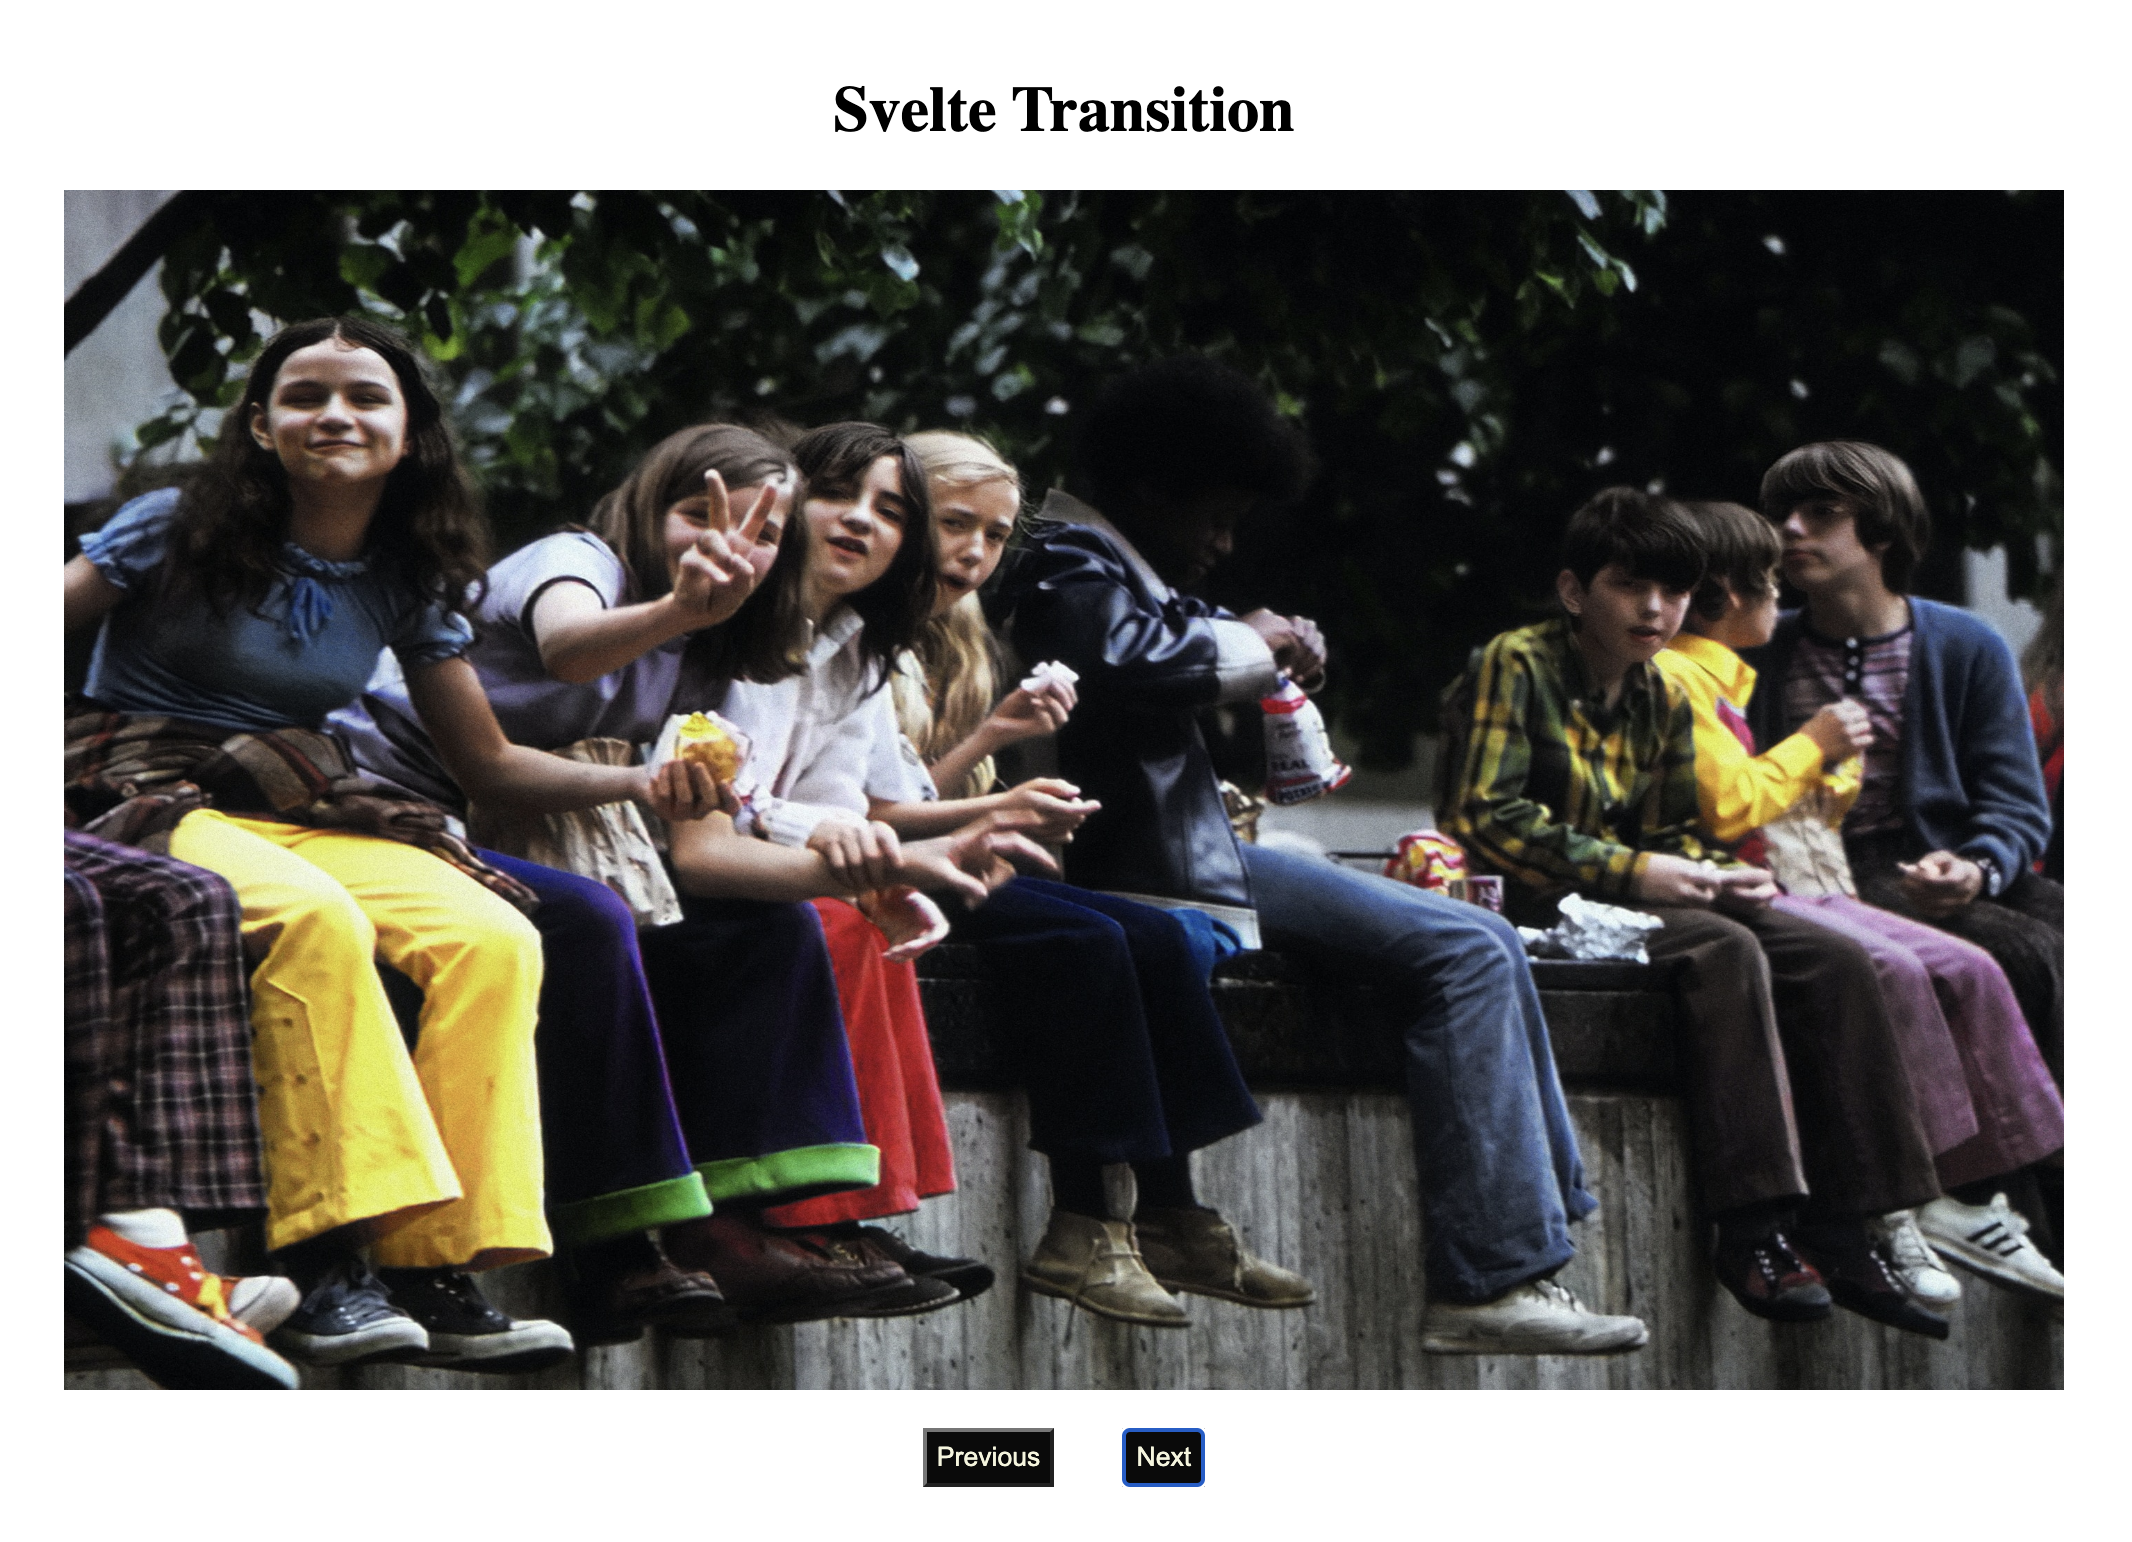
<h1>Svelte Transition</h1>
<SvelteTransition />
</main>
Code language: HTML, XML (xml)Now, from the browser, we would see a functional carousel.
Siema is a lightweight (only 3kb gzipped) carousel plugin without dependencies or styling. It’s 100% open source and available on Github. Also, it’s free to use on personal and commercial projects.
We’ll start by installing siema with the following command so that we’ll have access to the carousel component:
    <script>
        import Siema from 'siema';
        import { onMount } from 'svelte';

        let slider, prev, next, radioSlider
        let select = 0

        onMount(() => {
            slider = new Siema({
                    selector: '.siema',
                    duration: 200,
                    easing: 'ease-in-out',
                    perPage: 2,
                    startIndex: 0,
                    draggable: true,
                    multipleDrag: true,
                    threshold: 20,
                    loop: true,
                    rtl: false,
                    onInit: () => {},
                    onChange: () => {},
                }); //end Siema constructor
            prev = () => {
                slider.prev()
                if (select > 0) {
                    select--
                }
            }
            next = () => {
                slider.next()
                if (select >= 0) {
                    select++
                }
            }
        }) //end onMount
      const images = [
        {
          url: "https://res.cloudinary.com/beswift/image/upload/v1650391490/photo-1644241687200-eadaf7601290_xcz2kh.jpg",
          description: "image1",
        },
        {
          url: "https://res.cloudinary.com/beswift/image/upload/v1650391337/photo-1647067867267-e01d98462f3c_ugtnwe.jpg",
          description: "image2",
        },
        {
          url: "https://res.cloudinary.com/beswift/image/upload/v1650391131/photo-1648800475313-2bb7fbec8701_ae60yw.jpg",
          description: "image3",
        },
        {
          url: "https://res.cloudinary.com/beswift/image/upload/v1650390102/photo-1649894222226-056a1a79d9fb_xlv73h.jpg",
          description: "image4",
        },
        {
          url: "https://res.cloudinary.com/beswift/image/upload/v1650389425/photo-1649894221695-45abb718a190_sgjhwd.jpg",
          description: "image5",
        },
      ];
    </script>
    <main>
        <div class="siema">
        {#each images as src, imageIndex (src)}
          <div class="slider">
              <img src={src.url} alt={src.description} width={1000} height={600} />
          </div>
        {/each}
        </div>
    </main>
    <button on:click={prev}>
        prev
    </button>
    <button on:click={next}>
        next
    </button>
Code language: HTML, XML (xml)
From the code snippet above, we’ll:
- Import the required dependencies.
- Create an array of items that contain the URL and descriptions of the images.
- Passed the
Siema()constructoronMountof the app. TheSiema()constructor has argument ofselector,duration,easing,perPage,startIndex,draggable,multipleDrag, etc. - Declare
prev()andnext()function that’ll control the carousel. - Loop through the array with
#eachand then using thesrcas the key for the loop. - Invoke the
next()andprev()inside thebuttonelement.
In the App.svelte, we’ll import the SvelteSiema.svelte component, and render it.
<script>
    import Carousel from './carousels/SvelteCarousel.svelte'
    import SvelteTransition from './carousels/SvelteTransition.svelte'
    import SvelteSiema from './carousels/SvelteSiema.svelte'
</script>

<main>
    <h1>Svelte-carousel</h1>
      <Carousel />
    <h1>Svelte Transition</h1>
      <SvelteTransition />
    <h1>Svelte Transition</h1>
      <SvelteTransition />
</main>
Code language: HTML, XML (xml)
Now, if we go over to the browser, we should see a functional carousel.

We discussed three different ways to add a carousel in a Svelte project. Although this article covers the basic implementation of these carousels, there are more configurations in their various documentation.