As digital representations of objects, replete with textures, colors, and patterns, three-dimensional (3D) images tell stories much more realistically than 2D ones. Formerly leveraged mostly in games and architecture, 3D assets are valuable and becoming ubiquitous, from educational tools to shopping apps, because technologies for augmented reality (AR) and virtual reality (VR) are trending mainstream, largely thanks to the metaverse.
3D AR technology expands beyond traditional platforms, offering immersive experiences through various devices such as AR glasses, smartphones, and tablets. This versatility allows users to interact with 3D objects in real-time, whether for educational purposes, like exploring anatomical systems through Google 3D & AR, or for entertainment, as seen in QuiverVision 3D Augmented Reality coloring apps.
Since building 3D models involves a markedly different process from that for standard images or videos, importing and optimizing those models and rendering them across devices can be challenging. This tutorial describes how to upload 3D images to the Cloudinary Media Library and, subsequently, publish them on a webpage with Cloudinary’s new AR-3D viewer, delivering an engaging user experience.
It’s important to ensure these 3D models are visually appealing and accurately scaled and identified within the AR environment. Precise 3D identification of virtual and real objects enhances the realism and interactivity of AR, making the experience more engaging and useful for users.
Uploading 3D assets to Cloudinary is a breeze, as shown in the procedure below for uploading two free, low-poly ones: Kozlov Maksim’s desk lamp and Vladek’s living room.
- If you haven’t already, create a free Cloudinary account, which offers credits for storage, bandwidth, and transformations.
- Compress the two 3D files—in GLB, glTF, or Glitz format; and any texture—into a ZIP file and then upload it by taking either of these two steps:
- Drag and drop the file into your Media Library on Cloudinary, like this:
- Programmatically upload the file with the SDK. Specify `image` as the resource type (
resource_type), like this: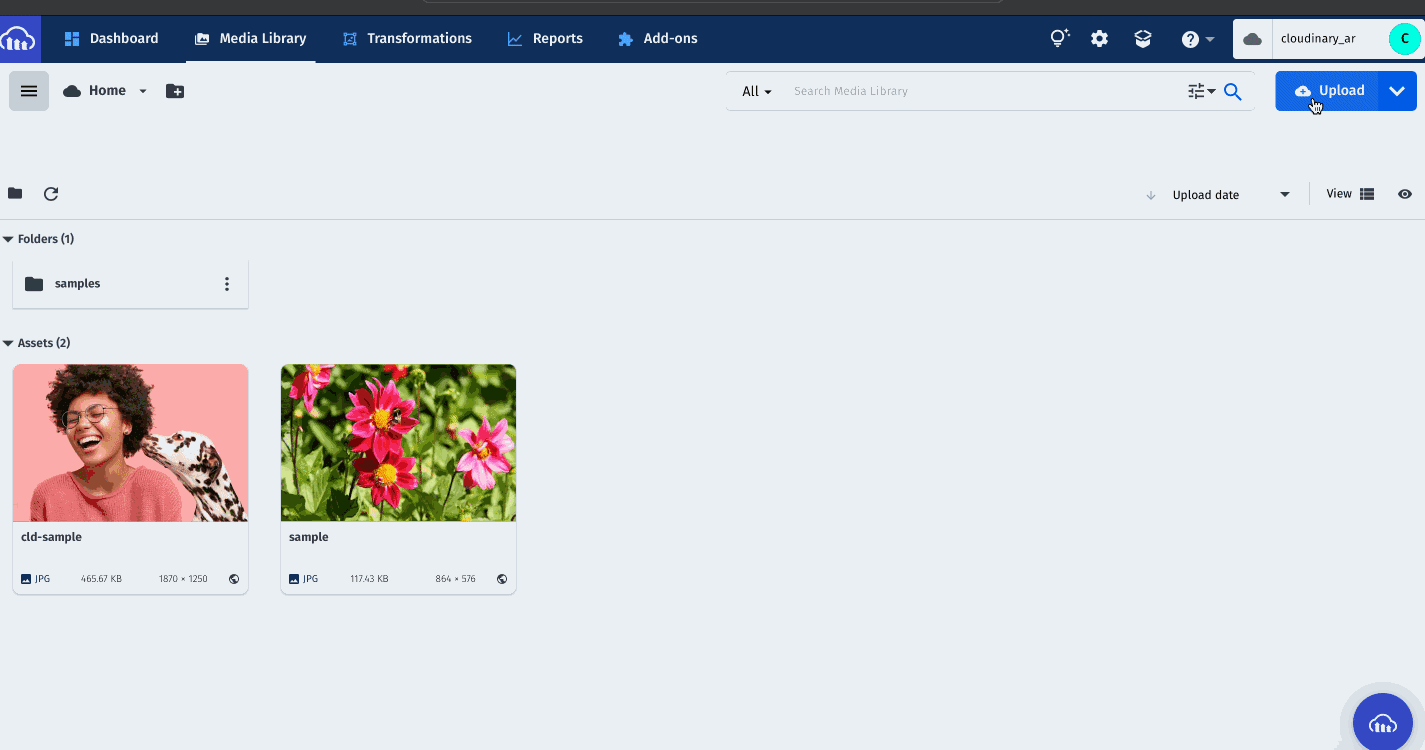
- Drag and drop the file into your Media Library on Cloudinary, like this:
const cloudinary = require("cloudinary");
cloudinary.v2.uploader.upload(
"path/to/desk_lamp.zip",
{ resource_type: "image" },
(error, result) => {
console.log(result, error);
}
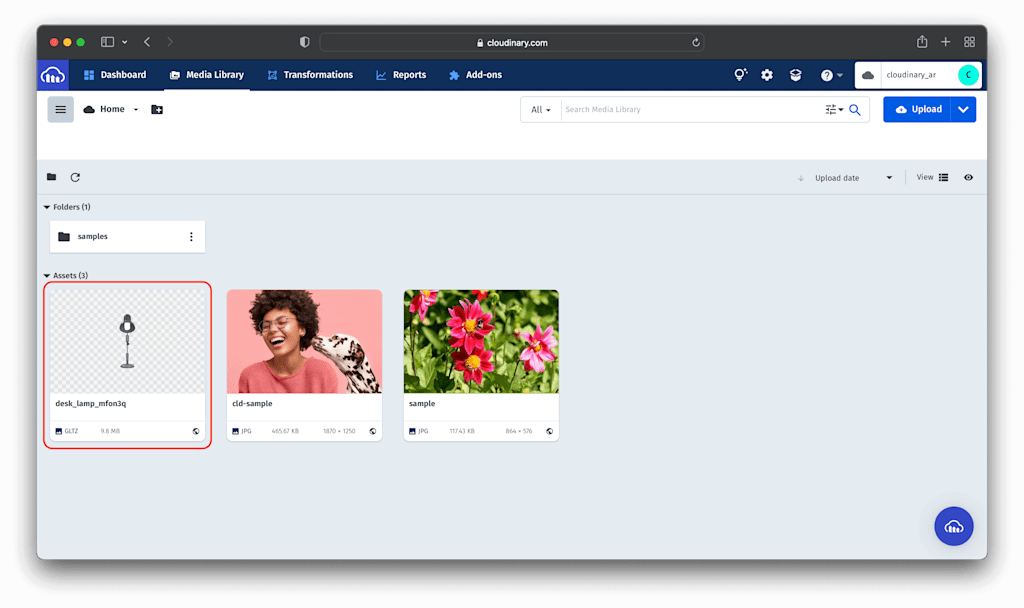
);Code language: JavaScript (javascript)Uploading takes only a second or two. The Media library then displays the 3D asset’s primary scene:
Next, build a webpage with Cloudinary’s AR SDK—a seamless process.
You can add 3D assets to apps so that consumers can interact with those images from a browser or bring the images to their environment on mobile devices through AR.
Here’s what to do: Add the CDN script for the AR-3D viewer, which contains the <ar-3d-viewer> component for use anywhere in your app, to an HTML file’s head section:
<head>
  <script src="https://ar-3d-viewer.cloudinary.com/main.js"></script>
</head>
<body></body>Code language: HTML, XML (xml)<html>
<head>
<script src="https://ar-3d-viewer.cloudinary.com/main.js"></script>
</head>
<body>
<div>
<ar-3d-viewer cloud="YOUR_CLOUD_NAME" models="MODEL_NAME">
</ar-3d-viewer>
</div>
</body>
</html>Code language: HTML, XML (xml)The cloud parameter and models property are the prerequisites for <ar-3d-viewer>. Add them by following the steps in the next two sections.
The value for cloud is your Cloudinary account’s cloud name, set by you or by Cloudinary during registration and displayed in your dashboard’s top-right corner. The cloud name for this tutorial is cloudinary_ar.
The value for models is the Cloudinary-assigned name of the 3D asset you uploaded.
Now update the code with the values for cloud and models under ar-3d-viewer:
<html>
<head>
<script src="https://ar-3d-viewer.cloudinary.com/main.js"></script>
</head>
<body>
<div>
<ar-3d-viewer cloud="cloudinary_ar" models="desk_lamp_mfon3q">
</ar-3d-viewer>
</div>
</body>
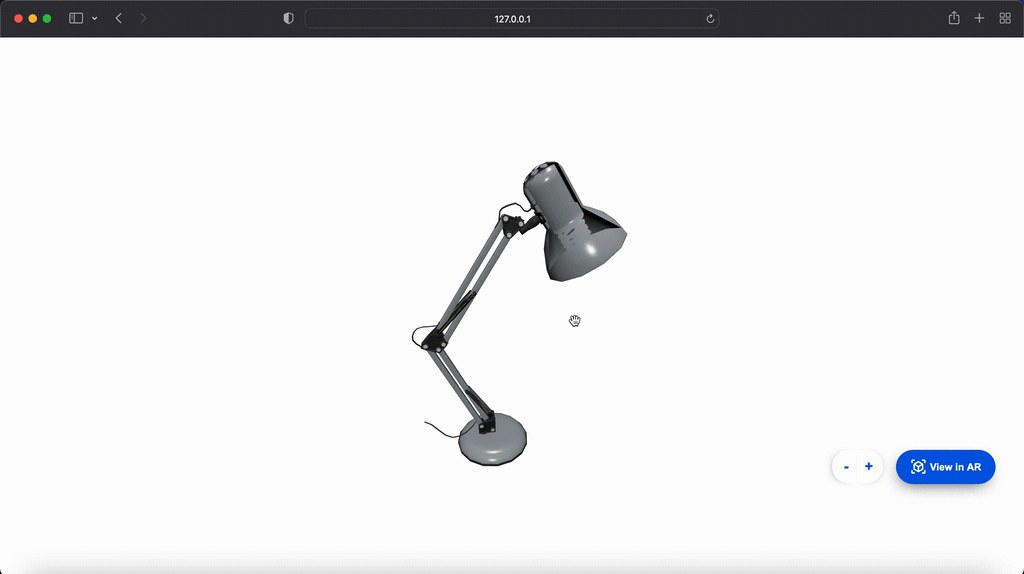
</html>Code language: HTML, XML (xml)Running the above code in a browser displays the interactive 3D model (Koslov Maksim’s low-poly desk lamp). Clicking the View in AR button nearby generates a QR code for viewing the model on a mobile device.
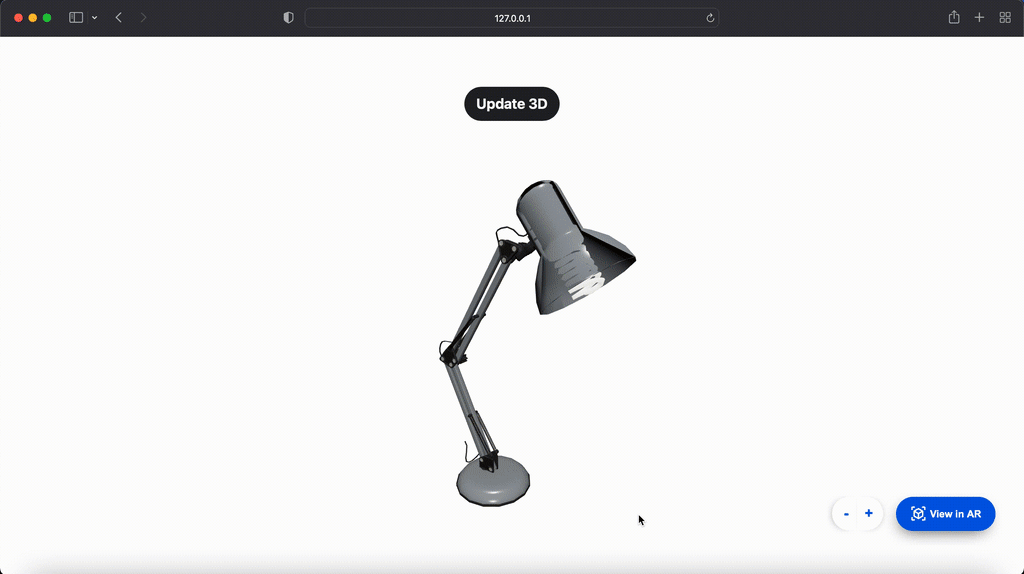
The ar-3d-viewer properties are reactive so feel free to update them. For example, to add the 3D image Vladek’s low-poly living room from your Media Library, update the code like this:
<html>
  <head>
    <script src="https://ar-3d-viewer.cloudinary.com/main.js"></script>
    <script>
      function updateModel() {
        document.getElementsByTagName(
          "ar-3d-viewer"
        )[0].attributes.models.value = "living_room";
      }
    </script>
  </head>
  <body>
    <button onclick="updateModel()">Update 3D</button>
    <div style="height: 75vh">
      <ar-3d-viewer cloud="cloudinary_ar" models="desk_lamp_mfon3q"> </ar-3d-viewer>
    </div>
  </body>
</html>Code language: HTML, XML (xml)
Running the updated code in a browser displays both images, one after the other.
With the AR-3D viewer, you can also add hotspots, i.e., labels, along with explanations to regions of 3D assets. You can also create buttons for specific actions.
A hotspot requires two attributes:
slot: A unique ID (hotspot-id) with the syntaxhotspot-<unique number>.data-position: The hotspot’s x, y, and z coordinates.
See this code example:
<ar-3d-viewer cloud="cloudinary_ar" models="desk_lamp_mfon3q">
  <button
    slot="hotspot-1"
    data-position="-20 20 -4"
    onclick="showLampDescription()"
  >
    Lamp Middle
  </button>
  <label slot="hotspot-2" data-position="20 30 35">Light Source</label>
  <label slot="hotspot-3" data-position="-4 0.1 0.17"> Lamp Stand </label>
</ar-3d-viewer>Code language: HTML, XML (xml)
Running the above code in a browser displays the lamp with the hotspot labels.
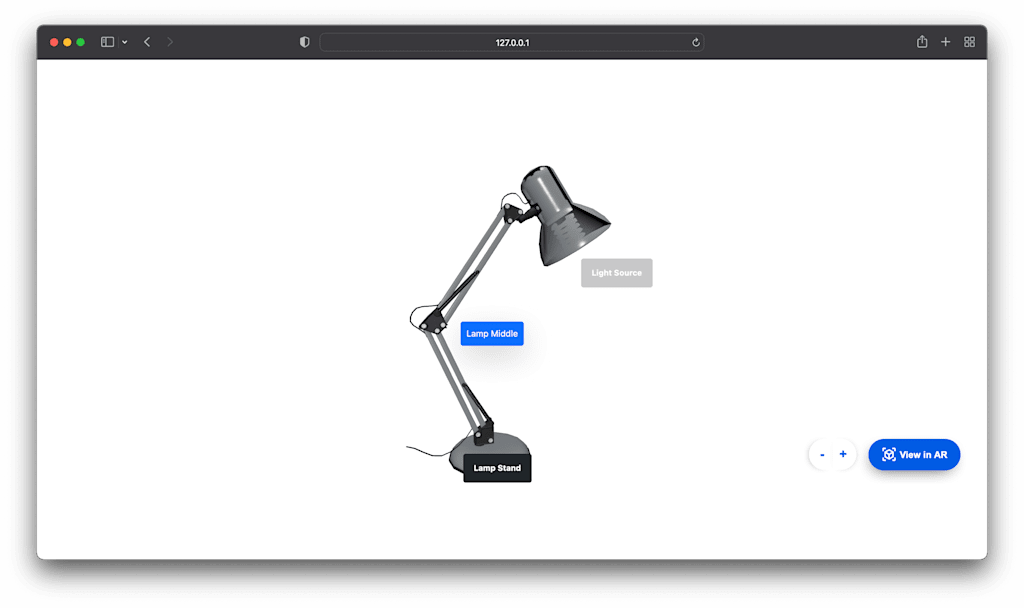
Besides labeling, hotspots facilitate interactions and promote purchases. For this lamp model on a product page, you could create a hotspot button for adding the corresponding lightbulb to shopping carts.
Recall that the default *View in AR* button, which accompanies 3D assets, generates a QR code. By scanning that code on a mobile phone, consumers can view the 3D asset.
To disable the button, set ar to false under ar-3d-viewer:
<ar-3d-viewer ar="false">
</ar-3d-viewer>Code language: HTML, XML (xml)
Alternatively, customize that button, e.g., to match branding, by adding the slot attribute and specifying its class name:
<ar-3d-viewer>
    <button slot="ar-button" className="some-class-name">
        Custom AR button
    </button>
</ar-3d-viewer>Code language: HTML, XML (xml)How about replacing the website’s default preloader with a custom version, e.g., one that displays your company logo during image loads? To do that, add a slot attribute:
<ar-3d-viewer>
  <div slot="loader" className="my-loader-class-name">
    <img src="/path/to/loader.gif" alt="" />
  </div>
</ar-3d-viewer>Code language: HTML, XML (xml)With AR, VR, and the metaverse reshaping the digital sphere, 3D assets are playing a major role in three areas:
- E-commerce — The content you create by leveraging Cloudinary’s 3D rendering capabilities enables shoppers to conveniently explore products in detail online, as demonstrated by the desk-lamp example in this tutorial.
- Virtual collaboration and communication — Thanks to AR and VR, you can interact remotely and effectively with coworkers. And 3D assets play an important part in establishing props for virtual landscapes.
- Education — 3D technologies are gaining popularity in classrooms. The apps in question range from those that explain the solar system in captivating graphics to ones that offer risk-free training in industries like medicine and carpentry.
Concurrently, the potential for personal, professional, and academic advancement has never been stronger, making for a promising horizon ahead.
A major benefit of 3D models in shopping apps, a feature most shoppers have come to expect, is the ability to explore details of merchandise from various angles, which helps make wise purchase decisions. Take advantage of Cloudinary to enhance customer experience and boost sales. Do have a look.