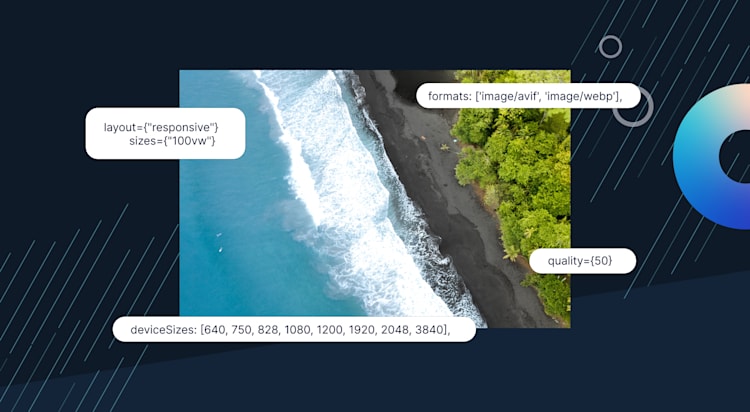
Next.js has a built-in Image Component that automatically optimizes images for your website or application. The default loader for Next.js applications uses the built-in Image Optimization API. This API optimizes images from anywhere on the web and serves them directly from the Next.js web server.
Next.js provides a built-in next/image component that simplifies the process of optimizing and serving images in your applications. With next/image, you can automatically resize, optimize, and serve images in modern formats like WebP , based on the user’s requirements and device capabilities. This component replaces the traditional <img> tag, resulting in better performance and improved user experience.
The Image Component provides Next/image, an extension of the HTML img element. It can automatically resize, optimize, and serve images in modern formats like WebP. You can specify a loader for Next/image: this is a function that returns a URL string for the image. The parameters for the loader are: src, width, quality.
It’s important to note that the term “Nextimage” has multiple meanings. Beyond its use in Next.js, Nextimage is also known as a large format scanning software from Contex. This software, distinct from web development, offers capabilities like scanning to multipage PDF or TIF, batch mode for higher volume jobs, and real-time image adjustments.
Under the hood, the Next.js [Image Optimizer](https://cloudinary.com/tools/image-optimizer) provides on-demand image processing without the need for additional build steps, including support for both local and remote image sources, ensuring a seamless and efficient usage in Next.js applications.
You can also use a loader to append a domain URL to a local image. This makes it possible to serve the image from a content delivery network (CDN). For example, you can configure next.config.js with the following to serve images via Cloudinary, an image management service with a built-in fast CDN:
   module.exports = {
      images: {
        loader: 'cloudinary',
        path: 'https://res.cloudinary.com/ugwutotheeshoes/image/upload/',
      },
    }
Cloudinary offers a media management solution to manage, optimize, transform, and deliver visual media. You can get Cloudinary for free for life. You can sign up today and get started with using Cloudinary with the Next JS image loader.
Cloudinary goes way beyond CDN: it can be used as a custom loader in Next.js to optimize rendered images (and lots more, of course). In the rest of this article, we’ll show how to use Cloudinary to automatically optimize your image in Next.js.
This project is completed on CodeSandbox, and you can fork it to get started quickly.
You can also find the source code on GitHub.
To follow the steps in this article, you should have:
- Adequate knowledge of JavaScript and React.js.
- The latest version of Node.js installed.
- A terminal such as ITerm2(MacOS) or Git bash (Windows).
- A Cloudinary account. If you don’t have one now, create a free Cloudinary account now. It only takes a second, and you can use it for free for life!
After successfully creating an account, Cloudinary will redirect us to our account’s dashboard, where we’ll see account details that will be useful later, including:
- Cloud name
- API Key
- API Secret
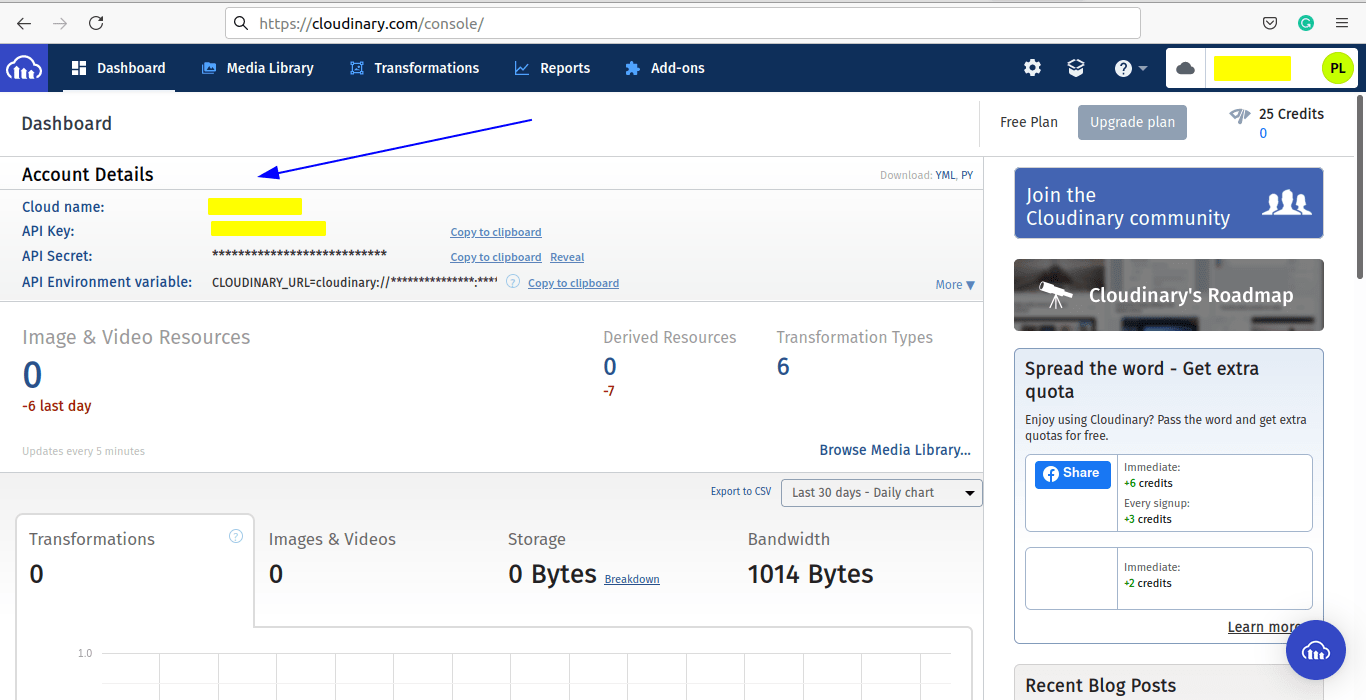
NOTE: Don’t share your Cloudindary credentials with anyone.
We’ll create a Next.js app in a new folder called custom-loader-app by running the following command in our terminal:
npx create-next-app custom-loader-app
Next, we’ll navigate to the project directory.
cd custom-loader-app
Then, we’ll install the Cloudinary React SDK and Lodash.
    npm install cloudinary-react
    npm install lodash
Running npm run dev starts a local development environment.
Next.js provides the next/image module, a wrapper of the HTML Img element. Next/image bakes in various performance optimizations, improving the core web vitals of pages using it. Next/image supports both local and hosted images.
In our project’s pages/components directory, we’ll create a file called NextImage.js with the following content:
    import React from "react";
    import Image from "next/image";
    import styles from "/styles/Home.module.css";
    const NextImage = () => {
      return (
        <div className={styles.imagecontainer}>
          <Image
            className={styles.image}
            src="/small-dog.jpg"
            alt="Food"
            width={450}
            height={280}
          />
          <h1 className={styles.nextcard}>Next Image</h1>
        </div>
      );
    };
    export default NextImage;
Here, we’ve imported the next/image and rendered a local image. This image file with the title small-dog.jpg is in the project’s public directory.
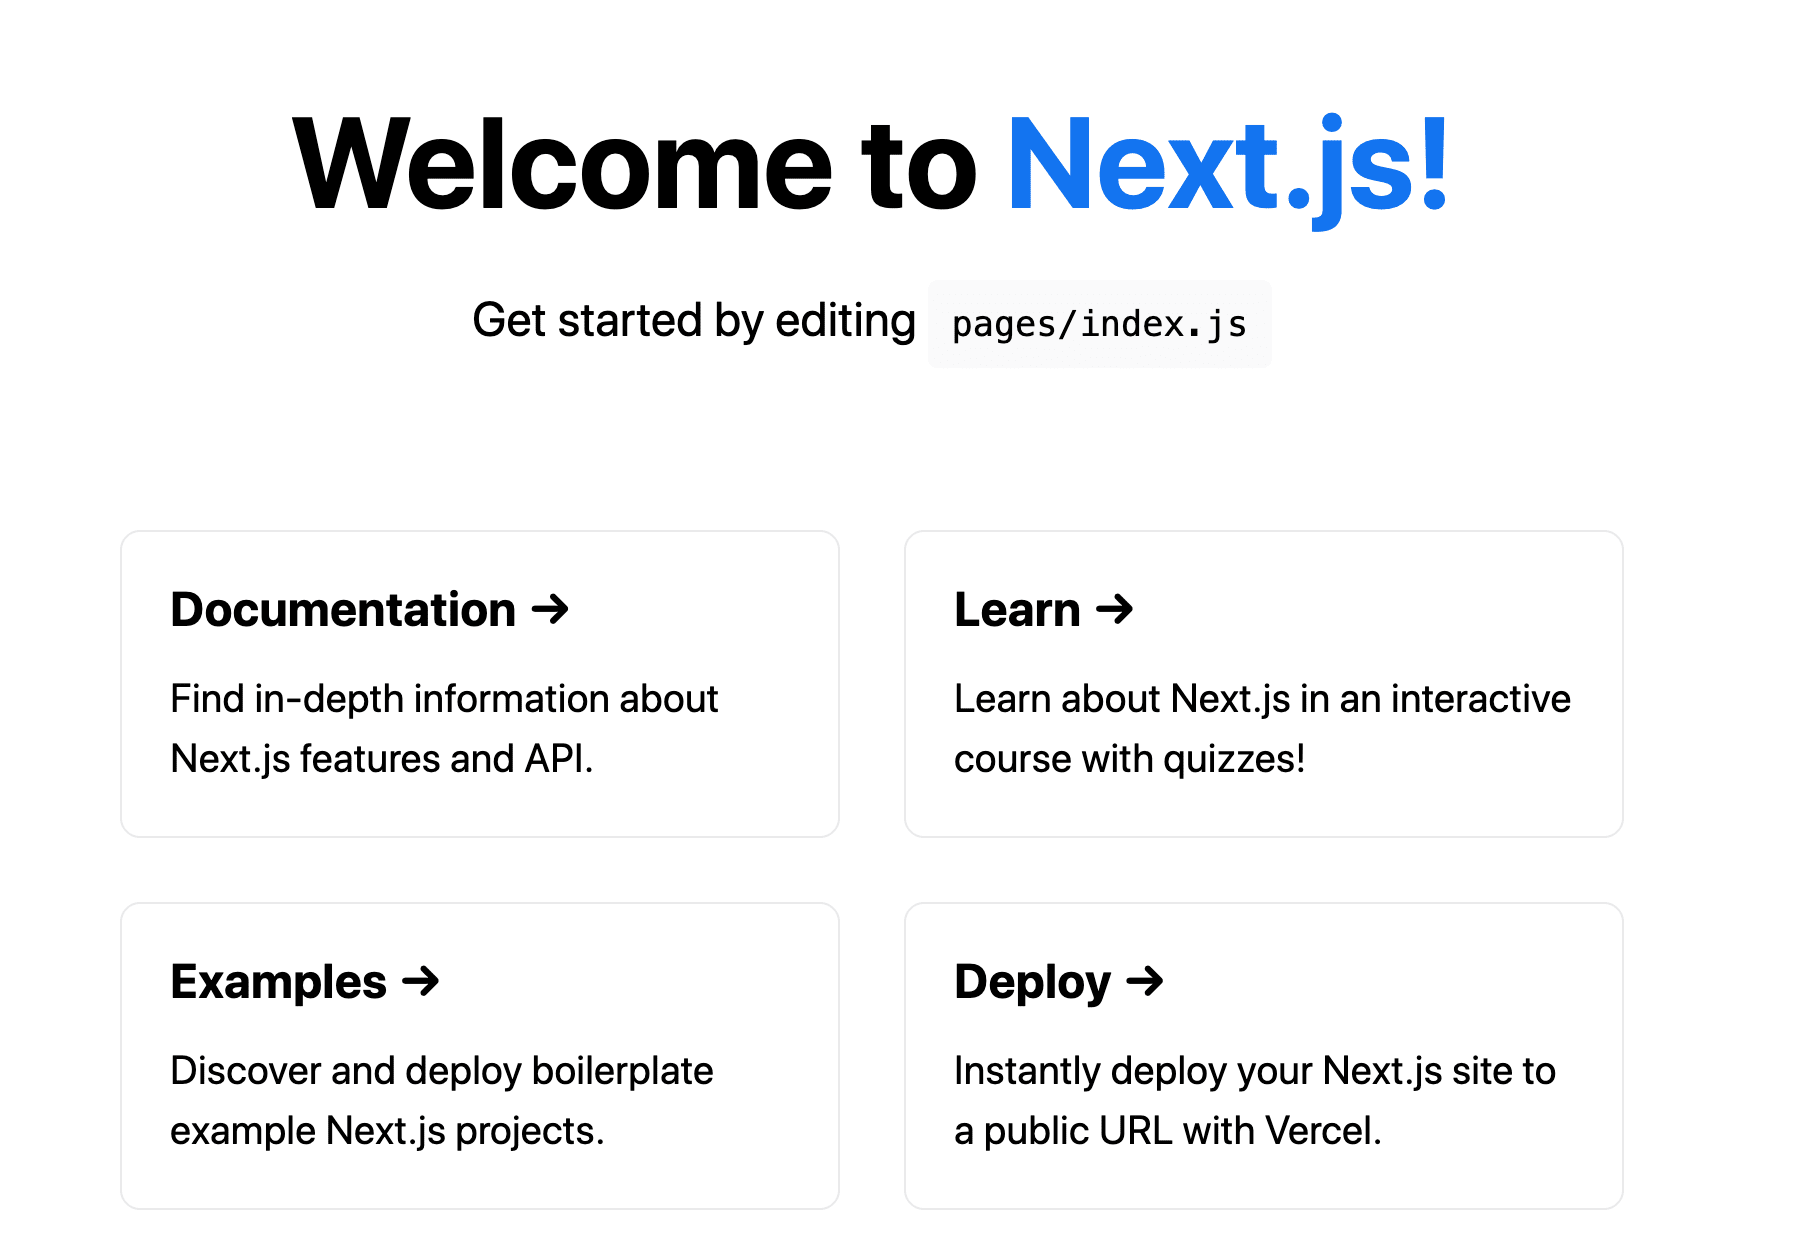
Next, we’ll import and render the NextImage component into the home page on pages/index.js by replacing the existing content with:
    import Nextimage from "./components/NextImage";
    import styles from "../styles/Home.module.css";
    export default function Home() {
      return (
        <div className={styles.container}>
          <h1>Image Optimization</h1>
          <main className={styles.main}>
          <Nextimage />
          </main>
        </div>
      );
    }
Next/image allows the specification of a loader, which appends a domain URL to a local image, thereby serving the image from a content delivery network (CDN) and providing other optimization capabilities.
We’ll require an Image component utilizing a loader. To do this, we’ll create a file in pages/components/ titled CloudinaryImage with the following content:
    import React from "react";
    import styles from "/styles/Home.module.css";
    import Image from "next/image";
    const CloudinaryImage = () => {
      const cloudinaryImageLoader = ({ src }) => {
        return `https://res.cloudinary.com/ugwutotheeshoes/image/upload/bo_10px_solid_rgb:f78585,e_blur:290,b_rgb:e1e6e9,c_scale,r_10,h_280,w_450/v1632752254/${src}`;
      };
      return (
        <div className={styles.nextcard}>
          <Image
            loader={cloudinaryImageLoader}
            src="eatery/item-8.jpg"
            alt="Food"
            width={450}
            height={280}
          />
          <h1>Cloudinary Image</h1>
        </div>
      );
    };
    export default CloudinaryImage;
We’ve specified a custom loader in the next/image Image component using Cloudinary. The loader defines a border, blur, crop, height, width, and radius applied as transformations.
Alternatively, we could specify the Cloudinary as a loader in next.config.js by updating the file to:
    module.exports = {
      images: {
        loader: 'cloudinary',
        path: 'https://res.cloudinary.com/ugwutotheeshoes/image/upload/',
      },
    }
Lastly, we’ll add the created CloudinaryImage component to our home page, updating the pages/index.js file to:
import Nextimage from "./components/NextImage";
import Cloudinary from "./components/CloudinaryImage";
import styles from "../styles/Home.module.css";
export default function Home() {
  return (
    <div className={styles.container}>
      <h1>Image Optimization</h1>
      <main className={styles.main}>
        <Nextimage />
        <Cloudinary />
      </main>
    </div>
  );
}
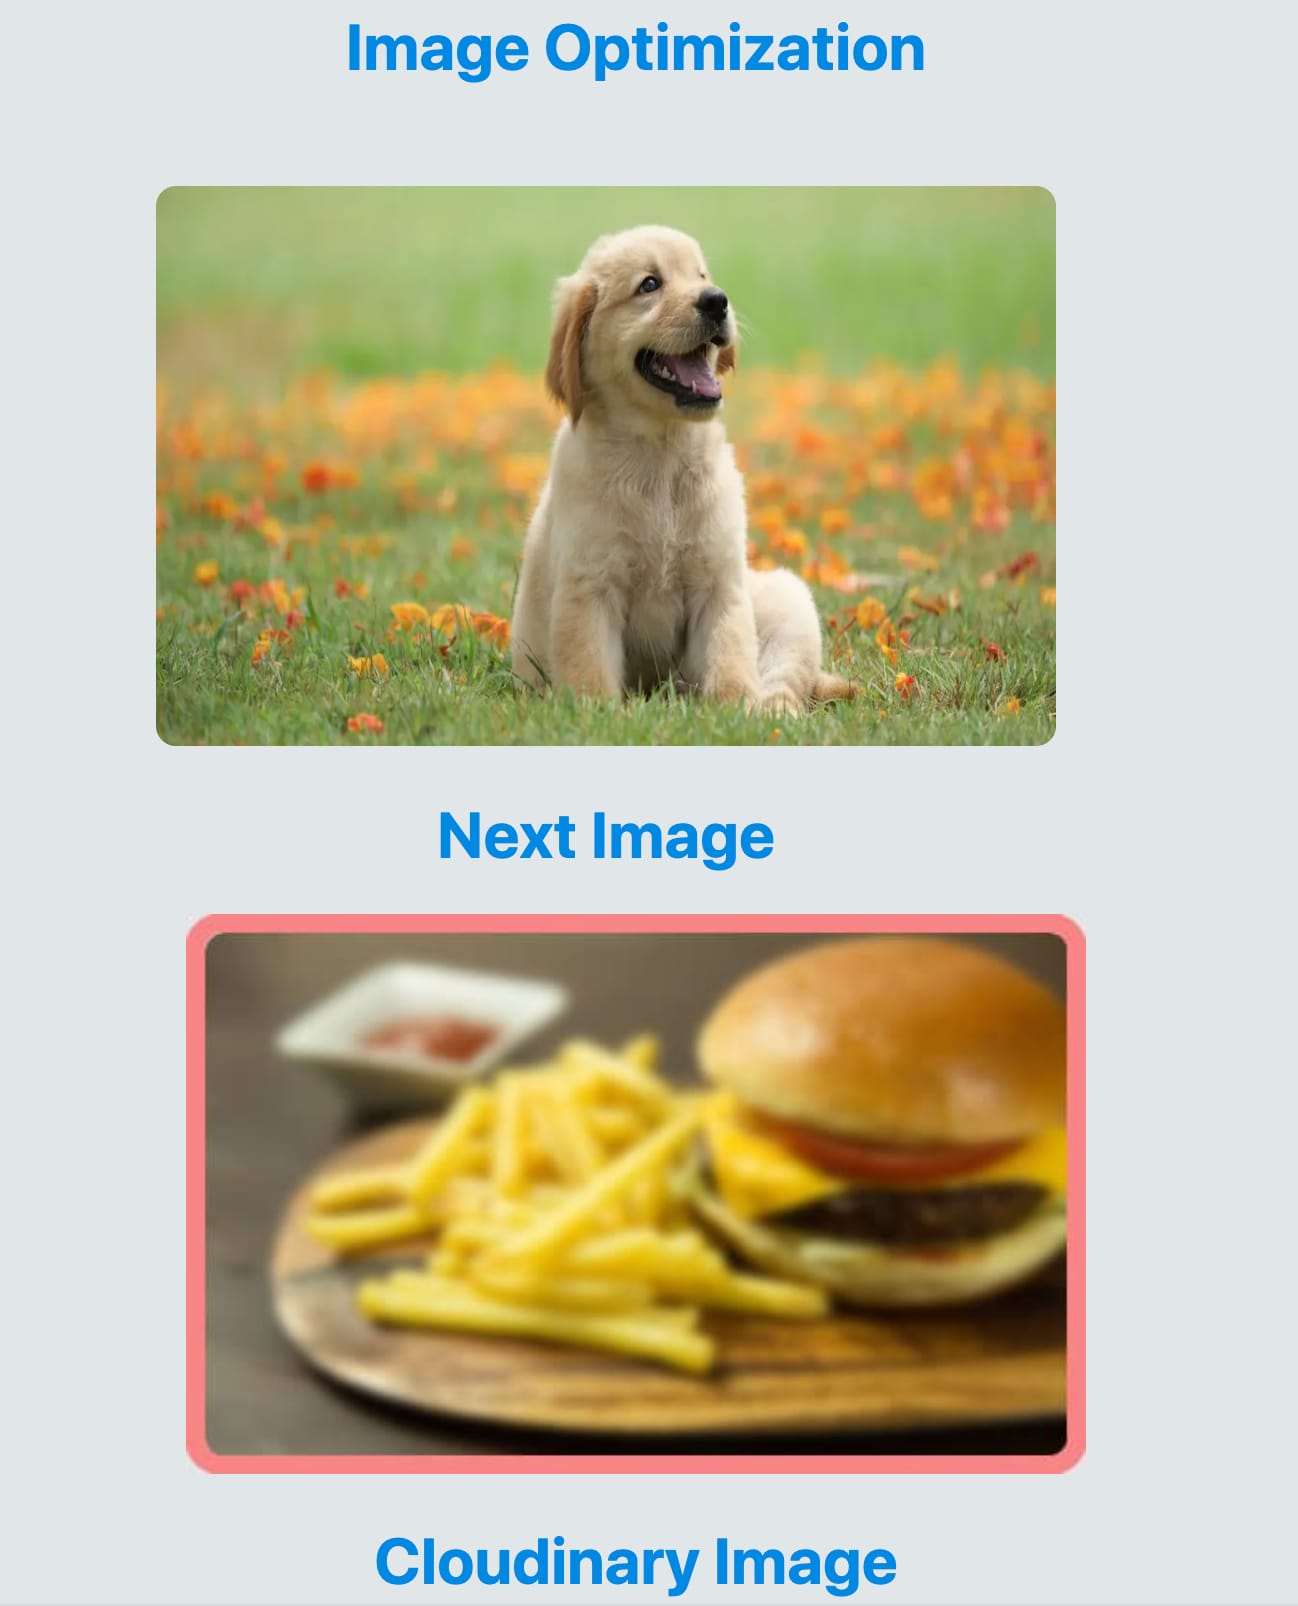
The resulting image URL with a loader is: https://res.cloudinary.com/ugwutotheeshoes/image/upload/bo_10px_solid_rgb:f78585,e_blur:290,b_rgb:e1e6e9,c_scale,r_10,h_280,w_450/v1632752254/eatery/item-8.jpg
Here’s what the home page should look like now serving two images: one without a loader and the other with a loader.
In this post we discussed how to optimize images in Next.js apps using next/image. We also saw how to utilize custom loaders like Cloudinary to further enhance the delivery image.
You may be interested in reading the following documentation:

