Cloudinary’s state-of-the-art Media Library and DAM allows developers and non-technical teams to easily manage their assets at scale, but how can we just as easily access those assets programmatically to deliver them in our websites and apps?
The Astro team just launched their new Content Layer feature, which is a perfect fit for natively sourcing your assets inside of your Astro project. And we’re excited to be their launching partner.

We’ll discuss how we can use the Cloudinary Astro SDK and the cldAssetLoader to load your images and videos into your app.
Astro Cloudinary is a community library supported by the Cloudinary Developer Experience team.
The Astro Content Layer builds on top of Astro’s existing Content Collections, which allows you to easily source local content, like Markdown or MDX, into your project. Content Collections are a powerful way to build blogs, online stores, and any site with file-based content.
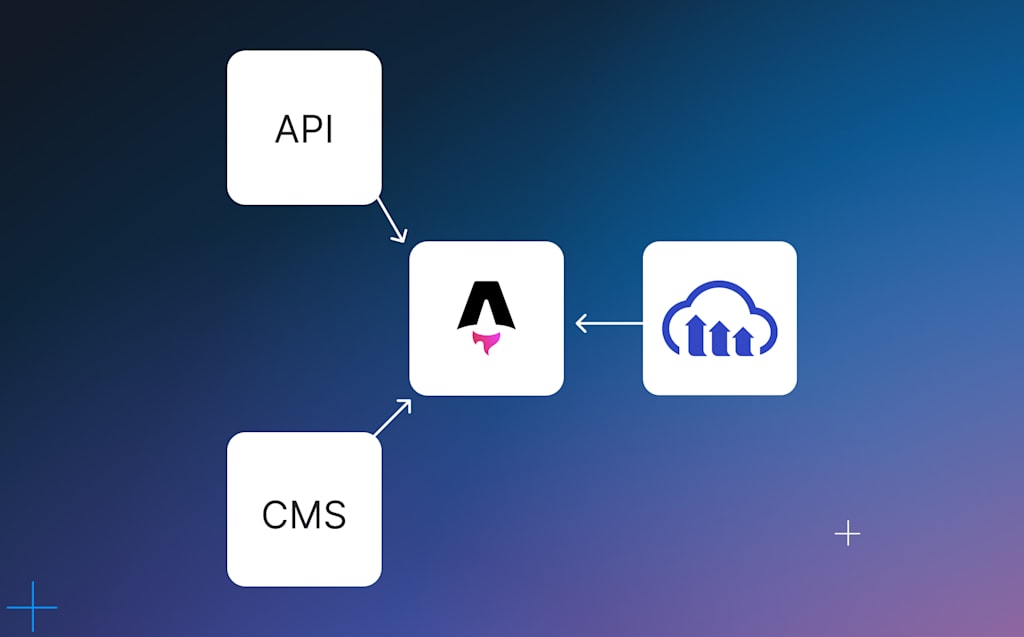
Taking that a step further, the Content Layer allows you to source local content and source data from remote locations like an API, CMS, or even a DAM, which is where Cloudinary comes in.

The Content Layer also improves on Collections from a technology perspective, but we’ll let the Astro team fill you in on those details.
To make it as easy as ever to source assets stored in Cloudinary into your Astro project, we’ve built a Cloudinary content loader available through a new Cloudinary Astro SDK.
By using the cldAssetsLoader, you can define a new collection, configure options for how you want your data to be queried or how much of that data to load, and through Astro’s Content Layer, query it alongside the rest of your content.
Want to watch the video version? Check out the Dev Hint or follow along with the steps below.
To get started, we first need to install the Astro Cloudinary SDK.
In your terminal, run:
npm install astro-cloudinaryCode language: Shell Session (shell)Then configure your Cloudinary cloud name, API key, and API secret in your .env. file:
PUBLIC_CLOUDINARY_CLOUD_NAME="<Cloud Name>"
PUBLIC_CLOUDINARY_API_KEY="<API Key>"
CLOUDINARY_API_SECRET="<API Secret>"Code language: Shell Session (shell)Need help finding your credentials? Learn more.
To source our assets, we can use the cldAssetLoader to create a new Collection in Astro. This will allow us to programmatically access our images and videos anywhere in our Astro project.
Inside of your content/config.ts file, import the Astro defineCollection and Cloudinary cldAssetsLoader functions:
import { defineCollection } from 'astro:content';
import { cldAssetsLoader } from 'astro-cloudinary/loaders';Code language: JavaScript (javascript)
Next, define a new collect by exporting an object that represents each object that you want to make available in your Astro project:
export const collections = {
  myAssets: defineCollection({
    loader: cldAssetsLoader({
      limit: 4,
      folder: 'samples/food'
    })
  }),
}Code language: JavaScript (javascript)By default, excluding the limit and folder will query the Cloudinary API’s default limit inside of the root directory. Check out the cldAssetsLoader configuration to learn more.
And with that configured, you’re now able to query those assets inside of your Astro project!
For instance, if you want to query your assets inside of an Astro component, you can use the getCollection function by adding:
---
import { getCollection } from 'astro:content';
const assets = await getCollection('myAssets');
---Code language: JavaScript (javascript)
Where the first argument of getCollection would be the same name you used to define your collection.
If you want to query an individual asset from your collection, you can alternatively use the getEntry function by adding:
---
import { getEntry } from 'astro:content';
const asset = await getEntry('myAssets', 'samples/food/dessert');
---Code language: JavaScript (javascript)
Where the first argument to getEntry is similarly the collection name and the second argument is your asset’s Public ID.
Now that you’ve sourced your Cloudinary assets, you need a great way to render them onto a page, which is where the Astro Cloudinary’s CldImage or CldVideoPlayer components come in.
If you’re adding images, you can use the CldImage component with a few basic props:
---
import { getCollection } from 'astro:content';
import { CldImage } from 'astro-cloudinary';
const images = await getCollection('myImages');
---
<ul>
  {images.map(image => {
    return (
      <li>
        <CldImage
          src={image.data.public_id}
          width={image.data.width}
          height={image.data.height}
          alt={image.data.context?.caption || ''}
        />
      </li>
    )
  })}
</ul>Code language: JavaScript (javascript)
Similarly, if adding videos, you can use the CldVideoPlayer:
---
import { getCollection } from 'astro:content';
import { CldVideoPlayer } from 'astro-cloudinary';
const videos = await getCollection('myVideos');
---
<ul>
  {videos.map(video => {
    return (
      <li>
        <CldVideoPlayer
          src={video.data.public_id}
          width={video.data.width}
          height={video.data.height}
        />
      </li>
    )
  })}
</ul>Code language: JavaScript (javascript)Astro is rapidly becoming the go-to solution for building dynamic visual, content-driven experiences on the web, and we’re thrilled to give you the tools you need to make building those experiences with Cloudinary as easy as possible.
We’re looking for additional feedback on the Astro Cloudinary SDK!
Head over to the GitHub repository to submit any feedback or issues (or give us a star!) or email devrel@cloudinary.com for direct contact.
