
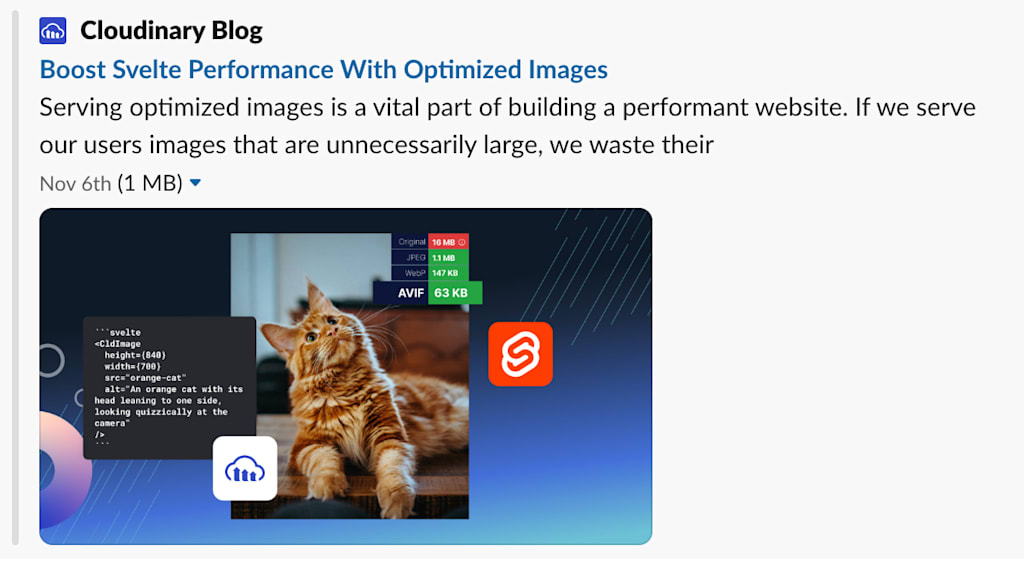
An important part of creating content is having an inviting social image that shows when people share the link. Not only can this image give people more of an idea what your article is about, it can also make people more likely to notice and click on the link.
For example, here’s what a previous article about Svelte and Cloudinary looks like when I share it with someone in Slack.
However, creating these images by hand can be time-consuming. If you have a SvelteKit site, the svelte-cloudinary package is a great choice for creating optimized social images. Let’s see how we can generate dynamic, visually engaging social card images on-the-fly with the CldOgImage component.
If you want to follow along on a local project, run `npm create svelte@latest` in your terminal to create a new SvelteKit project. Then run npm i svelte-cloudinary and follow the setup instructions.
For this demo, I’ll be using this Unsplash image of stars to create social card images from. You can upload that image to your Cloudinary library or choose another image you’d like to use.
First, let’s add the CldOgImage component to our root +page.svelte.
```svelte
<script lang="ts">
    import { CldOgImage } from 'svelte-cloudinary';
</script>

<CldOgImage src="galaxy" text="About Cloudinary"  />
```Code language: HTML, XML (xml)
In this case, the src should be the ID of the Cloudinary image you want to use.
Behind the scenes, the CldOgImage component will use Cloudinary’s APIs to generate a social card image based on the parameters you provide. Cloudinary will optimize your images so that you don’t serve an image that is too large or in a suboptimal format. You can apply any of Cloudinary’s available image transformations to really make your link stand out!
The CldOgImage component will also add the appropriate open graph tags to the `<head>` of your site. If you open the devtools inspector, you’ll see multiple <meta> elements with property=”og:image” or similar. Social media websites and other apps that embed links will use these tags to show a preview of your link.
However, CldOgImage only renders meta tags in the <head> of your webpage using Svelte’s special svelte:head element — there won’t be anything visible on the page. If you want to easily preview the result as you make changes, you can use svelte-cloudinary’s getCldOgImageUrl helper function to get the URL for the generated image and render another <img> for easy debugging.
```svelte
<script>
    import { CldOgImage, getCldOgImageUrl } from 'svelte-cloudinary';

    let props = {
   	 src: 'galaxy',
   	 text: 'About Cloudinary'
    };

    let ogSrc = getCldOgImageUrl(props);
</script>

<CldOgImage {...props} />

<h2>OG Preview</h2>
<img src={ogSrc} />
```Code language: HTML, XML (xml)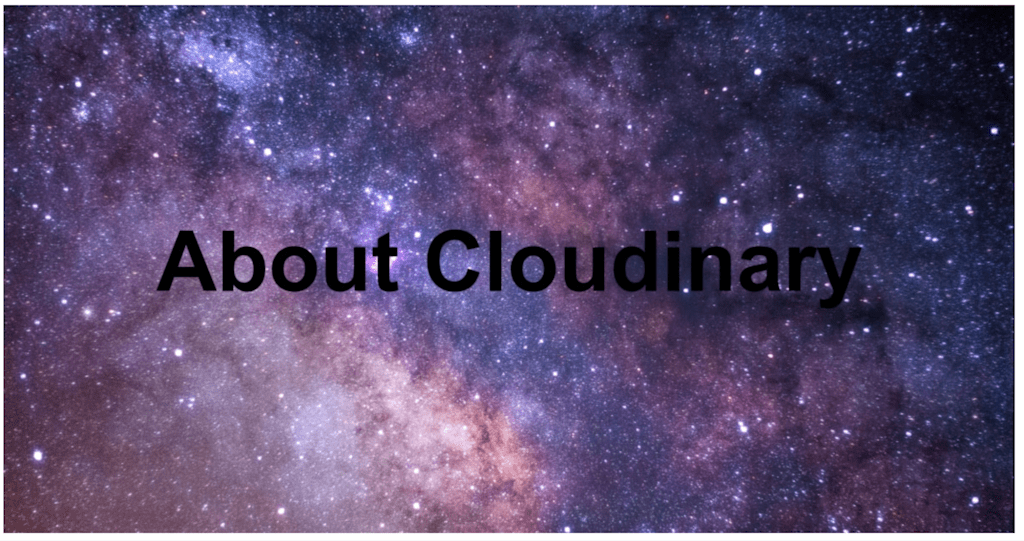
You can also perform many different transformations to your image, just like with the CldImage component. For example, to change the text color and font and move the text to the bottom of the image, you can use the overlays prop:
```svelte
<CldOgImage
    src="galaxy"
    overlays={[
   	 {
   		 text: {
   			 color: 'white',
   			 fontFamily: 'Source Sans Pro',
   			 fontSize: 160,
   			 text: 'Getting Started With Cloudinary'
   		 },
   		 position: {
   			 y: 100,
   			 gravity: 'south'
   		 }
   	 }
    ]}
/>
```Code language: PHP (php)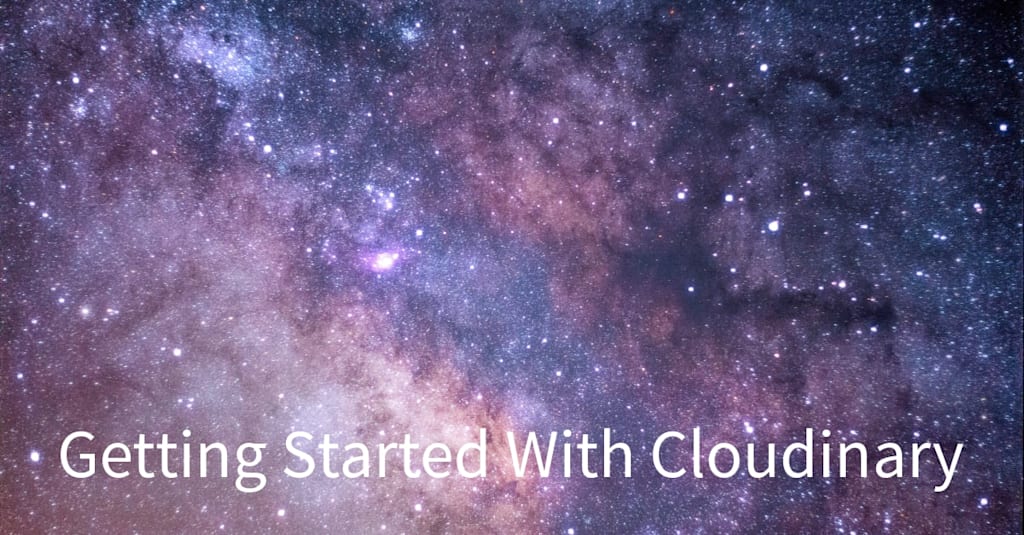
One useful feature is Cloudinary’s dynamic word-wrap depending on the title’s length. With the following properties, Cloudinary will fit the text to the given size (in this case, 2100) and move subsequent text to the next lines.
```svelte
<CldOgImage
    src="galaxy"
    overlays={[
   	 {
   		 text: {
   			 color: 'white',
   			 fontFamily: 'Source Sans Pro',
   			 fontSize: 160,
   			 text: 'Getting Started With Cloudinary & CldImage & CldOgImage & More'
   		 },
   		 position: {
   			 x: 50,
   			 y: 100,
   			 gravity: 'south_west'
   		 },
   		 effects: [
   			 {
   				 crop: 'fit',
   				 width: 2100
   			 }
   		 ]
   	 }
    ]}
/>
```Code language: PHP (php)
For more, see the CldOgImage docs. The CldImage docs also have a more extensive list of different transformation examples — anything you can apply to a CldImage, you can also apply to a CldOgImage.
The CldOgImage component is particularly useful when you want to automate your social card creation process. If you’re publishing articles frequently, you don’t want to create social images by hand every time. Instead, use this component and Cloudinary’s APIs to dynamically generate social images based on your article metadata.
For example, let’s say you have a +page.svelte file for your blog posts.
```svelte
<script>
	export let data;
</script>

<h1>{data.title}</h1>
<p>{data.author}</p>

{@html data.content}
```Code language: HTML, XML (xml)
First, you can create an ArticleOgImage component that takes an article title and renders an OG image. We’ll use the configuration from the previous example and pass a dynamic title.
```svelte
<script>
    import { CldOgImage } from 'svelte-cloudinary';
    export let title;
</script>

<CldOgImage
    src="galaxy"
    overlays={[
   	 {
   		 text: {
   			 color: 'white',
   			 fontFamily: 'Source Sans Pro',
   			 fontSize: 160,
   			 text: title
   		 }
        		 // the rest as before
   	 }
    ]}
/>
```Code language: HTML, XML (xml)
Then our article page can use that component so that each article has a dynamically generated social image.
```svelte
<ArticleOgImage title={data.title} />
```Code language: JavaScript (javascript)
For example, if data.title was “How to use the CldOgImage component”, the social image would look like this:
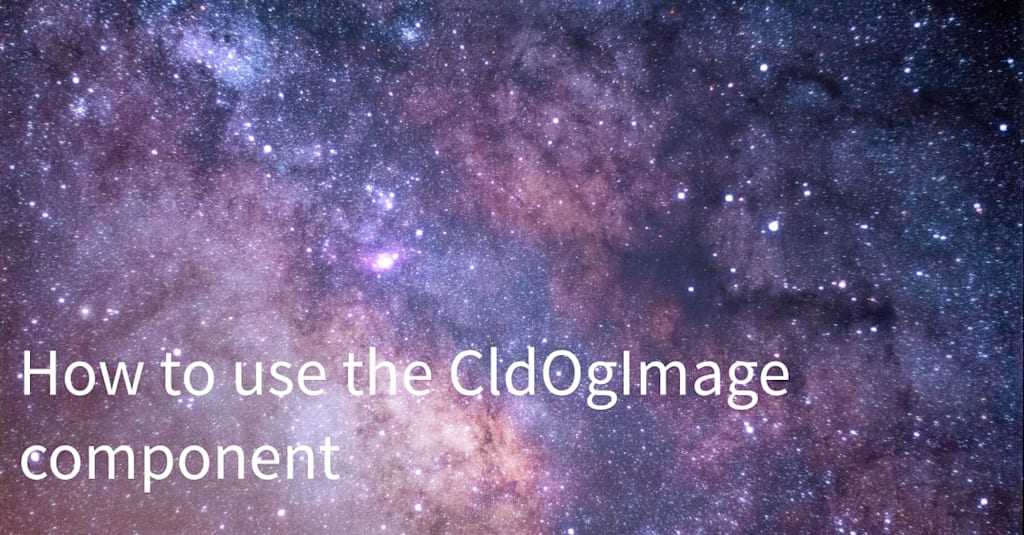
By using Cloudinary’s cropping, the text will automatically wrap to the next line for long titles.
In this post, we showed how easy it is to create dynamic social images using Cloudinary’s CldOgImage component in a SvelteKit app. These social images make your links stand out more when you share them, and with svelte-cloudinary you can generate them automatically instead of creating one manually for every article or link you post.
While we focused on CldOgImage today, the svelte-cloudinary package comes with other built-in components to help you optimize and customize your images:
- A CldImage component for displaying optimized images from your Cloudinary library.
- CldUploadButton and CldUploadWidget components to easily upload media to Cloudinary.
- A CldVideoPlayer component to embed Cloudinary videos.
Svelte continues to grow in popularity – if you haven’t tried it before, check out the official tutorial and keep svelte-cloudinary in mind when you need to add images to your Svelte site.


