
Dynamically generating Open Graph (OG) images for a web page involves creating custom images on the fly that are optimized for sharing on social media platforms. These images are generated based on the page’s content, ensuring each shared link has a visually appealing and relevant image.
For example, an e-commerce site might generate OG images that include the product name, price, and a promotional banner for each product page. A blog post might create OG images that feature the title, author, and a snippet of the content.
This approach is particularly useful for websites with frequently changing or user-generated content (UGC), such as news sites, social media platforms, and online marketplaces. By dynamically generating OG images, these sites can ensure that every shared link is visually engaging and contextually appropriate.
Dynamically generating Open Graph (OG) images can be accomplished in a number of different ways. The methods range from plug-and-play to much more involved and complex options.
- SSR with a headless browser. A library for controlling a headless web browser can be used to generate screenshots of web pages or HTML templates, allowing for the dynamic generation of OG images based on a page’s content.
- Image processing services. Services like Cloudinary offer powerful APIs for on-the-fly image manipulation. These services can dynamically generate OG images by overlaying text, graphics, and other elements onto base images.
- Custom scripts. Developers can write custom scripts using libraries like Sharp (for image processing) and Canvas (for drawing graphics) to generate OG images. These scripts can be run server-side or as part of a build process.
Cloudinary has a comprehensive feature set for image optimization and manipulation, making it a powerful and versatile tool for OG images.
- Dynamic image transformation. Cloudinary supports real-time image transformations, including resizing, cropping, overlaying text, and adding graphical elements. This makes it easy to create custom OG images that are tailored to the content of each page.
- URL-based API. Transformations can be applied via simple URL parameters, making integrating with existing web applications easy. Dynamic URLs can be generated that include all the necessary transformations.
- Performance optimization. Images are optimized for performance, ensuring that OG images load quickly and efficiently. This includes automatic format selection, compression, and caching.
- Ease of integration. SDKs are available for popular programming languages and frameworks, making it easy to integrate into existing workflows.
We’ll generate our OG images with Cloudinary by applying various transformations to a base image. To do this, we’ll need the images we plan to use in our Cloudinary account. We can make our base images available in Cloudinary by uploading them to our account through our Cloudinary dashboard, or we can upload them using an SDK from an application.
Referring to the e-commerce example where we overlay a product name and price over a product image, if the product images on our site are stored somewhere else, you’ll probably need to write some application code that uploads a copy of the image to Cloudinary if it’s not available there yet.
Once we have a base image for a page available in Cloudinary, we won’t need to create or upload additional images ourselves. Cloudinary will apply our transformations and cache the final OG image on their CDN.
During development, once we have a handle to the URL of our base image, we can dynamically apply our transformations via URL parameters until we land on something we’re happy with.
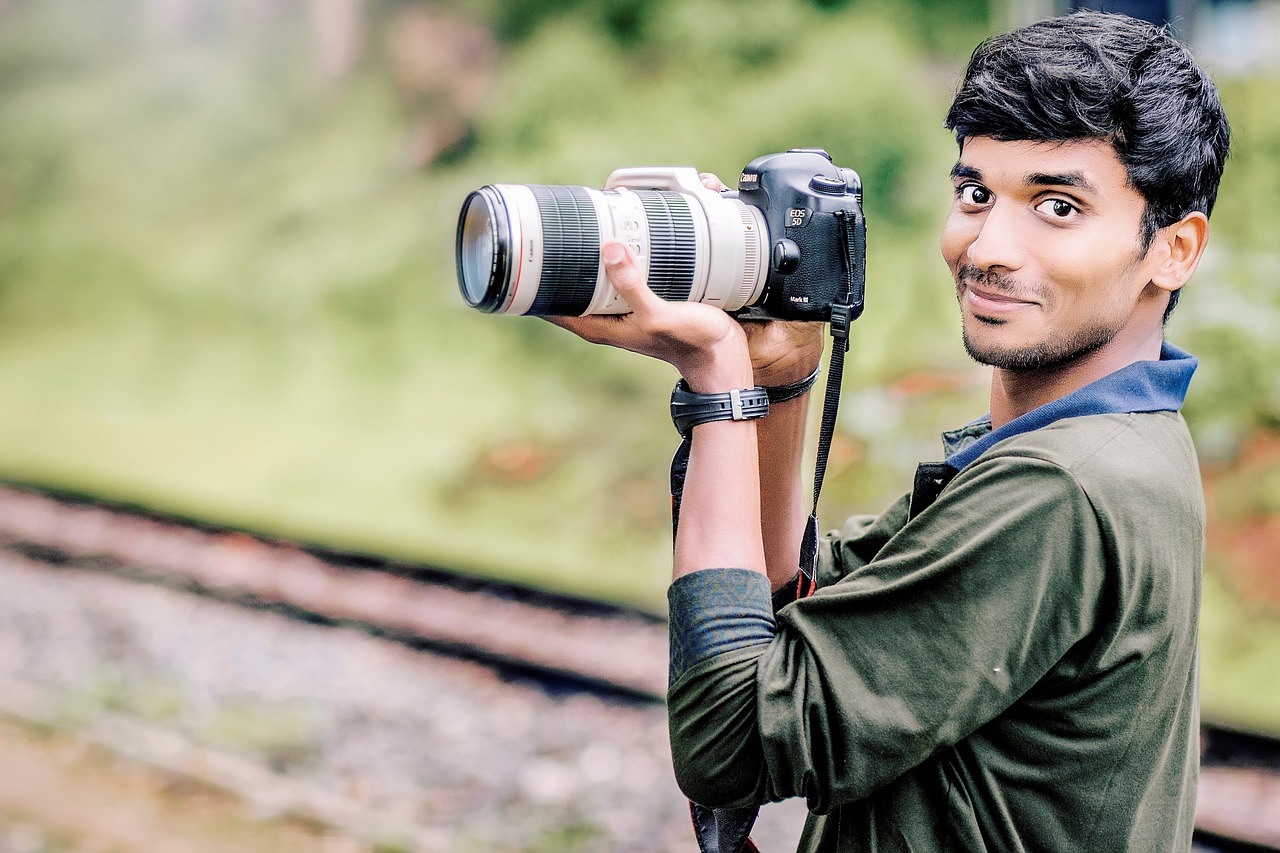
https://res.cloudinary.com/demo/image/upload/docs/camera.jpgCode language: JavaScript (javascript)We can add some parameters to get a cropped version of it:
https://res.cloudinary.com/demo/image/upload/c_fill,h_250,w_250/docs/camera.jpgCode language: JavaScript (javascript)Depending on the content type and platform that a specific image is targeting, there will be different requirements/recommendations regarding image dimensions. Unless we already have some base images that are optimized for all of our targets, resizing and cropping transformations will be important to generate optimized OG images.
It will be helpful if your base images are similar enough that you can reliably apply the same resize/crop transformations and get a result that looks good.
After resizing/cropping a base image, we will probably need to apply some additional layers to add the desired content to our final images.
The most common layer we will probably want to add to our OG images is text. When overlaying text we can specify a font family, font size, text content, positioning, and other css-like styling attributes.
Back to our e-commerce example, we would add two text layers to our base image – one for the title and one for the price. If we were generating images for blog posts, we might have two text layers for the title and author.
Cloudinary also gives us the power to overlay other images on top of our base image. This could be useful if we want to add our company logo to our OG images or add some sort of watermark.
Now that we have a good idea of how to generate OG images, let’s apply it to a common example use case: blog posts. If you spend a lot of time writing blog posts, you likely want to share it on social media. If the website is set up properly with OG tags and we generate high-quality images for our posts, they’ll get more attention on social media platforms.
Let’s imagine that our blog features recipes and we have a featured image for each post. Our featured images are the same dimensions and quality so we have confidence we can apply the same operations to generate consistent OG images.
We have a base image for our post:
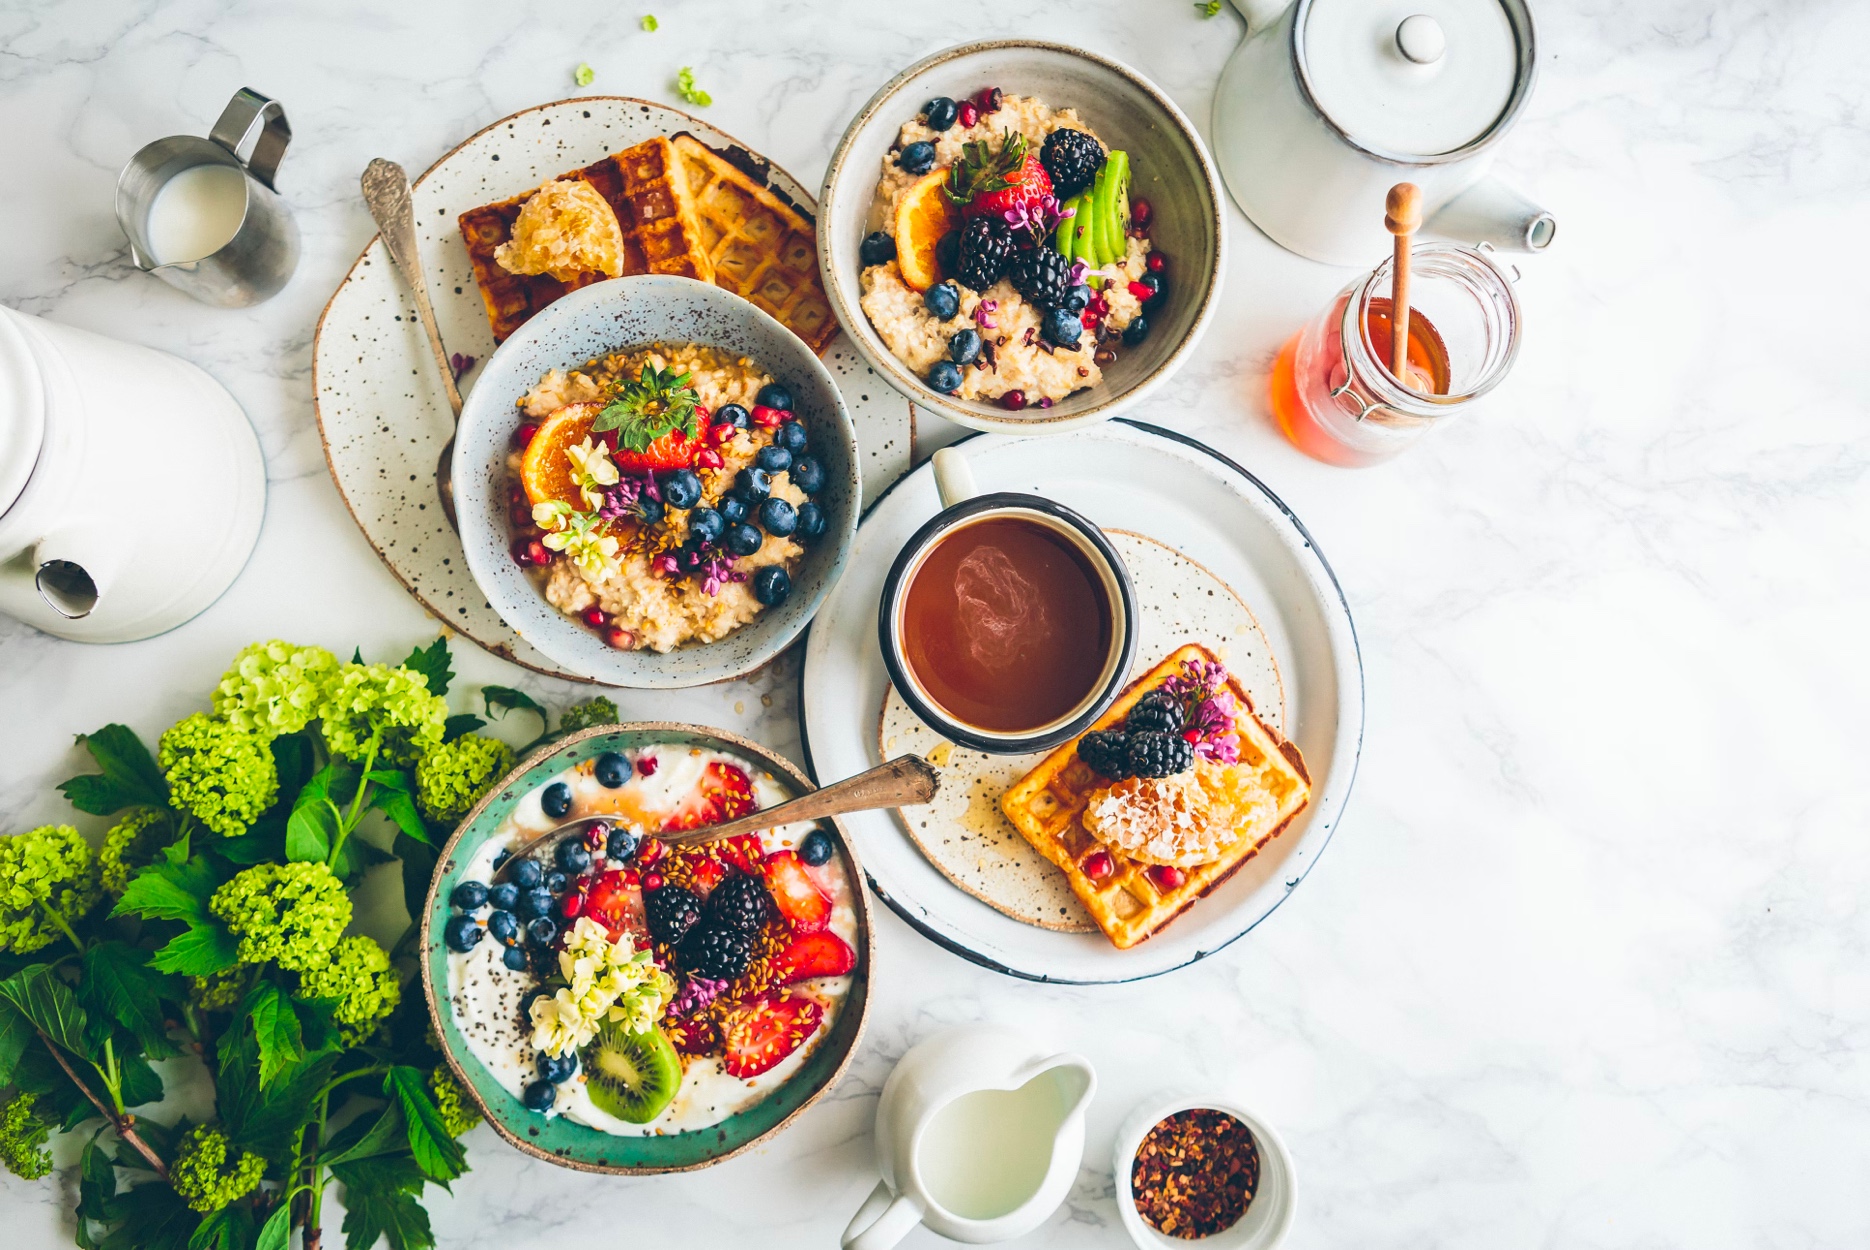
https://res.cloudinary.com/dtkji4khh/image/upload/cld-sample-4.jpgCode language: JavaScript (javascript)Our base images are 1870×1250. For our Twitter OG images, we want a size of 1200×630.
Here are our resize and crop transformations: c_fill,w_1200,h_630. This transformation resizes the image to fill the specified dimensions without distortion.
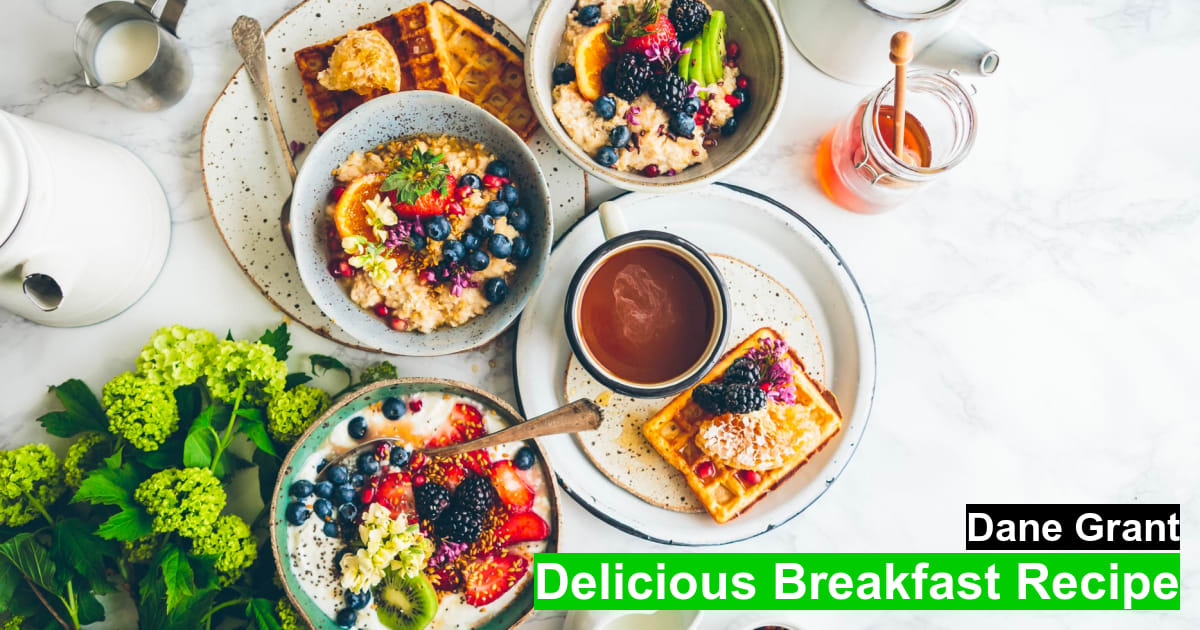
Next, we want to add the post title to the bottom right side of the image. We want to make sure that the text is legible no matter what the background of the image is, so we’ll also add a solid background color behind the text.
Here are our post title layer transformations:
/l_text:Arial_50_bold:Delicious%20Breakfast%20Recipe,co_rgb:ffffff,g_south_east,x_20,y_20,b_rgb:00CC00The transformations add the text “Delicious Breakfast Recipe” in 50-point bold Arial font, colored white (co_rgb:ffffff), positioned at the bottom right (g_south_east) with an offset of 20 pixels horizontally (x_20) and 20 pixels vertically (y_20), and a green background (b_rgb:00CC00).
The author text is similar to the post title, but we want to position it slightly above it.
Here are the author name layer transformations:
/l_text:Arial_40_bold:Dane%20Grant,co_rgb:ffffff,g_south_east,x_20,y_80,b_rgb:000000The transformations add the text “Dane Grant” in 40-point bold Arial font, colored white (co_rgb:ffffff), positioned at the bottom right (g_south_east) with an offset of 20 pixels horizontally (x_20) and 80 pixels vertically (y_80), and a black background (b_rgb:000000).
After applying all of the transformations to our base image, here’s our final result:
https://res.cloudinary.com/dtkji4khh/image/upload/c_fill,w_1200,h_630/l_text:Arial_40_bold:Dane Grant,co_rgb:ffffff,g_south_east,x_20,y_80,b_rgb:000000/l_text:Arial_50_bold:Delicious Breakfast Recipe,co_rgb:ffffff,g_south_east,x_20,y_20,b_rgb:00CC00/cld-sample-4.jpgCode language: JavaScript (javascript)Now that we have our base images available and have selected our transformations, we can apply this to our post page template with code. For example, we’ll imagine the page is rendered in a React component.
import React from 'react';

const Post = ({ imageName, title, description, content }) => {
  const ogImageUrl = `https://res.cloudinary.com/dtkji4khh/image/upload/c_fill,w_1200,h_630/l_text:Arial_40_bold:Dane%20Grant,co_rgb:ffffff,g_south_east,x_20,y_80,b_rgb:000000/l_text:Arial_50_bold:Delicious%20Breakfast%20Recipe,co_rgb:ffffff,g_south_east,x_20,y_20,b_rgb:00CC00/${imageName}.jpg`;

  return (
    <div>
      <head>
        <meta property="og:title" content={title} />
        <meta property="og:description" content={description} />
        <meta property="og:image" content={ogImageUrl} />
        <meta property="og:image:width" content="1200" />
        <meta property="og:image:height" content="630" />
      </head>
      <main>
        <h1>{title}</h1>
        <p>{description}</p>
        <img src={ogImageUrl} alt={title} />
        {content}
      </main>
    </div>
  );
};
Code language: JavaScript (javascript)
If you’re using the Cloudinary JavaScript SDK, you can replace line 4 with:
const cloudinary = new Cloudinary({ cloud_name: 'dtkji4khh', secure: true });
const ogImageUrl = cloudinary.url(imageName, {
    transformation: [
      { width: 1200, height: 630, crop: 'fill' },
      { overlay: { font_family: 'Arial', font_size: 40, font_weight: 'bold', text: 'Dane Grant' }, color: '#ffffff', gravity: 'south_east', x: 20, y: 80, background: '#000000' },
      { overlay: { font_family: 'Arial', font_size: 50, font_weight: 'bold', text: 'Delicious Breakfast Recipe' }, color: '#ffffff', gravity: 'south_east', x: 20, y: 20, background: '#00CC00' }
    ]
  });
Code language: JavaScript (javascript)
Every base image with our OG transformations applied gets cached on Cloudinary’s CDN.
OG images can help our content stand out on social media platforms. With base images for our content and some easy-to-use transformations, we can dynamically generate custom OG images. These transformations can be applied via some easy-to-use configuration in Cloudinary’s SDKs or with some parameters added to the image URL.
We’ve only scratched the surface of Cloudinary’s dynamic image transformations. Check out the documentation to find other ways you can add some extra flair to your social images, and for more on how Cloudinary can help you create stunning visual experiences, sign up for free today.


