Geo Tagging, a versatile process applicable to images and videos, websites, text messages, and QR codes, involves adding geographic coordinates to media. This process usually centers on assigning latitude and longitude but can also encompass additional fields such as elevation, compass bearing, time stamps, and other contextual information.
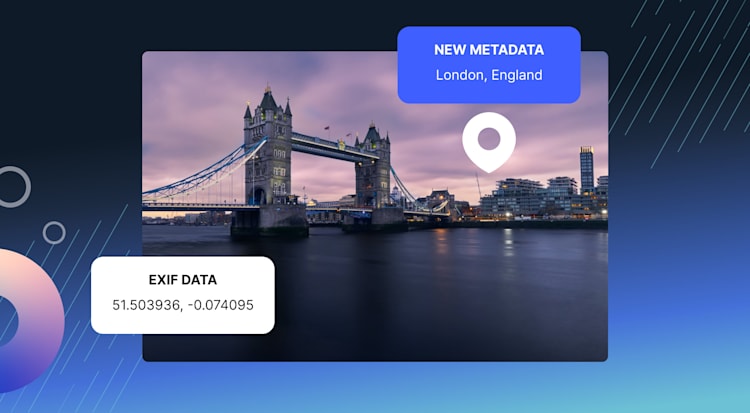
If you have geo tagged images, you can extract the latitude and longitude to determine the city and country. This data can be set as structured metadata in Cloudinary, allowing you to easily search and categorize within your library.
Understanding the presence of geo-tags in your media is straightforward: for images, simply right-click, select Properties or Information, and check the GPS section in the Details tab. Tools like Geoimgr or SunCalc can also assist in identifying geotags in photos. Besides aiding in tracking trips or enhancing the local search ranking of a website, geotagging also entails privacy considerations; smartphones, by default, geo tag photos taken, a feature that can be disabled for privacy.
For example, you can set up your iPhone or Android device to add GPS location data, but your images will be saved with EXIF metadata, which includes geo tag EXIF data. As the GPS data is embedded within the binary data of the image, it can’t be used for searching and categorizing. In this blog post, I’ll show you how to extract, translate, and expose the location details so that you can search for and categorize your image assets. To achieve this, we’ll:
- Create the metadata definition.
- Create an upload preset on Cloudinary to extract the EXIF information.
- Set the latitude, longitude, and altitude information as structured metadata.
- Translate the latitude and longitude to a city, state, and country.
- Finally, set the city, state, and country as additional structured metadata.
Not using Cloudinary right now? You can sign up for Cloudinary for free and for life. You’ll get the ability to add geo-tags to images and all of Cloudinary, too, so you can do everything discussed in this article for free.
Let’s get started!
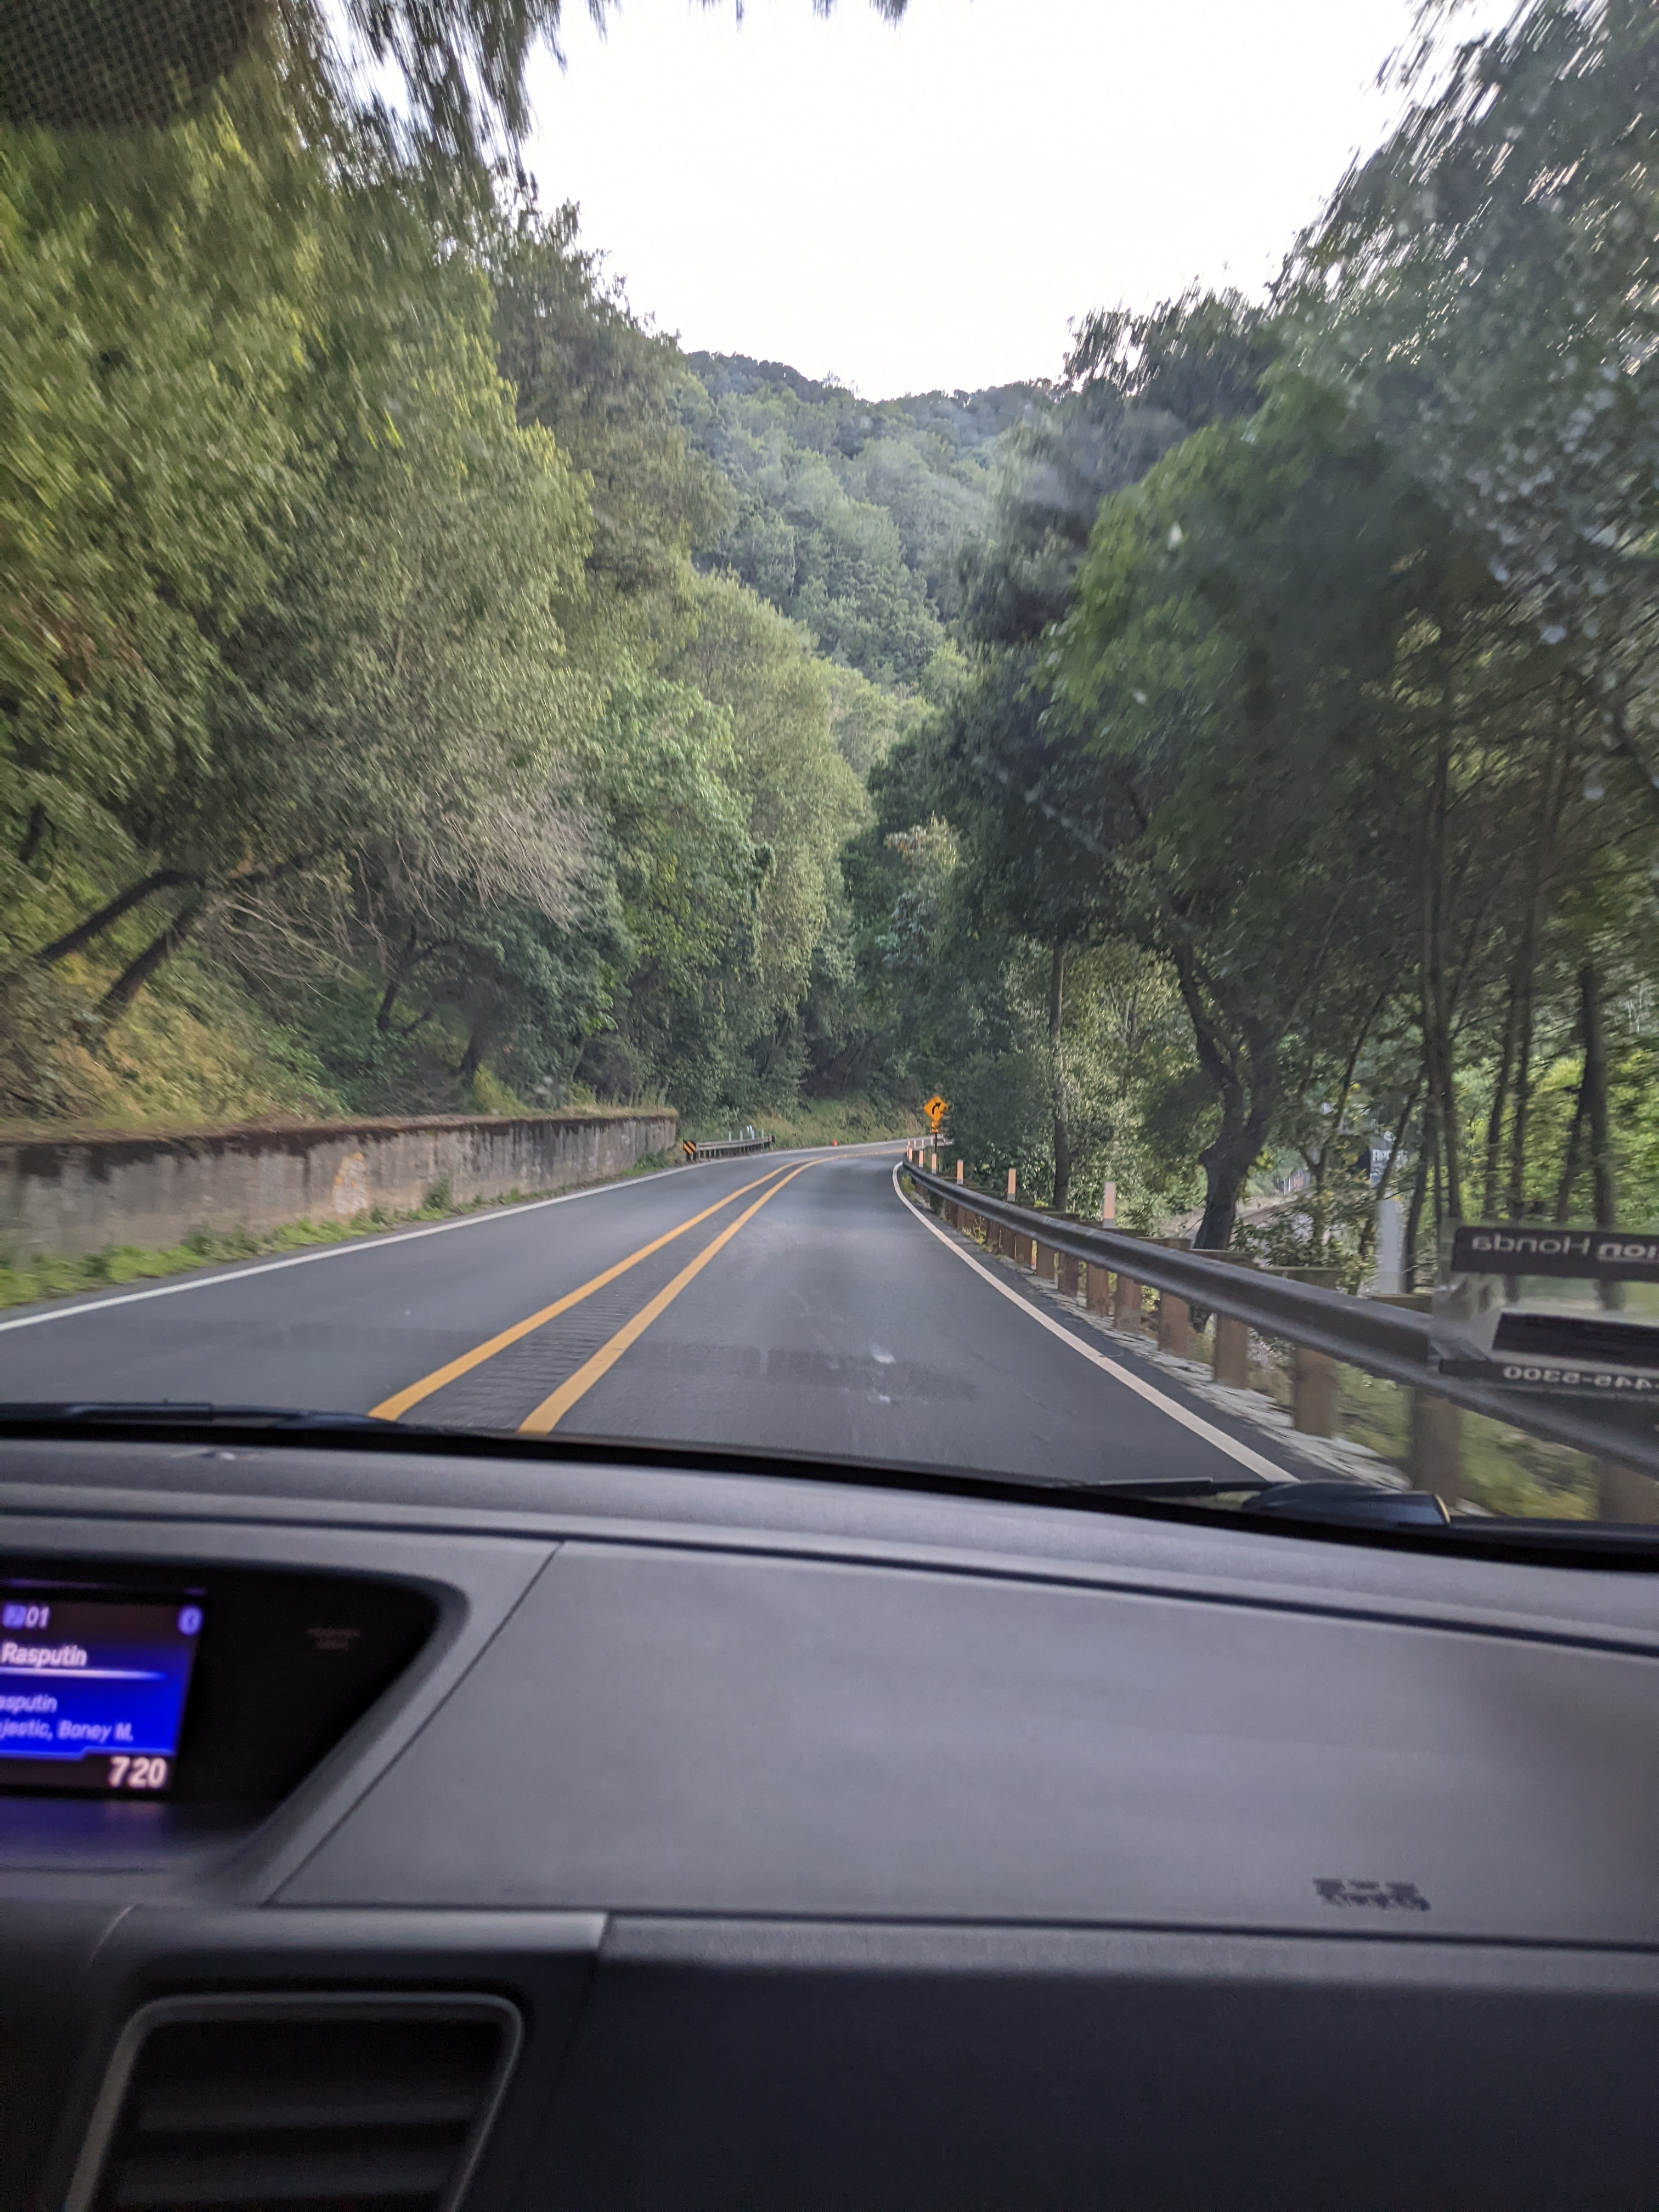
The simplest way to get a geo tagged image is from your cell phone. If you’ve enabled geo-tagging, images should already have the location data. I’ll use the following image:
To verify, I’ll use the exiftool installed on my laptop. Alternatively, you could use the web version of the tool.
$ exiftool location_test.jpg | grep -i gps | sort
GPS Altitude : 21.8 m Below Sea Level
GPS Altitude Ref : Below Sea Level
GPS Date Stamp : 2023:06:04
GPS Date/Time : 2023:06:04 03:15:14Z
GPS Latitude : 37 deg 33' 49.66" N
GPS Latitude Ref : North
GPS Longitude : 122 deg 2' 5.04" W
GPS Longitude Ref : West
GPS Position : 37 deg 33' 49.66" N, 122 deg 2' 5.04" W
GPS Time Stamp : 03:15:14
As you can see, the image has been geo-tagged. For our purpose, we only need the latitude and longitude.
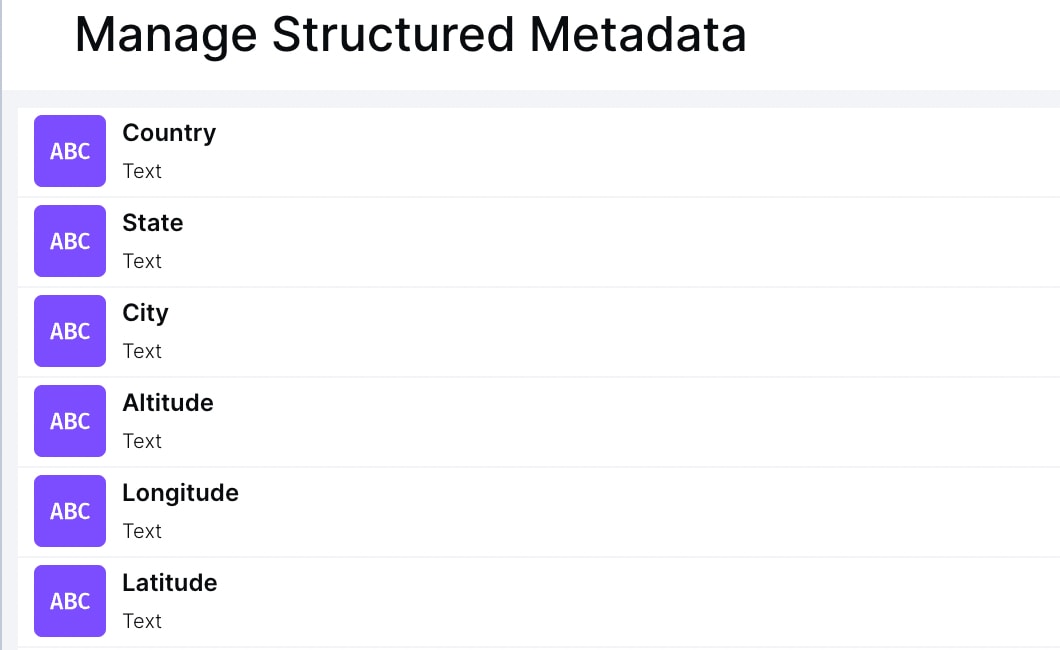
I want to automate the process of extracting the latitude and longitude from the geotag EXIF data, and insert them as structured metadata fields. For this, I created metadata definitions for six fields: latitude, longitude, altitude, city, state, and country. This can be done using the create metadata field Admin API.
cld admin add_metadata_field '{"external_id": "city", "label": "City", "type": "string"}'
{
  "type": "string",
  "external_id": "city",
  "label": "City",
  "mandatory": false,
  "default_value": null,
  "validation": null,
  "default_disabled": false,
  "restrictions": {
    "readonly_ui": false
  }
}
Code language: JSON / JSON with Comments (json) You should have metadata definitions like this:
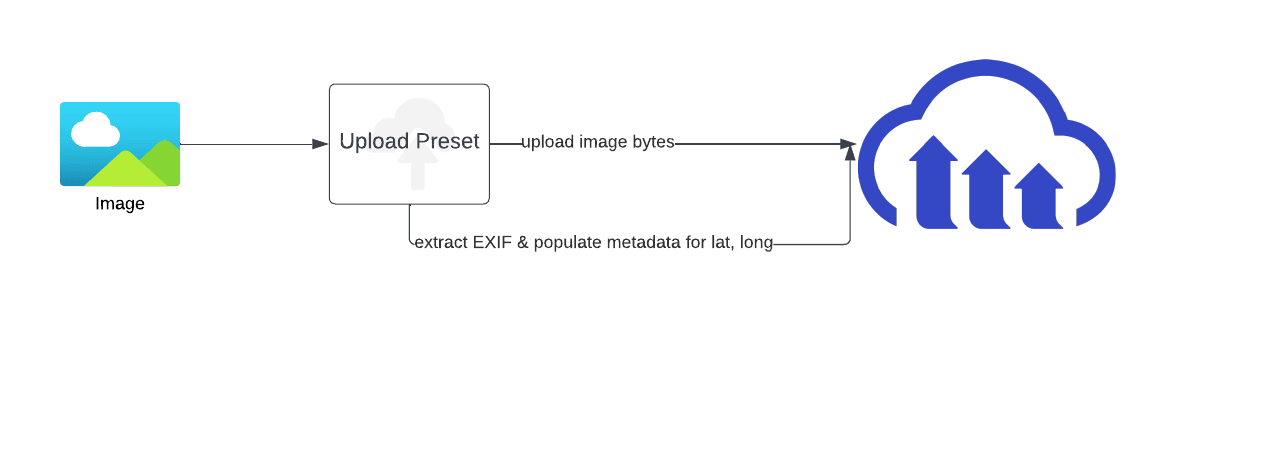
Next, we’ll need to extract the location information from geotag EXIF and insert it into the metadata fields latitude, longitude, and altitude. To do so, I used the eval within an upload preset.
cld -C react admin create_upload_preset \
name=gps1 eval="upload_options.metadata = \
'altitude=' + (resource_info.image_metadata.GPSAltitude || 0) + \
'|latitude=' + (resource_info.image_metadata.GPSLatitude || 0) + \
'|longitude=' + (resource_info.image_metadata.GPSLongitude || 0)"```
```json
{
"message": "created",
"name": "gps"
}
Once we have the metadata definitions and the upload preset, the next step is to upload the test image. While uploading, we’ll need to specify our preset gps to ensure Cloudinary’s backend will extract the EXIF and apply it as metadata.
In my case, the test image is on my local system with the name location.jpg. Using the CLI, here’s how I uploaded the image.
cld -C train uploader upload location_test.jpg upload_preset=gps exif=true
In this case, I’ll set the option exif=true to force the backend to include the entire set of EXIF information in the upload response, which can help validate if our presets are working. Here’s the simplified response.
{
  "asset_id": "9604d41650ba87d03fe08fbaa6281635",
  "public_id": "bx6e3lx6mehu2kmzsiti",
  "version": 1686636650,

  "metadata": {
    "altitude": "14.61 m",
    "latitude": "37 deg 35' 29.53\" N",
    "longitude": "121 deg 55' 58.85\" W"
  },
  "exif": {
    ..
    "GPSAltitude": "1461/100",
    "GPSAltitudeRef": "0",
    "GPSDateStamp": "2023:05:28",
    "GPSImgDirection": "144/1",
    "GPSImgDirectionRef": "M",
    "GPSInfo": "963",
    "GPSLatitude": "37/1, 35/1, 2953/100",
    "GPSLatitudeRef": "N",
    "GPSLongitude": "121/1, 55/1, 5885/100",
    "GPSLongitudeRef": "W",
    "GPSTimeStamp": "2/1, 20/1, 41/1"
  },
  "original_filename": "location",
  "api_key": "NNNNN"
}
Code language: JavaScript (javascript) As you can see, we get the raw latitude and longitude data. However, we’ll need to translate this information to make it easier to read. So let’s do that next.
APIs like Google Maps API can easily translate the latitude and longitude information to city, state, and country. In this case, I wanted to keep the lookup local for performance and simplicity, so I’ll use the reverse-geocoder library for Python. Using this library and FastAPI, I created a self-documented API service that could run the translation. Please check the code at get-geo-details. For example, here’s a translation request/response.
curl -s http://127.0.0.1:8000/coords\?coords\=73%20deg%2056%27%206.87%22%20W:40%20deg%2043%27%2050.19%22%20N | jq
{
  "lat": "40.74482",
  "lon": "-73.94875",
  "name": "Long Island City",
  "admin1": "New York",
  "admin2": "Queens County",
  "cc": "US"
}
Code language: JSON / JSON with Comments (json)
The last step is to use the translation service above; get the city, state, and country information; and set this information as the image’s metadata fields. You can do this step in Cloudinary using Webhook notifications. Just build an AWS Lambda function that’s triggered whenever a new image is uploaded. Using the upload API response, the Lambda can extract the latitude and longitude data. It can then either translate locally or call a service and add the metadata for the asset using the update metadata API.
However, in my case, I wanted to provide the translation as a DAM app, so the workflow will look like the below.
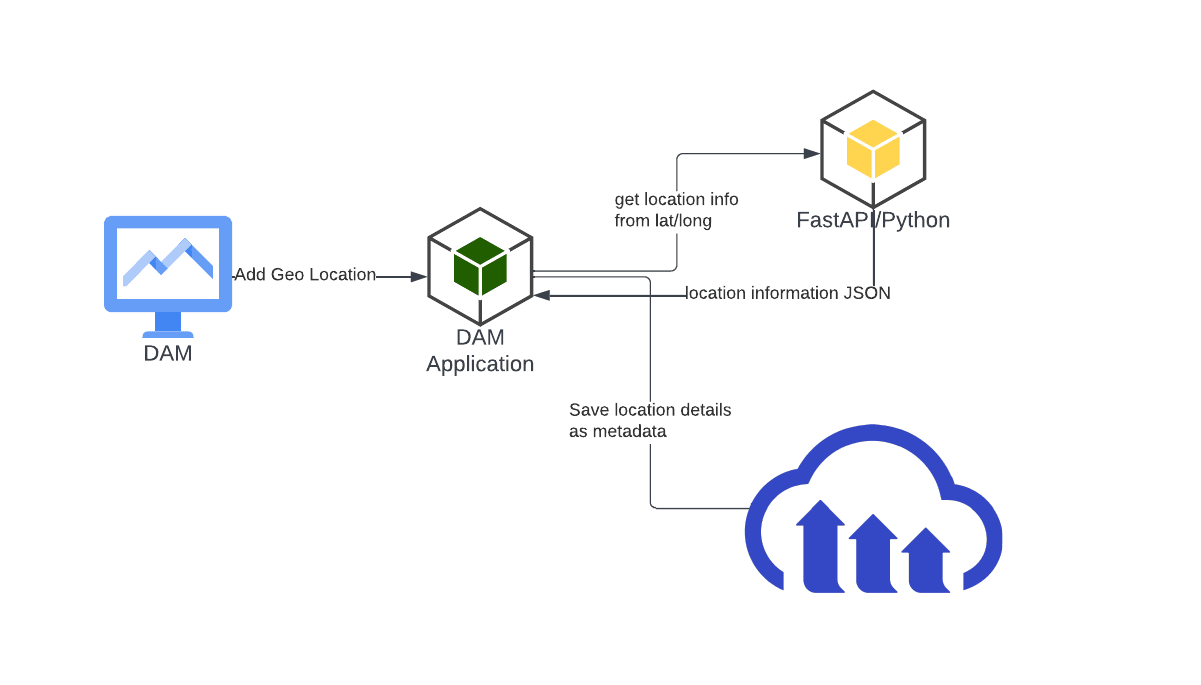
When a user selects an image and fires the DAM app, it will:
When a user selects an image and fires the DAM app, it will:
- Call the translation service with the image’s
latitudeandlongitudemetadata parameters. The translation service will respond back with the city, state, and country in JSON format. - The DAM app will read the JSON response and fire a call to update the asset’s metadata. Once the DAM app completes, the image will have all its location metadata populated. This can be further used for search, tagging, or any kind of categorization. You can see the entire flow in action in this short video.
In this blog post, we used Cloudinary, different tools, and APIs to build a solution to geo-tag your visual media files. Sign up for a free account today and check out Cloudinary’s full suite of features.