
Video presentations currently deliver robust user experiences on different platforms. Because of this, it’s often chosen as a go-to medium for sharing presentations, including product, educational, and entertainment content, among others.
How do you track the data from engagements on your video content?
This post discusses how to implement and collect video analytics data from a video on a website built with Gatsby.js. We’ll utilize the Cloudinary video player to render remote videos and handle analytics on them.
Gatsby.js is a Reactjs-based technology for building fast static sites and single-page applications.
We completed this project in a Codesandbox, and you can fork it to get running.
For this project, knowledge of JavaScript and React.js is required. The knowledge of Gatsby.js is pleasant to have, but isn’t needed.
To get started, we install the gatsby-cli globally and create a new Gatsby project using NPM – a command line package manager. You can also use Yarn. Gatsby ships starters, which we use to scaffold projects quickly, and in this project, we’ll use the default starter.
If you already have a Gatsby project running, you can skip this Gatsby installation step. In the desired directory for our project, we run:
    npm install -g gatsby-cli && gatsby new video-site
Code language: JavaScript (javascript)
This command creates a Gatsby project called video-site, using the default starter.
We will utilize the Cloudinary video player to render video from a remote content delivery network on Cloudinary. The video player is efficient as we can apply multiple optimization and transformation features to the resulting video.
We proceed to install the required dependencies with:
npm install --save gatsby-plugin-google-analytics cloudinary-core cloudinary-video-player
cloudinary-core and cloudinary-video-player are required dependencies to render the video player. Also, gatsby-plugin-google-analytics adds the google analytics tracking script to our pages.
Gatsby-plugin-google-analytics uses the universal analytics tracking code from Google Analytics. This plugin isn’t compatible with the latest gtag.js tracking code and ID. Also, the cloudinary-video-player module isn’t compatible (as of the time of writing) with the current gtag analytics system.
We’ll proceed to add the gatsby-plugin-google-analytics configuration to the gatsby-config.js file located in the project’s root directory.
We include the plugin configuration with
    module.exports = {
      siteMetadata: {
        title: `Gatsby Default Starter`,
        description: `Kick off your next, great Gatsby project with this default starter. This barebones starter ships with the main Gatsby configuration files you might need.`,
        author: `@gatsbyjs`,
      },
      plugins: [
       // other plugin configurations go in here
        {
          resolve: `gatsby-plugin-google-analytics`,
          options: {
            trackingId: "UA-111204936-2",
            head: true
          }
        }
      ],
    }
Code language: JavaScript (javascript)
We specified the Google Analytics tracking ID obtained from our Google Analytics property settings. Also, we included the head property that adds the analytics tracking code within the head tags of our HTML code.
One more required configuration is the exclusion of the cloudinary-video-player module during Gatsby’s build process. The module requires the window API, which isn’t available during our site’s optimized build creation.
We exclude the module in the gatsby-node.js file in the project’s root directory using the setWebpackConfig API.
    // gatsby-node.js
    const path = require('path')
    exports.onCreateWebpackConfig = ({ stage, loaders, actions }) => {
      actions.setWebpackConfig({
        resolve: {
          modules: [path.resolve(__dirname, 'src'), 'node_modules'],
        },
      })
      if(stage === "build-html"){
        actions.setWebpackConfig({
          module:{
            rules: [
              {
                test: /cld-video-player/,
                use: loaders.null()
              }
            ]
          }
        })
      }
    }
Code language: JavaScript (javascript)
First, we added the src directory to the list of directories. Webpack will check for modules to resolve. Then, we checked the build process stage if it’s in the ‘build-html’ stage before applying a rule to the cld-video-player module. This rule excludes the module during the build using a null loader.
In src/components, we create a file named video-player.js, which would house the video player component. First, we import all required dependencies with:
    import React, { useEffect } from "react"
    import cloudinary from "cloudinary-core"
    import "cloudinary-video-player/dist/cld-video-player.js"
    import "cloudinary-video-player/dist/cld-video-player.min.css"
Code language: JavaScript (javascript)
Next, we create a function component for the video player, which returns an HTML <video/> element with an id.
    export const VideoPlayer = ({ publicId }) => {

      return (
        <div style={{ maxWidth: "500px" }}>
          <video id={"cl-vp"} />
        </div>
      )
    }
Code language: JavaScript (javascript)
This component accepts a prop of publicId, which will eventually be passed the publicId of a video, stored on Cloudinary.
In the VideoPlayer component, we create and configure a new Cloudinary instance. Then create a video player instance mounted on the DOM element with an ID of “cl-vp” which is already rendered by the component.
    let cld = cloudinary.Cloudinary.new({ cloud_name: "chuloo", secure: true })
      useEffect(() => {
        // create a new cloudinary instance with config
        let vidPlayer = cld.videoPlayer("cl-vp", {
          loop: true,
          controls: true,
          autoPlay: true,
          width: 500,
          playedEventPercents: [10, 50, 90],
          analytics: {
            events: [
              "play",
              "pause",
              "ended",
              "percentsplayed",
              "error",
              "volumechange",
              "mute",
              "unmute",
              "qualitychanged",
              "seek",
              "fullscreenchange"
            ]
          }
        })
      }, [publicId, cld])
Code language: JavaScript (javascript)
To obtain your cloud_name, you need to create an account on Cloudinary and get the cloud name value from your Cloudinary dashboard.
In the snippet above, we specified multiple video player and analytics options. You can find all options on Cloudinary. Cloudinary-video-player sends all events triggered, along with event parameters, to our Google Analytics dashboard. You can also find the list of trackable events on Cloudinary.
Lastly, in the VideoPlayer component’s useEffect function, we specify the video source, which is the publicId of the video on Cloudinary.
vidPlayer.source(publicId)
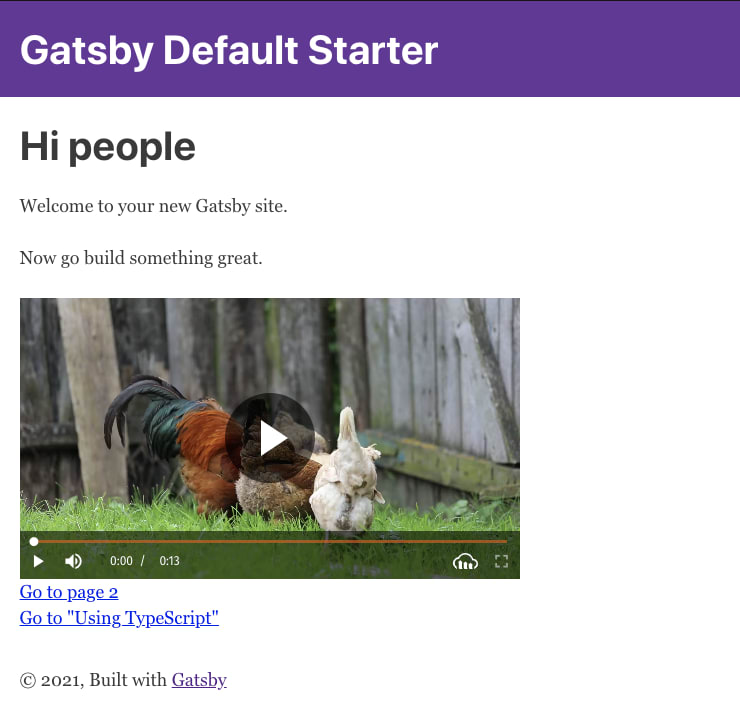
Code language: CSS (css)In the site’s home page, we render the component in the IndexPage component located in src/pages.index.js by updating it with:
    import { VideoPlayer } from "../components/video-player"

    const IndexPage = () => (
      <Layout>
        <SEO title="Home" />
        <h1>Hi people</h1>
        <p>Welcome to your new Gatsby site.</p>
        <p>Now go build something great.</p>
        <VideoPlayer publicId={"video-blog/cockerels"} />
        <p>
          <Link to="/page-2/">Go to page 2</Link> <br />
          <Link to="/using-typescript/">Go to "Using TypeScript"</Link>
        </p>
      </Layout>
    )
Code language: JavaScript (javascript)
With this, the home page looks like this:
To send the data to Google Analytics, we need to deploy the site and specify the URL in Google Analytics. We deployed our sample site to Netlify from GitHub in a few clicks, and you can find the URL here.
The gatsby-plugin-google-analytics plugin doesn’t send data to Google analytics in development. A production build is required. You can also create a production build using the
gatsby buildcommand and run it locally usinggatsby serve.
On Google Analytics, we go to the Events menu under the Realtime side-menu to see the data stream in real-time.
On the site, we can use event handlers to manage the events triggered by the video, using the on() method. For example, suppose we want to call a function once a user pauses a video. In the VideoPlayer component, we can watch for the ‘pause’ event, and trigger a function once emitted.
    vidPlayer.on('pause', console.log("Why did you pause me"))
    vidPlayer.on('mute', sendLightMessage())
Code language: JavaScript (javascript)
These events will also be sent to Google Analytics regardless.
In this post, we created a sample Gatsby.js site, and added Google Analytics to it, with which we track page views and events. Also, we made a video player using the Cloudinary Video player and specified events sent to Google Analytics from the video player. You can explore extending the functionality of your app using events from your videos.
Check out the following valuable resources