
In this media jam, we will discuss how to build a Video to GIF converter in Next.js using Cloudinary. We will use Next.js API routes to upload the video to Cloudinary and then fetch the converted GIF. We will also see how to build a download button to download the GIF and a clear button to delete the video from Cloudinary.
If you want to jump right into the code, check out the GitHub Repo here.
You will create the initial Next.js app using the create-next-app template. Run the following commands in your terminal.
npx create-next-app video-2-gif
cd video-2-gif
npm run dev
The last command, npm run dev, will start the development server on http://localhost:3000/. You can stop the development server by hitting CTRL+C in the terminal.
You will use Cloudinary node.js server-side SDK in the API routes to upload and delete the video from Cloudinary. You will also need to install cloudinary-react to display GIF to the users, react-dropzone for drag & drop operation, and axios to make the requests to the API routes from the frontend.
Run the following command to install the required libraries.
npm install cloudinary cloudinary-react react-dropzone axios
To store your Cloudinary API Keys securely, create a .env file in your root directory by running the following command.
touch .env
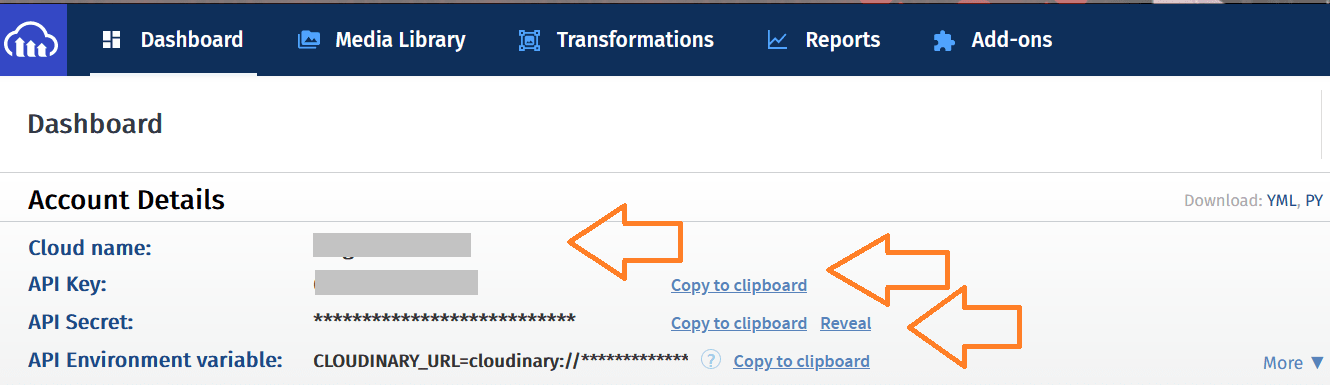
Code language: CSS (css)Head over to your Cloudinary dashboard and copy the API Keys.
Paste the API keys in the .env file
NEXT_PUBLIC_CLOUDINARY_CLOUD=''
CLOUDINARY_API_KEY=''
CLOUDINARY_API_SECRET=''
Code language: JavaScript (javascript)
In this tutorial, we will not discuss the styling of the app. You can copy-paste the CSS used to style the app in the styles/Home.module.css file from here.
In this section, we will discuss how to upload the videos to Cloudinary using the react-dropzone library and FileReader API.
The first step is to create a dropzone in your app that only accepts videos and then read the selected video using the FileReader API.
Update the pages/index.js file with the following code.
import React, { useState } from "react";
import Head from "next/head";
import { useDropzone } from "react-dropzone";
import styles from "../styles/Home.module.css";
import axios from "axios";
import { Transformation, Image } from "cloudinary-react";

export default function Home() {
  const [uploadVideo, setUploadVideo] = useState("");
  const [publicId, setPublicId] = useState("");
  const [fileName, setFileName] = useState("");
  const [progress, setProgress] = useState("");

  const { getRootProps, getInputProps } = useDropzone({
    accept: "video/*",
    multiple: false,
    onDrop: (acceptedFiles) => {
      const file = acceptedFiles[0];
      setFileName(file.name);

      const reader = new FileReader();
      reader.readAsDataURL(file);
      reader.onload = () => {
        setUploadVideo(reader.result);
      };

      reader.onerror = () => {
        console.error("Error has Occured");
      };
    },
  });

  const convert = async () => {
    setProgress("Converting Video to GIF");
    console.log(uploadVideo)
  };

  return (
    <div className={styles.container}>
      <Head>
        <title>Video 2 GIF Converter</title>
        <link rel="icon" href="/favicon.ico" />
      </Head>

      <main className={styles.main}>
        <h1 className={styles.title}>Video 2 GIF Converter</h1>

        <div className={styles.card} {...getRootProps()}>
          <input {...getInputProps()} />
          {fileName ? (
            <div>
              <p>Selected Video: {fileName}.</p> <p>{progress}</p>
            </div>
          ) : (
            <p>Drag 'n' drop some files here, or click to select files</p>
          )}
        </div>

        <div className={styles.grid}>
          <button className={styles.btn} onClick={convert}>Convert</button>
        </div>
      </main>
    </div>
  );
}
Code language: JavaScript (javascript)
In the above code, you start by importing all the packages and then initialize four different states using the useState() hook.
-
uploadVideo– for video data URL. -
publicId– for thepublic_idof video, sent after a successful upload. -
fileName– for storing the original name of the video. -
progress– for showing users the current progress of requests.
You then define the useDropzone() hook with configuration to accept only video files one at a time. In the onDrop() parameter of useDropzone() hook, you first set the fileName state by passing the name of the file to setFileName() method and then using FileReader API’s readAsDataURL() and onload() method, you store the data URL of the video to uploadVideo state. You can read more about FileReader API here.
onDrop: (acceptedFiles) => {
const file = acceptedFiles[0];
setFileName(file.name);
const reader = new FileReader();
reader.readAsDataURL(file);
reader.onload = () => {
setUploadVideo(reader.result);
};
reader.onerror = () => {
console.error("Error has Occured");
};
}
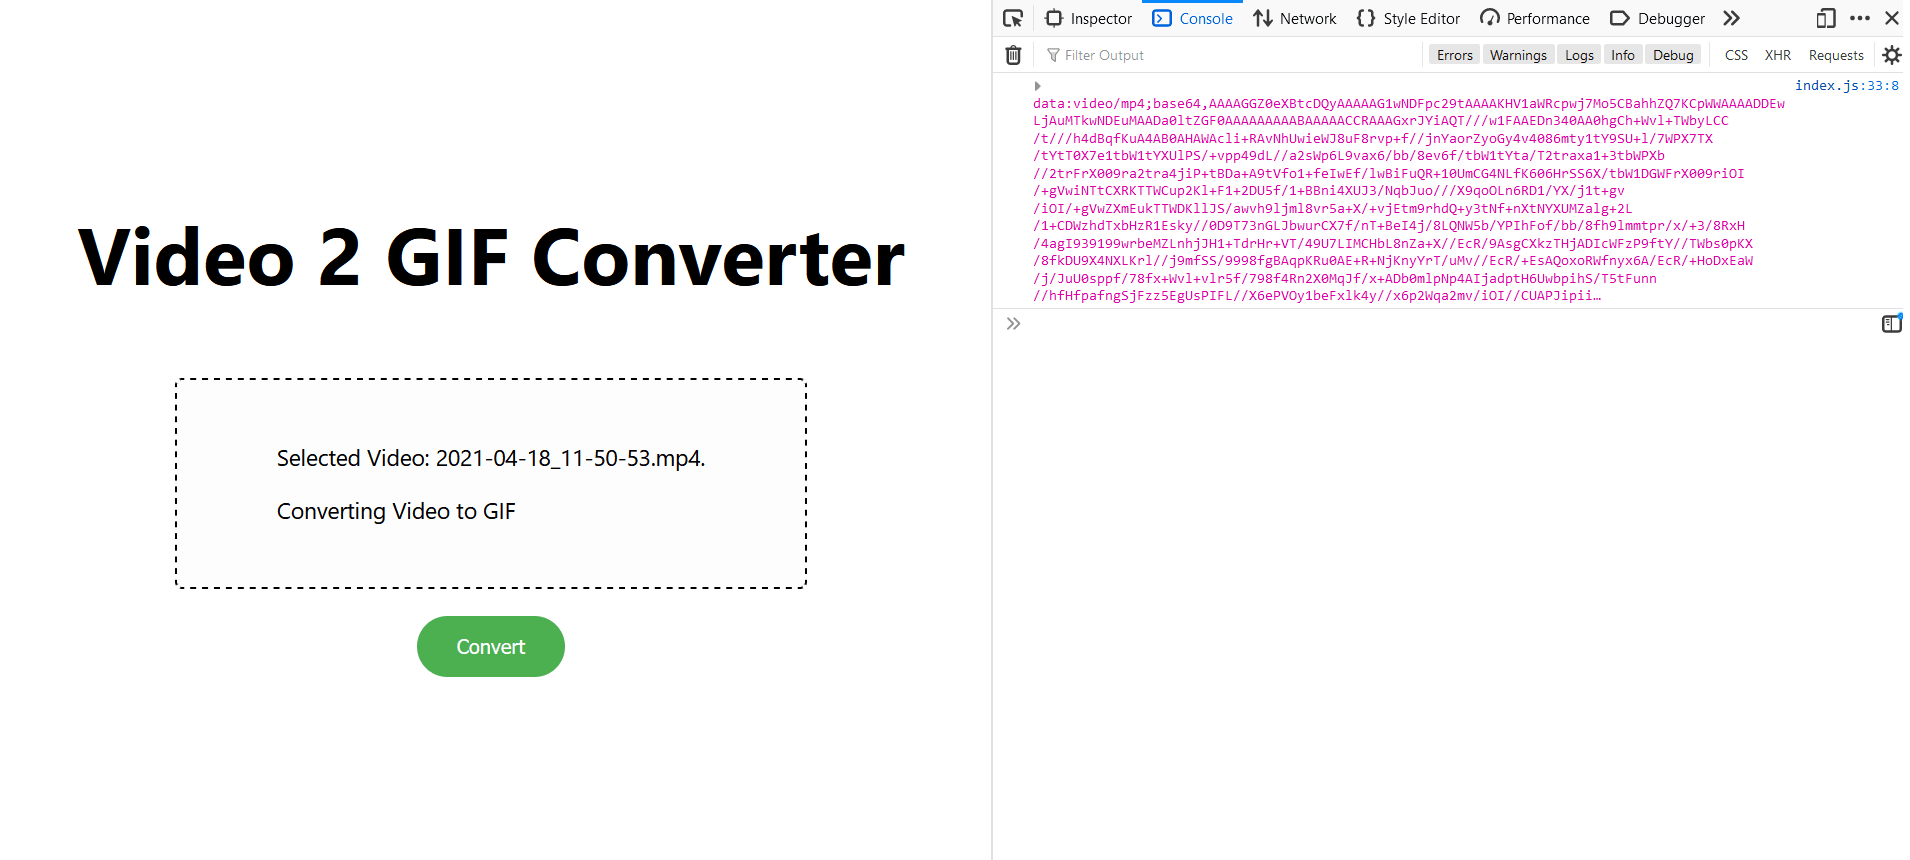
Code language: JavaScript (javascript)You also create a function named convert, which is triggered when the Convert button is clicked. Currently, it logs the uploadVideo state or the video data URL to the console, as seen below.
Now that you have converted the video to a data URL, the next step is to send the data URL to the API route to be uploaded to Cloudinary. For this, you will create a file named uploadVideo.js in the pages/api folder. Run the following command to create it.
touch pages/api/uploadVideo.js
Add the following code to uploadVideo.js.
// pages/api/uploadVideo.js
var cloudinary = require("cloudinary").v2;

cloudinary.config({
  cloud_name: process.env.NEXT_PUBLIC_CLOUDINARY_CLOUD,
  api_key: process.env.CLOUDINARY_API_KEY,
  api_secret: process.env.CLOUDINARY_API_SECRET,
});

export const config = {
  api: {
    bodyParser: {
      sizeLimit: "10mb",
    },
  },
};

export default async (req, res) => {
  const videoDataUrl = req.body.videoDataUrl;

  let publicId = "";

  await cloudinary.uploader.upload(
    videoDataUrl,
    { resource_type: "video", video_codec: "auto" },
    function (error, result) {
      if (result) {
        publicId = result.public_id;
        res.status(200).json(publicId);
      }
      if (error) {
        console.error(error);
        res.status(400).json(error);
      }
    }
  );
};
Code language: JavaScript (javascript)
In the above code, you create an instance of cloudinary and pass the API keys stored in the .env file. You also limit the incoming request to ten MB, i.e., you can only upload videos less than ten MB. You can change this parameter according to your needs.
export const config = {
  api: {
    bodyParser: {
      sizeLimit: "10mb",
    },
  },
};
Code language: JavaScript (javascript)
You export an async function that extracts the data URL of the video from the request body and then use Cloudinary’s upload API to upload the video to your Cloudinary account.
In the parameters of the uploader.upload() method, you specify the resource_type of the upload to video and the video_codec, to auto, which optimizes and reduces the file size. The public_id of the video is sent as a response to the frontend if the video is uploaded successfully.
The next step is to update the convert function in index.js to make the POST request to /uploadVideo route with the video’s data URL in the request body. If a successful response is received, you change the progress state to "Converted to GIF Successfully".
const convert = async () => {
  setProgress("Converting Video to GIF");

  const res = await axios.post("/api/uploadVideo", {
    videoDataUrl: uploadVideo,
  });
  const data = await res.data;

  setPublicId(data);
  if (res.statusText == "OK") {
    setProgress("Converted to GIF Successfully");
  }
};
Code language: JavaScript (javascript)
The public_id of the video is stored in the publicId state using the setPublicId() method. Using the publicId state, you show users a preview of the GIF made from the video. In the index.js file, add the following code after the div with className={styles.grid}.
{
  publicId && (
    <Image
      format="gif"
      cloudName={process.env.NEXT_PUBLIC_CLOUDINARY_CLOUD}
      publicId={publicId + ".gif"}
      resourceType="video"
      width="600"
      height="auto"
    >
      <Transformation flags="lossy" />
      <Transformation quality="auto:low" />
      <Transformation effect="loop" />
    </Image>
  )
}
Code language: HTML, XML (xml)
You use the Image component from cloudinary-react to display the GIF. To convert a video to GIF, you need to add a .gif extension to its public_id when fetching the GIF or while displaying it as shown in the above code. You also need to pass resourceType="video" in the Image component.
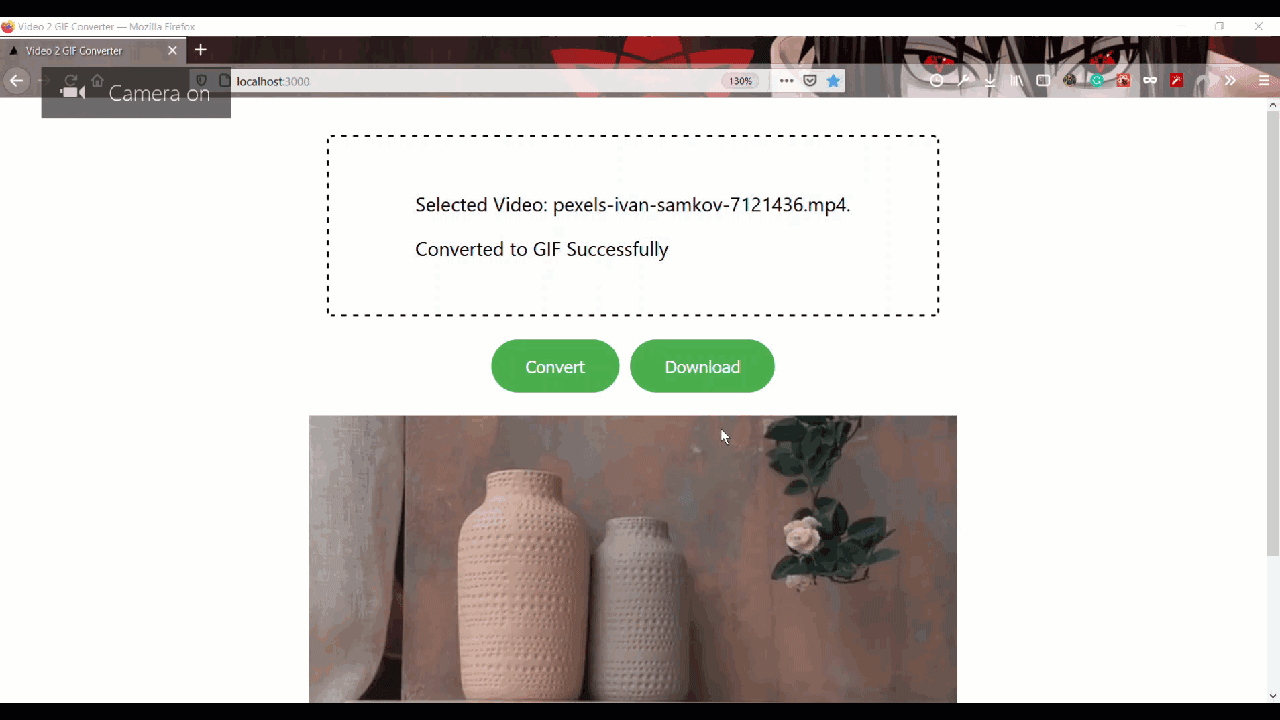
Here is the entire video to GIF conversion in action.

You have successfully converted the video to GIF, but what if the user wants to download the GIF on their system. In this section, you will create the download button to download the GIF.
First, create another button named Download in the div with className={styles.grid}.
<div className={styles.grid}>
  <button className={styles.btn} onClick={convert}>Convert</button>
  <button className={styles.btn} onClick={download}>Download</button>
</div>
Code language: HTML, XML (xml)
Now, add the following code after the convert function to create the download function triggered when the Download button is clicked.
const download = () => {
  setProgress("Downloading GIF");

  axios({
    method: "get",
    url: `https://res.cloudinary.com/${process.env.NEXT_PUBLIC_CLOUDINARY_CLOUD}/video/upload/fl_lossy/q_auto:low/${publicId}.gif`,
    responseType: "blob",
  })
    .then((response) => {
      var link = document.createElement("a");
      link.href = window.URL.createObjectURL(response.data);
      link.download = fileName + ".gif";

      document.body.appendChild(link);

      link.click();
      setProgress("GIF Downloaded");

      setTimeout(function () {
        window.URL.revokeObjectURL(link);
      }, 200);
    })
    .catch((error) => {
      console.error(error);
    })
};
Code language: JavaScript (javascript)
In the above code, you start by changing the progress state to "Downloading GIF" and then make a POST request with axios to fetch the GIF from Cloudinary as a Blob object.
A blob is a file-like object of immutable, raw data, which can be read as text or binary data. This blob is passed to the URL.createObjectURL() method to create a DOMString containing a URL representing the GIF.
This URL is passed to the link element, which is nothing but an Anchor or an a element. When this link element is clicked, the resource or the GIF is downloaded on your system. After downloading the file, the URL is released using setTimeout function and URL.revokeObjectURL() method. You can read more about the URL.createObjectURL method here.
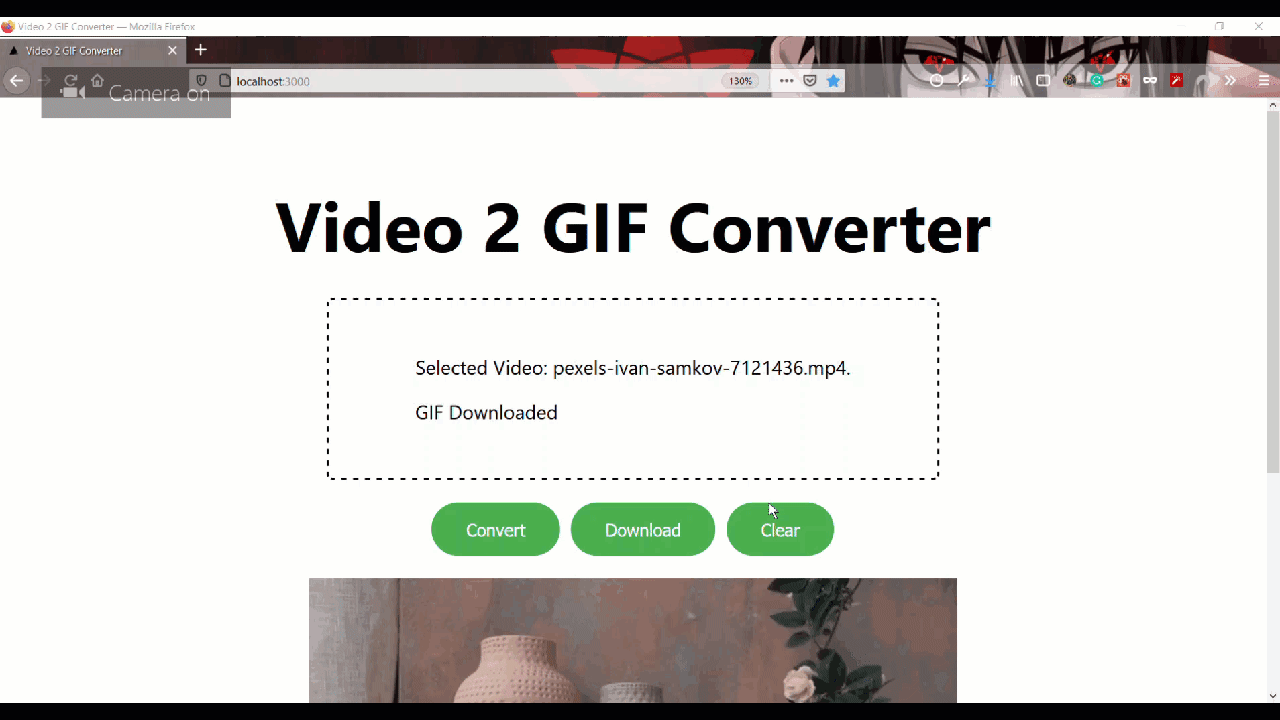
Here is the download button in action.
You also need to delete the video from your Cloudinary account to not run out of storage. In this section, you will create a button named Clear which will delete the video from your Cloudinary account and reset the states.
Create a button named Clear after Convert and Download buttons.
<div className={styles.grid}>
  <button className={styles.btn} onClick={convert}>Convert</button>
  <button className={styles.btn} onClick={download}>Download</button>
  <button className={styles.btn} onClick={clear}>Clear</button>
</div>
Code language: HTML, XML (xml)
Now, create a function named clear which makes a POST request to deleteVideo API route with the public_id of the video to be deleted in the request body. This function also clears the four states to their initial value, i.e., empty strings and logs the response from the API route in the console.
const clear = async () => {
  await setFileName("");
  await setProgress("");
  await setUploadVideo("");
  const res = await axios.post("/api/deleteVideo", {
    publicId,
  });
  const data = await res.data;
  await console.log(data);
  await setPublicId("");
};
Code language: JavaScript (javascript)
Create the API route /deleteVideo by creating a file named deleteVideo.js in pages/api folder. Run the following command to create it.
touch pages/api/deleteVideo.js
Add the following code deleteVideo.js.
// pages/api/deleteVideo.js
var cloudinary = require("cloudinary").v2;

cloudinary.config({
  cloud_name: process.env.NEXT_PUBLIC_CLOUDINARY_CLOUD,
  api_key: process.env.CLOUDINARY_API_KEY,
  api_secret: process.env.CLOUDINARY_API_SECRET,
});

export default async (req, res) => {
  const publicId = req.body.publicId;

  await cloudinary.uploader
    .destroy(publicId, { resource_type: "video" }, function (error, result) {
      if (result) {
        res.status(200).json("Video Deleted");
      }
    })
    .catch((e) => {
      console.error(e);
    })
};
Code language: JavaScript (javascript)
The above code is similar to the uploadVideo.js file, but here you extract the public_id of the video from the request body and use the uploader.destroy() function to delete the video. You can read more about this method here.
After the successful response from Cloudinary, you send a message "Video Deleted" to the frontend.
Here is the Clear button deleting the video and resetting the state.
In this media jam, we saw how to build a Video to GIF converter using Next.js and Cloudinary. We also saw how to create a download button to download the GIF and a clear button to delete the video from Cloudinary.
Here are some additional resources that can be helpful:
Happy coding!