
When you have an e-commerce site or you want to add some visual customization for your users, creating a video slideshow with specific images can be a nice touch. If you have existing images and videos, all of them can be combined to make something special for your users and potentially increase your sales and user retention.
In this article, we’ll walk through how to make a custom video slideshow using Cloudinary. If you don’t have a Cloudinary account already, you can sign up for a free one and start adding images and videos that you can use for your website.
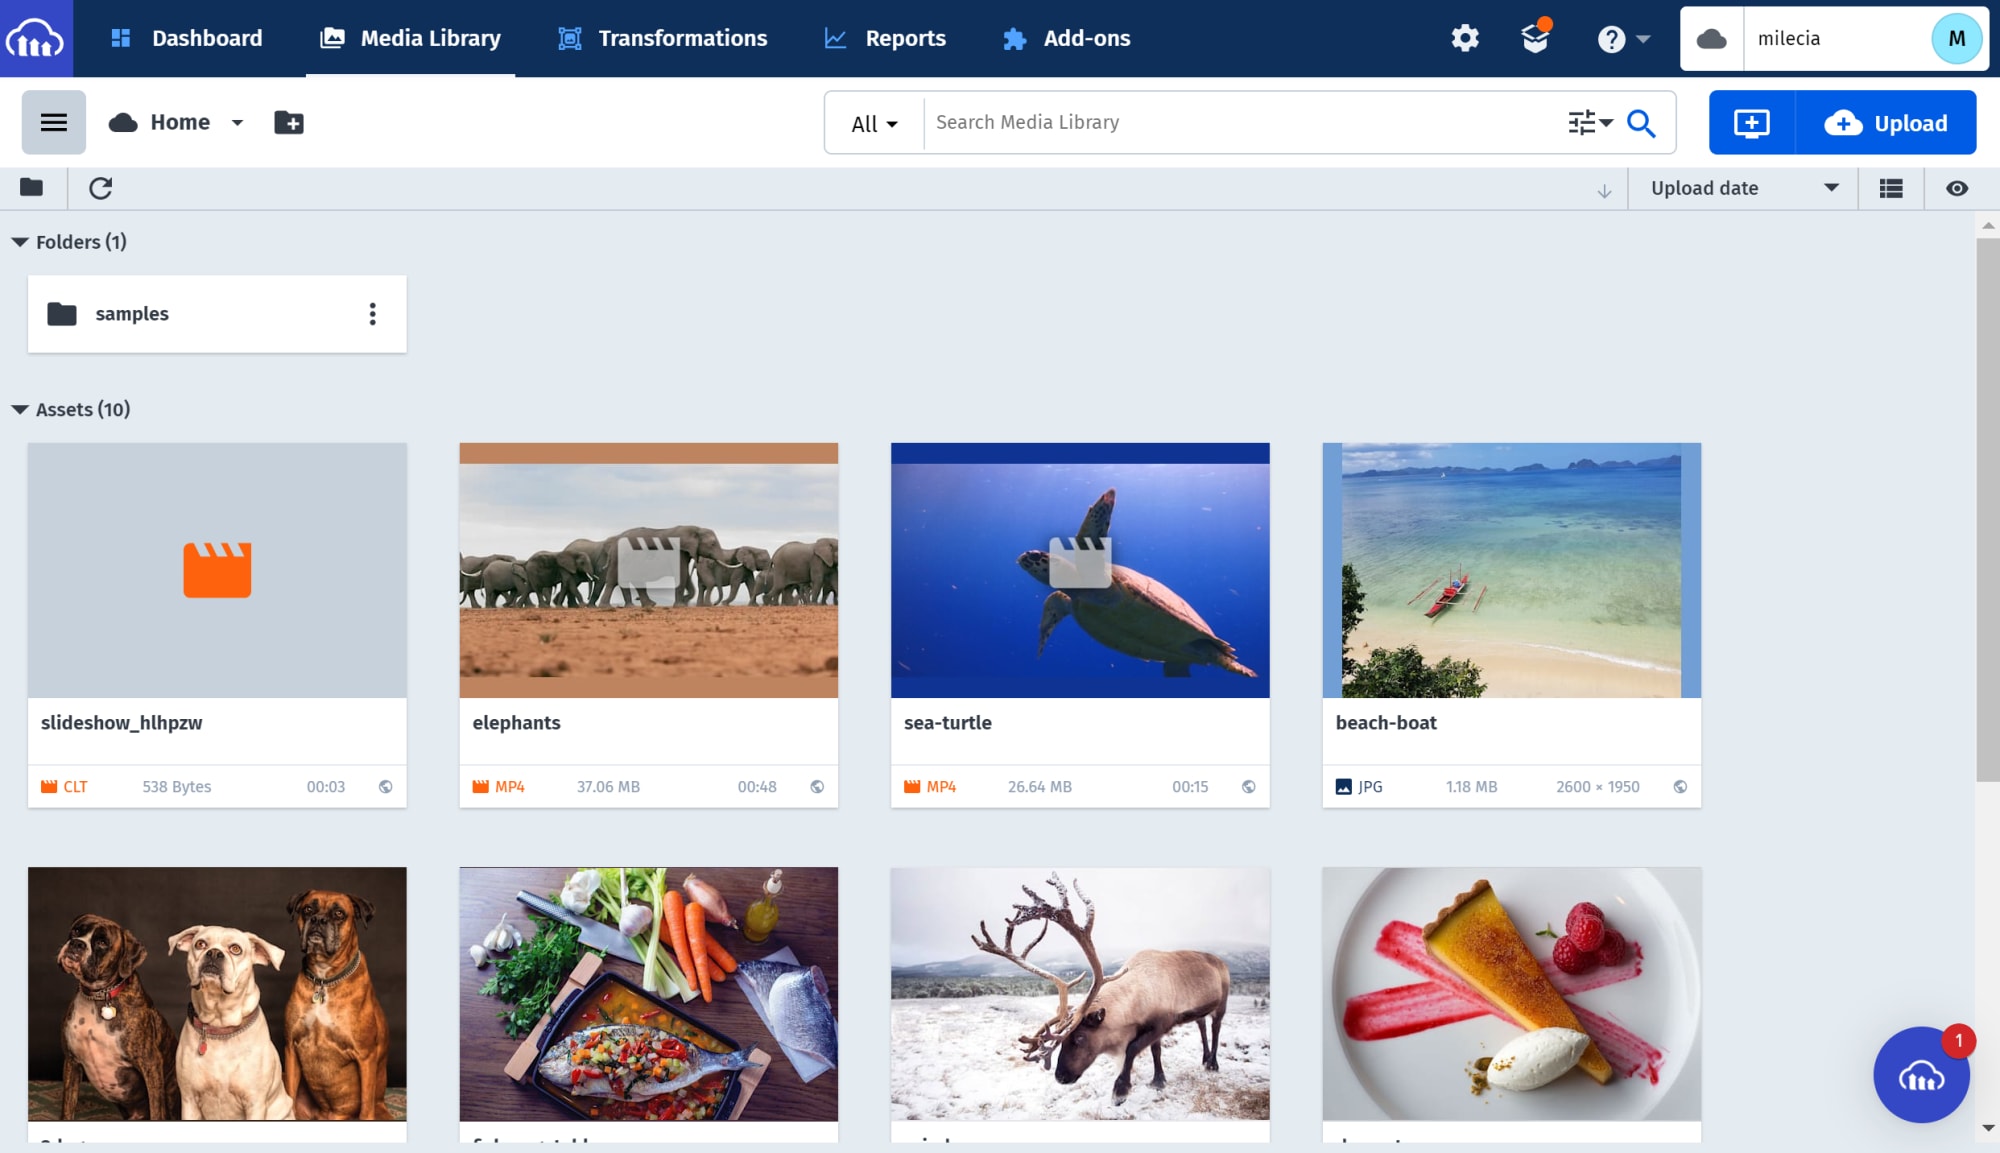
When you log into your account, you’ll be taken to the Dashboard. From there, navigate to the Media Library. This is where you can add any images and videos you want to use.
We’ll be making a simple page to show custom videos to different users with React. To start, open a terminal (I’m using VSCode) and run:
npx create-react-app video-generator
cd video-generator
You can delete the CSS files and remove the associated import statements in the App.jsx and index.js files.
With your Cloudinary account and our newly created React app, we can start making custom slideshows!
In the App.jsx file, you can delete everything and just follow along here. First, we need to install the styled-components package so that we can arrange the videos on a page with some CSS-in-JS.
npm i styled-components
Now let’s import a couple of packages at the top of the App.jsx file.
import React from "react";
import styled from "styled-components";
Code language: JavaScript (javascript)
Next, we can create the App component and export it.
function App() {}

export default App;
Code language: JavaScript (javascript)
Let’s say you have data that shows the products people look at the most frequently on your site and you want to show three videos on your home page that highlights them. We’ll start by making a couple of styled-components, one to style our videos and one to contain those videos.
const Video = styled.video`
  height: 200px;
  padding: 24px;
  width: 350px;
`;

const VideoContainer = styled.div`
  display: flex;
  flex-wrap: wrap;
  justify-content: space-between;
  width: 100%;
`;
Code language: JavaScript (javascript)
With these styled-components in place, we can start working on creating the video slideshows with Cloudinary.
Videos are created using this URL syntax given in the Cloudinary docs:
https://res.cloudinary.com/cloudname/video/upload/fn_render:global-settings;vars_(slide-settings(individual-slide))/global-transformations/template.ext
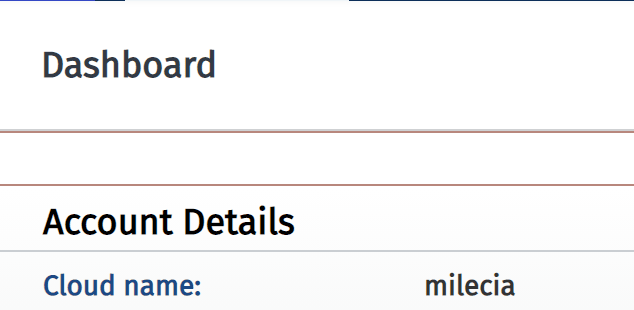
You can get the cloudname from your Cloudinary console.
The global-settings are general settings applied to your video, like the height and width that Cloudinary should return as well as the duration that the video should be.
The slide-settings are responsible for the settings that apply to each slide. This will include things like how long the image is shown before switching to the next one, what kind of transition is applied between slides, and how long the transition lasts.
The individual-slide section is how you add images or videos based on their public_id to your slideshow. We’ll use this to add the specific images we want a little later.
The global-transformations are how you can take advantage of the regular transformations Cloudinary has available, like automatically adjusting the quality of the video so that it’s optimized for your users.
The template is how we let Cloudinary know we’re going to create a video slideshow. You’ll need to upload the template for the slideshow.
Since video slideshow generation is a beta feature, this is the only template you can work with for now.
With that background info on how slideshow generation works, let’s start adding a few things to our React app.
Inside of the App component, we’re going to add a new object with the parameters we need to pass to Cloudinary to generate our video. This will contain the height, width, video duration, slide duration, transition duration, and images you want to show in the video. We’ll also create an array containing the public_id of each image we want to show in the slideshow.
const vidVars = {
  w: 500,
  h: 500,
  du: 15,
  sdur: 3000,
  tdur: 1500,
};

const vidA = ["3dogs", "reindeer", "cat"];
Code language: JavaScript (javascript)
Now let’s add the first video using our styled-components.
return (
  <VideoContainer>
    <Video controls>
      <source
        src={`https://res.cloudinary.com/milecia/video/upload/fn_render:w_${
          vidVars.w
        };h_${vidVars.h};du_${vidVars.du};vars_(sdur_${vidVars.sdur};tdur_${
          vidVars.tdur
        };transition_s:circlecrop;slides_(${vidA
          .map((mediaDoc) => `(media_i:${mediaDoc})`)
          .join(";")}))/f_auto,q_auto/slideshow_hlhpzw.mp4`}
        type="video/mp4"
      />
      Your browser does not support the video tag.
    </Video>
  <VideoContainer>
Code language: HTML, XML (xml)
Make sure you get the exact name of the slideshow template from your Media Library. You’ll need to update the name in the URL we created. It will be something different from slideshow_hlhpzw.mp4.
We’ve taken advantage of template strings in JavaScript to dynamically generate the slideshow URL for us using the general video settings object we created and the array of the public IDs of our images.
If you run the app with the npm start command in your terminal, you should see something similar to this.

With the first video in place, let’s add a couple more arrays defining the images we want to display in the other two slideshows.
const vidB = ["reindeer", "3dogs", "dessert"];

const vidC = ["beach-boat", "3dogs", "reindeer"];
Code language: JavaScript (javascript)
Now that we know the images we’re going to show, let’s go ahead and add the other two videos using the styled component.
<Video controls>
  <source
    src={`https://res.cloudinary.com/milecia/video/upload/fn_render:w_${
      vidVars.w
    };h_${vidVars.h};du_${vidVars.du};vars_(sdur_${vidVars.sdur};tdur_${
      vidVars.tdur
    };transition_s:circlecrop;slides_(${vidB
      .map((mediaDoc) => `(media_i:${mediaDoc})`)
      .join(";")}))/f_auto,q_auto/slideshow_hlhpzw.mp4`}
    type="video/mp4"
  />
  Your browser does not support the video tag.
</Video>
<Video controls>
  <source
    src={`https://res.cloudinary.com/milecia/video/upload/fn_render:w_${
      vidVars.w
    };h_${vidVars.h};du_${vidVars.du};vars_(sdur_${vidVars.sdur};tdur_${
      vidVars.tdur
    };transition_s:circlecrop;slides_(${vidC
      .map((mediaDoc) => `(media_i:${mediaDoc})`)
      .join(";")}))/f_auto,q_auto/slideshow_hlhpzw.mp4`}
    type="video/mp4"
  />
  Your browser does not support the video tag.
</Video>
Code language: HTML, XML (xml)
Now that you have all three videos in your app, you should see something like this in your browser.
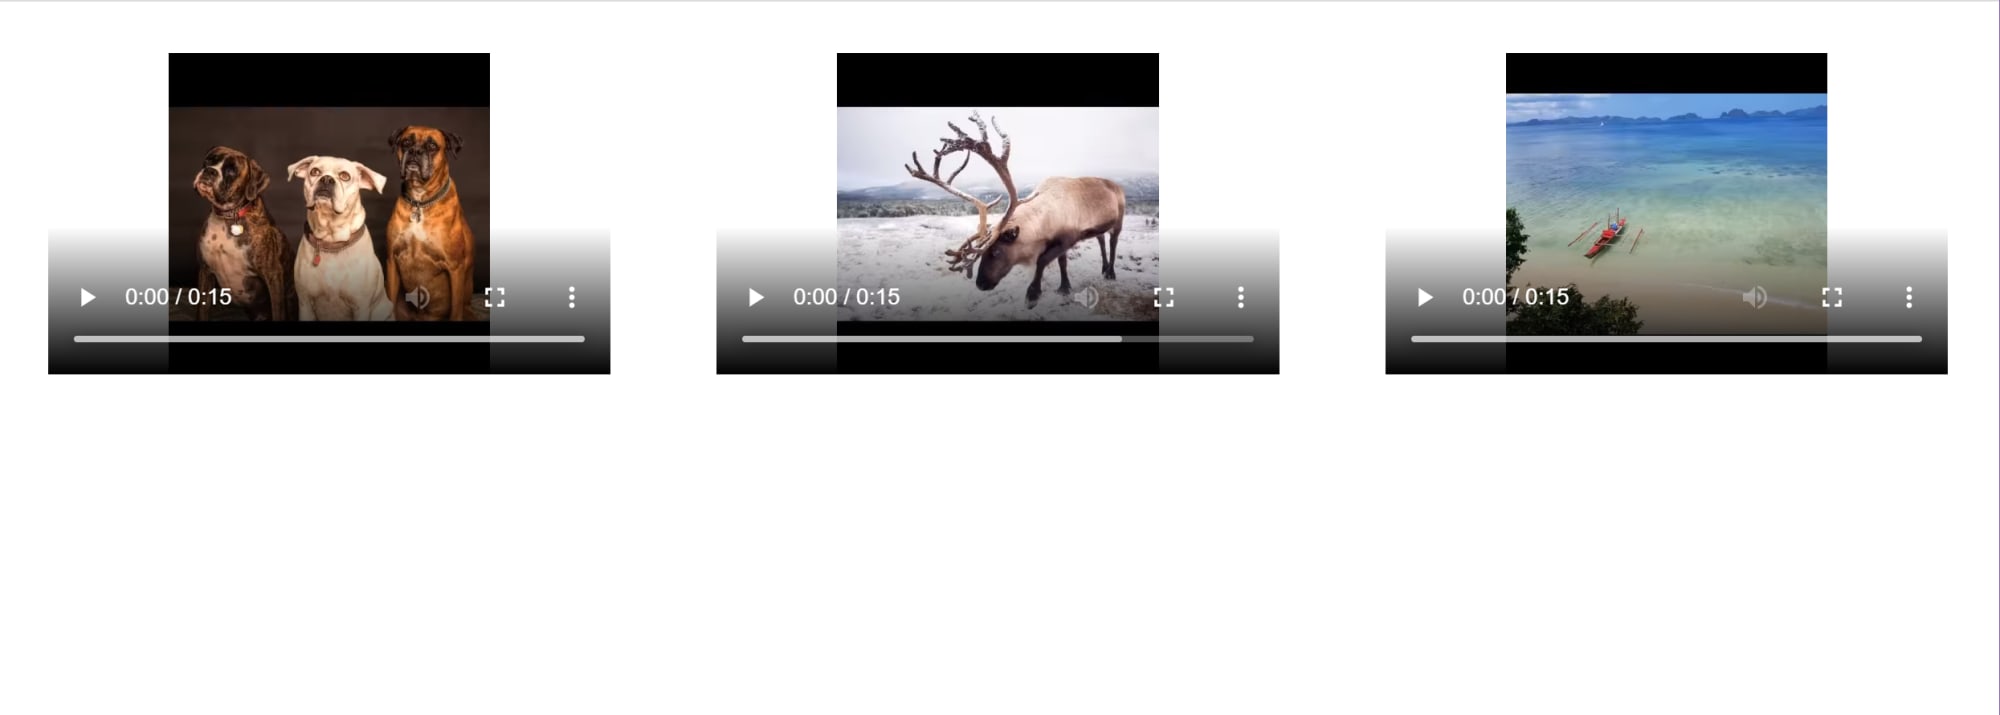
This is how we handle slideshow generation with just images, but we do have the option to include videos within our slideshows as well.
Adding a video to the slideshow means we change a few settings in the URL we generate.
Instead of using media_i:public_id, we’ll have to use media_v:public_id;type_s:video. This will tell Cloudinary that the asset we’re using is a video and it will be handled accordingly.
We’ll add an object with two arrays, one containing the images and the other containing the videos, to our App component.
const vidD = {
  images: ["reindeer", "sample"],
  videos: ["elephants", "sea-turtle"],
};
Code language: JavaScript (javascript)
Lastly, we’ll add one more <Video> to the component.
<Video controls>
  <source
    src={`https://res.cloudinary.com/milecia/video/upload/fn_render:w_${
      vidVars.w
    };h_${vidVars.h};du_${vidVars.du};vars_(sdur_${vidVars.sdur};tdur_${
      vidVars.tdur
    };transition_s:circlecrop;slides_(${vidD.images
      .map((mediaDoc) => `(media_i:${mediaDoc})`)
      .join(";")}${vidD.videos
      .map((mediaDoc) => `(media_v:${mediaDoc};type_s:video)`)
      .join(";")}))/f_auto,q_auto/slideshow_hlhpzw.mp4`}
    type="video/mp4"
  />
  Your browser does not support the video tag.
</Video>
Code language: PHP (php)You can take a look at the complete code in this CodeSandbox or clone the GitHub repo!
Working with videos can be tricky, but Cloudinary does make it easier. Keep in mind that this is a beta feature, so it’ll likely change a bit later.