
Media streaming has become a popular medium to pass on information in today’s society. With live and on-demand streaming options on the rise, technologies or techniques like adaptive bitrate streaming have been designed to ensure that the media is delivered in the most efficient way possible.
Adaptive bitrate streaming is a video delivery technique that dynamically adjusts the quality of a video stream in real-time according to the available bandwidth.
This post will discuss utilising Cloudinary to handle adaptive bitrate streaming in Next.js.
The completed project is on CodeSandbox. Check out the CodeSandbox to get started quickly.
**GitHub URL: **
https://github.com/Iheanacho-ai/adaptive-bitrate-streaming
To get the most out of this article, we require the following:
- A basic understanding of CSS, JavaScript and React.js
- A Cloudinary account, you can create one here.
Next.js is an open-source React framework that enables us to build server-side rendered static web applications.
To create our Next.js app, we navigate to our preferred directory and run the terminal command below:
    npx create-next-app@latest
    # or
    yarn create next-app
After creating our app, we change the directory to the project and start a development server with:
    cd <name of our project>
    npm run dev
To see our app, we go to http://localhost:3000.
Cloudinary is a cloud-based service that provides an end-to-end image and video management solution, including uploads, storage, manipulations, optimizations, and delivery.
We run these commands in our terminal to enable our Next.js app to use the Cloudinary video player.
npm install lodash cloudinary cloudinary-core cloudinary-video-player
After installing the Cloudinary dependencies, we start our project by creating an assets folder at the root of our project. This assets folder will contain the video we will upload to our Cloudinary Account.
To get the video we are using in this project, check it out here.
Next, we create a .env file at the root of our project.
touch .env
After creating our .env file, we go to our Dashboard, and we can see our Cloudinary API Environment variable in the Account Details section. We copy and paste the variable in our .env file. This variable should look a lot like this.
CLOUDINARY_URL=cloudinary://**************:**************
We then install dotenv in our project. This will allow us to use the Environment variable stored in our .env file in our project.
To do this, we go to our terminal and run this command.
npm install dotenv
After running this command in our terminal, we create an upload folder at the root of our project. This folder will hold our local.assets.js file that contains the code for uploading our video.
In our upload/local-assets.js file, we copy and paste this piece of code below.
    require("dotenv").config();
    const cloudinary = require("cloudinary").v2;
    var up_options = {
        resource_type: "video",
        eager: [
            { streaming_profile: "full_hd", format: "m3u8" }],
        eager_async: true,
        eager_notification_url: "http://localhost:3000/",
        public_id: "nature"
    };
    cloudinary.uploader.upload("./assets/relaxing-nature.mp4", up_options, function(result) {console.log(result);});
The snippet above does the following:
- Imports Cloudinary and the Cloudinary API Environment variable stored in our
.envfile. - Defines the streaming profile and format we want our video in.
- Gives our video to be uploaded a
public_idofnature. - Uploads our video to our Cloudinary account.
We then go to our terminal and run this command.
node upload/local-assets.js
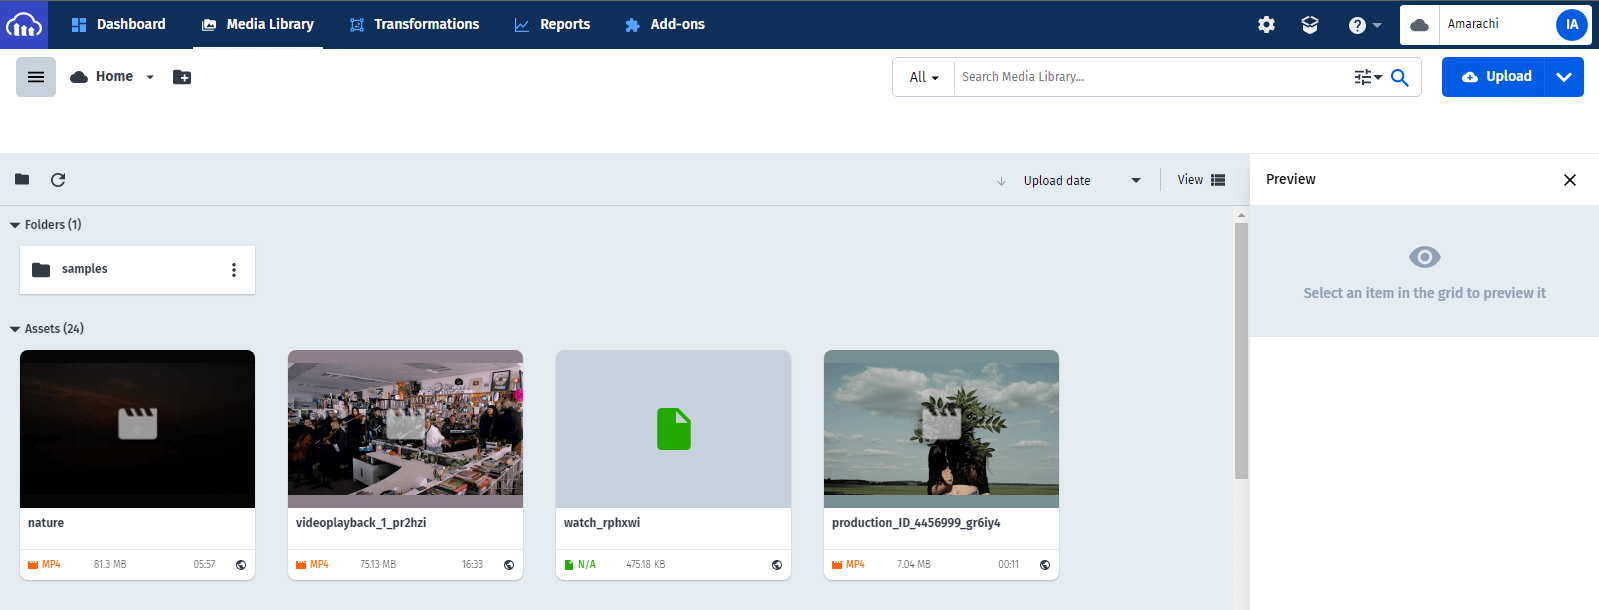
This command runs the node.js script to upload the video to Cloudinary. To see our video, we go to our Cloudinary Media library.
We create a components folder at the root of our project to create our video player. This will hold our video-player.js file and its video-player.css stylesheet.
In our components/video-player.js file, we create our video player component using the HTML5 native video element.
    const VideoPlayer = () => {
      return (
        <div>
          <video id="video-player" className="video-player"/>
        </div>
      );
    };
    export default VideoPlayer;
Next up, we go to our Cloudinary Dashboard. In the ‘Account Details’ section, we copy our cloud name to create a Cloudinary instance.
In the VideoPlayer component of components/video-player.js, we create a new Cloudinary instance using our cloud name.
const cld = new Cloudinary({ cloud_name: <our cloud name>, secure: true});
Next, we write a useEffect hook in the VideoPlayer component to run when our app mounts. This would be responsible for sourcing and playing our video from Cloudinary.
    useEffect(() => {
      const videoPlayer = cld.videoPlayer("video-player", {
        controls: true
      });
      videoPlayer.source("nature");
    });
In the useEffect hook, we instantiate the video player by using Cloudinary’s videoPlayer() method, which then receives two arguments:
- The
videoelement’sid. - An object which sets the controls on the player to true.
We pass in the public id of the video as a parameter to the source() method. This public id is the same as we defined during the video upload.
With that, we have created a Cloudinary video player instance, our components/video-player.js file should look like this.
    import "cloudinary-video-player/dist/cld-video-player.min.js";
    import "cloudinary-video-player/dist/cld-video-player.min.css";
    import { Cloudinary } from "cloudinary-core";
    import { useEffect } from "react";
    const VideoPlayer = () => {

      const cld = new Cloudinary({ cloud_name: "amarachi-2812" });
      useEffect(() => {
        const videoPlayer = cld.videoPlayer("video-player", {
          controls: true
        });
        videoPlayer.source("nature");
      });

      return (
        <div>
          <video id="video-player" className="video-player"/>
        </div>
      );
    };
    export default VideoPlayer;
We add some styles to our video player in components/video-player.css to specify its width and height.
    .video-player{
        width: 300px;
        height: 300px;
    }
Next, we import our video player component in our pages/index.js file to render it on the homepage and make it visible in the browser.
    import Head from "next/head";
    import styles from "../styles/Home.module.css";
    import dynamic from "next/dynamic"; //add

    const NativeVideo = dynamic(
      () => import("../components/video-player"),
      { ssr: false }
    );

    export default function IndexPage() {
      return (
        <div className={styles.container}>
          <Head>
            <title>Video Player with Cloudinary</title>
            <link rel="icon" href="/favicon.ico" />
          </Head>
          <header className={styles.header}>
            <h1>Video Player</h1>
          </header>
          <section className={styles.video_player}>
            {/* <VideoPlayer /> */}
            <NativeVideo />
          </section>
        </div>
      );
    }
This snippet above loads our VideoPlayer component with dynamic imports. Dynamically importing our VideoPlayer component ensures that it is not rendered on the server-side. Doing this erases errors that the browser might have thrown. Errors like window is not defined etc.
Here’s what the embedded video player looks like:

To apply the adaptive bitrate streaming technique in our videos, we go into our components/video-player.js file and pass in an object as a second parameter to the source() method.
This object does the following:
- Specifies the video streaming format using the
sourceTypesvariable. - Defines the streaming profile of our video.
NOTE: It is important we use the streaming profile we defined when uploading our video to our Cloudinary Account.
    videoPlayer.source("videoplayback_1_pr2hzi", {
        sourceTypes: ['hls'],
        transformation: {
            streaming_profile: 'full_hd',
        }
    });
With that, we have successfully handled adaptive bitrate streaming in our project. Our component/video-player.js should look like this.
    import "cloudinary-video-player/dist/cld-video-player.min.js";
    import "cloudinary-video-player/dist/cld-video-player.min.css";
    import { Cloudinary } from "cloudinary-core";
    import { useEffect } from "react";

    const VideoPlayer = () => {
      const cld = new Cloudinary({ cloud_name: "amarachi-2812" });
      useEffect(() => {
        const videoPlayer = cld.videoPlayer("video-player", {
          controls:true,
          autoplay: true
        });
        videoPlayer.source("videoplayback_1_pr2hzi", {
          sourceTypes: ['hls'],
          transformation: {
              streaming_profile: 'hd',
          }
      });
      });

      return (
        <div>
          <video id="video-player" className="video-player"/>
        </div>
      );
    };
    export default VideoPlayer;
In the video player, we can see that clicking on the Cloudinary icon opens a list of video quality options. Selecting the auto option automatically adjusts the video quality to match the network bandwidth.
This article discussed using Cloudinary to dynamically dictate what video quality our video player should render depending on the available bandwidth.
You may find the following resources useful.