
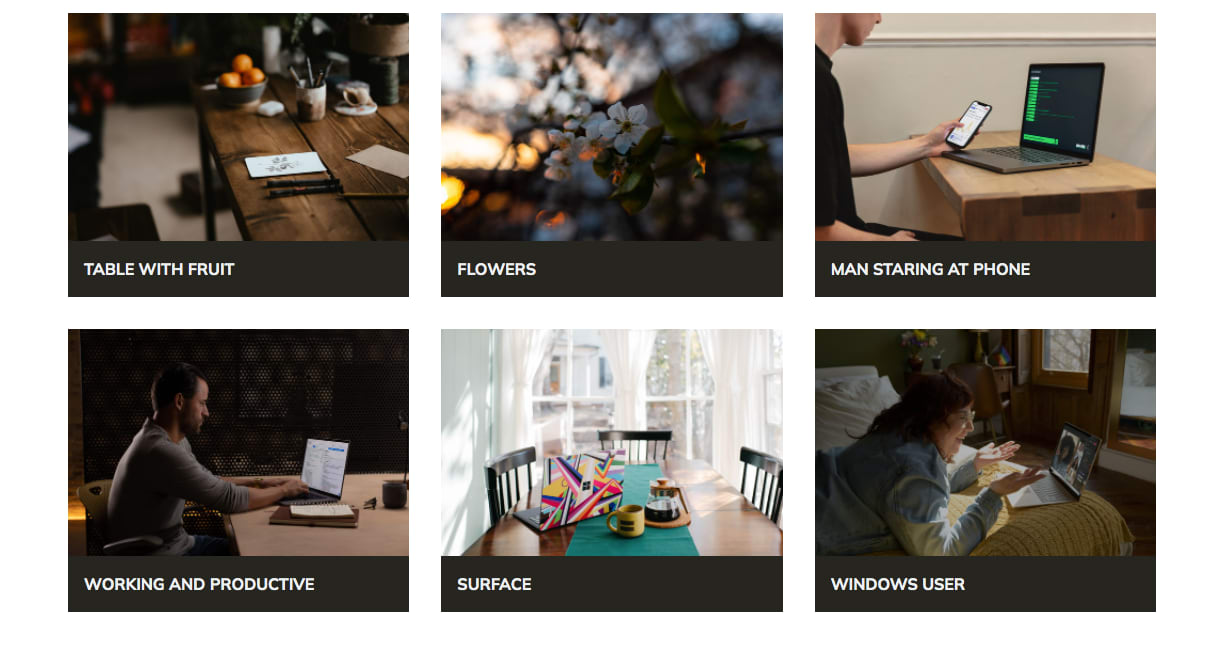
Building a static media site filled with gallery images from Notion is a way to present to users dynamically generated images from the stored data in Notion and serve the data to the client-side of a Next.js application.
What is Notion?
Notion is a note taking application that empowers users to be productive in their workflow.
What is Next.js?
Next.js is a React framework that gives you the flexibility of building scalable applications by allowing you render content on the server.
In this article, you will learn how to use the Notion application programming interface (API) to pre-render a static page with the data from Notion by querying the database. For each new data entered in Notion the client-side is updated.
The completed project demo is in a CodeSandbox. Fork and run the code to get started.
You can check out the live demo
The following are required to complete this tutorial:
- Understanding of React and knowing Next.js is necessary
- Node.js installed on your local machine. It is required for dependency installation using
npm - Having an account on Notion. Sign up is free
To scaffold a new project with all the files and folders, run the command in your terminal:
npx create-next-app notion-media-site
After the installation, navigate to the created project directory and run the command below to start the development server on port 3000. Open http://localhost:3000 in your browser to check this out.
cd notion-media-site

npm run dev
Next, let’s install the Notion SDK for JavaScript by running this command:
npm install @notionhq/client
Code language: CSS (css)@notionhq/client: A simple and easy to use client for the Notion API
Before getting started with using the package, let’s create the page for the image gallery on Notion. Open a new browser tab and enter notion.so to begin.
Now, you’ll create a table with the following steps in your Notion dashboard.
- Click the “+ New page” button
- Give your page a name. The name here is not important as it can be called anything
- Under the database options, select “Table”
- Once it is opened, select the “New database” button
- Rename the column tags and click it to change it “Edit property” type to “Files & media”
- For the
Namecolumn, give each row a value for the corresponding image - For the
imgcolumn, choose an image file on your local machine
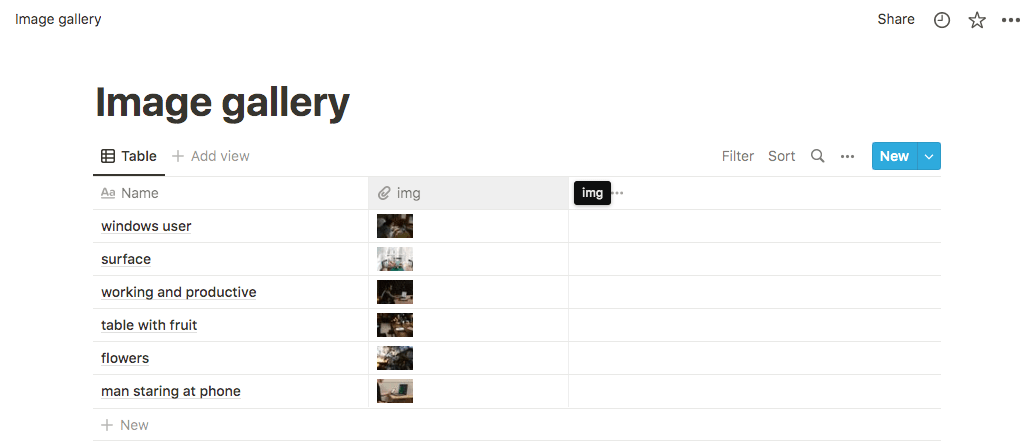
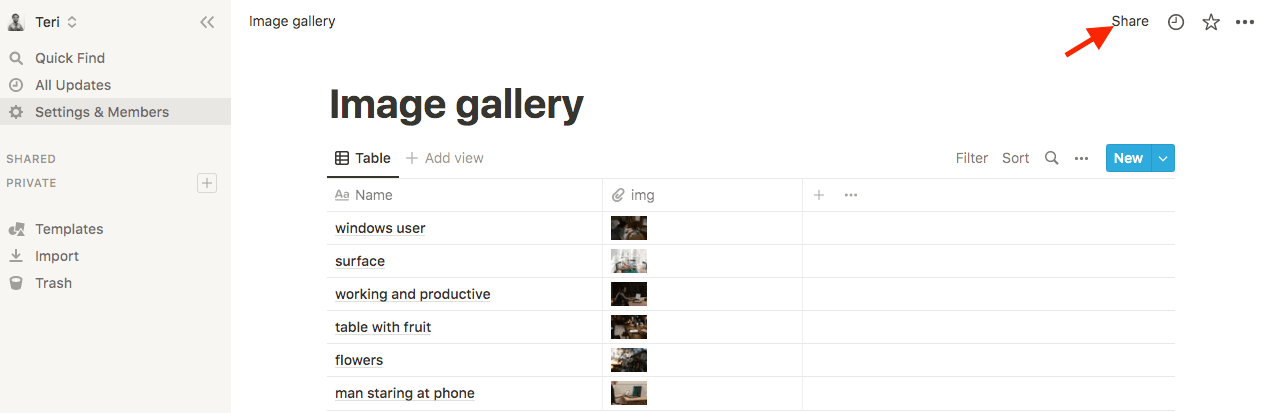
If everything was done correctly, your “Table” database should look like this:
With the database created in Notion, it is time to create an integration that will enable the Next.js application have access to all the data from Notion by creating an integration.
The steps are outlined as follows:
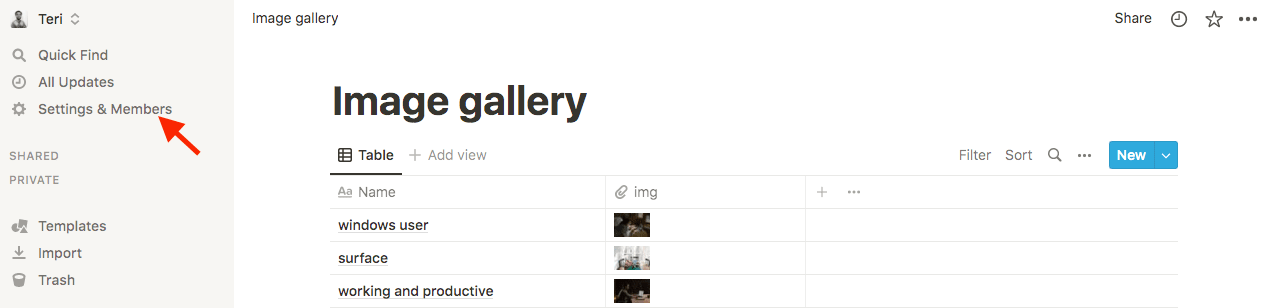
- To develop a new integration, click the “Settings & members” button
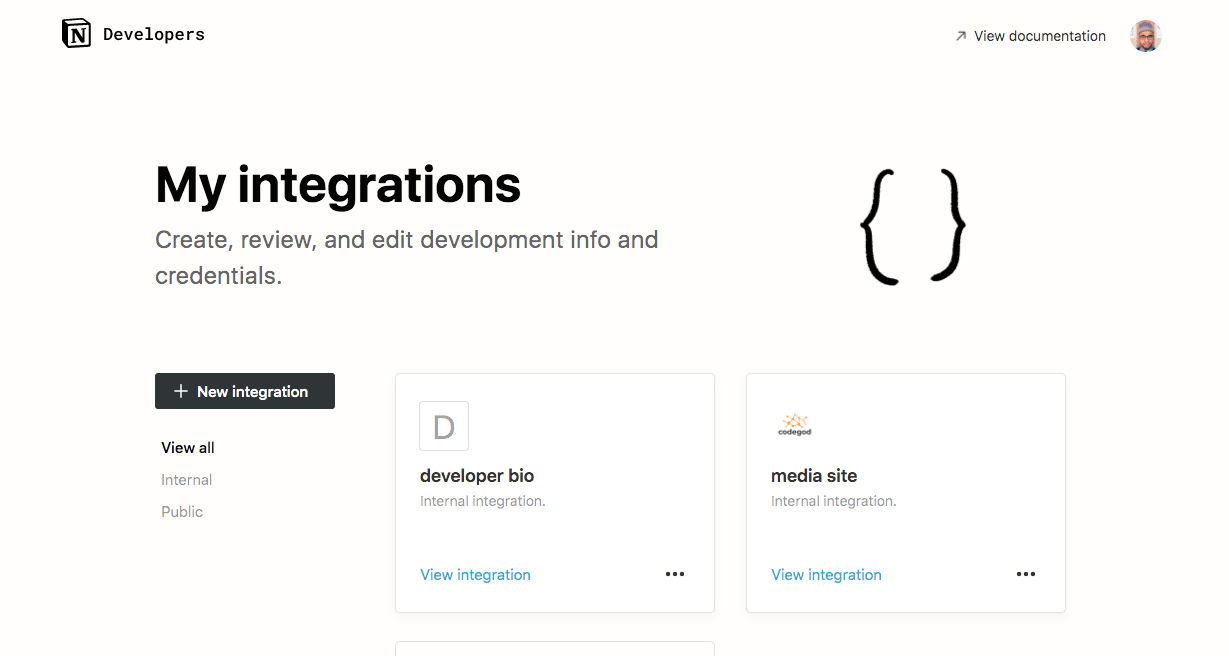
- Next, click the links “Integrations” and “Develop your own integrations”

- Give your integration a name by clicking the “New integration” button
- Once everything has been done correctly with the selected workspace you want to install your integration and its capabilities, click “Submit” to create the integration
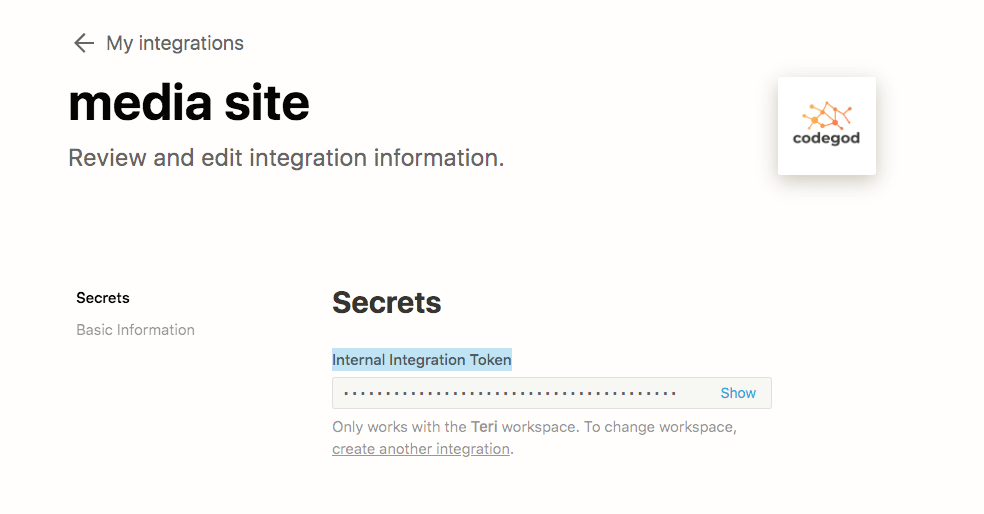
- Copy the “Internal Integration Token” which will be used later in development
- Let’s get the other environment variable, the Database ID which is 32 characters long from the URL of the page.
https://www.notion.so/myworkspace/a8aec43384f447ed84390e8e42c2e089?v=...
                                      |--------- Database ID --------|
Code language: JavaScript (javascript)- The last thing to do here is to share the data from the created Notion page above with the new integration. Click the “Share” button and then invite the integration with the name of the integration and afterwards click the “Invite” button
PS: The whole setup is complete, now our app will be able to make requests for any data on the Notion page.
Back in our project, let’s create an .env file for the secret token and database ID. Create the file in the root directory and copy the following code:
    // .env

    NOTION_DATABASE_ID=<YOUR DATABASE ID>
    NOTION_SECRET=<Internal Integration Token>
Code language: HTML, XML (xml)
Next, in the index.js file under the pages folder, copy and paste the following code:
// pages/index.js

import React from "react";
import { Client } from "@notionhq/client";
import styles from "../styles/Home.module.css";

const IndexPage = ({ items }) => {
  return (
    <div className={styles.container}>
      <main className={styles.main}>
        {React.Children.toArray(
          items.map((item) => (
            <div className={styles.card}>
              <img
                src={item.img}
                alt="notion props img"
                className={styles.img}
              />
              <p className={styles.title}>{item.title}</p>
            </div>
          ))
        )}
      </main>
    </div>
  );
};

export const getStaticProps = async () => {
  const notion = new Client({
    auth: process.env.NOTION_SECRET
  });

  const data = await notion.databases.query({
    database_id: process.env.NOTION_DATABASE_ID
  });
  const images = [];
  data.results.forEach((result) => {
    images.push({
      img: result.properties.img.files[0].file.url,
      title: result.properties.Name.title[0].text.content
    });
  });
  return {
    props: {
      items: images
    }
  };
};

export default IndexPage;
Code language: JavaScript (javascript)
In the code snippet above, the following takes place:
- The use of the
getStaticPropsfunction which allows the pre-rendering of the page at build time using the props returned - A new Notion client created with the auth object passed set to
process.env.NOTION_SECRET - Pass the next configuration object using
process.env.NOTION_DATABASE_IDand query the items that exist on our page usingnotion.databases.query - With an empty array of images, pass the
data.resultsarray from the data variable and iterate over each item for theimg, andtitlein the collection - Thereafter, push the new img and title into the images array. The results from this is the passed in props
itemsthat takes the img and title and render the data on the client-side
For the styling of the page, create a folder called styles in the root directory. In there, create two files, a globals.css and Home.module.css
Copy and paste the following code from these gist below into the respective files.
Global.css: https://gist.github.com/Terieyenike/67722f0a174825afb337ccd6fb0e6f99
Home.module.css: https://gist.github.com/Terieyenike/2c5c0ce4ecfeda6e45ebbae75841d230
This article discussed the use of the Notion API in creating a static page and how it can be used as a content management tool (CMS) for your frontend applications.