
Reusability is at the heart of web development, using hosted images across multiple applications and websites. The need to transform, optimize, and deliver a version of that image with each application may arise.
This post discusses applying robust transformations and optimizations on hosted images in a Next.js website. Cloudinary, which we will employ, provides a feature to manage this and a suite of image enhancements and optimizations.
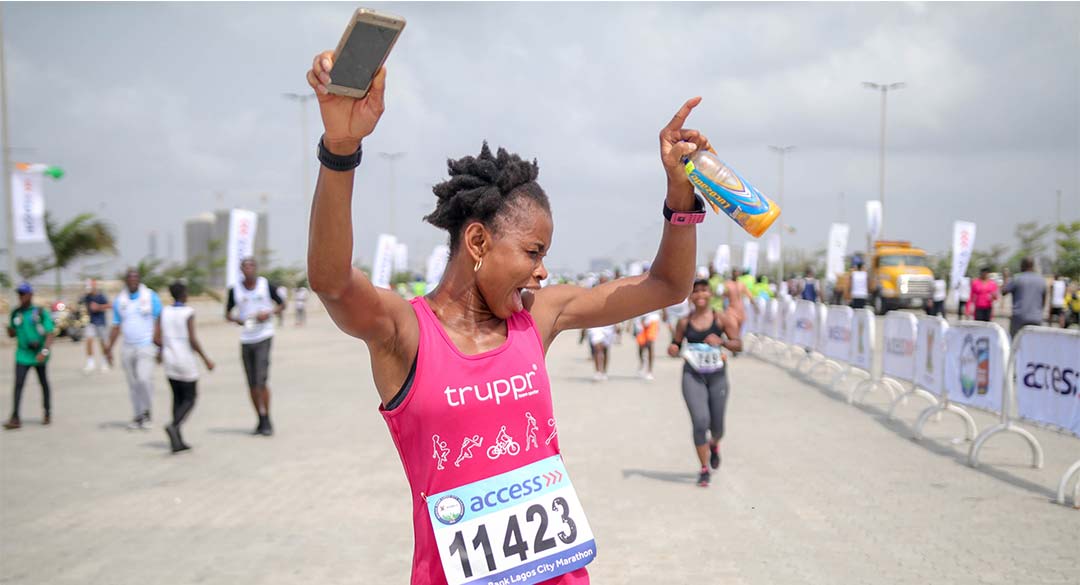
Images used in this project
This post is completed in a CodeSandbox. Fork it to get started quickly.
Check out the source code on Github.
We create a Next.js application using the following command:
npx create-next-app image-optimizations && cd image-optimizations
Next, we install the Cloudinary packages using yarn.
yarn add @cloudinary/url-gen @cloudinary/react

# or

npm i @cloudinary/url-gen @cloudinary/react
-
@cloudinary/url-gen: Includes particular components and directives for easy embedding of assets in our app -
@cloudinary/react: used to render images on our site
Next, let’s install the classnames package, a JavaScript utility for conditionally joining classNames together in writing the CSS modules for styling.
yarn add classnames

# or

npm i classnames
Finally, we start a local development server with the command.
yarn dev

# or

npm run dev
We will use the fetch-url feature of Cloudinary to deliver the hosted image.
Before adding transformations to any component in our project, we create a file in the component directory that renders the transformed image.
In the component/Marathoner.js file we create, we include the following code to display an image using the fetch URL, prefixed to the URL of the image.
component/Marathoner.js
    import { Cloudinary } from "@cloudinary/url-gen";
    import { AdvancedImage } from "@cloudinary/react";

    import styles from "../styles/Home.module.css";

    export default function Marathoner() {
      const cld = new Cloudinary({
        cloud: {
          cloudName: "demo"
        }
      });
      const myImage = cld
        .image("https://reefit.netlify.app/img/eloho.jpg")
        .setDeliveryType("fetch");

      return (
        <div>
          <AdvancedImage
            className={styles.img}
            cldImg={myImage}
          />
        </div>
      );
    }
Code language: JavaScript (javascript)
The above snippet creates and configures a new Cloudinary instance using a public identifier, cloudName. You can get this from your Cloudinary dashboard after you create an account.
Using the Cloudinary instance created, we defined a new image pointing to a publicly hosted photo, and we set the delivery type to fetch.
Lastly, we rendered the transformed image using the AdvancedImage component.
We create a file called Home.module.css in the styles folder having the following content.
styles/Home.module.css
    @import url("https://fonts.googleapis.com/css?family=Poppins:200,300,400,500,600,700,800,900&display=swap");

    .main {
      font-family: "Poppins", sans-serif;
    }
    .align {
      text-align: center;
    }
    .img {
      max-width: 100%;
      display: block;
    }
    .container {
      max-width: 75rem;
      padding-inline: 2em;
      margin: auto;
      width: 85%;
    }
    .space {
      margin-bottom: 2em;
    }
Code language: CSS (css)After delivering the image, we want to add transformations to it.
Using @cloudinary/url-gen, we can import specific Cloudinary transformation actions and qualifiers. These are then used to build a complete image URL with transformations.
Alternatively, we could apply on-the-fly transformations to the image by modifying the resulting image URL.
Still in the component/Marathoner.js, include the following code to transform the image.
component/Marathoner.js
    import { Cloudinary } from "@cloudinary/url-gen";
    import { AdvancedImage } from "@cloudinary/react";
    import { Transformation } from "@cloudinary/url-gen";

    // import required actions and qualifiers
    import { thumbnail, scale } from "@cloudinary/url-gen/actions/resize";
    import { byRadius } from "@cloudinary/url-gen/actions/roundCorners";
    import { grayscale } from "@cloudinary/url-gen/actions/effect";
    import { source } from "@cloudinary/url-gen/actions/overlay";
    import { FocusOn } from "@cloudinary/url-gen/qualifiers/focusOn";
    import { Position } from "@cloudinary/url-gen/qualifiers/position";
    import { focusOn } from "@cloudinary/url-gen/qualifiers/gravity";
    import { compass } from "@cloudinary/url-gen/qualifiers/gravity";
    import { image } from "@cloudinary/url-gen/qualifiers/source";

    import styles from "../styles/Home.module.css";

    // javascript utility for classnames
    import cls from "classnames";
    export default function Marathoner() {
      const cld = new Cloudinary({
        cloud: {
          cloudName: "demo"
        }
      });
      const myImage = cld
        .image("https://reefit.netlify.app/img/eloho.jpg")
        .setDeliveryType("fetch");

      myImage
        .resize(thumbnail().width(250).height(250).gravity(focusOn(FocusOn.face())))
        .roundCorners(byRadius(20))
        .effect(grayscale())
        .overlay(
          source(
            image("cloudinary_icon_blue").transformation(
              new Transformation().resize(scale(50))
            )
          ).position(
            new Position().gravity(compass("south_west")).offsetX(10).offsetY(5)
          )
        );
      return (
        <div>
          <AdvancedImage
            className={cls(styles.img, styles.space)}
            cldImg={myImage}
          />
        </div>
      );
    }
Code language: JavaScript (javascript)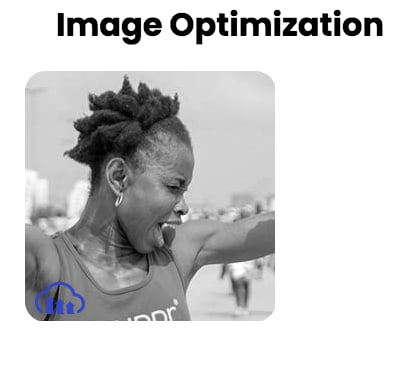
The code above applies the following transformations:
- The image is cropped to a 250 x 250 thumbnail using face-detection gravity to determine the crop’s location automatically
- Round the corners of the image with a radius of 20px
- Applied to the image is the grayscale effect
- Applied to the image is the Cloudinary logo on the southwest corner of the photo and scaled-down to 50px width of the original size with an offset from the edge of the picture in the X and Y direction
Like the image transformation steps, we’ll add a transformation effect to an image, along with format and quality optimizations.
Next, we create a new file called Athlete.js in the component directory with the following content:
component/Athlete.js
import { Cloudinary } from "@cloudinary/url-gen";
import { AdvancedImage } from "@cloudinary/react";
// import required actions
import { vectorize } from "@cloudinary/url-gen/actions/effect";
import styles from "../styles/Home.module.css";
export default function Athlete() {
const cld = new Cloudinary({
cloud: {
cloudName: "demo"
}
});
const athlete = cld
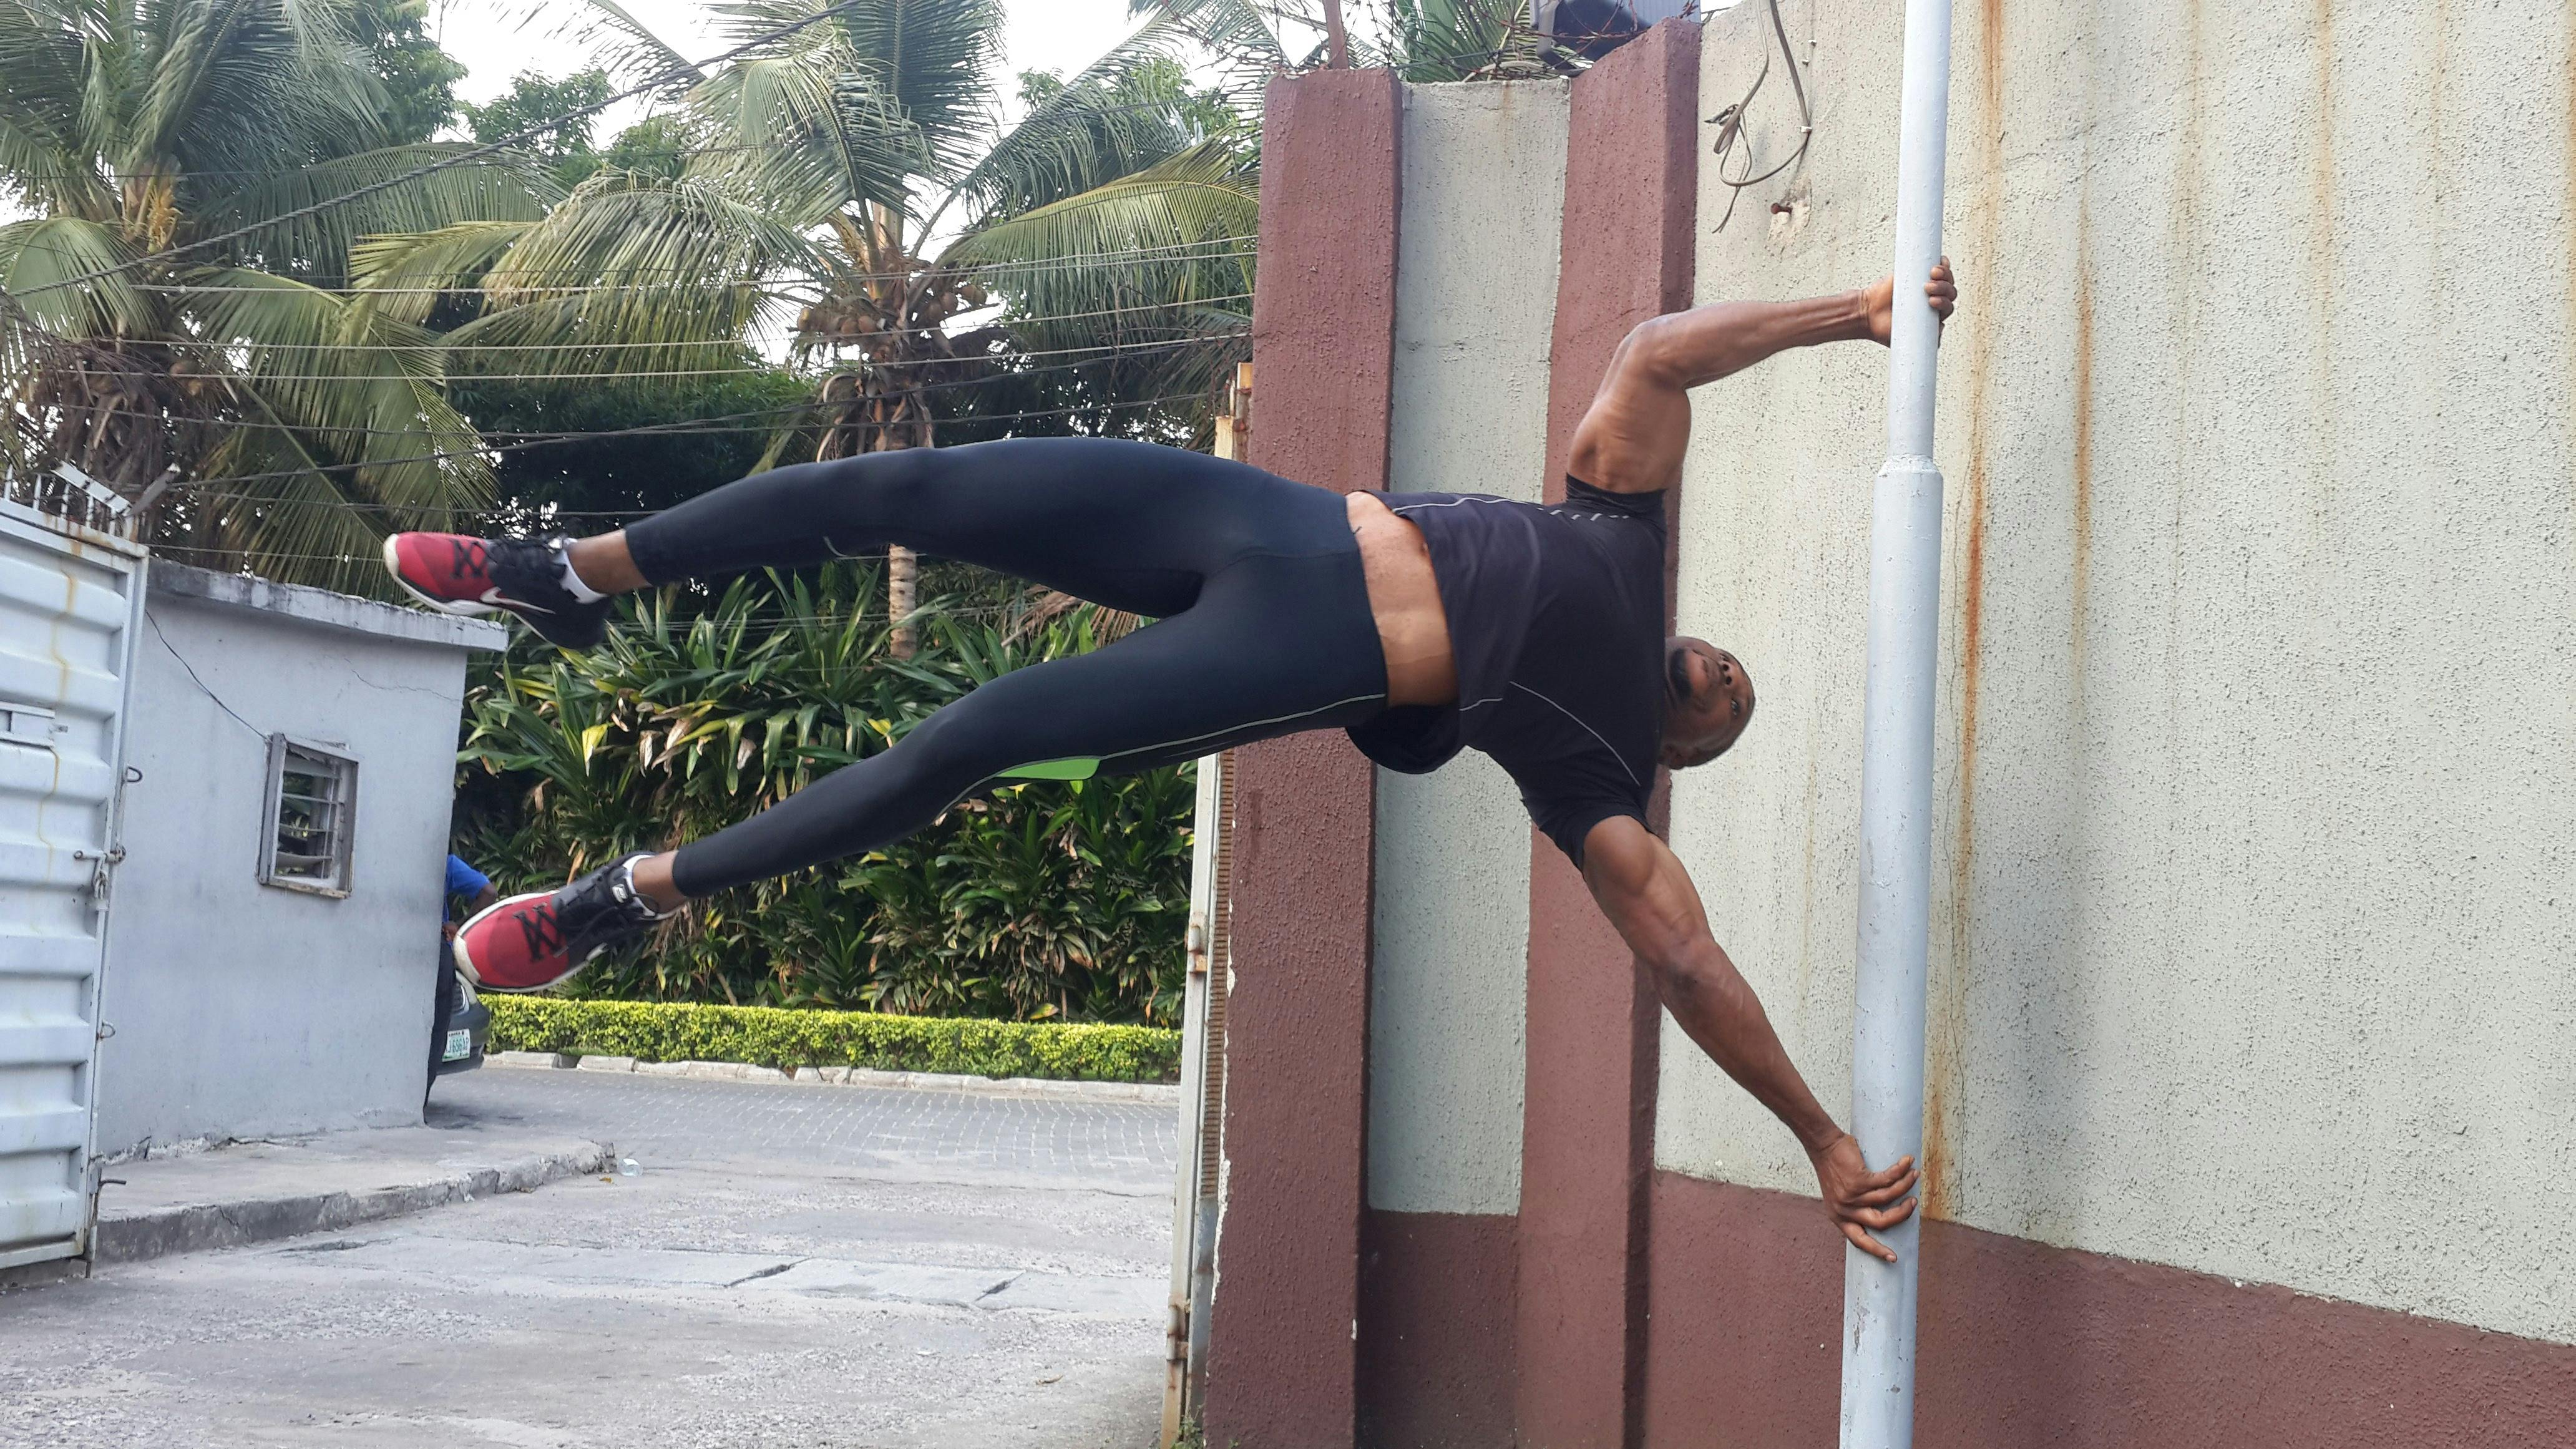
.image("https://images.pexels.com/photos/6354732/pexels-photo-6354732.jpeg")
.setDeliveryType("fetch");
athlete.effect(vectorize()).format("auto").quality("auto");
return (
<div>
<AdvancedImage className={styles.img} cldImg={athlete} />
</div>
);
}
Code language: JavaScript (javascript)The resulting image should look like this:

This post discussed modifying and reusing images hosted publicly on the internet by applying Cloudinary transformation and optimization parameters.