YouTube is an essential piece of popular culture, with the addition of the live events feature consolidating that fact. Live events allow people from all over the world to watch videos in real-time.
In this tutorial, we will be walking through creating a YouTube live-event simulator in Nuxt.
Similar to live YouTube events, our video starting mark for a user is adjusted based on how much time has passed since the video started. For example, a video that is 1 hour long but started 45 minutes ago would have any new user that visits the page automatically begin at the 45-minute mark in the video time.
When the recorded video is complete, we want an overlay with the text ‘The live has ended’.
We completed the project in a CodeSandbox. To get started quickly, fork the CodeSandbox.
https://github.com/Iheanacho-ai/nuxtjs-live-events
To get the most out of this article, we require the following:
- A basic understanding of CSS, JavaScript, and Vue.js
- Node and its package manager,
npm. Run the commandnode -v&&npm -vto verify we have them installed, or install them from here. We recommended the latest version. Alternatively, we can use another package manager, Yarn. - Understanding Nuxt would help us follow this tutorial quicker, but it is not entirely required.
- A Cloudinary account, create a free account here.
Nuxt is an open-source vue.js frontend development framework that allows us to seamlessly create web applications. The rendered web pages are static Vue.js applications without a server.
We navigate to the preferred directory to create our Nuxt app and run this terminal command.
NOTE: Use the PowerShell terminal to avoid arrow issues on Windows.
    npm init nuxt-app <project-name>

    #or

    npx create-nuxt-app <project-name>

    #or

    yarn create nuxt-app <project-name>
Running this command will trigger a set of question prompts and we recommend the following defaults.
Next, we change the directory to the project and start a development server with:
    cd <project name>

    npm run dev

    #or

    yarn dev
To see our app, go to http://localhost:3000/
Cloudinary is a cloud-based service that provides an end-to-end image and video management solution, including uploads, storage, manipulations, optimizations, and delivery.
To enable the Nuxt app to use these Cloudinary features, we will add the video player assets in the head section of the nuxt.config.js file in the root directory.
    // nuxt.config.js

    export  default  {
        head:  {
        ...
          link: [
            ...
            { rel:  'stylesheet', href:  'https://unpkg.com/cloudinary-video-player@1.5.9/dist/cld-video-player.min.css'  }
          ],
          script:  [
            { src:  'https://unpkg.com/cloudinary-core@latest/cloudinary-core-shrinkwrap.min.js'  },
            { src:  'https://unpkg.com/cloudinary-video-player@1.5.9/dist/cld-video-player.min.js'  },
          ],
        },

    };
Next up, we create a .env file at the root of the project to store environment variables.
touch .env
After creating the .env file, we go to our Cloudinary Dashboard, in the Account Details section, we copy and paste our Cloud Name in our .env file.

CLOUD_NAME = <Cloudinary-cloud-name>
In the index.vue file, we embed the Cloudinary video player in our project using the native HTML5 video element.
<template>
   <div>
     <video
     id= "video-player"
     class="cld-video-player"
     >
     </video>
   </div>
 </template>
In Vue’s mounted lifecycle hook, we create a Cloudinary instance. Doing this in the mounted lifecycle hook allows the instance to be created once the app mounts.
    // pages/index.vue


<script>

    export default {
      data(){
        return{
          cld: null,
          player: null,
          video: "videoplayback_1_pr2hzi",
          controls: true
        }
      },
      mounted(){
        this.cld= cloudinary.Cloudinary.new({
          cloud_name:  process.env.CLOUD_NAME,
          secure:  true
        })
        this.player = this.cld.videoPlayer(
          'video-player', {
              controls: this.controls,
              autoplay: true
          }
        );
        this.player.source(this.video);
    }

    }


    </script>
We define four variables in our data object:
- The
cldvariable holds the Cloudinary instance we will create. - The
playervariable holds the Cloudinary video player we will instantiate on mount. - The
videovariable holds the video’s public ID. - The
controlsvariable controls the native player controls.
In our mounted lifecycle hook, we create a Cloudinary instance by passing the cloud name we stored in our .env file and secure: true into the Cloudinary object.
Following that, we instantiate the video player with the Cloudinary videoPlayer method. This method receives two arguments.
- The
videoelement ID. - An object that sets our
autoplayto true and thecontrolsto thecontrolsvariable.
Now that we have created our player, we specify what video to play using the Cloudinary source() method.
Next, we add our video player styles in the style section of our index.vue file.
<style scoped>
      div{
        margin: 0;
        padding: 0;
        display: flex;
        align-items: center;
        justify-content: center;
      }
      .cld-video-player{
        width: 500px;
        height: 500px;
      }
    </style>
Our index.vue file should look like the code block below when we have completed this tutorial section.
https://gist.github.com/Iheanacho-ai/3502dc3cf41e9a66f44bbd5ad6f21768
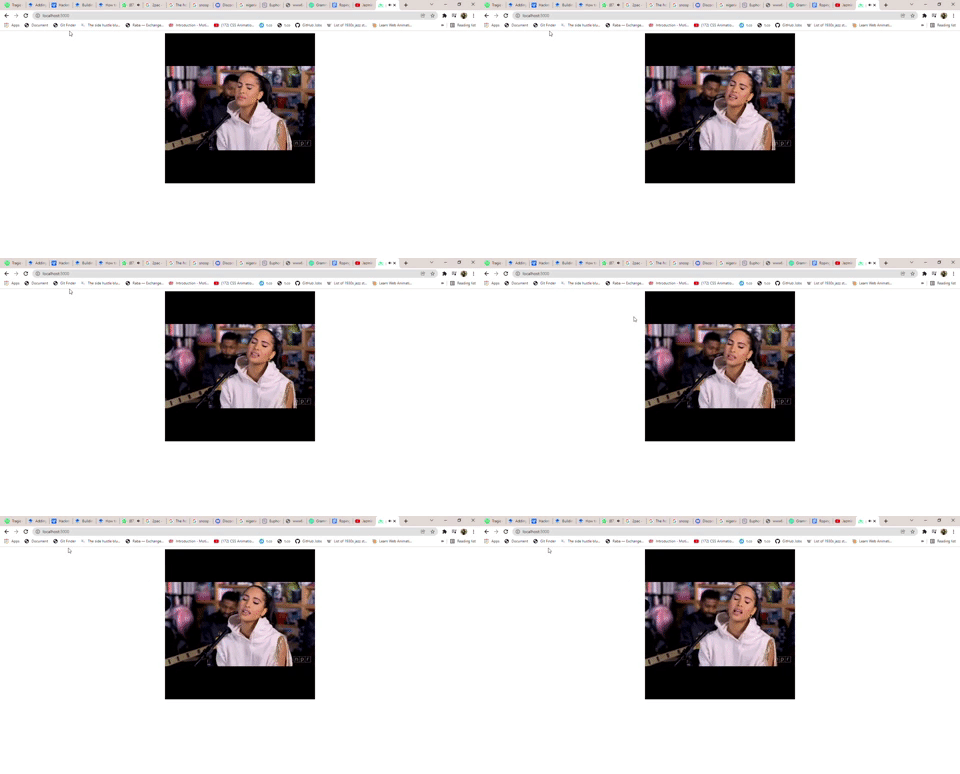
Here is the embedded Cloudinary video player.

To have the video starting time mark adjusted on how much time has passed, we need to subtract the video’s starting time from when the user visits the page.
In our index.vue file, we create four variables on the data object to simulate the live event. These variables are:
- The
durationvariable is how long our video is in seconds. - The
startTimevariable holds the time in milliseconds our video starts playing. To get the start time, we use the JavaScriptgetTime()method. - The
currentTimevariable is the time in milliseconds the user visits the webpage. - The
liveStartTimevariable holds the difference between thestartTimevariable and thecurrentTimevariable in seconds. ThisliveStartTimevariable sets the seconds mark from which the user starts watching the video.
export default {
      data(){
          return{
            cld: null,
            player: null,
            video: "videoplayback_1_pr2hzi",
            duration: null,
            startTime: 1642870132613,
            currentTime: null,
            liveStartTime: null,
          }
        },
    }
In our index.vue file, we create the functions that will affect the duration, currentTime, and the liveStartTime variables.
      mounted(){
        this.cld= cloudinary.Cloudinary.new({
          cloud_name:  "amarachi-2812",
          secure:  true
        })
        this.player = this.cld.videoPlayer(
          'video-player', {
            controls: this.controls,
            autoplay: true
          }
        )
        this.player.source(this.video);

        // Gets the duration of the video
        this.player.on('loadeddata', () => {
          this.duration = this.player.duration();
        })
        // Gets the current time at which the user opens the video
        const d = new Date ()
        this.currentTime = d.getTime();
        // Gets the difference betwewn when the user opened the video and when the video started
        const difference = this.currentTime - this.startTime
        // Changes the time from millisecond to seconds.
        this.liveStartTime = difference / 1000;

    }
In the code block above, we do the following:
- Update the
durationvariable with the video’s duration after loading our video data. - Update the
currentTimevariable with the date and time in milliseconds a user opens our app. - Update the
liveStartTimevariable with the difference between thestartTimeand thecurrentTimevariable in seconds.
Next, we set the time mark the video starts playing for a user.
 // Plays the video from a particular time

     this.player.on('play', ()=> {
      this.player.currentTime(this.liveStartTime);
    })
We use the Cloudinary currentTime method to set the video starting mark anytime we call the play video event in the code block above.
We create our overlay in the template section of our index.vue file.
<div class="overlay">
       The live has ended.
    </div>
Our overlay is incomplete without the styling. We add these styles in the style section of our index.vue file.
<style scoped>

    @import url('https://fonts.googleapis.com/css2?family=Nunito:wght@300&display=swap');

    h2{
      font-size: 20px
    }
    .overlay{
      width: 500px;
      height: 500px;
      position: absolute;
      background-color: rgba(0,0,0, 0.70);
      color: #fff;
      font-size: 16px;
      top: 7px;
      bottom: 0px;
    }
    </style>
We create an overlay variable in the index.vue file.
data(){
      return{
        ...
        overlay: false
      }
    }
Next, in the template section of our index.vue file, we use this overlay variable to conditionally render the overlay.
    <div class="overlay"  v-if = 'overlay'>
       The live has ended.
    </div>
In our index.vue file, we create an onEnded function on the method object. This function changes our overlay variable to true and our controls variable to false.
export default {
   data() {
     return {
       ...
     };
   },
   methods: {
     onEnded() {
       this.overlay = true;
       this.controls = false;
     },
   },
   mounted() {
     ...
   },
 };
In the mounted section of our index.vue we write this code.
 // Controls the overlay
    this.player.on('ended', ()=> {
      this.onEnded()
    })

    if (this.liveStartTime > this.duration){
      this.onEnded()
    }
The code block above does the following:
- Call the
onEndedfunction when the video ends. - Checks if the
liveStartTimevariable is greater than theduration. If it is, we call theonEndedfunction.
Finally, we set our overlay variable to false when we start playing the media.
    this.player.on("play", () => {
      this.player.currentTime(this.liveStartTime);
      this.overlay = false;
    });
Here is how our index.js file looks.
https://gist.github.com/Iheanacho-ai/e3940e40a680981c1241d625773e1338
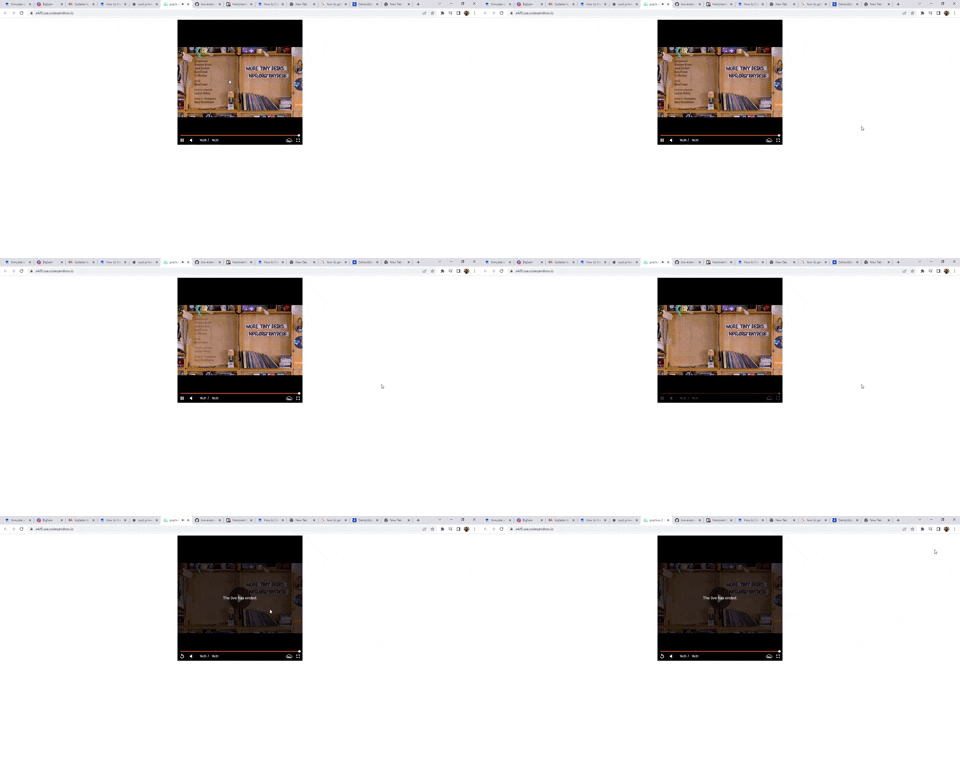
Here is how our live event simulator looks.

We can update the livestream start time in the code to simulate the playback in any time.
This article discussed what Cloudinary is and how to handle player events with it to simulate a live event.
Here are some resources that might be helpful:


