Animated GIFs have become a crucial part of effective digital marketing strategies due to the popularity of social media and other online platforms. These short, looping animations have become a staple of online communication, and they’re not going away anytime soon.
Animated GIFs offer a unique way to convey information, emotion, and humor in a way that still images and text simply can’t match. They’re perfect for adding a little extra flair to your website, social media posts, or marketing materials. With their ability to capture attention and convey a message quickly and effectively, animated GIFs are a must-have tool in any web developer’s arsenal.
In this article, we’ll look at a thorough method for controlling and modifying animated GIFs and how it can help you improve your web presence and digital content.
In this article:
- What is an Animated GIF?
- When Do You Want to Use Animated GIFs?
- Create Animated GIFs in Node.js
- Turn Videos into Animated GIFs
- Improve the Quality of Animated GIFs
What is an Animated GIF?
An animated GIF is a file containing multiple images or frames, which are displayed sequentially to convey animation. This format is commonly used on the web for displaying graphics, logos, and basic animations. Additionally, GIFs have gained significant popularity as a medium for memes on social media sites.
Due to their ability to dynamically and interestingly communicate information and emotions, animated GIFs are frequently used in digital communication, social media, and advertising. Moreover, they are a widely used and accessible format for online material because most web browsers and social media websites support them.
When Do You Want to Use Animated GIFs?
Animated GIFs are a flexible and captivating visual format used in various settings. Here are some scenarios in which animated GIFs might be useful:
- They can help break up long text passages and add a dynamic aspect to your website or blog to add visual interest.
- An animated GIF can clearly and succinctly show each step of a complicated process or procedure if you need to explain it.
- To highlight your goods or services and highlight their distinctive features, GIFs can be a fun and engaging way to do so.
- GIFs can be an excellent way to add humor or personality to your social media messages or other online content.
- They can make eye-catching commercials that grab the audience’s attention and effectively communicate your message.
Create Animated GIFs in Node.js
Creating animated GIFs from images is a fun and engaging way to add visual interest to your website or social media posts. Let’s walk through how to create an animated GIF from a series of images with Node.js.
Prerequisites
Before we can start, we need to create a Cloudinary account. To do so, visit the official website and follow the instructions to sign up for a free account.
Once you have created your account, the next step is installing the latest version of Node.js. If you don’t already have Node.js installed, you can download it for free from the official Node.js website.
Finally, to make API calls to the cloud, the Cloudinary Node.js SDK must be used to authenticate and make API requests. To install this library, create a project folder in a directory of your choice and run the following command in your terminal while in your project directory:
npm install cloudinary
Creating Animated GIFs Using Your Assets
Before we can start making animated GIFs, we’ll need to upload the images we want to animate to our cloud. We’ll use the Node.js SDK to upload the images with public IDs and tags.
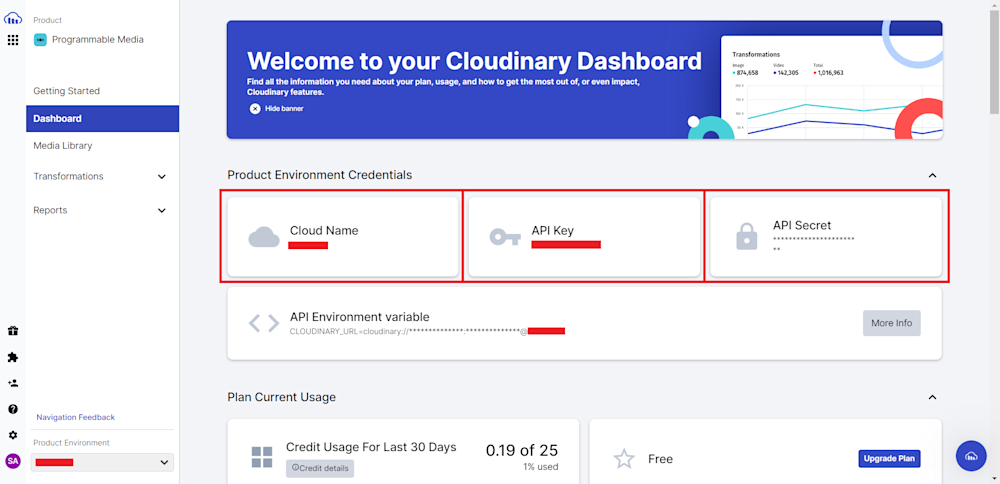
Start by opening up your project folder and creating a new file named imgToGif.js. Next, log in to your account and head to the Dashboard tab. Here you’ll need to copy your Cloud Name, API Key, and API Secret:
Now, open the file and start by importing the Cloudinary Node.js SDK and define the API with your account credentials:
const cloudinary = require('cloudinary').v2;

cloudinary.config({
  cloud_name: 'your_cloud_name',
  api_key: 'your_api_key',
  api_secret: 'your_api_secret'
});
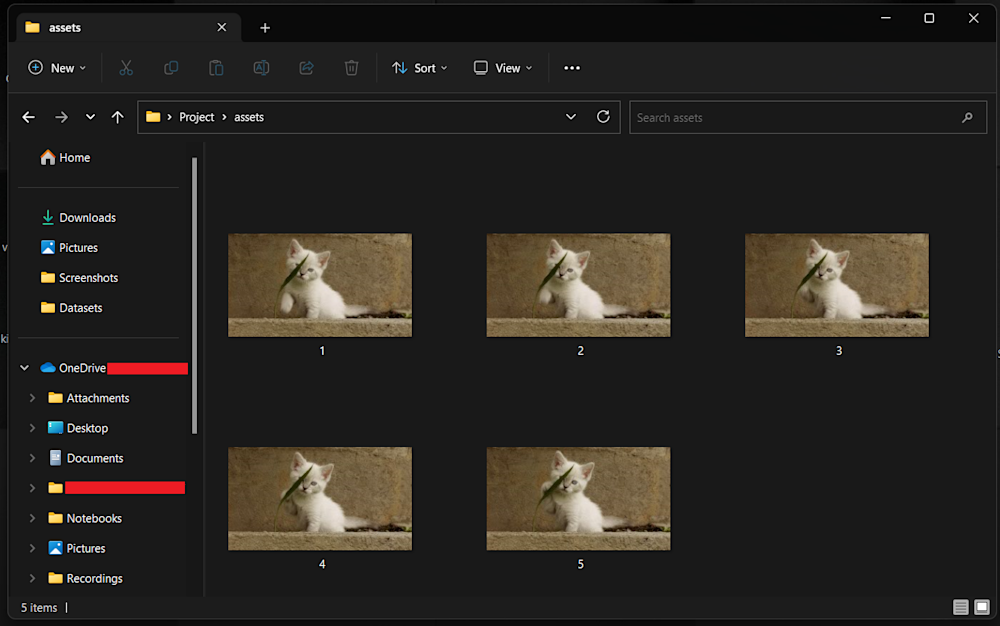
Once our API is set up, we need to create an assets folder in your project directory. Here add the images you want to upload. We’ll be using the first five frames of the kitten_fighting video available on Cloduinary’s demo cloud:
Finally, define and call the API with the public_id of the images you want to upload:
const imagePublicIds = ['1', '2', '3' ,'4' ,'5'];
const tag = 'my_animation';

const uploadPromises = imagePublicIds.map(publicId => {
  return cloudinary.uploader.upload(`assets/${publicId}.jpg`, {
    public_id: publicId,
    tags: tag
  });
});

Promise.all(uploadPromises)
This code defines an array of image public IDs and a tag for our animation. Next, we map over the image’s public IDs and use the uploader to upload each image from the assets folder with its corresponding public ID and tag. Finally, we wrap the upload promises in a Promise.all call to wait for all uploads to complete.
Now that our images are uploaded, we’ll use the uploader’s multi method to create the animated image. We will pass our tag and specify the resource_type as 'image' to create a multi-layered animated image.
...
.then(result => {
    return cloudinary.uploader.multi(tag, {
      resource_type: 'image'
    });
})
Finally, we’ll use the url method to generate a URL for our animated GIF and log it to the console.
...
.then(result => {
    const url = cloudinary.url(`${tag}.gif`, {
      type: 'multi'
    });
    console.log(url);
})
.catch(error => {
    console.error(error);
});
In this code, we generate a URL for our animated GIF using the tag and specifying the type as 'multi'. We then log the URL to the console.
Here is what our final code looks like:
const cloudinary = require('cloudinary').v2;

cloudinary.config({
  cloud_name: 'your_cloud_name',
  api_key: 'your_api_key',
  api_secret: 'your_api_secret'
});

// Step 1: Upload images with public IDs and tags
const imagePublicIds = ['1', '2'];
const tag = 'my_animation';

const uploadPromises = imagePublicIds.map(publicId => {
  return cloudinary.uploader.upload(`assets/${publicId}.jpg`, {
    public_id: publicId,
    tags: tag
  });
});

Promise.all(uploadPromises)
  .then(result => {
    // Step 2: Use the multi method to create animated image
    return cloudinary.uploader.multi(tag, {
      resource_type: 'image'
    });
  })
  .then(result => {
    // Step 3: Deliver the animated image
    const url = cloudinary.url(`${tag}.gif`, {
      type: 'multi'
    });
    console.log(url);
  })
  .catch(error => {
    console.error(error);
  });
Now you can simply run the code using Node:
node imgToGif.js
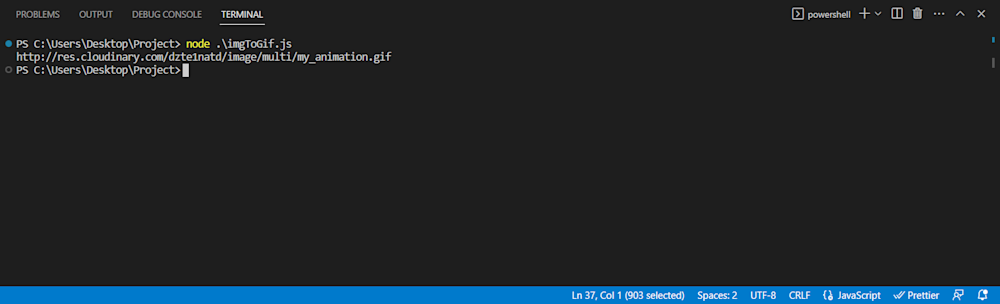
To verify your upload, you can either follow the URL given in the terminal output or head on to the Media Library tab on your Cloudinary account:
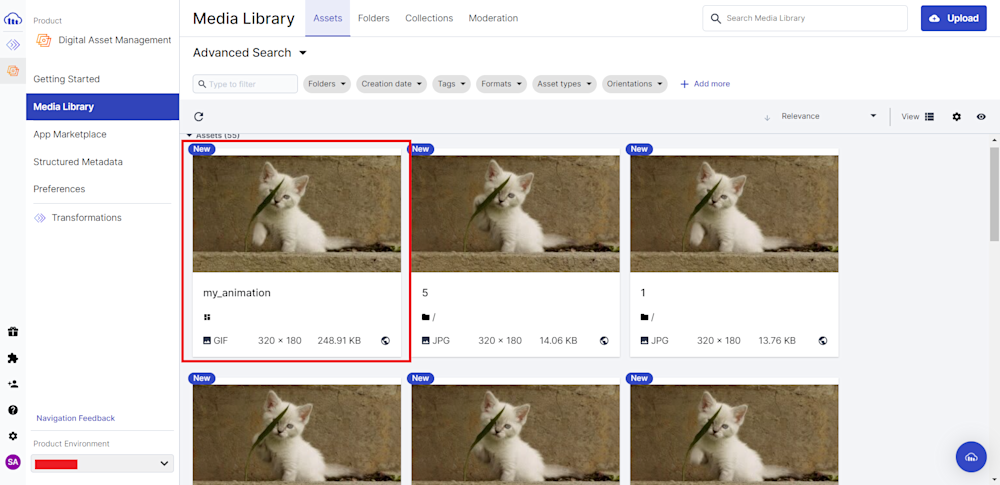
Here is what our GIF looks like:

Turn Videos into Animated GIFs
Converting videos to GIFs can be useful for sharing short clips on social media or other platforms. It can also be helpful to do it the other way around. But for now, let’s look at how to use Cloudinary to convert a video to a GIF and customize its settings.
For this tutorial, we will be using the sea-turtle video that’s available in Cloudinary’s demo cloud:

Let’s start by creating a new file in your project directory named vidToGif.js. As before, open up the file, import the Node.js SDK, and define the API with your account credentials. For now, we will be utilizing the Cloudinary demo cloud:
const cloudinary = require('cloudinary').v2;

// Replace with your CLOUD_NAME, API_KEY, and API_SECRET
cloudinary.config({
cloud_name: 'demo'
});
To convert a video to a GIF, we’ll use Cloudinary’s image method with the resource_type parameter set to "video":
const imageUrl = cloudinary.image("samples/sea-turtle.gif", {resource_type: "video", transformation: [
  {height: 200, crop: "scale"},
  {effect: "loop"},
  {delay: "200", video_sampling: "40"}
]});

console.log(imageUrl);
In this code, we’re using the image method to generate a URL for the converted GIF. We’re passing in "samples/sea-turtle.gif" as the first argument, which is the path to the video file we want to convert. We’re also passing in an object with a resource_type property set to "video" and a transformation property set to an array of transformation options.
The transformation options we’re using in this example are:
height: 200, crop: "scale"which resizes the GIF to a height of 200 pixels and scales the width proportionally.effect: "loop"which loops the GIF indefinitely.delay: "200", video_sampling: "40"sets the delay between frames to200milliseconds and samples40frames from the video.
You can learn more about these transformations by visiting the documentation, which will help you customize these options to suit your needs. Here’s what our final code looks like:
const cloudinary = require('cloudinary').v2;

// Replace with your CLOUD_NAME, API_KEY, and API_SECRET
cloudinary.config({
cloud_name: 'demo'
});

const imageUrl = cloudinary.image("samples/sea-turtle.gif", {resource_type: "video", transformation: [
    {height: 200, crop: "scale"},
    {effect: "loop"},
    {delay: "200", video_sampling: "40"}
]});

console.log(imageUrl);
Now all you have to do is run the code using Node:
node vidToGif.js
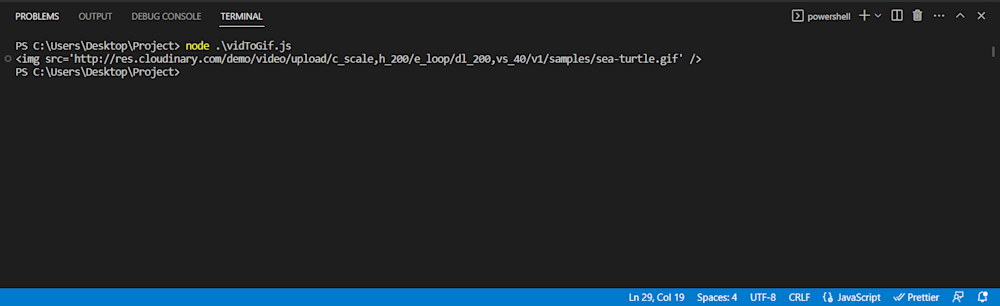
To verify your upload, follow the URL in the terminal output. Here’s what our GIF image looks like:
Improve the Quality of Animated GIFs
GIFs have been around for a while, and they continue to be a popular way to share short, looping clips on social media and other platforms. However, one common issue with GIFs is that their quality can often be quite low, especially if they’re made from video or have been compressed multiple times.
Luckily, Cloudinary offers several features to help improve the quality of animated GIFs, including adjusting their quality and compression settings. Let’s go over how to use Cloudinary to enhance the quality of animated GIFs and create a high-quality one.
Like before, start by creating a new file named gifQuality.js, importing the Node.js SDK, and defining the API with your account credentials. We’ll be using the Cloudinary demo cloud again, too:
const cloudinary = require('cloudinary').v2;

// Replace with your CLOUD_NAME, API_KEY, and API_SECRET
cloudinary.config({
cloud_name: 'demo'
});
Here we’ll be using kitten_fighting.gif GIF from the demo cloud:

Now that we’ve set up our account and configured the API, we can start improving the quality of our animated GIFs:
const imageUrl = cloudinary.image("kitten_fighting.gif", {transformation: [
  {flags: "lossy", fetch_format: "gif"},
  {quality: 80}
]});
Here, we’re using the cloudinary.image() method to fetch the kitten_fighting.gif GIF from the demo cloud. Next, we are passing in an array of transformations that will help improve the quality of the GIF.
The first transformation we’re using is flags: "lossy", which tells Cloudinary to use lossy compression to make the file size smaller. We’re also using fetch_format: "gif" to tell the SDK to return the GIF format, even though we use a video resource type. Finally, we’re using quality: 80 to set the quality of the GIF to 80%.
Finally, we can output the URL of the improved GIF using the console.log() method. Here is what our final code looks like:
const cloudinary = require('cloudinary').v2;

// Replace with your CLOUD_NAME, API_KEY, and API_SECRET
cloudinary.config({
cloud_name: 'demo'
});

const imageUrl = cloudinary.image("kitten_fighting.gif", {transformation: [
  {flags: "lossy", fetch_format: "gif"},
  {quality: 80}
]});

console.log(imageUrl);
Now all you have to do is run the code using Node:
node gifQuality.js
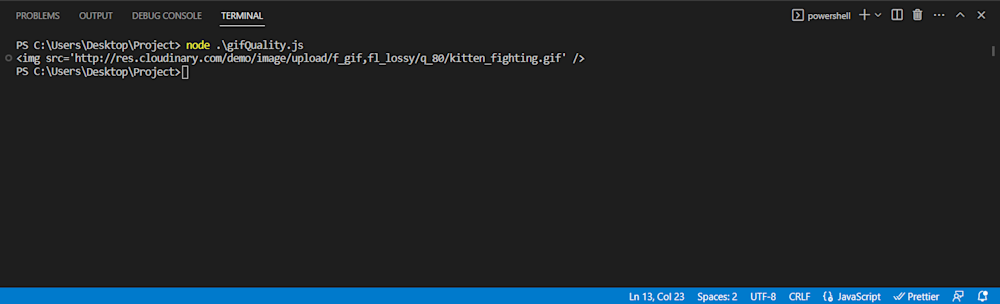
Here is what our final GIF looks like:

Final Thoughts
Cloudinary provides an effective and convenient way to work with animated images. It offers all the tools to produce stunning visual content for your website or social media platforms, from optimizing file size and quality to adding effects and animations. Cloudinary is the go-to platform for anyone seeking to improve their web presence with high-quality animated GIFs due to its user-friendly interface and powerful features.
If you’re prepared to advance your digital material, sign up for Cloudinary
and start making your own GIFs!
Learn more:
