Currently, Laravel is the most renowned PHP framework, boasting of a large developer community; several open-source packages, such as Cashier, Sanctum, Scout, and Telescope; and a host of paid platforms, e.g., Laravel Forge, Envoyer, and Vapor. Laravel Forge & Envoyer ably supports deployment and use of Laravel production-based apps.
Introducing Cloudinary’s Laravel SDK. Learn the benefits and capabilities of the Laravel PHP framework and the way to upload to and transform files.
The sections below walk you through the process of setting up Laravel file uploads.
-
Install Composer and PHP on your development or production machine and then run this command:
composer create-project --prefer-dist laravel/laravel upload -
Go to the
uploaddirectory and rename theenv.examplefile to.env. -
Run the project with the command
php artisan serve.
Your Laravel project is now up and running.
-
Create a file-upload controller (
FileUpload Controller) in your project:php artisan make:controller FileUploadControllerCode language: CSS (css) -
Open the FileUploadController.php file and add a method for displaying the upload form:
<?php namespace App\Http\Controllers; use Illuminate\Http\Request; class FileUploadController extends Controller { public function showUploadForm() { return view('upload'); } }Code language: HTML, XML (xml) -
Create an
upload.blade.phpfile in theresources/viewsdirectory and populate the file with the code below:<!DOCTYPE html> <html> <head> <meta charset="utf-8"> <meta name="viewport" content="width=device-width, initial-scale=1"> <title>Laravel File Upload</title> <!-- Fonts --> <link href="https://fonts.googleapis.com/css?family=Nunito:200,600" rel="stylesheet"> <!-- Styles --> <style> html, body { background-color: #fff; color: #636b6f; font-family: 'Nunito', sans-serif; font-weight: 200; height: 100vh; margin: 0; } .full-height { height: 100vh; } .flex-center { align-items: center; display: flex; justify-content: center; } .position-ref { position: relative; } .top-right { position: absolute; right: 10px; top: 18px; } .content { text-align: center; } .title { font-size: 84px; } .links > a { color: #636b6f; padding: 0 25px; font-size: 13px; font-weight: 600; letter-spacing: .1rem; text-decoration: none; text-transform: uppercase; } .m-b-md { margin-bottom: 30px; } </style> </head> <body> <div class="flex-center position-ref full-height"> <div class="content"> <div class="title m-b-md"> Laravel File Upload </div> @if ($message = Session::get('success')) <div class="alert alert-success alert-block"> <button type="button" class="close" data-dismiss="alert">×</button> <strong>{{ $message }}</strong> </div> @endif <div class="links"> <form action="/upload" method="POST" enctype="multipart/form-data"> @csrf <div class="row"> <div class="col-md-6"> <input type="file" name="file" class="form-control"> </div> <div class="col-md-6"> <button type="submit" class="btn btn-success">Upload a File</button> </div> </div> </form> </div> </div> </div> </body> </html>Code language: HTML, XML (xml)The code above displays the form along with a confirmation message if the upload succeeded. Concurrently, the file-upload controller posts the form data to a
/uploadroute in theroutes/web.phpfile. Note: The related code will be shown later in this post. -
Go to the
routes/web.phpdirectory and add two routes: one to display the form and the other to process the file upload:Route::get('/upload', 'FileUploadController@showUploadForm'); Route::post('/upload', 'FileUploadController@storeUploads');Code language: PHP (php)
Now reload the app and go to the /upload route. This page is displayed:

Next, ensure that uploaded files are stored though the form by adding a storeUploads method to the FileUploadController.php file, as follows:
….
public function storeUploads(Request $request)
    {
        $request->file('file')->store('images');

        return back()
            ->with('success', 'File uploaded successfully');
    }
Code language: PHP (php)
The code above grabs the file uploaded through the POST request, creates on your local service an images directory, and stores the file there.
Test it: upload a file for your app and see if the file is in the storage/app/images directory.
Note: For more details on a recently uploaded file, call these methods:
 $fileName = $request->file('file')->getClientOriginalName();
 $extension = $request->file('file')->extension();
 $mime = $request->file('file')->getMimeType();
 $clientSize = $request->file('file')->getSize();
Code language: PHP (php)Uploading files to the local disk and serving them yourself is rife with limitations, a major one being the lack of scalability. Best to outsource to an external service like Cloudinary, which, besides upload and storage capabilities, offers features for manipulating and managing media, including images, videos, audio, and other emerging types.
To enable file uploads to Cloudinary:
-
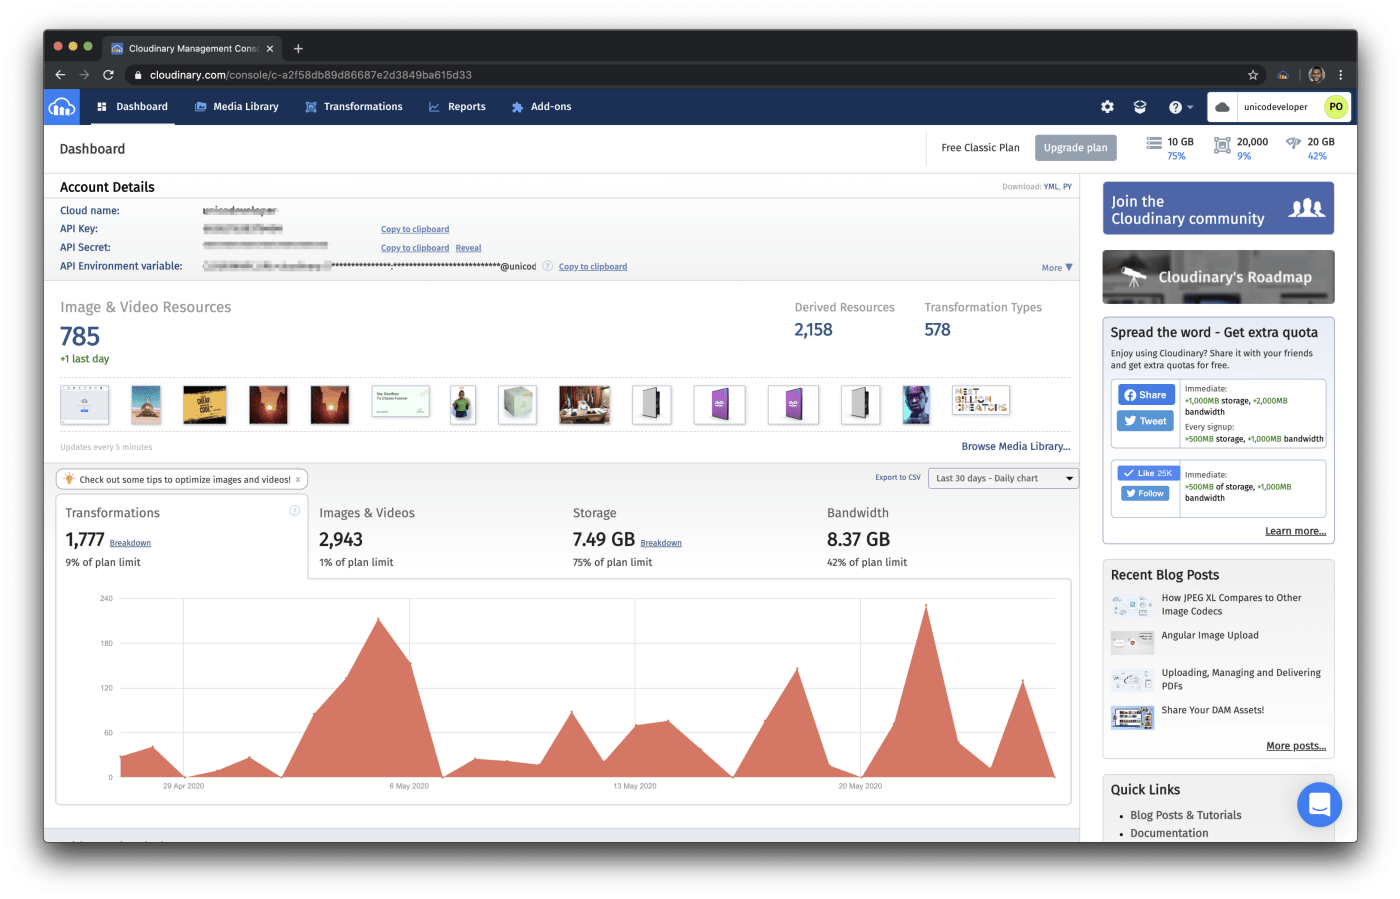
Sign up for a free Cloudinary account, log in, and note your cloud name and API keys from the dashboard.

-
Install Cloudinary’s Laravel SDK:
composer require cloudinary-labs/cloudinary-laravelNote: Please follow the instructions in the #Installation section. Ensure you publish the config file and add your credentials to the
.envfile of your app. -
Rewrite the file-upload controller (
FileUploadController.php) for straight uploads to the cloud:<?php namespace App\Http\Controllers; use Illuminate\Http\Request; class FileUploadController extends Controller { public function showUploadForm() { return view('upload'); } public function storeUploads(Request $request) { $response = cloudinary()->upload($request->file('file')->getRealPath())->getSecurePath(); dd($response); return back() ->with('success', 'File uploaded successfully'); } }Code language: HTML, XML (xml)
The code above uploads the file straight to your Cloudinary account and returns the image URL by utilizing the cloudinary() helper function. We didn’t have to use the Cloudinary Facade.
Note: Be sure to replace <your-cloud-name>, <your-api-keys>, and <your-api-secret> with their values from your dashboard. Furthermore, for security while in production environments, always load those credentials from the environment variables. That is, invoke the config method to load the credentials before uploading the file to Cloudinary. dd($response) then dumps the response returned from Cloudinary for the uploaded file. Here’s an example of a response:
You can now store the returned URL in the database, and display the image to users anywhere in your app.
Uploading files barely scratches the surface of media management. Cloudinary helps you administer the entire spectrum of your media’s lifecycle, end to end, from upload and transformation to optimization and delivery. Do check it out.
- Automating File Upload and Sharing
- Uploading PHP Files and Rich Media the Easy Way
- AJAX File Upload – Quick Tutorial & Time Saving Tips
- Impressed by WhatsApp technology? Clone WhatsApp Technology to Build a File Upload Android App
- Direct Image Uploads From the Browser to the Cloud With jQuery
- File Upload With Angular to Cloudinary
- Uploading Vue Files and Rich Media in Two Easy Steps
- Node.js File Upload To a Local Server Or to the Cloud
- Laravel File Upload to a Local Server Or to the Cloud
- JavaScript File Upload in Two Simple Step


