
In digital media management, Cloudinary MediaFlows stands out as a robust tool designed to simplify and automate complex workflows involving media assets, such as images and videos. Accessible via the Cloudinary website, it streamlines processes and ensures high-quality outcomes for digital media handling.
In this blog post, we’ll use MediaFlows to automate image upload processing. Specifically, we aim to listen for every image upload, duplicate the image, and then extract and transform a person’s avatar into a rounded, cropped version. This example demonstrates MediaFlows’ versatility and highlights the benefits of saving and storing transformed images directly. While the Cloudinary API offers on-the-fly transformation capabilities, pre-processing, and storing specific versions can improve performance and reduce processing needs, especially for frequently accessed images.
Let’s dive into a practical walkthrough of automating image processing for every upload, specifically focusing on duplicating images and transforming them into circular avatars.
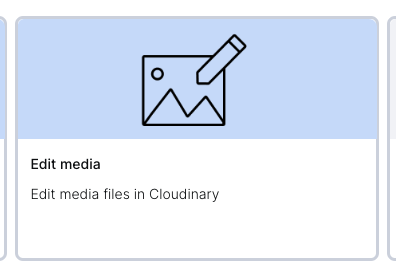
You’re ready to begin once you’ve logged into Cloudinary MediaFlows and created a project linked to your Cloudinary product environment. Cloudinary MediaFlows offers various flow templates to save time. For our purposes, we’ll select the “Edit media” template.
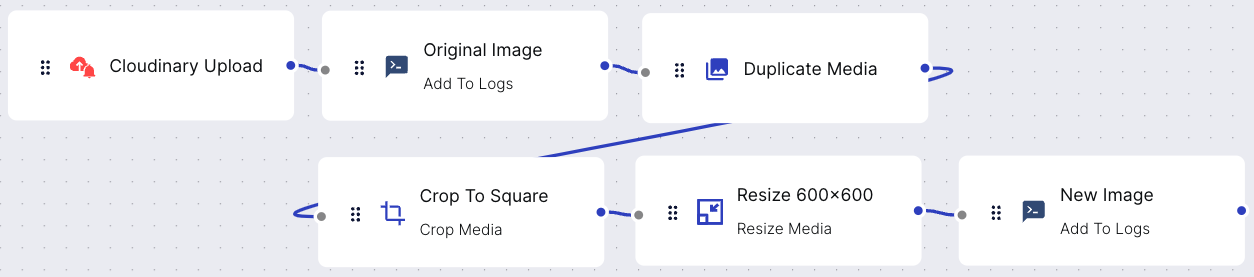
This template already contains most of the pieces needed for our objective:
- Listening to every upload to Cloudinary.
- MediaFlows offers a variety of trigger types like Cloudinary Upload, DAM app, Scheduler, etc., for this example we’ll keep using Cloudinary Upload. Please visit the docs for more info about the trigger types.
- Duplicating the image to keep a copy of the original.
- Crop transformation (which we will modify for our purposes).
- Image resizing for repository consistency.
Our goal is to adjust the template to suit our specific needs:
- Remove the crop transformation. Since our focus is on creating circular avatars, the default crop transformation is not required.
- Add a rename media block. Organizing our avatar images is crucial. We ensure better organization by adding “avatar_” at the beginning of the original’s public ID. Ensure the “Current Public ID” and “New Public ID” fields are correctly targeted.
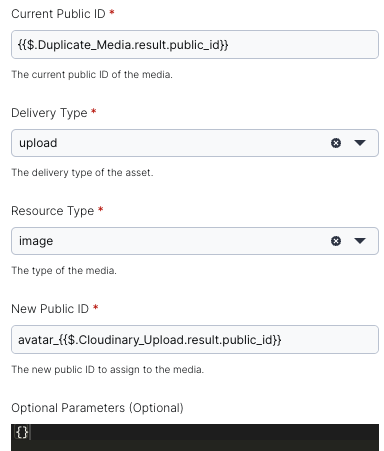
(alt text: configuration screenshot of Rename Media block as described above)
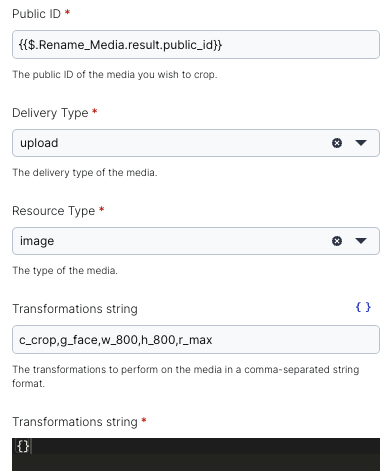
- Add an “Edit Media” Block. This block is essential for performing face detection and border-radius transformations. Use the transformation string `c_crop,g_face,w_800,h_800,r_max`, which stands for:
c_crop. Crops the image.g_face. Focuses the gravity around the face.w_800,h_800. Sets the width and height to 800 pixels, ensuring consistency.r_max. Applies the maximum radius to round the image, creating a circle.
- Adjust the “Public ID” Configuration. Adding the “Rename Media” block affects the flow, requiring adjustments to the “Public ID” configuration in subsequent blocks.

Once the flow is configured, save your changes and test it by clicking on the “Run” button. This test lets you see each step executed with a testing image and the final result, ensuring everything works as expected before going live.
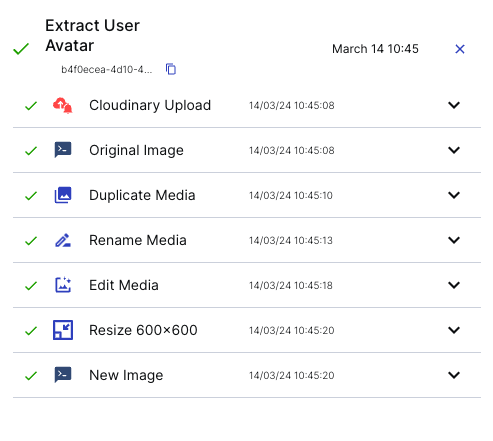
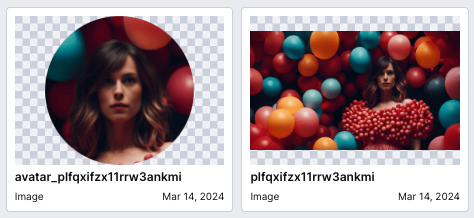
The testing image is also visible in the Cloudinary Media Explorer:
To activate the flow, enable the webhook in the first “Cloudinary Upload” block.

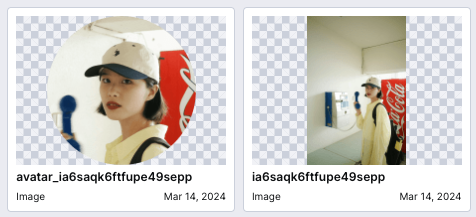
Testing the setup in Cloudinary by uploading a photo allows you to observe the process in action, confirming that the original and avatar images are correctly processed and uploaded.
Throughout this blog post, we’ve explored Cloudinary’s MediaFlows’ capabilities to automate a specific image processing workflow. Leveraging the “Edit media” template, we tailored MediaFlows to listen for image uploads, then duplicate images and transform them into circular avatars, all while organizing them for easy access. This process demonstrates the flexibility and power of MediaFlows and underscores the efficiency gains from automating repetitive tasks in media management.
We’ve shown how to optimize performance and reduce processing demands by pre-processing and storing avatar images. This strategy can be applied across various use cases where image consistency and quick access are paramount. The step-by-step guide provided offers a foundation on which to build even more complex workflows tailored to specific project needs.
For those interested in diving deeper or exploring other possibilities with MediaFlows, Cloudinary’s documentation provides a wealth of resources and guides to further enhance your media management strategies. Visit the MediaFlows documentation for more insights and inspiration.
If you found this blog post helpful and want to discuss it in more detail, head over to Cloudinary Community forum and its associated Discord.


