
This post was cowritten with Daniel Mendoza.
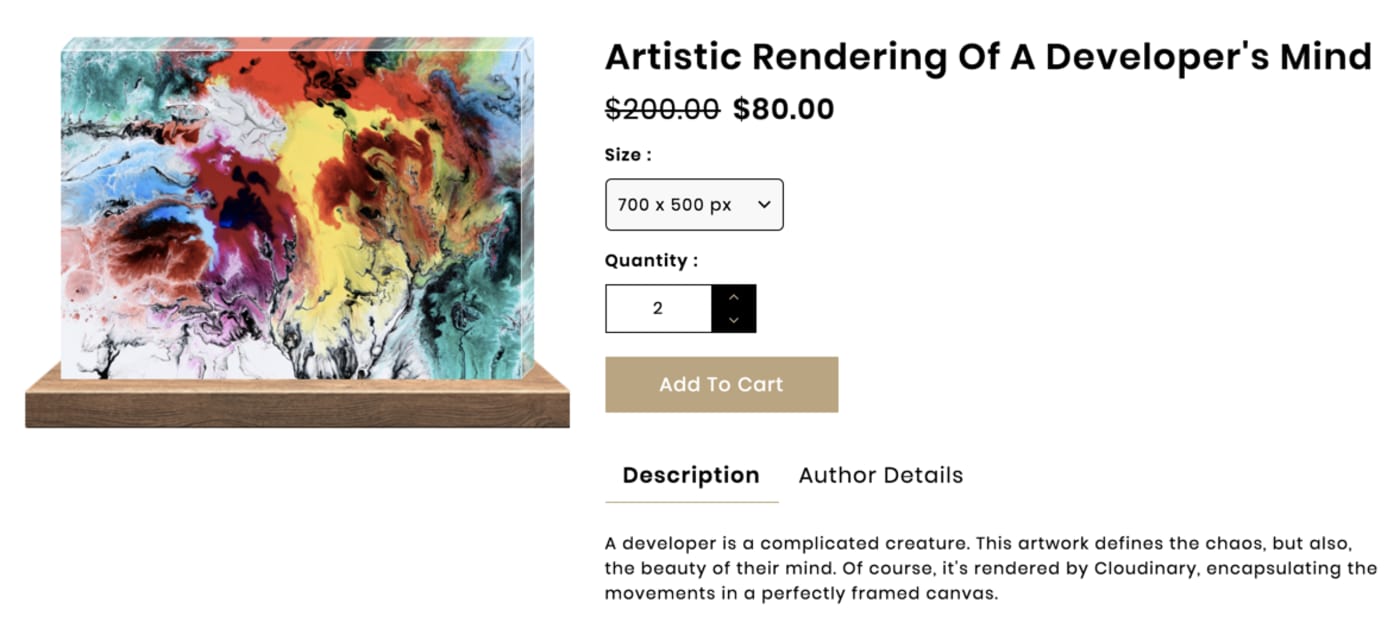
Famed American poet Henry David Thoreau once said, “This world is but a canvas to our imagination.” And, like your imagination, the transformations you can apply to images with Cloudinary are practically endless. You can even render any flat image to appear three-dimensional and framed on a canvas.
In this tutorial, you’ll learn how to apply aesthetic styling to an image with a series of overlays. Besides following the steps in the sections below, do watch these video-based instructions, too:
Use cases for this advanced transformation abound. A few examples:
- You are an artist and want to display your artwork as if in a gallery.
- You work for a picture-framing company and want to showcase a wide range of framing options.
- You are an interior designer or decorator and would like to show what a framed canvas looks like in a room .

Regardless of your motive, Cloudinary makes the remarkable transformation possible. Follow the steps below to create a canvas.
First, you need a Cloudinary account. Create one, sign in, and then upload an image to your Media Library on Cloudinary. Afterwards, modify the image by editing its URL.
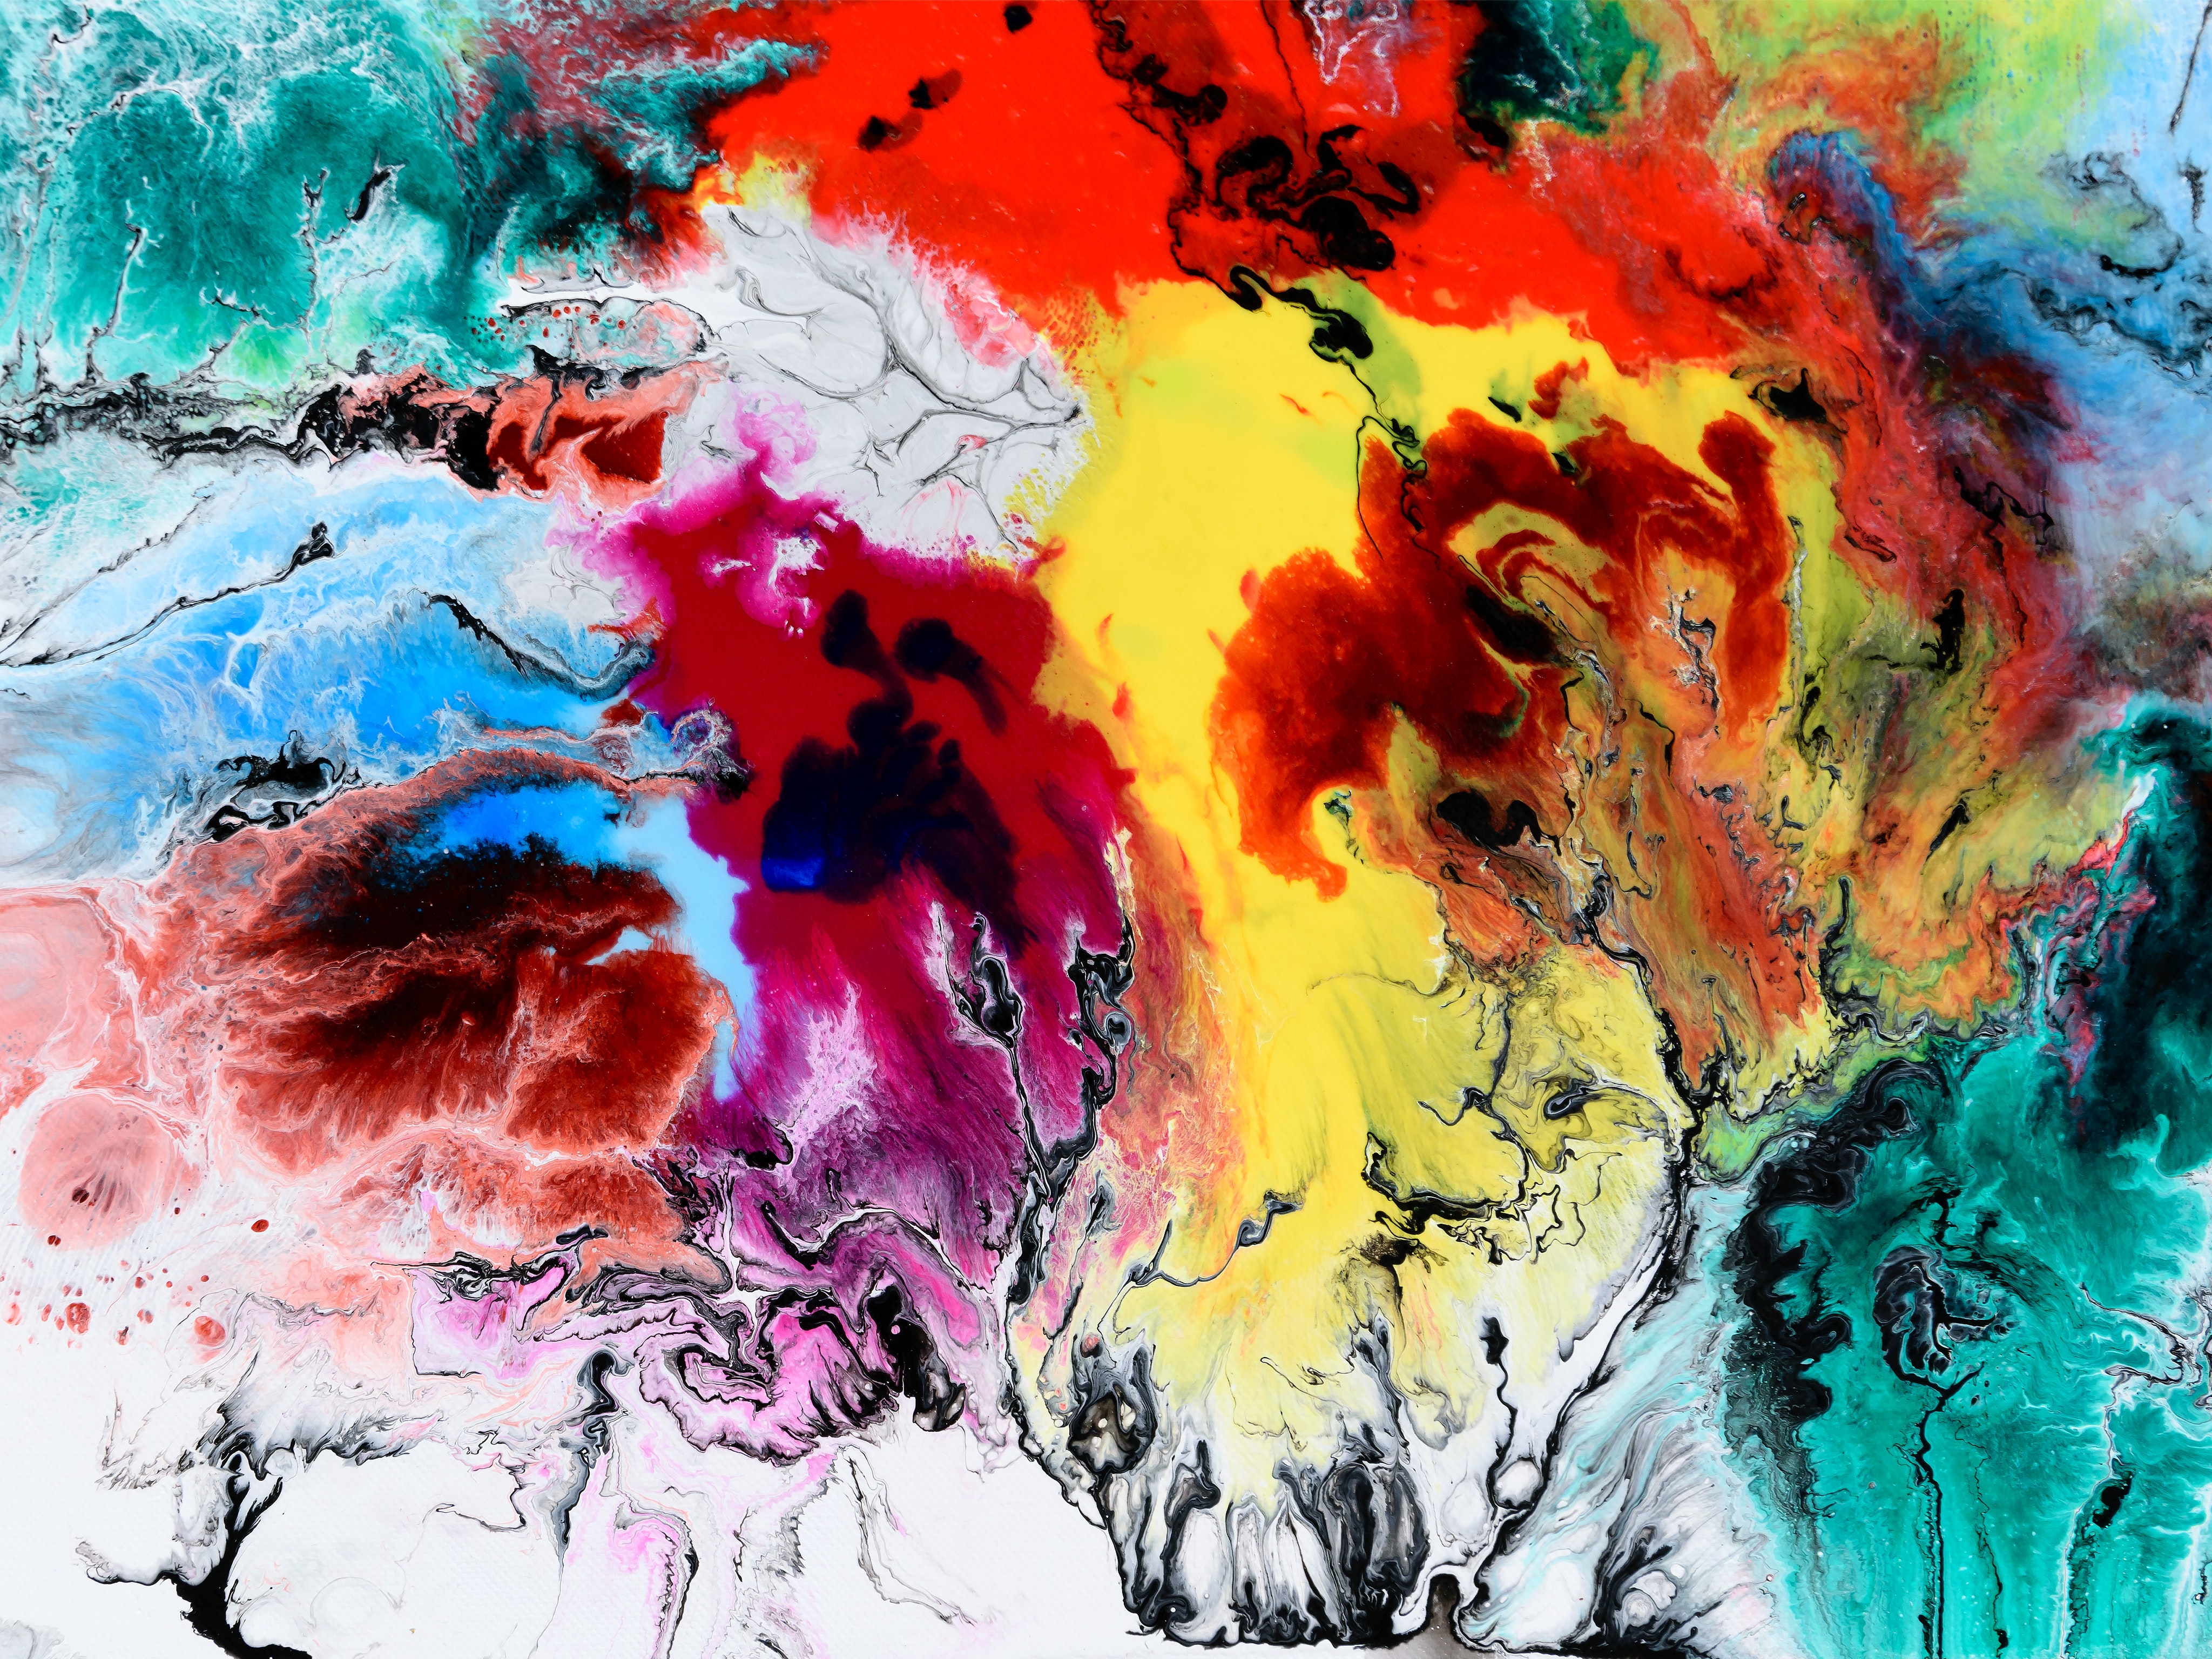
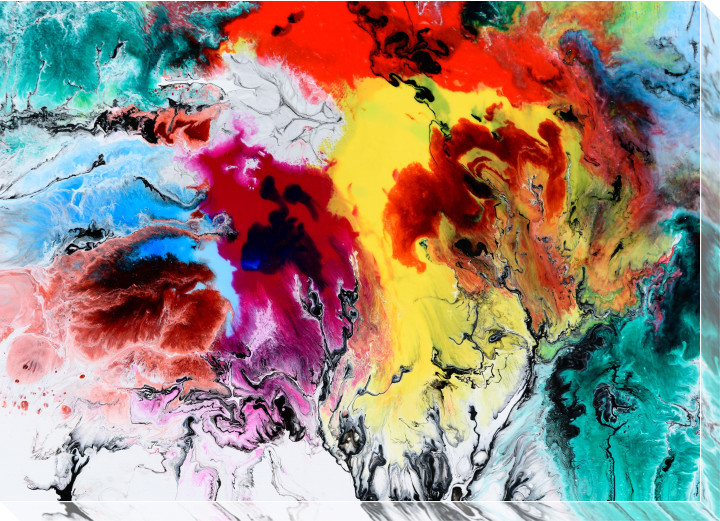
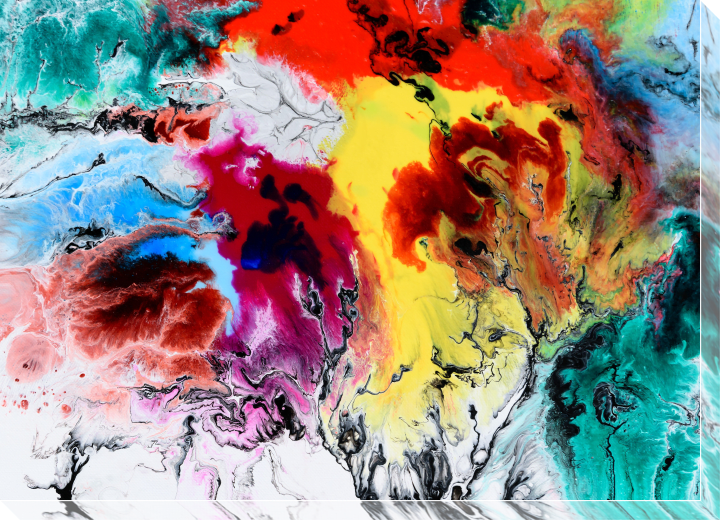
https://res.cloudinary.com/demo/image/upload/art-creative-graffiti.jpg
- Reduce the image dimension to 700 x 500 pixels (
w_700,h_500) and then crop the image to fill the newly created space (c_fill).Loading code examples 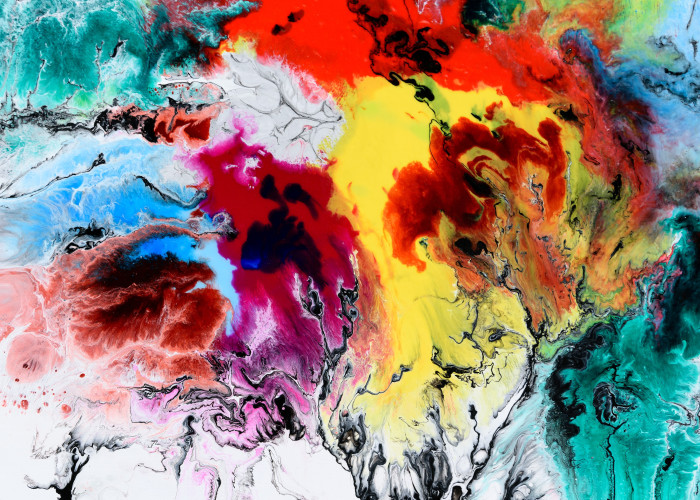
2. Apply an identically-sized overlay of the image (w_700,h_500,c_fill,l_art-creative-graffiti), including a reduced opacity amount (o_60) and a narrow, white border around it to emphasize the canvas edges (bo_1px_solid_rgb:FFFFFF).

Next, transform the right side of the canvas:
-
Reduce the image width to the appropriate size for the the right side, which is 20 pixels (
w_20). -
Apply a true crop of the image’s right side by focusing it on the east portion (
c_crop,g_east). The image is then cropped down to a 20-pixel-wide sliver.Loading code examples 
-
Create a horizontal mirror of the image (
a_hflip) to properly align the right-side portions with the larger image.Loading code examples 
-
Apply a series of distortions (
e_distort:0:0:20:20:20:520:0:500) to stretch the right side so as to create slants for generating the three-dimensional appearance. Rather than tweaking all the sides of the quadrilateral, apply different parameters to each point for the desired effect. The first parameter set affects the top left (0:0), followed by parameters for the top right (20:20), the bottom right (20:520), and the bottom left (0:500).Loading code examples 
You’re now ready to apply the long transformation to the overlay layer (
fl_layer_apply). To do so, place it on the right side (g_east) and make a few slight adjustments to where it lies on the image’s X and Y axises (x_-20,y_9).As you prefer, get a similar effect by placing the transformation in the top right (
g_north_east) rather than fiddling with the Y-axis settings.Loading code examples 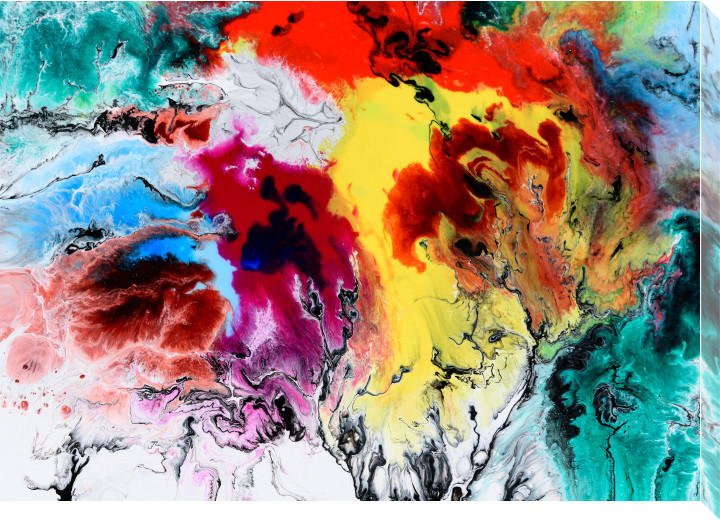
The right side has now assumed the desired look. But you still need to build out the layer for the bottom border of the canvas. Gratifyingly, you can simply repeat many of the steps you took for the right side.
- Create an identical overlay similar to the one you just created for the right border (
w_700,h_500,c_fill,l_art-creative-graffiti,o_60,bo_1px_solid_rgb:FFFFFF). - Slice off a portion of the overlay’s bottom to start creating the bottom border, setting the height to the same amount of pixels as the right borders width (
h_20) and extending the width to be longer than the original to allow for the eventual transformations (w_700) of the distortions. Additionally, ensure that the crop is focused on the southern portion of the image (c_crop,g_south).Loading code examples 
- As with the right border, make the bottom border a mirror image of the original so that the larger image seamlessly aligns with this border layer. To do so, add a vertical flip transformation to the URL (
a_vflip).Loading code examples 
- Apply the distortions (
e_distort:0:0:700:0:720:20:20:20). Remember that you are transforming each side of the quadrilateral individually, starting with the top left (0:0), followed by the top-right (700:0), the bottom right (720:20), and, finally, the bottom-left (20:20).Loading code examples 
- Apply this layer (
fl_layer_apply). Be sure to add it to the bottom of the original (g_south) and to properly align it against its X and Y axises (y_-1).Loading code examples 
To further enhance the canvas, add a few parameters.
Even though your image is now three-dimensional and applied to a canvas, it remains a JPEG file, whose format is not transparent. To convert the file format to one that allows transparency, add the f_auto parameter to the URL.
Afterwards, you can serve the image as an optimal type for any browser, as follows:
- For Chrome, the file format changes from JPEG to WebP.
- For Microsoft Internet Explorer and Edge, the file format becomes JPEG XR.
- For Safari, the file format becomes JPEG 2000.
- For Firefox, the file format remains JPEG. Assign a .PNG extension to the image and you can then serve it with transparency for Firefox users.
Another benefit of the f_auto parameter is that it reduces the file size. Transforming the JPEG image in this tutorial to a WebP image with f_auto downsizes the image from 108.55 KB to 101.99 KB.
Cloudinary’s q_auto parameter ensures that images are served at a favorable quality, rendering them to be optimally small without sacrificing aesthetics.
Even though your canvas is already optimized, applying q_auto shaves down the file from 101.99 KB to 101.13 KB. In some cases, the size reduction might be more dramatic. No matter, every little bit helps.

The image you just optimized is not that of a person. How about taking a photograph of someone, such as an attractive woman as in the example below, and render it on the same canvas style? To ensure that her face, not her body, is the focal point, apply the g_face transformation to each of the images in the URL, including the overlay layers.

With a complex transformation set like this one, consider applying variable transformations, especially if you want to serve the canvas style at different widths, heights, or depths.
By adding variables, you can update the first component with the needed dimensions (w => width, h => height, and dp => depth). Once you’ve done that, Cloudinary automatically applies the corresponding transformations to all the other layers.
Here’s an example that uses the same dimensions from the previous example, that is, 700 x 500 pixels. The URL above the image specifies those dimensions in the first transformation set, with the dollar sign before each transformation depicting that they are variables ($w_700,$h_500). You then apply those variables to the remaining transformations to mimic the first set (w_$w,h_$h).
You have now transformed the same image to a canvas that is 300 x 500 pixels with a 10-pixel depth. See below.

Now that you’re in tune with the power of Cloudinary’s transformations, why not experiment with them on your own? Let your imagination run wild! If you run into issues along the way, send us a support request. We’ll respond pronto.
We’d love to see—and possibly feature on our site—amazing creations from your projects. Feel free to share them with us or comment below.