
Cloudinary makes the video upload simple, helping you get your videos up to your web property faster. Without Cloudinary, setting up the infrastructure for video uploads can go from straightforward to complex real fast. Why? Because many challenges are involved in building a foolproof service for an efficient and smooth process. The Cloudinary Video Upload API overcomes these speedbumps, making it easy to work with video upload and presentment.
This article shows you how to set up the Cloudinary video widgets, the API, and the Media Library UI and get your video on your site quickly and easily. There’s much more to explore with video tools in Cloudinary, so check out our full series of articles about marketing videos when you’re finished here.
Just as Stack Overflow cofounder Joel Spolsky did when he wrote the Joel Test for writing better software over two decades ago, I’ll share with you the seven questions that need robust answers for efficient video uploads on a web or mobile platform:
- Can your video upload platform accept multiple video uploads at the same time?
- Can your video upload platform gracefully restrict the size and formats of user-generated uploads?
- Can your video upload platform crop, manipulate, and transform video uploads on the fly before storage?
- Can your video upload platform chunk videos, especially large ones, during upload?
- Can your video upload platform compress and optimize videos on or after upload, e.g., optimize a 50-MB video to one that weighs 15 MB only without any noticeable quality changes?
- Can your video upload platform convert videos from one encoding format to another, e.g., from
.movto.mp4? - Can your video upload platform store and accept as many videos as possible while your audience exponentially grows? For example, the storage capacity of YouTube is, incredibly, around 1 exabyte (1 trillion GB). Even if your platform is not on this scale, it should at least be scalable to approximately 1 petabyte (1 million GB).
Cloudinary as a media-management service offers numerous capabilities, including video uploads, and can answer the above questions with a resounding yes. As you ponder on those questions, I’ll show you the four ways in which you can upload video to Cloudinary.
Every app has a user interface called the front end. A snappy and intuitive interface is a must for video uploads. Cloudinary offers a slick, easy-to-use upload widget you can integrate into your app with only a few lines of code.

To quickly set up the upload widget:
<button id="upload_widget" class="cloudinary-button">Upload Video Files</button>

<script src="https://widget.cloudinary.com/v2.0/global/all.js" type="text/javascript"></script>

<script type="text/javascript">
var myWidget = cloudinary.createUploadWidget({
  cloudName: 'my_cloud_name',
  uploadPreset: 'my_preset'}, (error, result) => {
    if (!error && result && result.event === "success") {
      console.log('Done! Here is the image info: ', result.info);
    }
  }
)

document.getElementById("upload_widget").addEventListener("click", function(){
    myWidget.open();
  }, false);
</script>
Code language: HTML, XML (xml)
The upload widget supports the following out of the box:

- Multiple third-party sources, i.e., you can upload videos from Google Drive, Dropbox, Facebook, Instagram, or a web address with the widget.
- Multiple video uploads that run concurrently.
- On-the-fly tagging of videos.
- Skin customization of the widget to fit the theme of your app.
- Localization to accommodate non-English-speaking users.
Cloudinary’s REST API for uploads can perform all the tasks of the upload widget and many others with an extensive set of features for uploads, manipulation, transformation, and delivery.
With a direct call to the API’s URL through an HTTPS POST request, your app can upload videos directly to Cloudinary. For example:
URL: https://api.cloudinary.com/v1_1/<cloud name>/<resource_type>/upload
cloud_name refers to your account’s cloud name, which is shown on your console.
resource_type refers to the type of file to upload. You can specify a value, such as image, raw, video, or auto to have Cloudinary automatically detect the file type.
However, you don’t have to manually make direct HTTP calls. Cloudinary offers SDKs for PHP, Node.js, Ruby, Go, .NET, iOS, Android, Kotlin, and other popular frameworks, such as Laravel, Django, and Rails, complete with fluent and expressive methods.
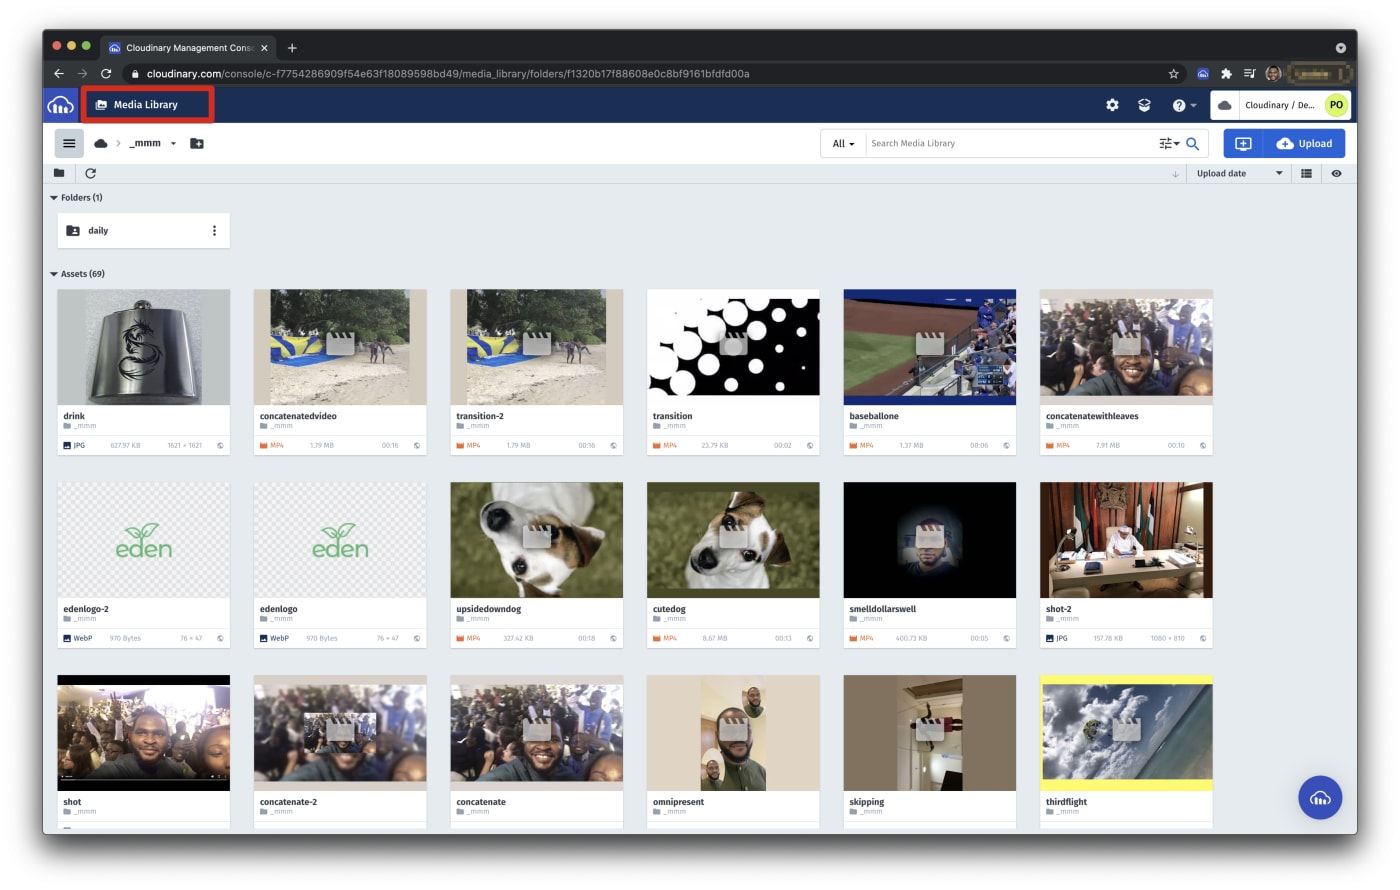
Uploading videos through the Cloudinary Media Library UI is the simplest and most straightforward way. No setup or integration is required. All you need to do is log in to your Cloudinary account, click the Media Library tab on the Cloudinary dashboard, and drag and drop videos to the library.
Alternatively, click the Upload button on the upper-right corner to invoke the widget for uploads.

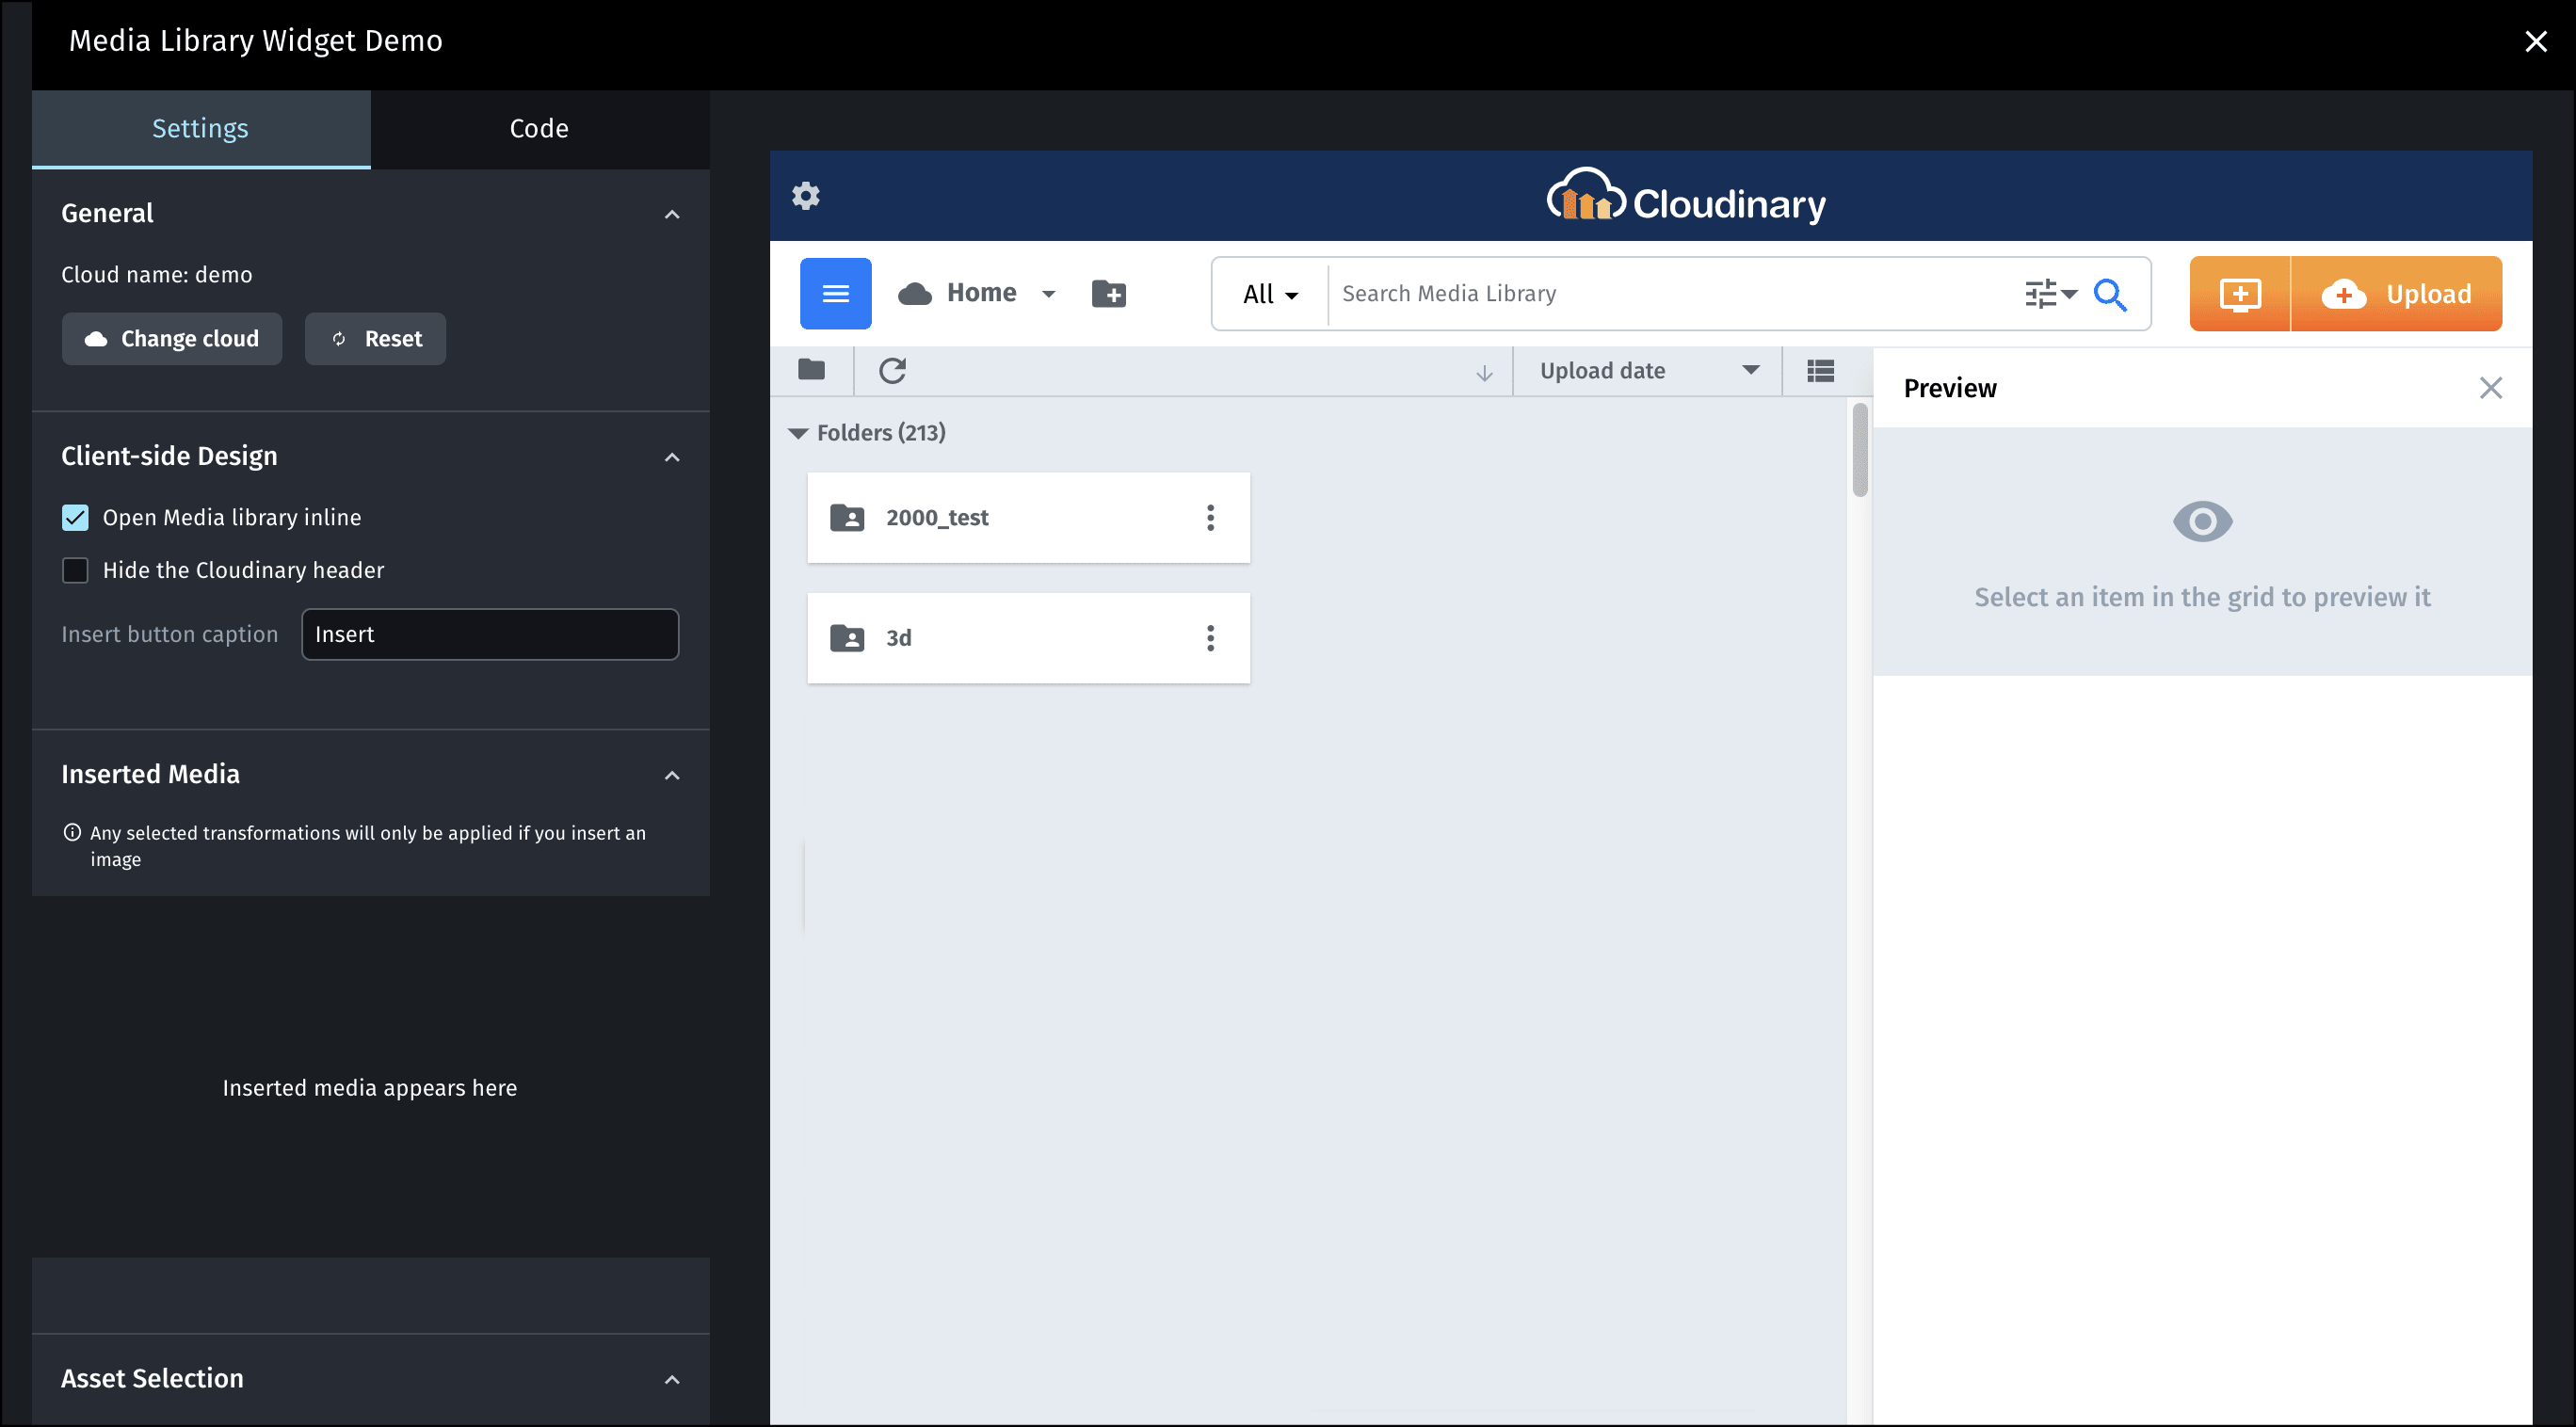
With its features for rich search and optimized media-asset delivery, Cloudinary’s Media Library UI widget gives you all the capabilities of the Media Library UI. You can Integrate that widget into any CMS or web app with only a few lines of code. Afterwards, all users can access videos directly from your Cloudinary account and use them as they wish in the app.
Try out some of the configuration options in this Media Library interactive demo. Although it does not cover every possible option, the demo generates the code required for implementing the options you select, making for an ideal sandbox for getting started with the widget. For a personalized experience, specify your cloud name and API key. (To obtain those two credentials, sign up for a free account).
The following code performs the integration:
<button id="open-btn" class="open-btn">Upload Video Files</button>

<script src="https://media-library.cloudinary.com/global/all.js" type=”text/javascript”></script>

<script type="text/javascript">
	window.ml = cloudinary.createMediaLibrary({
   cloud_name: 'xxxxx',
   api_key: 'xxxxx',
   username: 'xxxxx',
   button_class: 'myBtn',
   button_caption: 'Select Video',
 }, {
     insertHandler: function (data) {
       data.assets.forEach(asset => { console.log("Inserted asset:",
       JSON.stringify(asset, null, 2)) })
       }
    },
    document.getElementById("open-btn")
)
</script>
Code language: HTML, XML (xml)
For more details on integrating the Cloudinary Media Library UI widget, check out this comprehensive guide.
Video upload is only one of the many functions of the entire spectrum of Cloudinary’s media-management pipeline. Cloudinary also transforms, optimizes, and delivers videos. Transformations can occur just before or after upload, or on the fly. For details, see the related documentation.
In addition, Cloudinary’s JavaScript-based HTML5 video player delivers uploaded videos in an optimal way. Besides being bundled with many valuable customization and integration capabilities, the video player is monetization and analytics ready, fully responsive for use in any device or screen size, and is integrated with Cloudinary’s video-delivery and manipulation capabilities.
<div style="max-width: px">
    <video id="doc-player" controls muted class="cld-video-player cld-fluid"></video>
</div>
Code language: HTML, XML (xml)
var cld = cloudinary.Cloudinary.new({ cloud_name: 'demo' });
var demoplayer = cld.videoPlayer('doc-player').width(600);
demoplayer.source('race_road_car')
Code language: PHP (php)To further explore the video player, see the related documentation.
Related content: Read our guide to video delivery and video tagging.