
Developing an e-commerce site can require displaying hundreds of product images, each with a varying size and resolution. How can one team manage that many images and variations of images, and keep them constantly updated?
With Cloudinary’s Digital Asset Management solutions, developers can manage their media library, image optimizations, and image transformations at scale. In this blog post, we’ll walk through how to display multiple images on your site by adding an image carousel using Javascript and Cloudinary.
An image carousel is a dynamic web element showcasing images that rotate or slide on a web page or application. Carousels are important for the web and serve multiple purposes, including:
- Visual appeal. Image carousels enhance a website’s visual appeal by presenting various content in an interactive and visually pleasing format.
- Space optimization. Carousels efficiently utilize limited space, enabling websites to showcase multiple products, services, or messages within a confined area without clutter.
- Dynamic content. They facilitate displaying dynamic and diverse content, preventing static web pages and keeping the user experience fresh and engaging.
- User interaction. Carousels encourage user interaction through navigation controls, allowing visitors to manually browse content or automatically cycle through images, promoting engagement.
- Storytelling. Carousels provide a platform for storytelling by sequentially presenting a series of images or messages, guiding users through a narrative, or showcasing a product’s features.
- Promotions and highlights. Businesses can use carousels to highlight promotions, featured products, or important announcements, ensuring essential information is prominently displayed.
- Responsive design. Modern image carousels are designed to be responsive, adapting seamlessly to various screen sizes and devices, providing a consistent user experience.
- Call to action (CTA). Each carousel item can include a call to action, directing users to specific pages or actions, thereby driving conversions and achieving business goals.
First, let’s create our development environment and the necessary files.
In a new directory on your computer, create an index.html file with the following code snippet inside:
<!DOCTYPE html>
<html>
<head>
  <title>Image Carousel</title>
  <link rel="stylesheet" type="text/css" href="styles.css">
</head>
<body>
  <div class="carousel">
    <!-- Images will go here -->
  </div>  <div class="nav">    <button id="prev">Prev</button>    <button id="next">Next</button>  </div>

  <script defer type="module"></script>
</body>
</html>Code language: HTML, XML (xml)
If you open the index.html in your browser, you should see a blank web page titled Image Carousel.
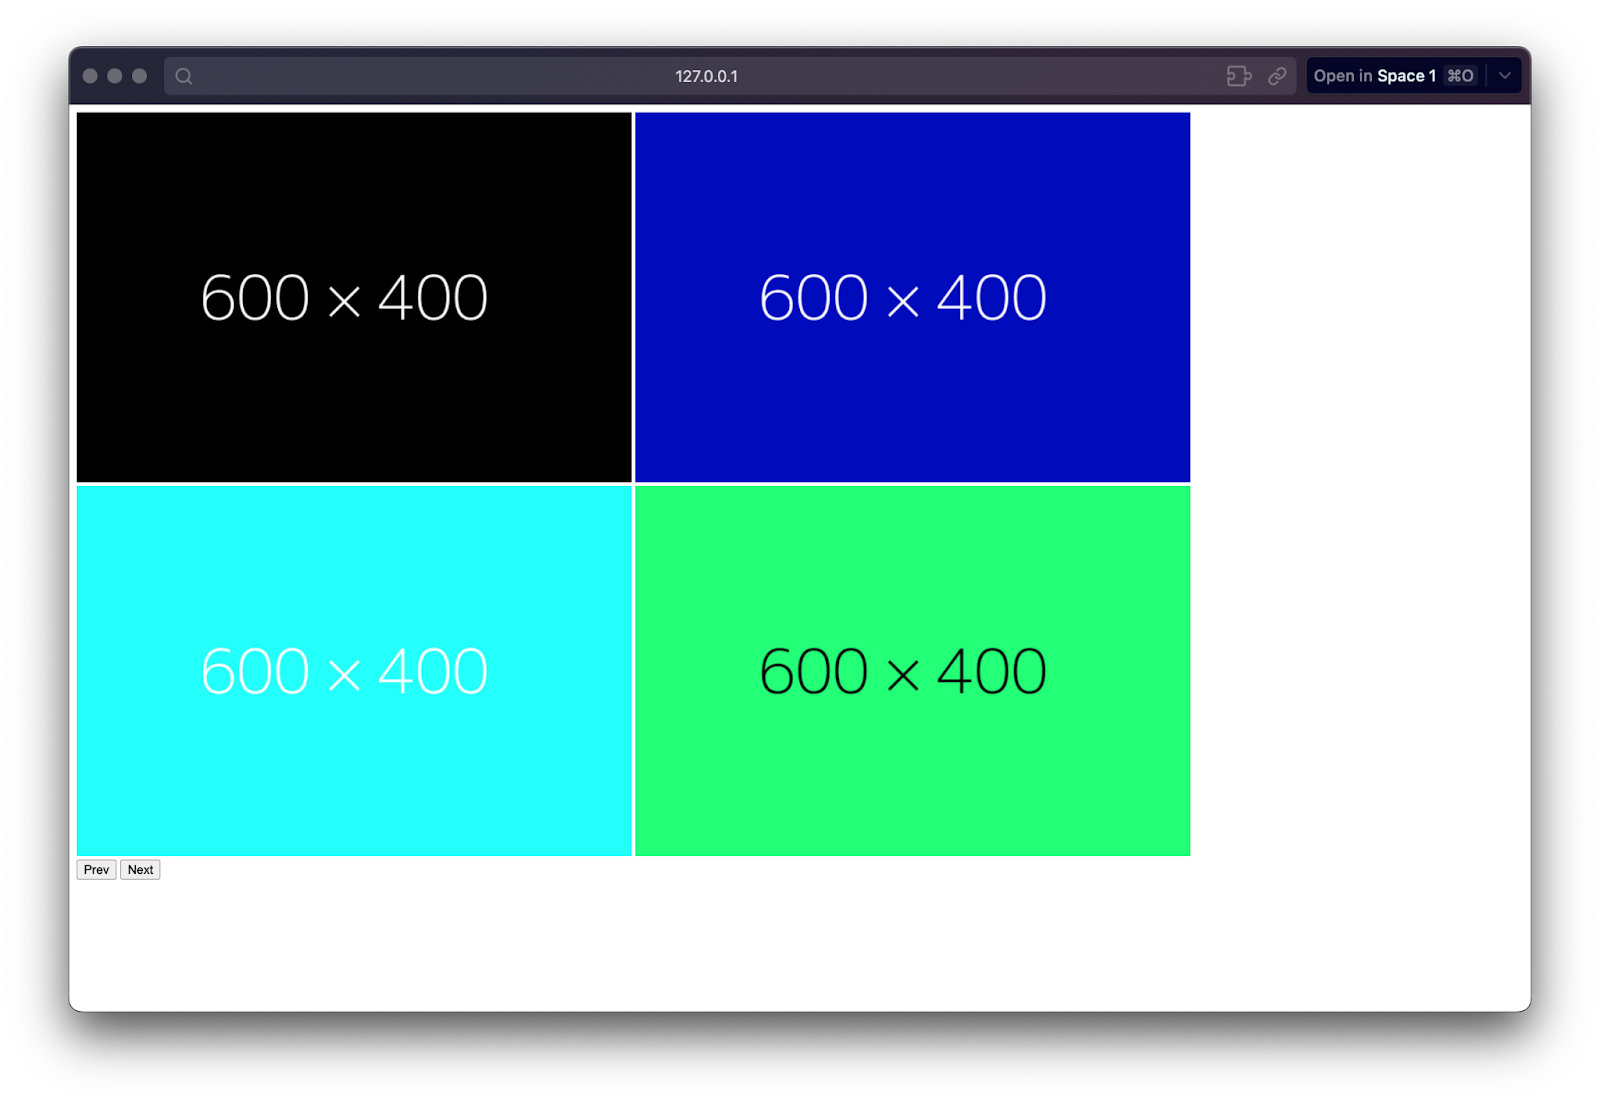
Let’s add some images as placeholders and replace the <!-- Images will go here --> comment with the following code:
<img src="https://dummyimage.com/600x400/000/fff" alt="Placeholder 1">
<img src="https://dummyimage.com/600x400/000cbb/fff" alt="Placeholder 2">
<img src="https://dummyimage.com/600x400/21fffb/fff" alt="Placeholder 3"><img src="https://dummyimage.com/600x400/21ff76/000" alt="Placeholder 4">
<!-- Add more images as needed -->Code language: HTML, XML (xml)
The site should look like the image below:
In our website directory, create a new CSS file with the name styles.css, and add the following CSS styles:
.carousel {
width: 400px;
height: 300px;
overflow: hidden;
position: relative;
}
.carousel <strong>img</strong> {
width: 100%;
height: 100%;
object-fit: cover;
position: absolute;
top: 0;
left: 0;
opacity: 0;
transition: opacity 0.5s ease-in-out;
}
.carousel <strong>img</strong>.active {
opacity: 1;
}
.nav {
display: flex;
align-items: center;
gap: 20px;
margin-top: 10px;
}
.nav <strong>button</strong> {
padding: 10px 20px;
border-radius: 10px;
outline: none;
border: none;
background: #000;
color: #fff;
cursor: pointer;
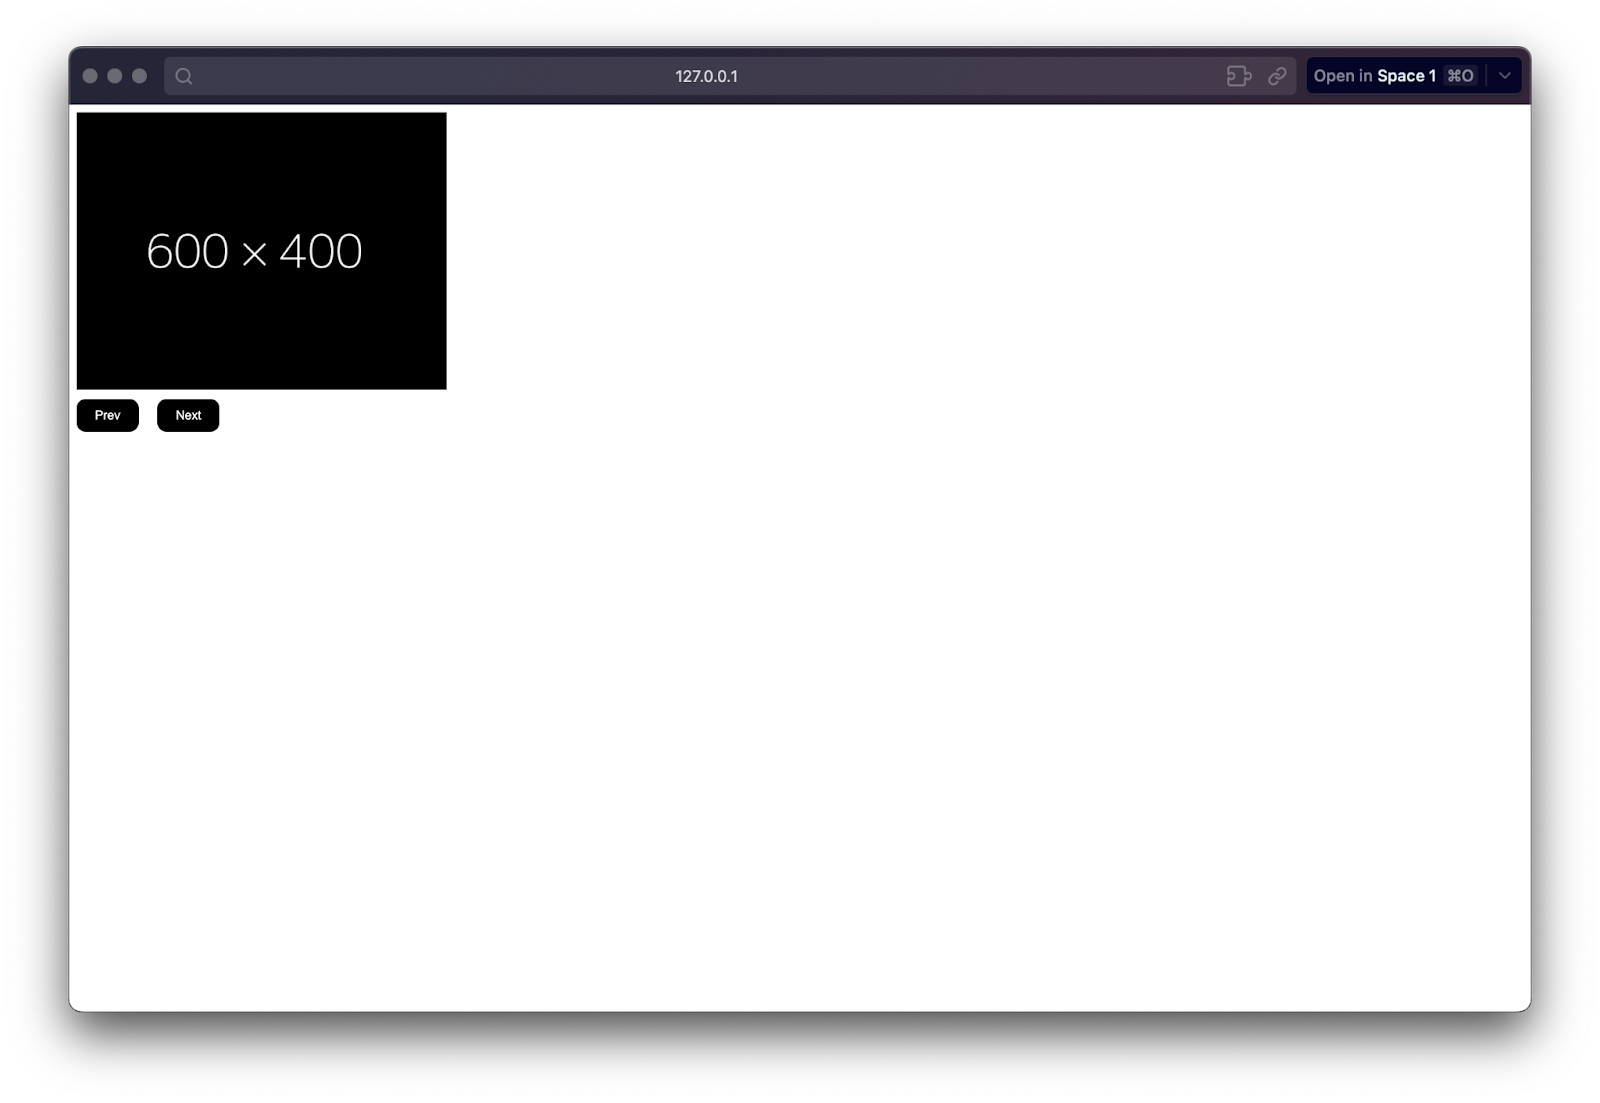
}Code language: HTML, XML (xml)After adding the above code to the styles.css file, the images in the div with class="carousel" should be hidden because we set the opacity of all img tags inside .carousel to 0 and only the img with class="active" to 1.
We need a default active image to be the first image displayed on our carousel. Set the class of the image with alt="Placeholder 1" to active to do this:
<div class="carousel">
  <img src="https://dummyimage.com/600x400/000/fff" class="active" alt="Placeholder 1">
  <img src="https://dummyimage.com/600x400/000cbb/fff" alt="Placeholder 2">
  <img src="https://dummyimage.com/600x400/21fffb/fff" alt="Placeholder 3">
  <img src="https://dummyimage.com/600x400/21ff76/000" alt="Placeholder 4">
</div>Code language: HTML, XML (xml)
Now, we should have the first image displayed while the others remain hidden, as in the image below:
Next, we want the images to change after a certain time or when we click the Next/Prev button. To accomplish this, add the following code for carousel functionality to our <script type="module"> tag:
const carousel = document.querySelector('.carousel');
const images = carousel.querySelectorAll('img');
const prevBtn = document.querySelector('#prev');
const nextBtn = document.querySelector('#next');

let currentIndex = 0;

function showImage(index) {
  images.forEach((image, i) => {
    if (i === index) {
      image.classList.add('active');
    } else {
      image.classList.remove('active');
    }
  });
}

function nextImage() {
    currentIndex = (currentIndex + 1) % images.length;
    showImage(currentIndex);
}

function prevImage() {
    currentIndex = (currentIndex - 1 + images.length) % images.length;
    showImage(currentIndex);
}

const changeImage = setInterval(nextImage, 3000);

// Add event listeners for navigation
prevBtn.addEventListener('click', prevImage);
nextBtn.addEventListener('click', nextImage);Code language: JavaScript (javascript)
In the code above, we used the document.querySelector method to select the elements we wanted to give the carousel UX. Then we set the default currentIndex to 0 because JavaScript will handle the list as an array when we loop through the images in our carousel (0, 1, 2, 3).
We also defined the showImage function to loop over all of the image elements in our carousel, remove the active class, and then apply the active class to the image with the currentIndex. We use nextImage and prevImage functions to listen for button click events and update the currentIndex.
That’s it! Now, you have a basic JavaScript image carousel. You can customize the JS functionality or the CSS to your heart’s content. Now, let’s look at how to include Cloudinary in our project and retrieve images from our Cloudinary library.
We can make our carousel even more appealing by using Cloudinary to add dynamic images. To get started, follow these steps:
To use Cloudinary in your app, you’ll need to create an account. Head over to Cloudinary and sign up for free. Once you’ve successfully signed in, you can find your API keys in your Cloudinary console dashboard. Make sure to note down your cloud name, API key, and API secret.
We need to upload some images to our Cloudinary library; we could do so manually or programmatically. We’ll manually upload the images to our Cloudinary account for this example.
To do this, navigate to your Cloudinary Console’s Media Library and select the Folders tab. Click the Create a folder button and give it the name of your project, for example, “carousel”.

Next, open the new folder and upload some free stock images. You can either drag and drop or use the site’s upload form.
Let’s retrieve all the images we need once we’ve successfully uploaded them.
To fetch and display images from Cloudinary, we’ll use the Cloudinary JavaScript SDK. First, we must import Cloudinary into our project by including the following code at the beginning of the <script type="module"> tag:
import { Cloudinary} from 'https://cdn.jsdelivr.net/npm/@cloudinary/url-gen@1.14.0/+esm'Code language: JavaScript (javascript)We can now configure Cloduinary and fetch our photos after importing Cloudinary into our project. Let’s replace the code in the <script type="module"> part with this:
    <strong>import</strong> { Cloudinary} <strong>from</strong> 'https://cdn.jsdelivr.net/npm/@cloudinary/url-gen@1.14.0/+esm'

    <strong>const</strong> carousel = document.querySelector('.carousel');
    <strong>let</strong> images; // Declare images variable
    <strong>const</strong> prevBtn = document.querySelector('#prev');
    <strong>const</strong> <strong>nextBtn</strong> = document.querySelector('#next');

    <strong>let</strong> currentIndex = 0;

    <strong>function</strong> <strong>showImage</strong>(index) {
      images = carousel.querySelectorAll('img'); // Update images variable
      images.forEach((image, i) => {
        <strong>if</strong> (i === index) {
          image.classList.add('active');
        } <strong>else</strong> {
          image.classList.remove('active');
        }
      });
    }

    <strong>function</strong> <strong>nextImage</strong>() {
        currentIndex = (currentIndex + 1) % images.length;
        showImage(currentIndex);
    }

    <strong>function</strong> <strong>prevImage</strong>() {
        currentIndex = (currentIndex - 1 + images.length) % images.length;
        showImage(currentIndex);
    }

    <strong>const</strong> changeImage = setInterval(nextImage, 3000);

    // Add event listeners for navigation
    prevBtn.addEventListener('click', prevImage);
    <strong>nextBtn</strong>.addEventListener('click', nextImage);

    <strong>const</strong> cld = <strong>new</strong> Cloudinary({ cloud: { cloudName: 'XXXXXXXXXX' } });

    <strong>const</strong> imgIDs = ["img1", "img2", "img3", "img4"];

    document.addEventListener('DOMContentLoaded', () => {
      imgIDs.forEach((img) => {
        <strong>const</strong> imgElement = document.createElement('img');
        imgElement.src = cld.image(`carousel/${img}`).toURL();
        <strong>if</strong>(img === "img1") imgElement.className = "active"
        carousel.appendChild(imgElement);
      });

      // After images are loaded, update the images variable
      images = carousel.querySelectorAll('img');
    });Code language: PHP (php)
Since we’re getting our images from an HTTP request now, we don’t know how long it will take to be ready. Instead, we declare the variable let images as null.
Then, we defined a new Cloudinary instance and configured it with the Cloudinary cloudName. The placeholder XXXXXXXXX should be replaced with your actual Cloudinary Cloud Name, which can be found on your Cloudinary console dashboard.
During the DOM content loading, we create image elements, using Cloudinary to establish their source URLs and append them to the carousel. The if statement ensures that the first image has the class active. Finally, the images variable is updated to accommodate the newly retrieved images.
Also, remember to remove the placeholder img tags, as we are now creating the img elements programmatically after retrieving the images from Cloudinary. When we open the site in the browser, our carousel should display the images we’ve uploaded to Cloudinary!
That’s it! Cloudinary has been successfully integrated into your JavaScript image carousel. Feel free to modify the code and experiment with more Cloudinary features.
In this blog post, we covered the basics, from dynamic image management to the programmatic generation of image URLs, and how Cloudinary can improve user experiences.
The official Cloudinary Documentation is a comprehensive guide for those eager to deepen their understanding. The Cloudinary Blog keeps you updated on the newest trends, case studies, and tips, and the Community Forums allows you to interact with fellow developers.


