
A skit is popularly known as a short video about anything, having different video and sound effects. In this post, we will build a basic skit maker in Next.js that allows us to upload a video, add an audio clip, then add basic transformations to the resulting video.
This part of this article covers how to upload audio and video, with the audio playing on the video, while a second article will cover further video transformations.
This portion of the project showing media upload was completed in a Codesandbox. To get started quickly, fork the Codesandbox or run the project.
GitHub repository: https://github.com/Olanetsoft/video-and-audio-upload-with-nextJS

## Getting Started with Next.js

[Next.js](https://nextjs.org/) is an open-source React-based front-end development web framework, that allows  server-side rendering and the generation of static web sites and applications.

To create a new project, we use the `npx create-next-app` command to scaffold a new project in a directory of our choice.
Once the app is created and the dependencies automatically installed, we will see a message with instructions for navigating to our site and running it locally. We do this with the command

```bash
    cd <project name> && npm start
Next.js will start a hot-reloading development environment accessible by default at http://localhost:3000
For both audio and video files, we will use Cloudinary to handle our media upload. Cloudinary is a service that enables us deliver rich media experiences in media upload, storage, optimization, transformation and delivery. Cloudinary provides a secure and comprehensive API for uploading media files fast and efficiently from the server-side, the browser, or a mobile application. We can upload media assets using Cloudinary’s REST API or one of its client libraries (SDKs). These SDKs wrap the upload API and make it easier to integrate with websites and mobile apps.
We require the user interface to manage the upload on the home page. We create do this by updating the pages/index.js file to a component:
    import React, { useState } from "react";

    const App = () => {
      const [videoPublicId, setVideoPublicId] = useState(null);
      const [alt, setAlt] = useState(null);
      const [audioPublicId, setAudioPublicId] = useState(null);

      return (
        <div>
          <main className="App">
            <section className="left-side">
              <form>
                <button
                  type="button"
                  className="btn widget-btn"
                >
                  Upload Video
                </button>
                <button
                  type="button"
                  className="btn widget-btn"
                >
                  Upload Audio
                </button>
              </form>
            </section>
            <section className="right-side">
              <p>The resulting video with audio will be displayed here</p>
              <>
                  <video
                    src=""
                    alt={alt}
                    controls
                    autoPlay
                  ></video>
              </>
            </section>
          </main>
        </div>
      );
    };

    export default App;
Code language: HTML, XML (xml)
We created component state variables using the useState hook for videoPublicId, audioPublicId. Each being the Cloudinary public ID of the video and audio, initialized with a default value of null.
We also created a state variable for the alt accessibility data on media assets and set the initial value to null.
With the state variables we rendered a video element and buttons to handle video and audio upload. The video playback source URL will be determined after the media assets are uploaded.
The current user interface doesn’t look aesthetically pleasing, we’ll add some styling with CSS. We create a css folder in the root directory and a style.css file in the folder with the following content in this GitHub Gist.
https://gist.github.com/Chuloo/5a1c1cbf83fd827d6fb78308af15e23c
https://gist.github.com/Chuloo/5a1c1cbf83fd827d6fb78308af15e23c
To properly align elements on the screen, we use CSS Flexbox. Our button also has background colors and hover effects.
We also need to create an _app.js file inside the pages directory. This file is native to Next.js and wraps the whole application. We’ll import the CSS file we created into this _app.js file.
    import "../css/style.css";
    export default function MyApp({ Component, pageProps }) {
      return <Component {...pageProps} />;
    }
Code language: JavaScript (javascript)
Our application should now look like this on http://localhost:3000/:

Cloudinary’s upload widget lets us upload media assets from multiple sources including Dropbox, Facebook, Instagram, and images taken right from our device camera. We’ll utilize the upload widget in this project.
Create a free cloudinary account to obtain your cloud name and upload_preset.
Upload presets allow us to centrally define a set of asset upload choices rather than providing them in each upload call. A Cloudinary cloud name is a unique identifier associated with our Cloudinary account.
First, from a content delivery network (CDN) we will include the Cloudinary widget’s JavaScript file in our index.js located in pages/index.``js. We include this file using the react-helmet’s <Helmet> component, which lets us add data to the Head portion of our HTML document in React.
In the project, we install the react-helmet package using the command below:
npm i react-helmet
Next, in pages/index.js we import Helmet and add the script file.
    import React, { useState } from "react";
    import { Helmet } from "react-helmet";
    const App = () => {
      [...]
      };
      return (
        <div>
          <main className="App">
            <section className="left-side">
              <Helmet>
                <meta charSet="utf-8" />
                <script
                  src="https://widget.Cloudinary.com/v2.0/global/all.js"
                  type="text/javascript"
                ></script>
              </Helmet>
              [...]
            </section>
          </main>
        </div>
      );
    };
    export default App;
Code language: JavaScript (javascript)
Next, in the App component, we create an instance of the widget in a function that will eventually be called on the click of a button.
    import React, { useState } from "react";
    import { Helmet } from "react-helmet";
    const App = () => {
      // state variable declarations go here

      const openWidget = () => {
        // create the widget
        const widget = window.cloudinary.createUploadWidget(
          {
            cloudName: "olanetsoft",
            uploadPreset: "w42epls6"
          },
          (error, result) => {
            if (result.event === "success") {
              if (result.info.is_audio === true) {
                setAudioPublicId(result.info.public_id);
                setAlt(`A file of ${result.info.original_filename}`);
              } else {
                setVideoPublicId(result.info.public_id);
                setAlt(`A file of ${result.info.original_filename}`);
              }
            }
          }
        );
        widget.open(); // open up the widget after creation
      };
      return (
        /*returned JSX goes in here*/
      );
    };
    export default App;
Code language: JavaScript (javascript)
The widget requires our Cloudinary cloud_name and uploadPreset. The createWidget() function creates a new upload widget and on the successful upload of either a video or audio, we assign the public_id of the asset to the relevant state variable.
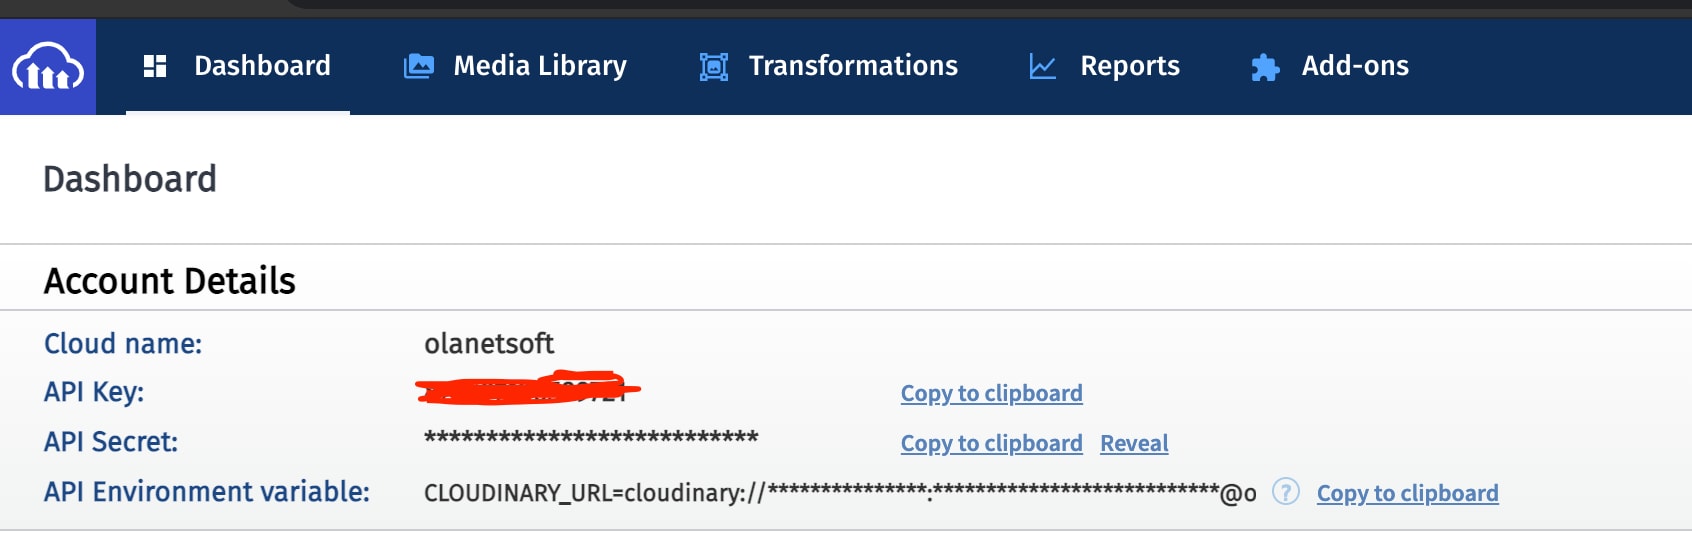
To get our cloudname and uploadPreset we follow the steps below:
The cloud name is obtained from our Cloudinary dashboard as shown below.
An upload preset can be found in the “Upload” tab of our Cloudinary settings page, which we access by clicking on the gear icon in the top right corner of the dashboard page.

We then click on the Upload tab on the settings page:
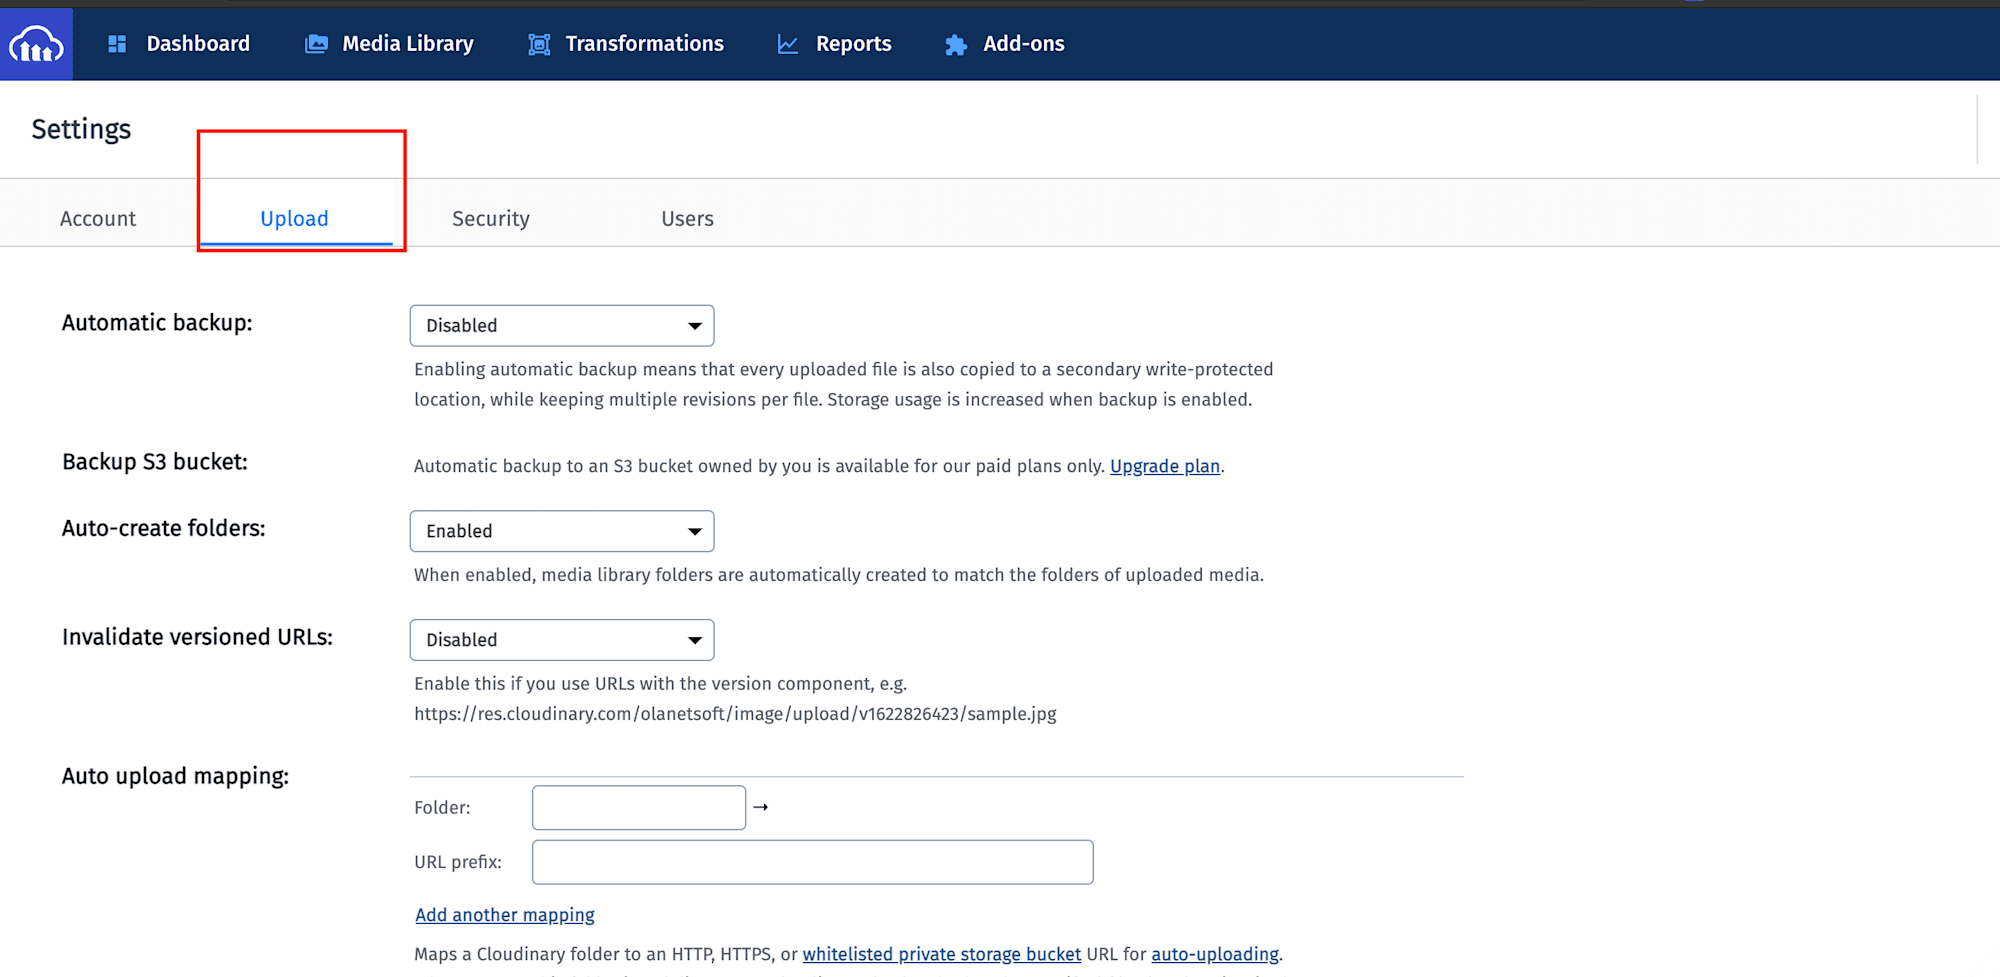
We scroll down to the bottom of the page to the upload presets section, where we see our upload preset or the option to create one if we don’t have any.
We call the openWidget function in the onClick handler of our upload buttons using:
const App = () => {
};
return (
<div>
<main className="App">
<section className="left-side">
/*Helmet goes here*/
<form>
<button
type="button"
className="btn widget-btn"
onClick={openWidget}
>
Upload Video
</button>
<button
type="button"
className="btn widget-btn"
onClick={openWidget}
>
Upload Audio
</button>
</form>
</section>
</main>
</div>
);
};
export default App;
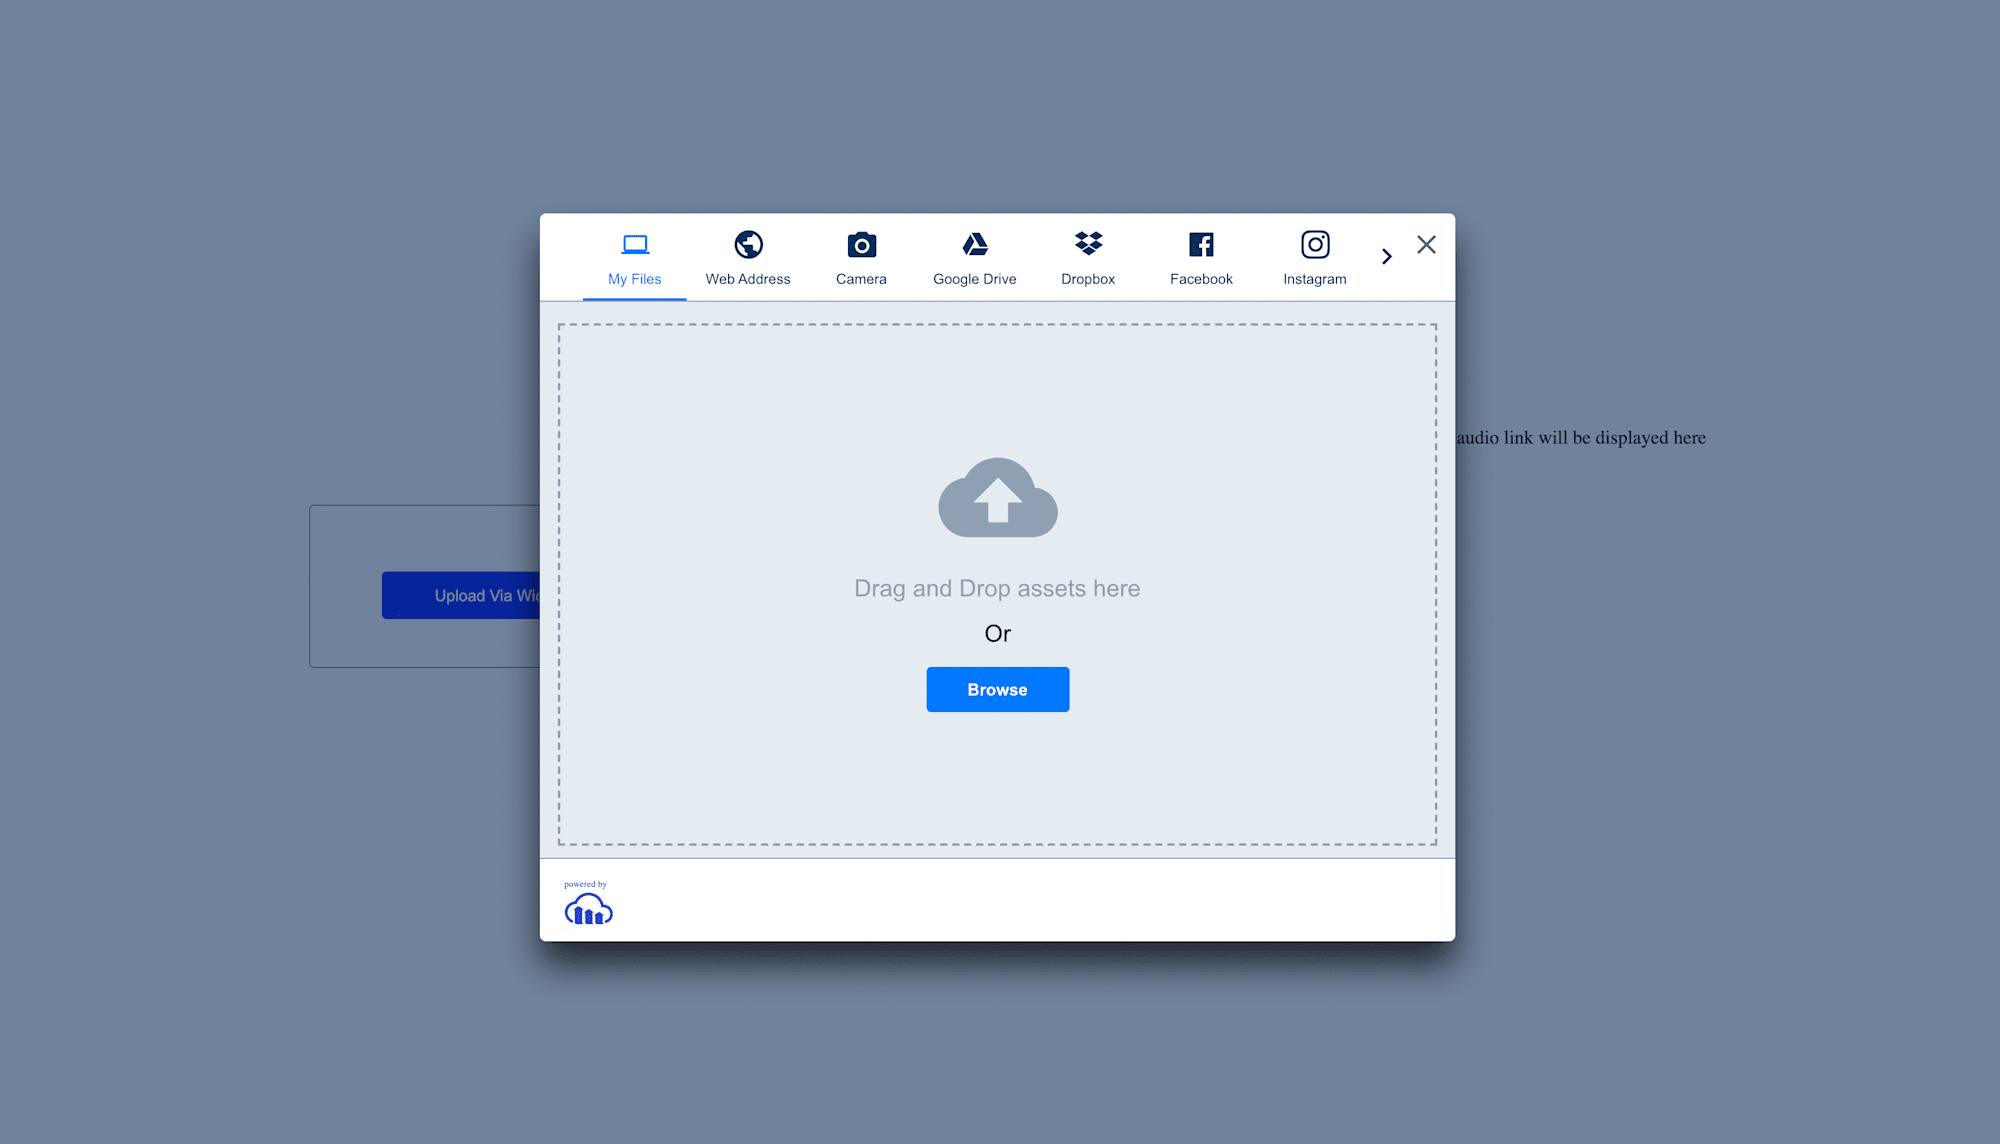
Code language: JavaScript (javascript)When we open our app in the browser and click the “Upload Video” button, we should see something like this:
We can further customize the widget with more information in this documentation.
On asset upload, this is what the response looks like with the public_id of the asset uploaded:
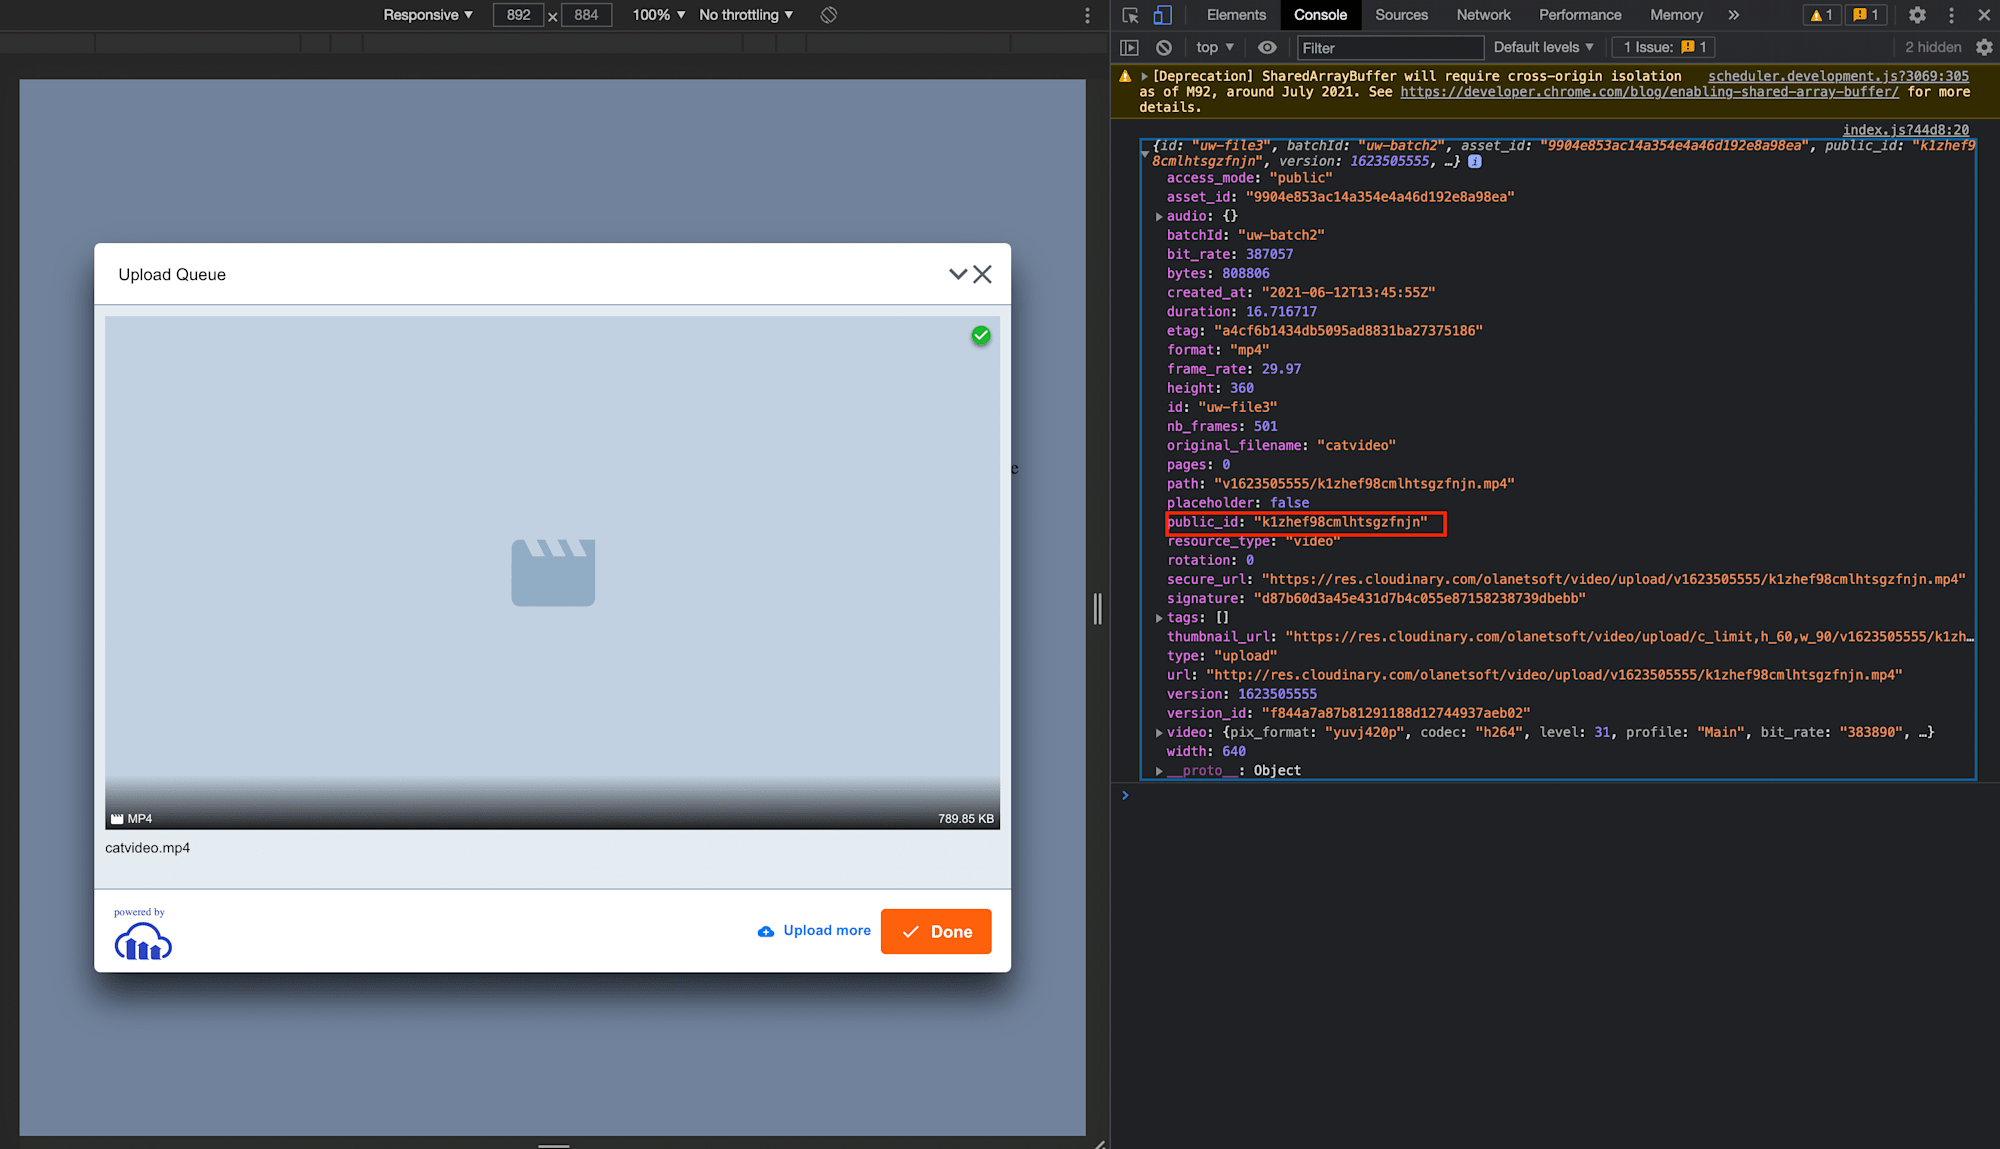
We successfully uploaded a video file and retrieved the video properties from Cloudinary, we will further upload an audio file and construct the URL that will be added to the src attribute of the video element.
Cloudinary provides on-the-fly URL media transformations via URL modifications. For this project, we’ll use the same pattern to transform the video URL to include the audio file as a transformation parameter. We took a standard Cloudinary-uploaded video URL and replaced the public ID portions of the video and audio with those set in the component’s state variable on asset upload.
The resulting URL looks like this with template literals
`https://res.cloudinary.com/olanetsoft/video/upload/l_video:${audioPublicId}/fl_layer_apply/${videoPublicId}.mp4`
We update the src attribute on the video element with the URL we constructed:
    //...

    <p>The resulting video with audio will be displayed here</p>
    // Update the code below
      {audioPublicId && (
        <>
          <video
            src={`https://res.cloudinary.com/olanetsoft/video/upload/l_video:${audioPublicId}/fl_layer_apply/${videoPublicId}.mp4`}
            alt={alt}
            controls
            autoPlay
          ></video>
        </>
      )}

    //...
Code language: HTML, XML (xml)
The resulting interface should look like this, having the transformed video with audio displayed on the right.
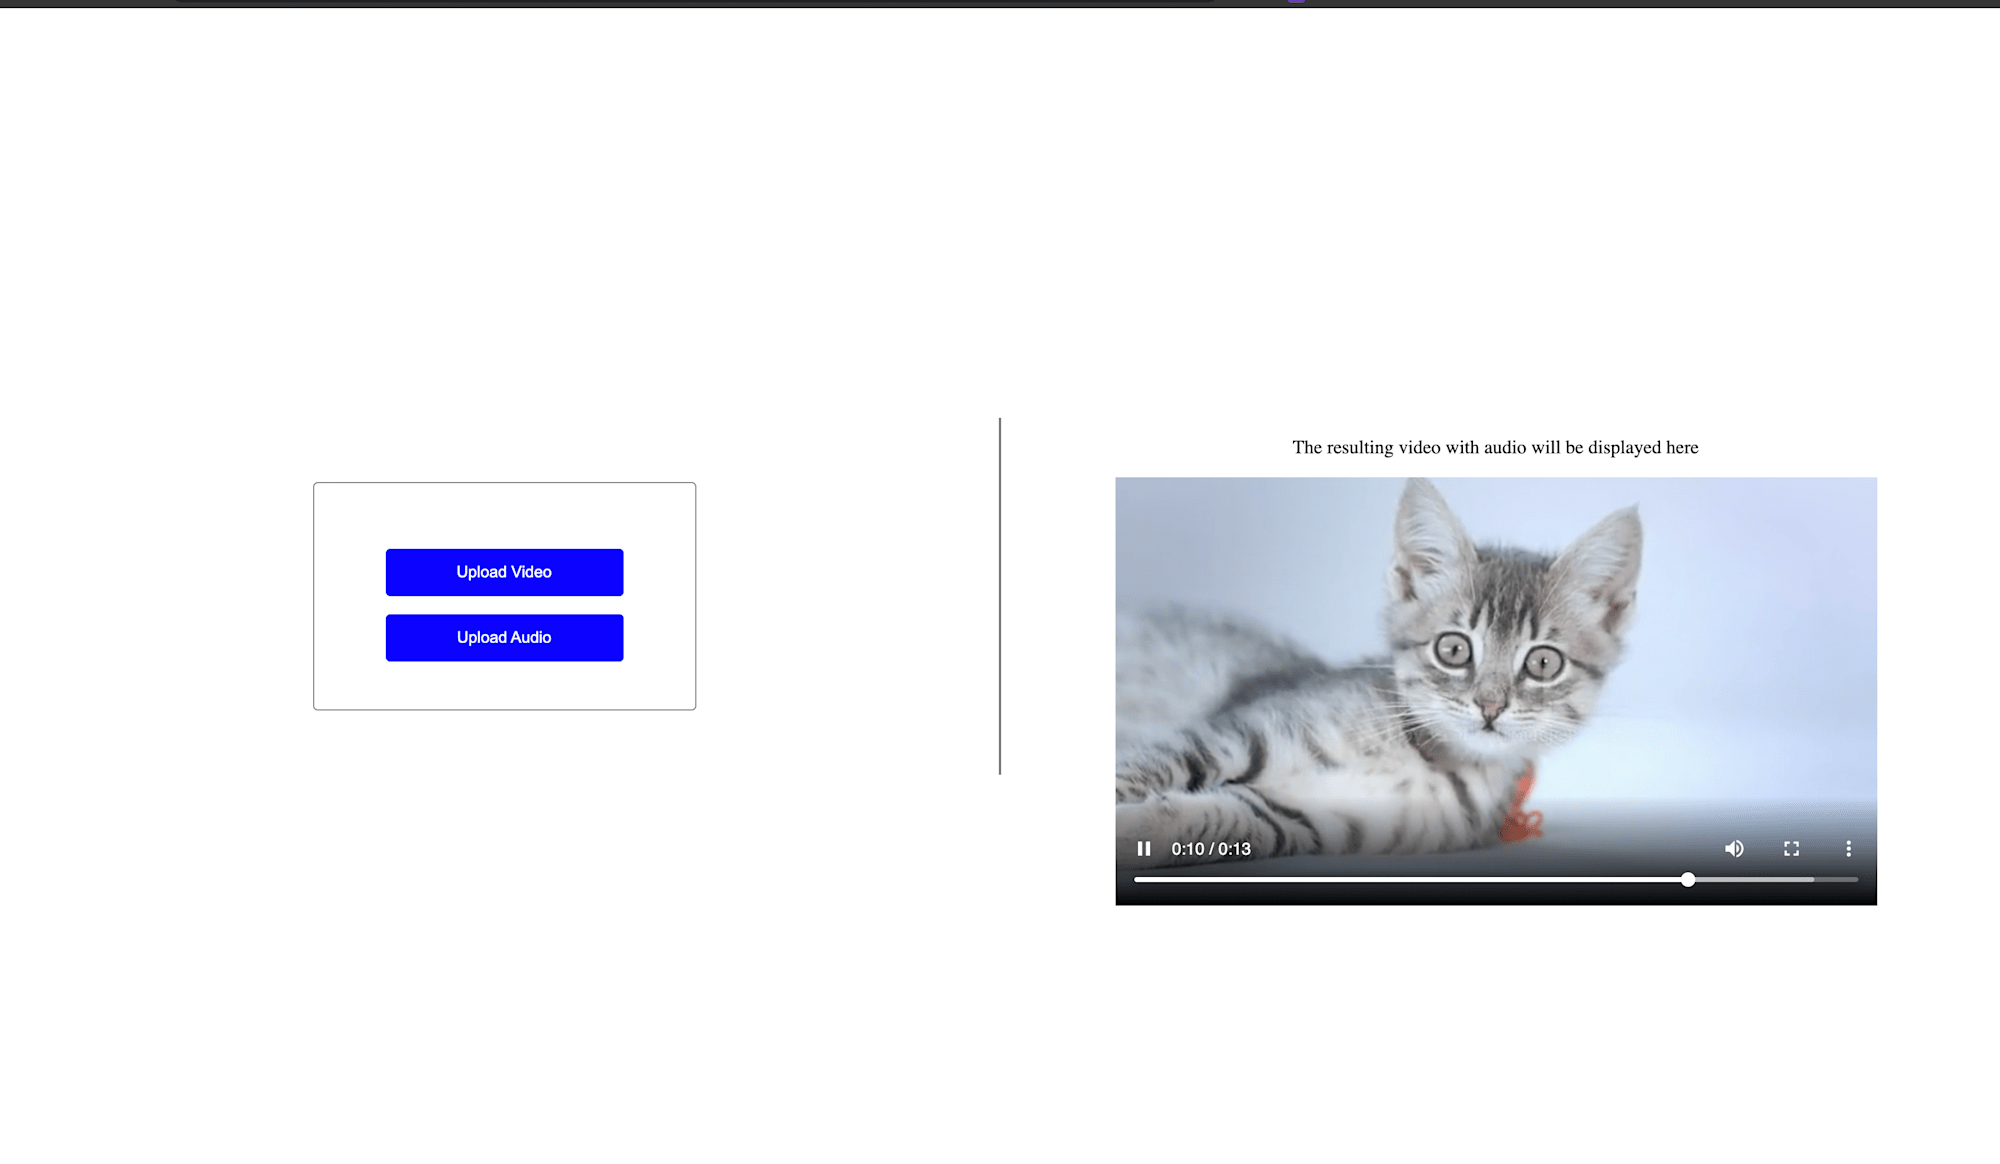
This article explains how to upload audio and video to Cloudinary seamlessly, with the audio serving as background music to the video. In the following tutorial, we’ll learn how to add transformations to the video.
You may find these resources useful.