
A watermark is a logo, text, or pattern intentionally put onto another image to prevent images from being copied or used without permission.
In this article, we will learn how to add watermarks to our images using Cloudinary in our Next.js apps.
The completed project is on CodeSandbox. Fork it and run the code.
https://github.com/folucode/nextjs_watermark_images
To follow through with this article, we need to have:
- An understanding of JavaScript and Next.js
- A Cloudinary account — sign up here.
Node and its package manager, npm, are required to initialize a new project.
To install Node.js, we go to the Node.js website and follow the instructions. We verify Node.js’ installation using the terminal command below:
node -v
v16.10.0 //node version installed
The result shows the version of Node.js we installed on our computer.
We’ll now create our Next.js app using create-next-app, which automatically sets up a boilerplate Next.js app. To create a new project, run:
npx create-next-app@latest <app-name>
# or
yarn create next-app <app-name>
After the installation is complete, change the directory to the app we just created:
cd <app-name>
Now we run npm run dev or yarn dev to start the development server on http://localhost:3000.

Cloudinary provides a rich media management experience enabling users to upload, store, manage, manipulate, and deliver images and videos for websites and applications.
The @cloudinary/url-gen package provides transformation and optimization functionalities and we’ll use it to transform our project’s image. Install the package with the code below:
npm i @cloudinary/url-gen
With installations completed, we’ll start the next application using the command below:
npm run dev
Once run, the command spins up a local development server which we can access on http://localhost:3000.
To begin, we would do some basic setup in our app to help build our gallery. First, we replace the contents in the Home.module.css file in the styles folder with the content below. These are styles we would be using throughout our app.
    .container {
      padding: 0 2rem;
    }
    .main {
      min-height: 100vh;
      padding: 4rem 0;
      flex: 1;
      display: flex;
      flex-direction: column;
      justify-content: center;
      align-items: center;
    }
    .title a {
      color: #0070f3;
      text-decoration: none;
    }
    .title a:hover,
    .title a:focus,
    .title a:active {
      text-decoration: underline;
    }
    .title {
      margin: 0;
      line-height: 1.15;
      font-size: 4rem;
    }
    .title,
    .description {
      text-align: center;
    }
    .description {
      margin: 4rem 0;
      line-height: 1.5;
      font-size: 1.5rem;
    }
    .grid {
      display: flex;
      align-items: center;
      justify-content: center;
      flex-wrap: wrap;
      max-width: 1000px;
      margin-top: 30px;
    }
    .card {
      margin: 0.5rem;
      padding: 0.5rem;
      text-align: left;
      color: inherit;
      text-decoration: none;
      border: 1px solid #676767;
      border-radius: 10px;
      transition: color 0.15s ease, border-color 0.15s ease;
      max-width: 300px;
    }
    .card:hover,
    .card:focus,
    .card:active {
      color: #0070f3;
      border-color: #0070f3;
    }
    .file::-webkit-file-upload-button {
      visibility: hidden;
    }
    .file::before {
      content: 'Select some files';
      display: inline-block;
      background: linear-gradient(to bottom, #f9f9f9, #e3e3e3);
      border: 1px solid #999;
      border-radius: 3px;
      padding: 5px 8px;
      outline: none;
      white-space: nowrap;
      -webkit-user-select: none;
      cursor: pointer;
      text-shadow: 1px 1px #fff;
      font-weight: 700;
      font-size: 10pt;
    }
    .file:hover::before {
      border-color: black;
    }
    .file:active::before {
      background: -webkit-linear-gradient(top, #e3e3e3, #f9f9f9);
    }
Code language: CSS (css)
After that, in the next.config.js file, we need to add Cloudinary as a domain to access remote images using the next/image component.
    /** @type {import('next').NextConfig} */
    const nextConfig = {
      ...
      images: {
        domains: ['res.cloudinary.com'],
      },
    };
    module.exports = nextConfig;
Code language: JavaScript (javascript)Now in the index.js file in the pages folder, replace the contents of the file with the code below:
import { Cloudinary } from '@cloudinary/url-gen';
import Head from 'next/head';
import styles from '../styles/Home.module.css';
export default function Home() {
const cld = new Cloudinary({
cloud: {
cloudName: 'chukwutosin',
},
});
return (
<div className={styles.container}>
<Head>
<title>Image Gallery</title>
<meta name='description' content="Tosin's image gallery" />
</Head>
<main className={styles.main}>
<h1 className={styles.title}>Welcome to Tosin's image gallery</h1>
<div>
<input
className={styles.file}
type='file'
name='uploadImages'
multiple
/>
</div>
</main>
</div>
);
}
Code language: JavaScript (javascript)We first import the Cloudinary component, Next.js Head component, and our CSS styles in this file.
Then we create a Cloudinary instance with our cloudName, obtained from our Cloudinary dashboard. We make a basic HTML setup with an input field to upload multiple images to our gallery.
Before we can upload images to Cloudinary from our Next.js app, Cloudinary requires us to have an upload preset. The upload_preset allows us to define a set of asset upload choices centrally rather than providing them in each upload call.
We can find our upload preset in the Upload tab of our Cloudinary settings page by clicking on the gear icon in the top right corner of the dashboard page.

By scrolling down to the bottom of the page to the upload presets section, we’ll see our upload preset, or there will be an option to create one if we don’t have any.
Now that we have gotten our upload preset, we will create a function to handle image upload and transformation.
First, we will create a function called handleOnSubmit that would take in an event. We then take all the images from the event target and append our upload preset on each as we upload to Cloudinary.
Cloudinary sends back a public_id to access the image after uploading each image. We then perform the watermark transformation. Our watermark text is “This is my image.”. When the image transformation is complete, the function returns the URL of the transformed image. Then we save the URL using useState.
import { Cloudinary, Transformation } from '@cloudinary/url-gen';
import { opacity } from '@cloudinary/url-gen/actions/adjust';
import { source } from '@cloudinary/url-gen/actions/overlay';
import { Position } from '@cloudinary/url-gen/qualifiers';
import { compass } from '@cloudinary/url-gen/qualifiers/gravity';
import { text } from '@cloudinary/url-gen/qualifiers/source';
import { TextStyle } from '@cloudinary/url-gen/qualifiers/textStyle';
import Head from 'next/head';
import Image from 'next/image';
import { useState } from 'react';
import styles from '../styles/Home.module.css';
export default function Home() {
const [imageSrc, setImageSrc] = useState([]);
const cld = new Cloudinary({
cloud: {
cloudName: 'chukwutosin',
},
});
async function handleOnSubmit(event) {
event.preventDefault();
const images = event.target.files;
let imgArray = [];
if (images) {
for (const image of images) {
const body = new FormData();
body.append('upload_preset', <upload_preset>);
body.append('file', image);
const response = await fetch(
'https://api.cloudinary.com/v1_1/<cloud_name>/image/upload',
{
method: 'POST',
body,
}
).then((r) => r.json());
const myImage = cld.image(response.public_id);
myImage
.overlay(
source(
text('This is my picture', new TextStyle('arial', 200))
.textColor('white')
.transformation(new Transformation().adjust(opacity(60)))
).position(new Position().gravity(compass('center')).offsetY(20))
)
.format('png');
const myUrl = myImage.toURL();
imgArray.push(myUrl);
}
setImageSrc(imgArray);
}
}
...
}
```js
## Displaying the Images
Now that we have the transformed images stored in our state variable, let’s display them.
First, let's add an `onChange` handler to the input field. This will automatically call `handleOnSubmit` when we select our images and upload them immediately.
After that, we check if the `imageSrc` variable has a value to display the images or not. We use the Next.js `Image` component to display the images.
Update the `return` statement in the `index.js` file with the code below.
```js
return (
<div className={styles.container}>
<Head>
<title>Image Gallery</title>
<meta name='description' content="Tosin's image gallery" />
</Head>
<main className={styles.main}>
<h1 className={styles.title}>Welcome to Tosin's image gallery</h1>
<div>
<input
className={styles.file}
type='file'
name='uploadImages'
multiple
onChange={handleOnSubmit}
/>
</div>
<div className={styles.grid}>
{imageSrc.length > 0
? imageSrc.map((img, i) => {
return (
<div key={i} className={styles.card}>
<Image src={img} alt={img} width={300} height={300} />
</div>
);
})
: ''}
</div>
</main>
</div>
);
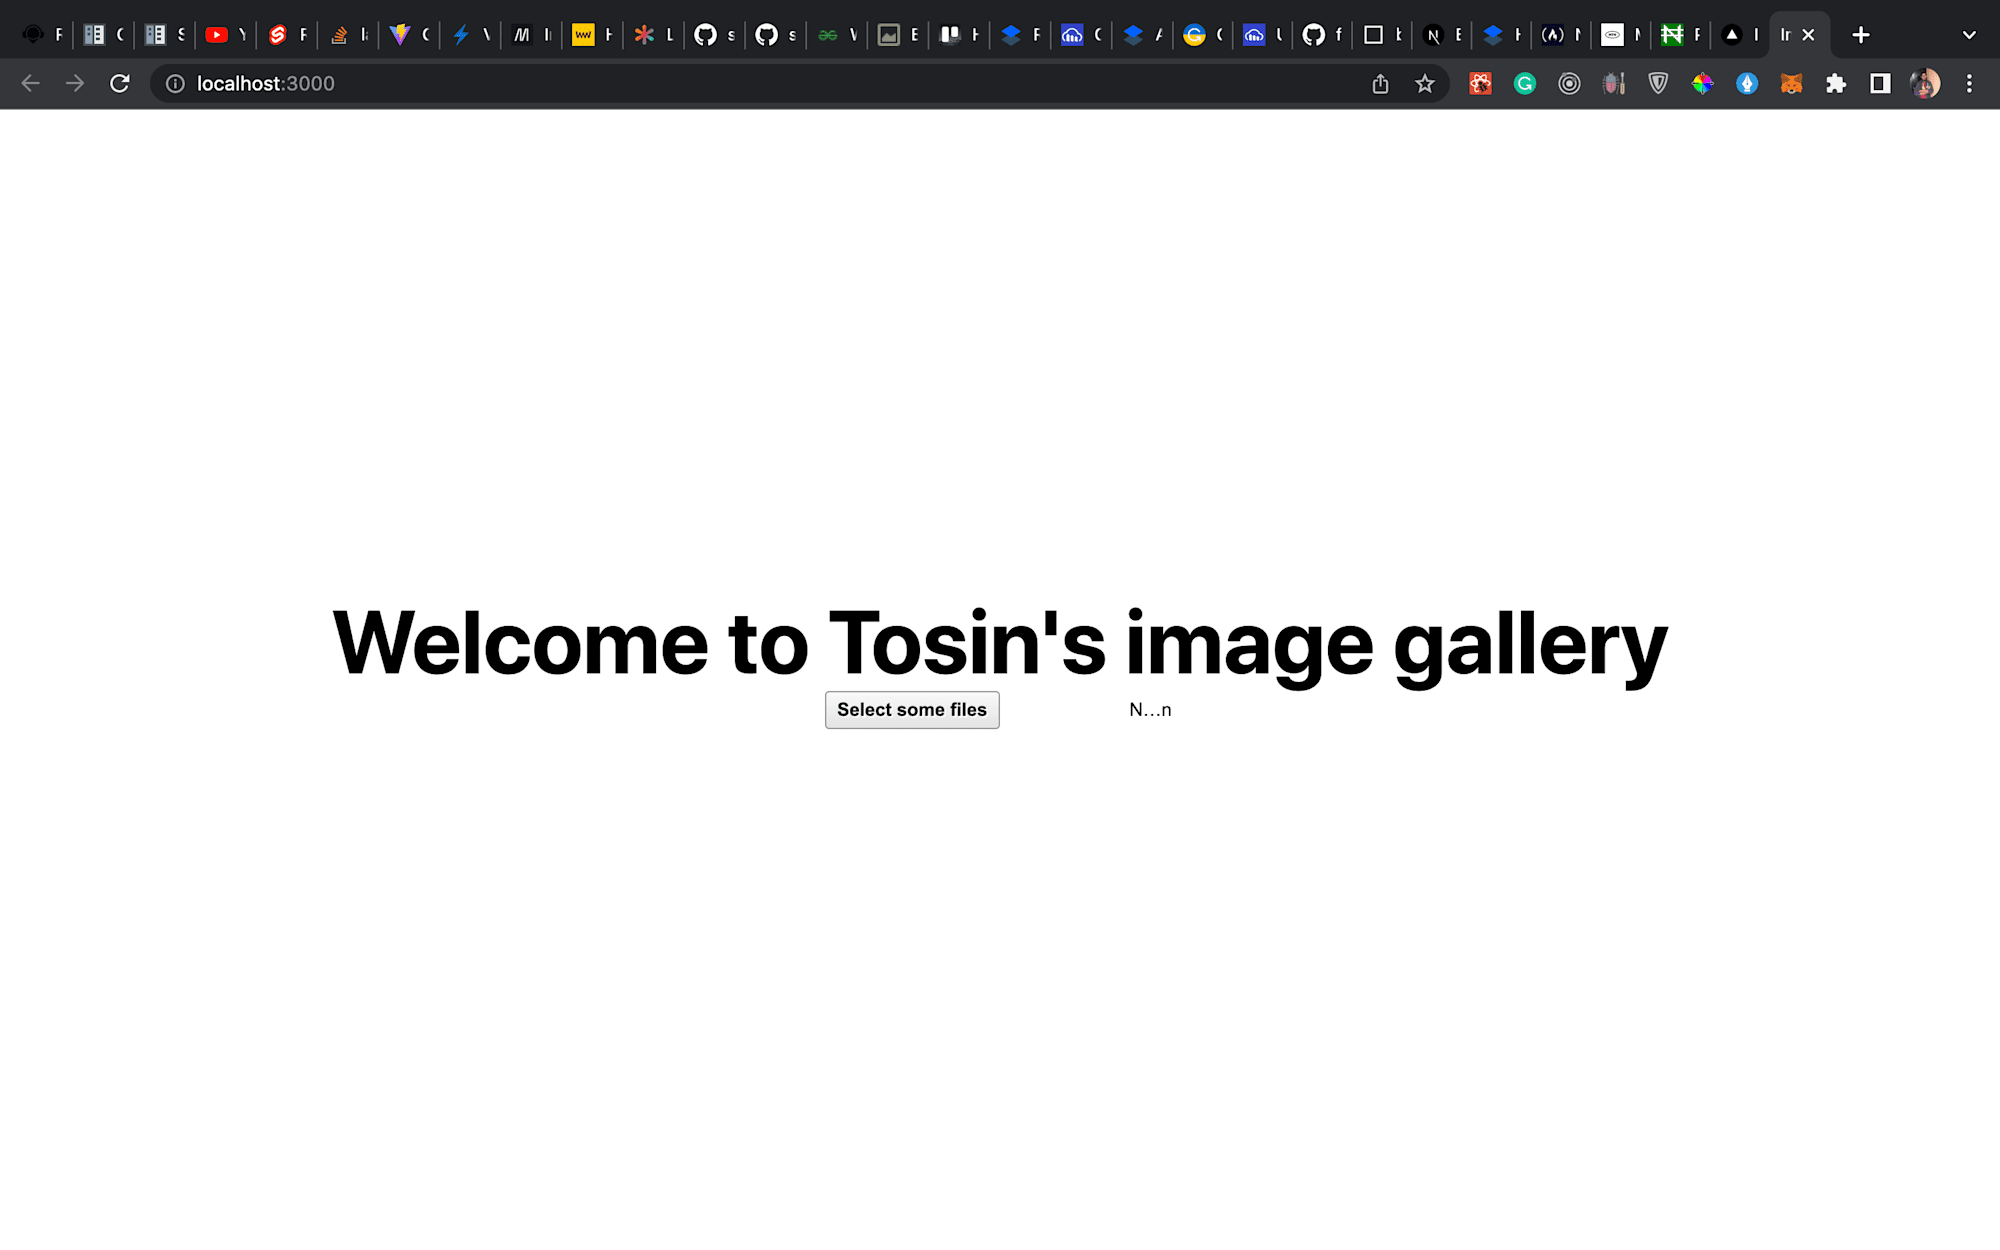
Code language: JavaScript (javascript)Now that we have finished setup, we’ll start up our app, and we should see our app like so:
We’ll click the button 'Select some file' to upload our images, and then our gallery will pop up as so
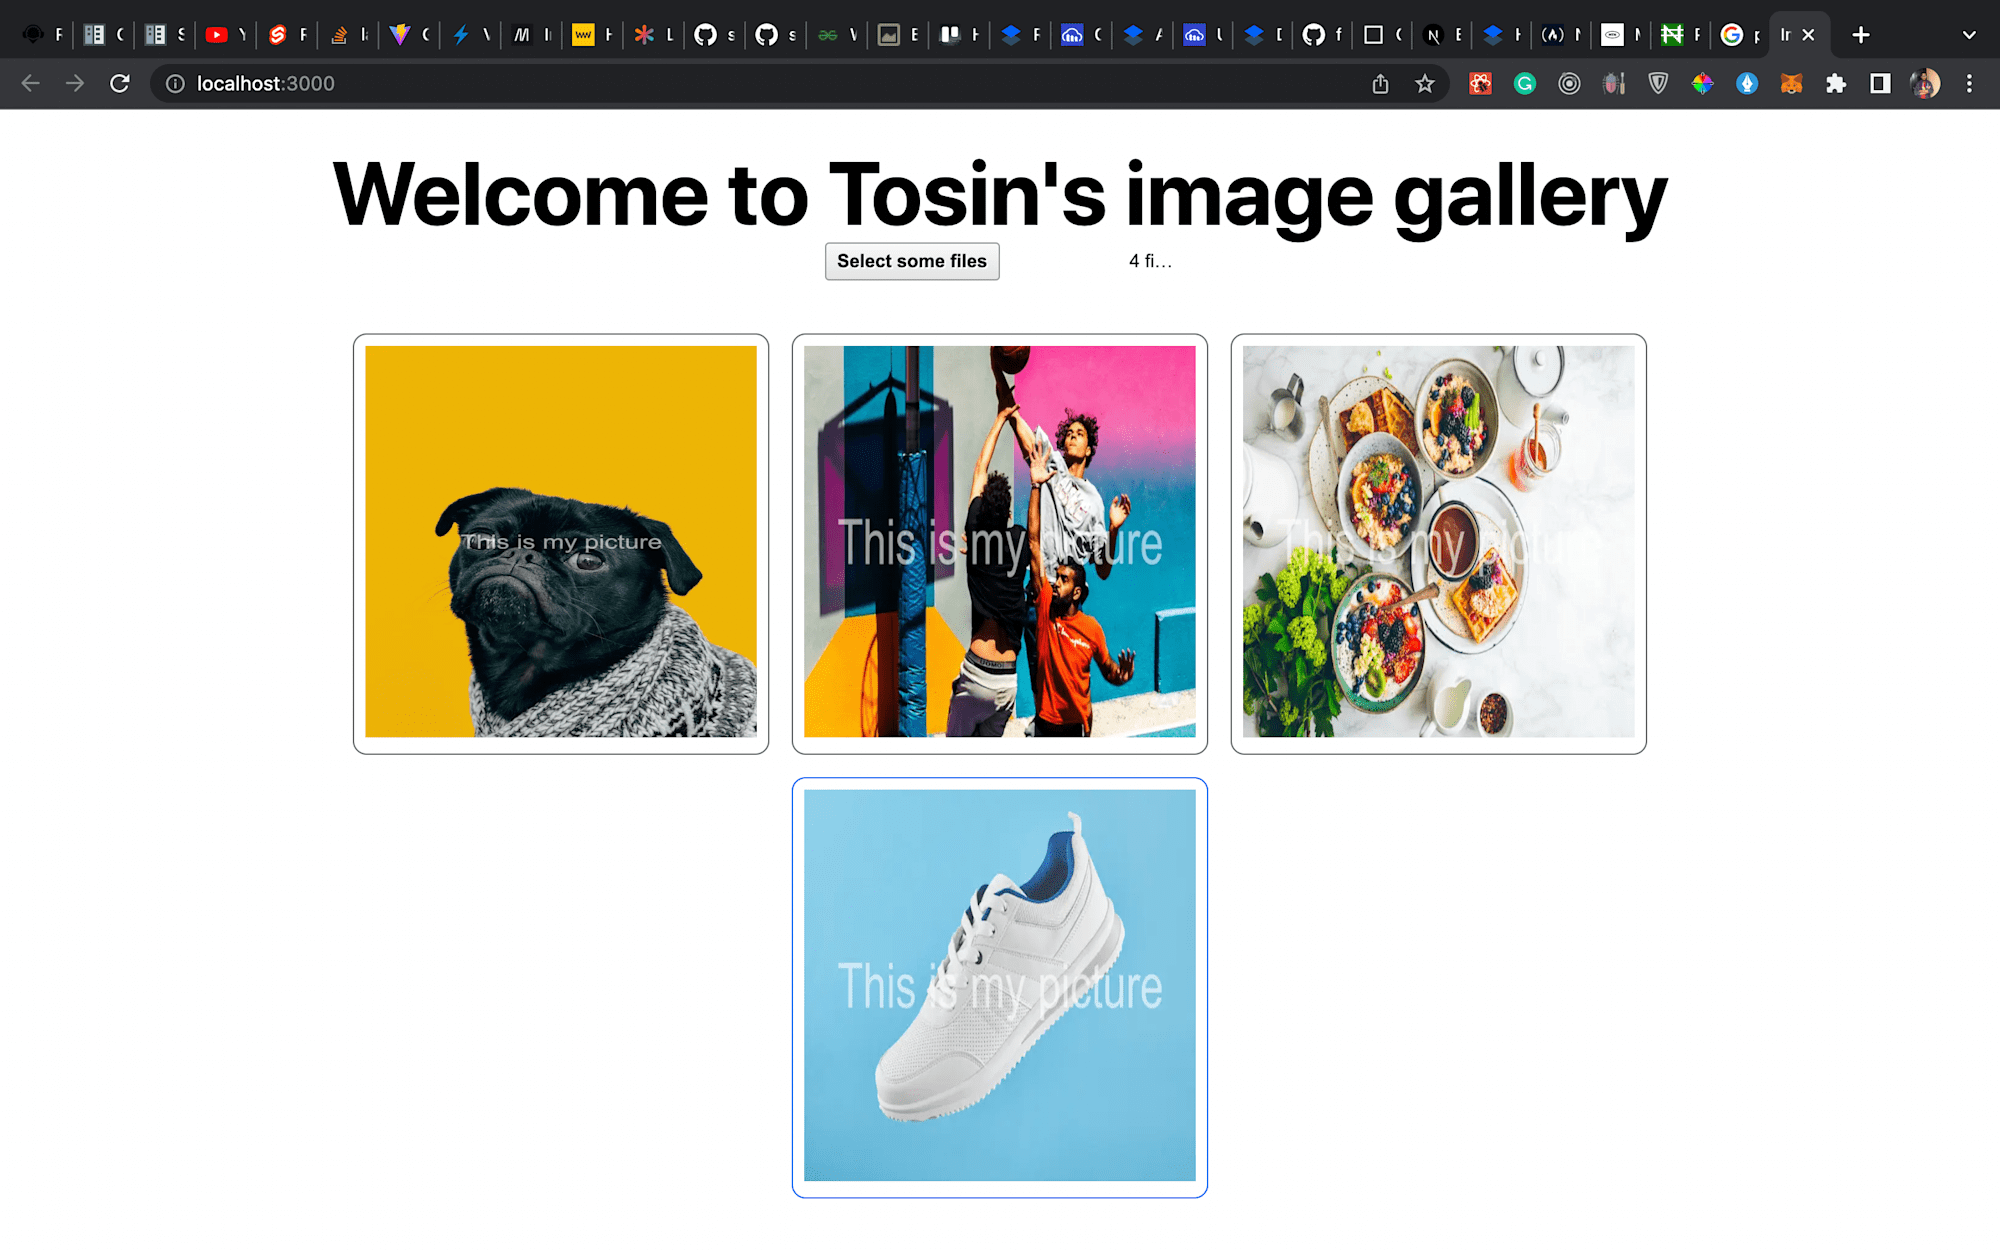
Note: if nothing shows up immediately after the images are selected, wait a bit. The delay is because of the image upload and transformation. Depending on the image size, it might take a few seconds. In the real world, we should put a loader to show the user that their operation is processing.
This article taught us how to add watermark transformations to our images using Cloudinary.