
Video advertisements are promotional content that plays before, during, or after streaming content. Video ads are currently the biggest name in the online marketplaces. They use movements and sounds to convey messages to users efficiently, leading to more significant and better user engagements.
In this article, we demonstrate how to build custom video ads and add some text with Next.js. These ads show up after a specific time as we stream our content.
Next.js is a React-based framework famous for server-side rendering (SSR), and it’s SEO friendly.
The following are required to follow along in this post:
- Basic knowledge of CSS, JavaScript, and React.
- An understanding of Next.js.
- Node.js installed on your computer.
We completed this project on CodeSandbox. Fork and run it to quickly get started.
Check out the complete source code on GitHub.
First, we will run the following command in our terminal and follow the prompts.
npx create-next-app video-ads
This creates a Next.js application inside a folder called video-ads. Navigate inside the folder and start the application with the following commands:
cd next-carousels # to navigate into the project directory
npm run dev # to run the dev server
The app will be live in our browser at http://localhost:3000.
In the pages directory, let’s clean up and update the index.js file with the following codes:
    // pages/index.js
    import { useState } from "react";
    import Head from "next/head";
    import styles from "../styles/Home.module.css";
    export default function Home() {
      const [ads, setAds] = useState(false);
      const playAds = () => {
        setTimeout(() => {
          setAds(true);
        }, 3000);
      };
      const endAds = () => {
        setAds(false);
      };
      return (
        <div className={styles.container}>
          <Head>
            <title>Video Ads Project </title>
          </Head>
          <main className={styles.main}>
            <video controls onPlay={playAds} onEnded={endAds}>
              <source src="https://res.cloudinary.com/kizmelvin/video/upload/v1647620339/Social_Media_-_1360_dkrwhg.mp4" />
            </video>
          </main>
        </div>
      );
    }
Code language: JavaScript (javascript)
In the code above, we:
- created a state variable,
ads, and set its initial value tofalse, - created a playAds function, which plays our video ad and ends it after a certain period of time,
- created an
endAdsfunction, which setsadsback to false, and - created our custom video and passed the functions.
The video source is a video we already host on cloudinary. Learn how to upload a video asset on cloudinary here.
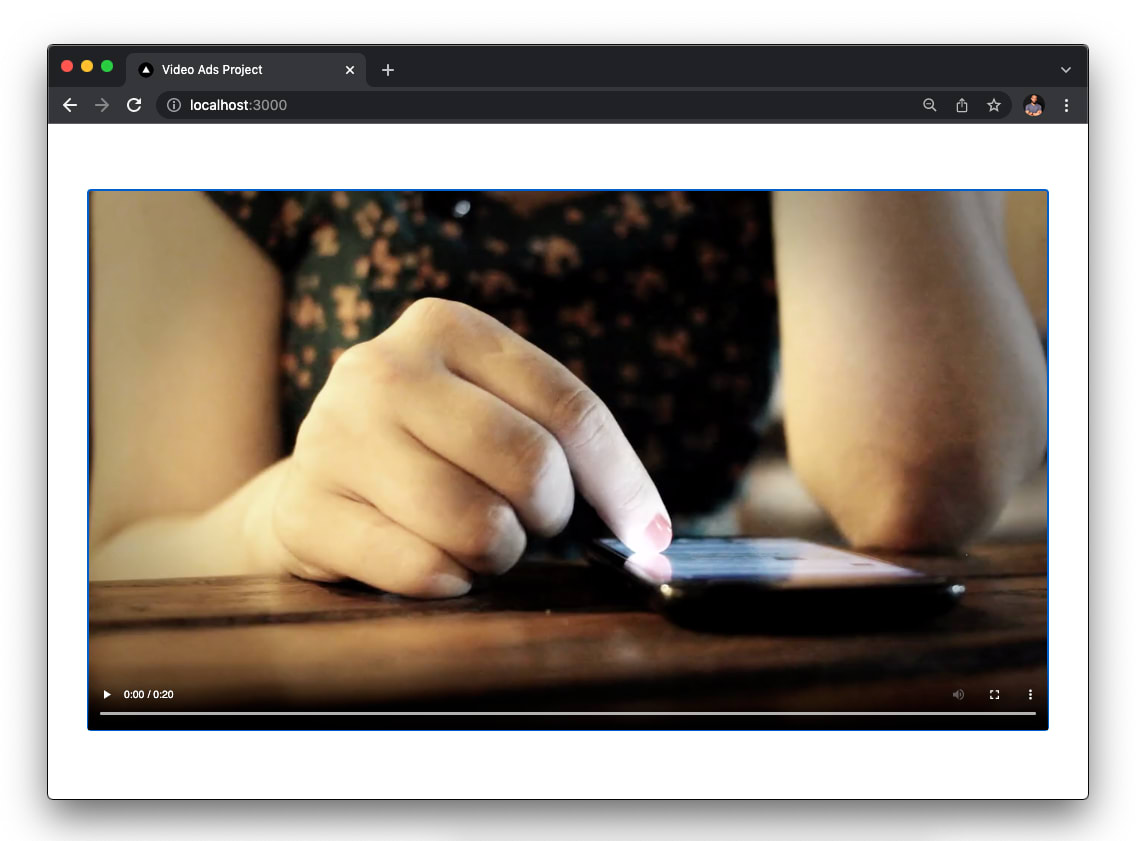
If we go to the browser, we will see a video player with a video in it.
In the root directory of our project, let’s create a folder called adsOverlay, and inside it, create a file Overlay.js with the following codes:
    // adsOverlay/Overlay.js
    import styles from "./Overlay.module.css";
    function Overlay({ setAds, endAds }) {
      return (
        <div className={styles.overlay}>
          <video controls={false} autoPlay muted onEnded={endAds} width={"100%"}>
            <source src="https://res.cloudinary.com/kizmelvin/video/upload/v1647619418/ads_zt8s6i.mov" />
          </video>
          <div className={styles.btn}>
            <div>
              <p>Make up to 20% profit when you invest with us</p>
              <a href="https://hackmamba.io/" target={"_blank"} rel="noreferrer">
                Get Started
              </a>
            </div>
            <div>
              <button onClick={() => setAds(false)}>X</button>
            </div>
          </div>
        </div>
      );
    }
    export default Overlay;
Code language: JavaScript (javascript)
In the above code, we:
- Imported styles from
"./Overlay.module.css". - Destructured
setAdsandendAdsand implemented our video ads.
Whenever we click the ‘X’ button, setAds() updates our ads state.
Next, we’ll import the Overlay.js component and render it inside the index.js file.
    //pages/index.js
    import { useState } from "react";
    import Head from "next/head";
    import styles from "../styles/Home.module.css";
    import Overlay from "../adsOverlay/Overlay";
    export default function Home() {
      const [ads, setAds] = useState(false);
      const playAds = () => {
        let timerId = setTimeout(() => {
          setAds(true);
          timerId = setTimeout(() => {
            setAds(false);
          }, 10000);
        }, 3000);
      };
      const endAds = () => {
        setAds(false);
      };
      return (
        <div className={styles.container}>
          <Head>
            <title>Video Ads Project</title>
          </Head>
          <main className={styles.main}>
            <video controls onPlay={playAds} onEnded={endAds} width={"100%"}>
              <source src="https://res.cloudinary.com/kizmelvin/video/upload/v1647620339/Social_Media_-_1360_dkrwhg.mp4" />
            </video>
            {ads && <Overlay setAds={setAds} endAds={endAds} />}
          </main>
        </div>
      );
    }
Code language: JavaScript (javascript)
In the code snippet above:
- We used conditional rendering to render the
Overlay.jscomponent. - We also nested
setTimeoutfunctions inside theplayAds()to play and remove the video ads after a certain time.
We would have a functional video player and a video in the browser.
Three seconds after a user starts streaming, the video ads play, and they end after ten seconds. The ‘X’ button closes the video ads when users click on it.
This post discussed implementing custom video ads in a Next.js application.
These resources could be helpful: