
It can be time-consuming to ensure that users have an excellent experience with images on the web.
With Gatsby, we can take advantage of the capabilities of gatsby-plugin-image to achieve the best performance with little setup and a complete toolkit. Gatsby Image plugin handles the challenging aspects of creating images in various sizes and formats.
This article will teach us how to dynamically access local images in Gatsby applications by using the GatsbyImage component of the gatsby-plugin-image module and GraphQL. GatsbyImage differing from StaticImage (in the same gatsby-plugin-image module) is used when the image source is variable or computed.
We completed this project in a Codesandbox. To get started quickly, fork the Codesandbox or run the project.
GitHub Repository:
https://github.com/Olanetsoft/dynamic-image-with-gatsby-plugin-image
The following are required to complete this post for a better understanding:
- Knowledge of JavaScript and React.js
- Knowledge of Gatsby.js is not required but preferred
- Gatsby CLI should be installed globally. Learn how to install it here
Gatsby is an open-source static site generator (SSG). Gatsby uses efficient pre-configuration for rapid page loads, code splitting, server-side rendering, intelligent image loading, asset optimization, and data prefetching.
Gatsby uses webpack, GraphQL and React.js to build and render high-performance web apps. Gatsby can also be used to create progressive web apps that adhere to current web standards and are designed for speed and security.
To create a new project, use the gatsby new <project name> command to scaffold a new project.
This command creates a new Gatsby project for us.
To start our application, we run the following command.
    cd <project name>
    npm run devevelop
Code language: HTML, XML (xml)
Once the app is initialized, and the dependencies are installed, we will see a message with instructions for navigating to our site and running it locally.
Gatsby will start a hot-reloading development environment accessible by default at http://localhost:8000
In the previous step, we installed and started our application, and now we can use the GatsbyImage component in our Gatsby site like we would use an <img> element in HTML. gatsby-plugin-image ships with the default Gatsby starter we installed.
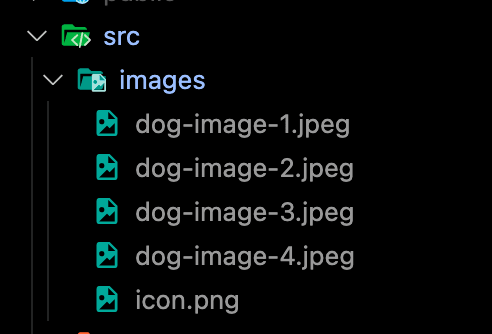
We download sample images to our computer and save it inside src/images in our project folder as shown below:
Next, to create a blank home page with a title, we update pages/index.js file with the following code snippet:
    import * as React from "react";
    import { GatsbyImage, getImage } from "gatsby-plugin-image";
    import { graphql } from "gatsby";

    // styles
    const pageStyles = {
      display: "flex",
      flexDirection: "column",
      alignItems: "center",
      justifyContent: "center",
    };

    // title
    const titleStyles = {
      fontSize: "2rem",
      fontWeight: "bold",
      marginBottom: "1rem",
    };

    // name
    const nameStyle = {
      fontSize: "1.5rem",
      fontWeight: "bold",
      marginBottom: "1rem",
    };

    // markup
    const IndexPage = (props) => {
      return (
        <div style={pageStyles}>
          <h1 style={titleStyles}>Using dynamic image in gatsby-plugin-image</h1>
         //...
        </div>
      );
    };

    export default IndexPage;
Code language: JavaScript (javascript)
We should have something similar to this below:
When we rebuild our application, the images we added locally are included in Gatsby’s data layer and we can retrieve them using Graphql. Subsequently, we will use the GatsbyImage component to dynamically render these images.
Using sharp, Gatsby creates a childImageSharp node in it’s Graphql data layer for all local image. We will query the image data from this node and depending on our data source, the actual file node structure may differ. In the page query of src/pages/index.js we have:
    query {
        photos: allFile(
          sort: { fields: base, order: ASC }
          filter: { extension: { regex: "/(jpeg)/" } }
        ) {
          edges {
            node {
              id
              base
              childImageSharp {
                gatsbyImageData(
                  width: 600
                )
                fluid {
                  ...GatsbyImageSharpFluid_withWebp
                }
              }
            }
          }
        }
      }
Code language: CSS (css)By providing arguments to the gatsbyImageData resolver, we can customize the image. When lazy loading, we can additionally adjust the size, layout, and placeholder type used.
    query {
        photos: allFile(
          sort: { fields: base, order: ASC }
          filter: { extension: { regex: "/(jpeg)/" } }
        ) {
          edges {
            node {
              id
              base
              childImageSharp {
                gatsbyImageData(
                  placeholder: DOMINANT_COLOR
                  height: 400
                  formats: AUTO
                  width: 600
                )
                fluid {
                  ...GatsbyImageSharpFluid_withWebp
                }
              }
            }
          }
        }
      }
Code language: CSS (css)
Advanced image processing techniques are also available. The API documentation contains a complete list of options.
We will update src/pages/index.js with the following code snippet:
    import * as React from "react";
    import { GatsbyImage, getImage } from "gatsby-plugin-image";
    import { graphql } from "gatsby";

    //...

    // markup
    const IndexPage = (props) => {
      return (
        <div style={pageStyles}>
          <h1 style={titleStyles}>Using dynamic image in gatsby-plugin-image</h1>
          {props.data.photos.edges.map((img) => (
            <div key={img.node.id}>
              <GatsbyImage
                fluid={img.node.childImageSharp.fluid}
                alt={img.node.base.split("-").join(" ").split(".")[0]}
                image={getImage(img.node)}
              />
              <h2 style={nameStyle}>
                {img.node.base.charAt(0).toUpperCase() +
                  img.node.base.substr(1).split("-").join(" ").split(".")[0]}
              </h2>
            </div>
          ))}
        </div>
      );
    };

    export const pageQuery = graphql`
      query {
        photos: allFile(
          sort: { fields: base, order: ASC }
          filter: { extension: { regex: "/(jpeg)/" } }
        ) {
          edges {
            node {
              id
              base
              childImageSharp {
                gatsbyImageData(
                  placeholder: DOMINANT_COLOR
                  height: 400
                  formats: AUTO
                  width: 600
                )
                fluid {
                  ...GatsbyImageSharpFluid_withWebp
                }
              }
            }
          }
        }
      }
    `;
    export default IndexPage;
Code language: JavaScript (javascript)
In the code snippet above,
- To display the image on the page, we utilize the
GatsbyImagecomponent. - We used the getImage() function as an optional utility to make the code cleaner.
- The
GatsbyImagecomponent accepts a File provided viagetImage()and outputsfile.childImageSharp.gatsbyImageData.
Testing our application we should have something similar to what is shown in the screenshot below:
https://www.loom.com/share/8ce45062f15c44ad9ae0f89d66bf0724
With our GatsbyImage instance, we can customize placeholders, formats, transformations, quality, height etc.
Let us update the page query in src/pages/index.js to the following:
//...
// markup
const IndexPage = (props) => {
return (
<div style={pageStyles}>
// ...
</div>
);
};
export const pageQuery = graphql`
query {
photos: allFile(
sort: { fields: base, order: ASC }
filter: { extension: { regex: "/(jpeg)/" } }
) {
edges {
node {
id
base
childImageSharp {
gatsbyImageData(
placeholder: BLURRED
height: 400
formats: AUTO
width: 600
quality: 70 # 50 by default
transformOptions: { grayscale: true }
)
fluid {
...GatsbyImageSharpFluid_withWebp
}
}
}
}
}
}
`;
export default IndexPage;
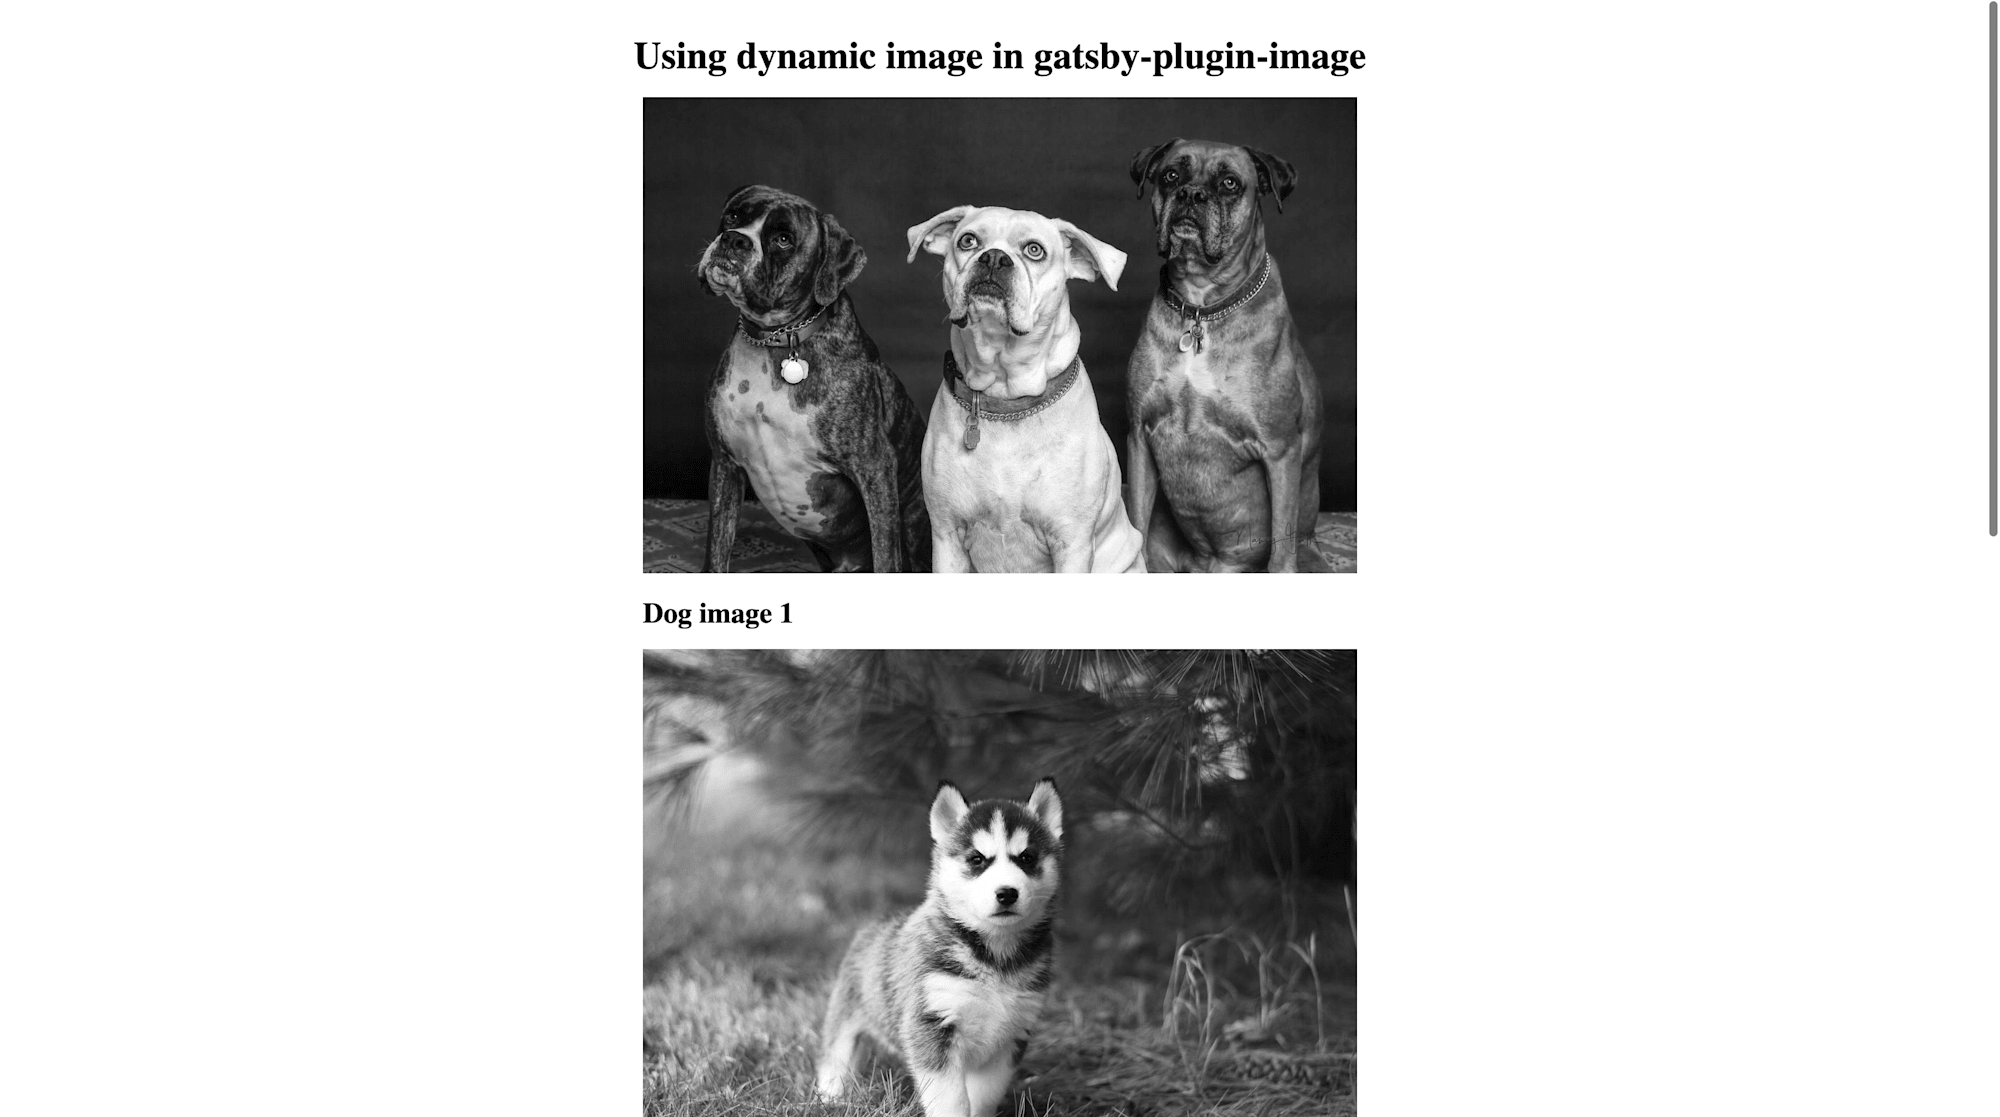
Code language: JavaScript (javascript)The following is an example of what our application should look like:
https://www.loom.com/share/b1967767a22e4189bf5288b644dcca35
In this article, we learned how to use the GatsbyImage component of the gatsby-plugin-image module. We also learned how to apply optimizations and transformations to the rendered image.