It can be challenging to manually add responsive images to our site while retaining excellent performance rankings. The Gatsby Image plugin takes care of the difficult elements of creating images in a variety of sizes and formats.
This article will discuss how to use hosted and local images in Gatsby applications using the StaticImage component of the gatsby-plugin-image module.
This project was completed in a Codesandbox. To get started quickly, fork the Codesandbox or run the project.
GitHub Repository:
https://github.com/Olanetsoft/static-image-with-gatsby-plugin-image
- The knowledge of JavaScript and React.js
- The knowledge of Gatsby.js is not required but preferred.
- Gatsby CLI should be installed globally. Learn how to install it here.
Gatsby is an open-source static site generator (SSG). Gatsby uses efficient pre-configuration for rapid page loads, code splitting, server-side rendering, intelligent image loading, asset optimization, and data prefetching.
Gatsby uses webpack, GraphQL and React.js to build and render high-performance web apps. Gatsby can also create progressive web apps that adhere to the current web standards and are designed for speed and security.
Using the native HTML’s img tag to render images on a web page requires a lot of logic to serve an optimized version.
However, the framework’s approach to handling and optimizing images makes Gatsby.js webpages lightning fast. The gatsby-plugin-image component is a React component that works with Gatsby.js’ native image processing capabilities, which are powered by GraphQL and gatsby-plugin-sharp.
To create a new project, we use the gatsby new <project name> command to scaffold a new project.
To start our application, we run the following command.
    cd <project name>
    npm run develop
Code language: HTML, XML (xml)
Once the app is initialized, and the dependencies installed, we see instructions for navigating to our site and running it locally.
Gatsby will start a hot-reloading development environment accessible by default at http://localhost:8000
For our local development server to pick up the new modifications after changing our
gatsby-config.jsfile, we must restart it. It will sometimes restart automatically, but if we see any unusual behaviour, we will attempt restarting it manually.
In the previous step, we installed and configured the gatsby-plugin-image plugin that ships with the default gatsby setup. Now we can use the StaticImage component in our Gatsby site like we would use an <img> element in HTML.
We will update pages/index.js file with the following code snippet:
    import * as React from "react"
    import { StaticImage } from "gatsby-plugin-image"
    import Layout from "../components/layout"
    import Seo from "../components/seo"

    const IndexPage = () => (
      <Layout>
        <Seo title="Home" />
        <h1>A Demo Using static image in Gatsby-plugin-image</h1>
        <h3>StaticImage plugin using photo from local filesystem</h3>
         // ...
      </Layout>
    )
    export default IndexPage
Code language: JavaScript (javascript)
We will render our StaticImage plugin from gatsby-plugin-image module. Since we will be rendering images from our local file system, let us download a photo to our computer and save it in our project folder.
We’ll place it in the src/images directory to keep everything tidy.
Before we proceed to render the StaticImage component, it expects the following props:
-
src: The URL to the image we want to load. (This is the same as what you put in the src attribute of an HTML element.) -
placeholder: Style of the temporary image shown while the full image loads. -
alt: alt text to describe the image. It’s also used by screen readers or a problem loading the image. -
width: The width of the image. -
height: The height of the image. -
quality: Setting the quality of the image. -
transformOptions: Options to sharpen, control cropping, and other image manipulations. -
formats: File formats of the images generated.
There are also advanced image processing options available. We can find the complete list of options in the API docs.
Let us update the pages/index.js file with the following code snippet:
    // ...

    const IndexPage = () => (
      <Layout>
        <Seo title="Home" />
        <h1>A Demo Using static image in Gatsby-plugin-image</h1>
        <h3>StaticImage plugin using photo from local filesystem</h3>
        <StaticImage
          src="../images/beautiful-dog.jpeg"
          placeholder="blurred"
          width={600}
          height={600}
          formats={["auto", "webp", "avif"]}
          alt="A Dog Image"
          transformOptions={{ fit: "cover", cropFocus: "attention" }}
        />
      </Layout>
    )
    export default IndexPage
Code language: JavaScript (javascript)
In the code snippet above, we set the src prop to our local file image added earlier in the src/images. Our application should look similar to what we have below.

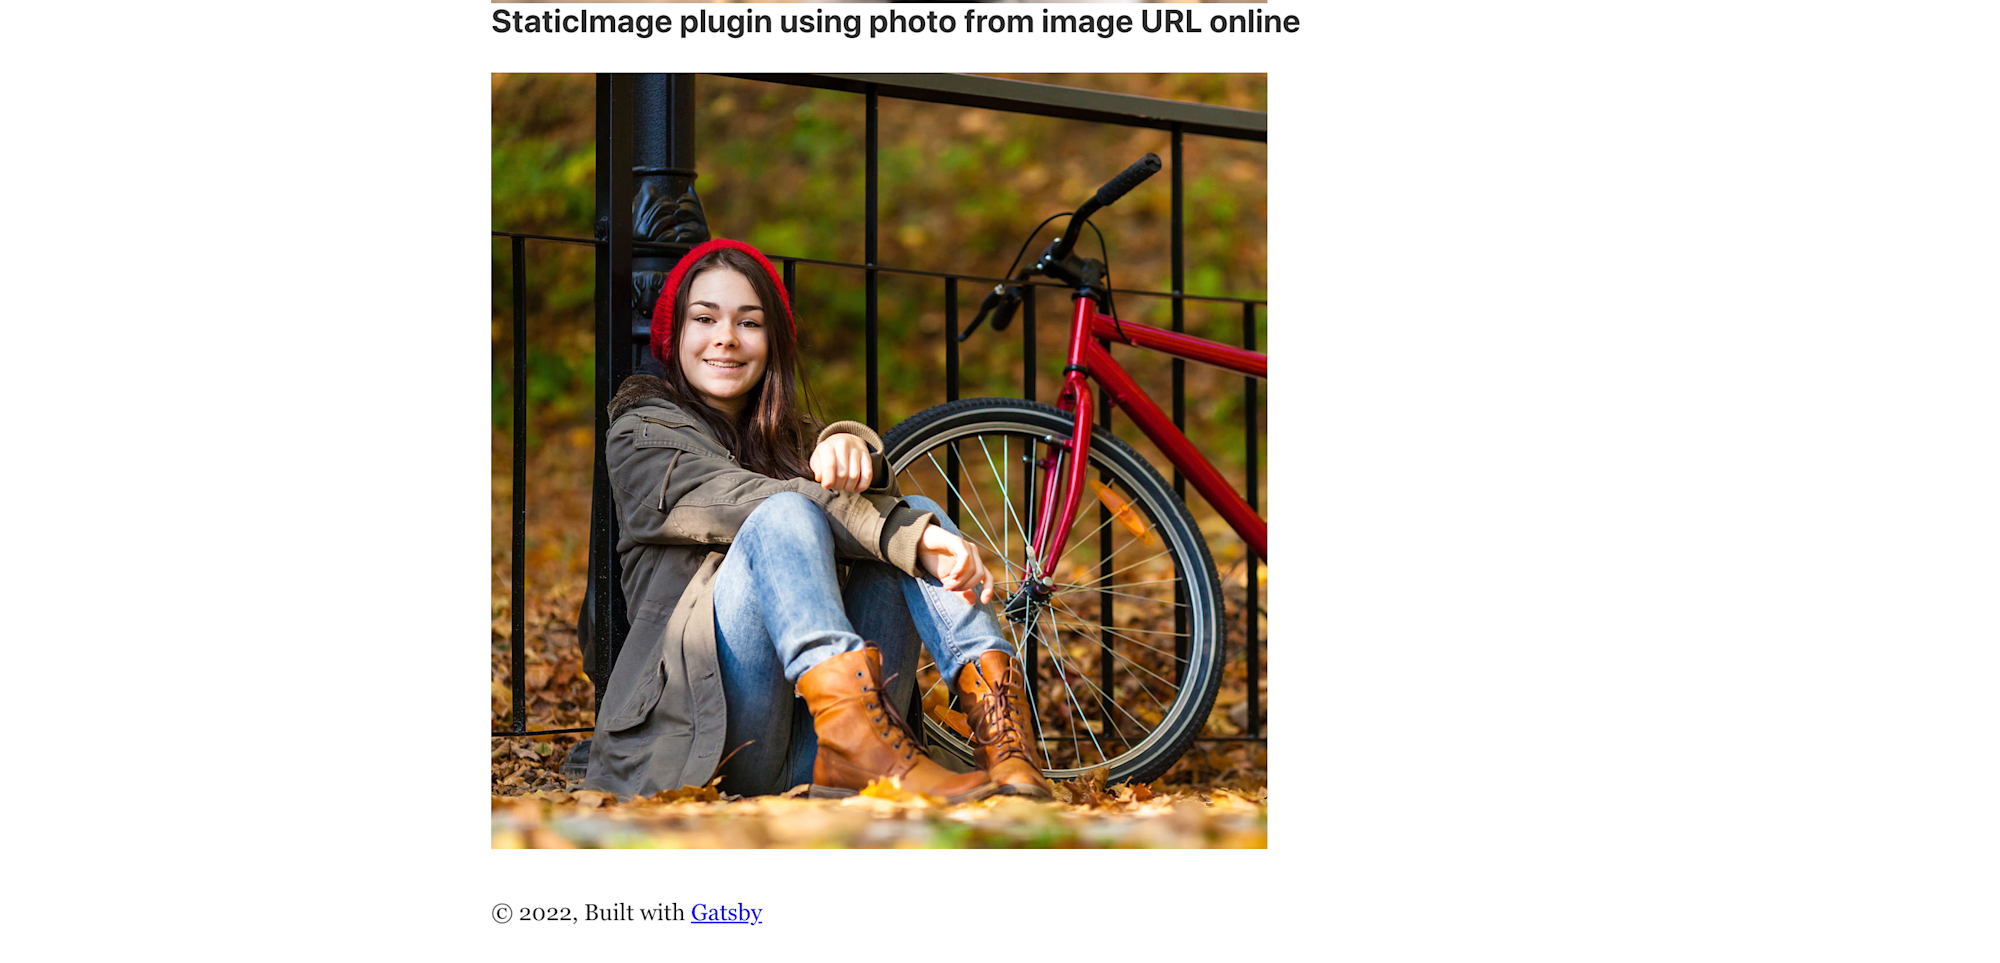
Next, we will change the src of our image to use a Cloudinary hosted image URL. We will add quality props to override the default format-specific options.
We will update pages/index.js file with the following code snippet:
    // ...

    const IndexPage = () => (
      <Layout>
        <Seo title="Home" />

        // ...

        <h3>StaticImage plugin using photo from image URL online</h3>
        <StaticImage
          src="https://res.cloudinary.com/olanetsoft/image/upload/v1554336410/samples/bike.jpg"
          placeholder="blurred"
          width={600}
          height={600}
          formats={["auto", "webp", "avif"]}
          alt="A Dog Image"
          transformOptions={{ fit: "cover", cropFocus: "attention" }}
          quality={90}
        />
      </Layout>
    )
    export default IndexPage
Code language: JavaScript (javascript)
Testing our application

In this article, we learned how to use the StaticImage component of the gatsby-plugin-image module. We also learned how to render hosted and local image files.
- [Static Image API docs](http://using the StaticImage component of the gatsby-plugin-image module.)
- Gatsby.js
