
For several years now, Cloudinary has been excelling in the field of smart cropping — making sure important parts of images and videos are kept when resizing and cropping them automatically, and at scale.
Cloudinary Smart Crop uses AI to analyze each image, decide what the most prominent and relevant parts of the image are, and make sure that the cropped image preserves its essential elements for the given dimensions.
You can use Cloudinary Smart Crop and get full access to all of Cloudinary for free and for life. Sign up now to start using it!
There are many ways you can crop images using Cloudinary to suit your page design. “Gravity” is something you can specify when cropping images in order to determine what to focus on. If you don’t specify a gravity, the center of the image will always be the focus. When cropping images automatically and at scale, you won’t know what’s in the image, so keeping the center of the image won’t always work.

Original image

Cropping without gravity
That’s why specifying a gravity is helpful. If you’re only interested in the faces in your images, you can specify faces as the gravity (g_faces in URLs) and Cloudinary’s algorithms will try to keep them. Or, if you’re interested in a particular object, you can use the Cloudinary AI Content Analysis add-on to specify the object as the gravity.

Focus on faces

Focus on the bag
If you don’t have a preference for what to keep, you can simply use the auto gravity transformation parameter (g_auto in URLs), and rely on AI to focus on the best area of interest.

Auto gravity

Auto gravity
So, if auto gravity focuses on the most interesting part of the image automatically, then where does auto crop fit in?
The answer lies in the type of crop that we use with auto gravity. Auto gravity points to the main area of interest, but the type of crop determines how much of that area to keep.
The crop, fill, and thumbnail cropping modes each have their limitations:
- The crop cropping mode (
c_cropin URLs) is dependent on the resolution of the image and the size of the object in the image. There’s no scaling involved, so the same cropping dimensions on different resolutions of the same image could either cut out too much of the object, or give too much background. It’s useful for manual coordinates, but not automation. - The fill cropping mode (
c_fillin URLs) scales the image, but only as much as needed to fill both of the specified dimensions, so it doesn’t always zoom in enough on the important parts. - The thumbnail cropping mode (
c_thumbin URLs) is often perceived as over-aggressive and is also dependent on the image resolution.
 c_crop
 c_fill
 c_thumb
The auto cropping mode (c_auto in URLs) works out the best crop for the specified dimensions, taking into account over 80% of the salient parts of an image. Here it is in action, with a 3:2 aspect ratio, 200-pixel height crop:

Original

c_auto
Auto crop is based on the thumbnail crop in that it scales the image to focus on the area of interest. However, the thumbnail crop can produce unreliable results and depends on the image resolution.
A number of fixes were made to the algorithm used for the thumbnail crop, resulting in the first version of auto crop. When tested, the new algorithm was found to work well for automatic gravity together with a specified object g_auto:<object>, but not auto gravity by itself. The reason for this was that the auto gravity algorithm points to a small salient area of the image, but doesn’t take into account the whole object.
The standard ‘gaze-prediction’ algorithm, used by auto gravity, pinpoints certain areas and would indicate just the golfer’s head in this image:

However, we need the whole foreground to be taken into account:

Therefore, we used a new model to find the foreground object and mark this as the most salient part of the image. This new algorithm for g_auto is unique to c_auto and allows it to hone in on the main subject. See the difference between c_fill and c_auto when cropping to a new aspect ratio of 2:1:

Fill crop

Auto crop
- The fill crop,
c_fill,g_auto, focuses on the golfer’s head and centers that vertically as much as possible within the image. - The auto crop,
c_auto,g_auto, focuses on the whole golfer.
This time, we’ll try a different aspect ratio and compare to c_thumb:

Thumbnail crop

Auto crop
You can see how the thumbnail crop can be unpredictable, whereas the auto crop focuses on the golfer.
If there are multiple objects in the image, the auto crop will focus on the largest objects, whereas the thumbnail crop will try to include as many objects as possible. Let’s try cropping the following picture of a crowd to a 2:3 aspect ratio.
Here’s the original image:

And here you can see the difference between the thumbnail crop and auto crop:

Thumbnail crop

Auto crop
If there isn’t a clear object to focus on, like in images of landscapes, it’s better to stick to the fill crop for the moment. More work is being done in this area, so watch this space!

Fill crop

Auto crop
Auto crop must be used with auto gravity, or object-specific gravity and at least one of width, height, and aspect ratio.
If your web design calls for an image that’s a significantly different aspect ratio than your image, you may be able to get a better crop by adding padding. This is where c_auto_pad can be highly beneficial.
For example, take the picture of a man holding a camera:
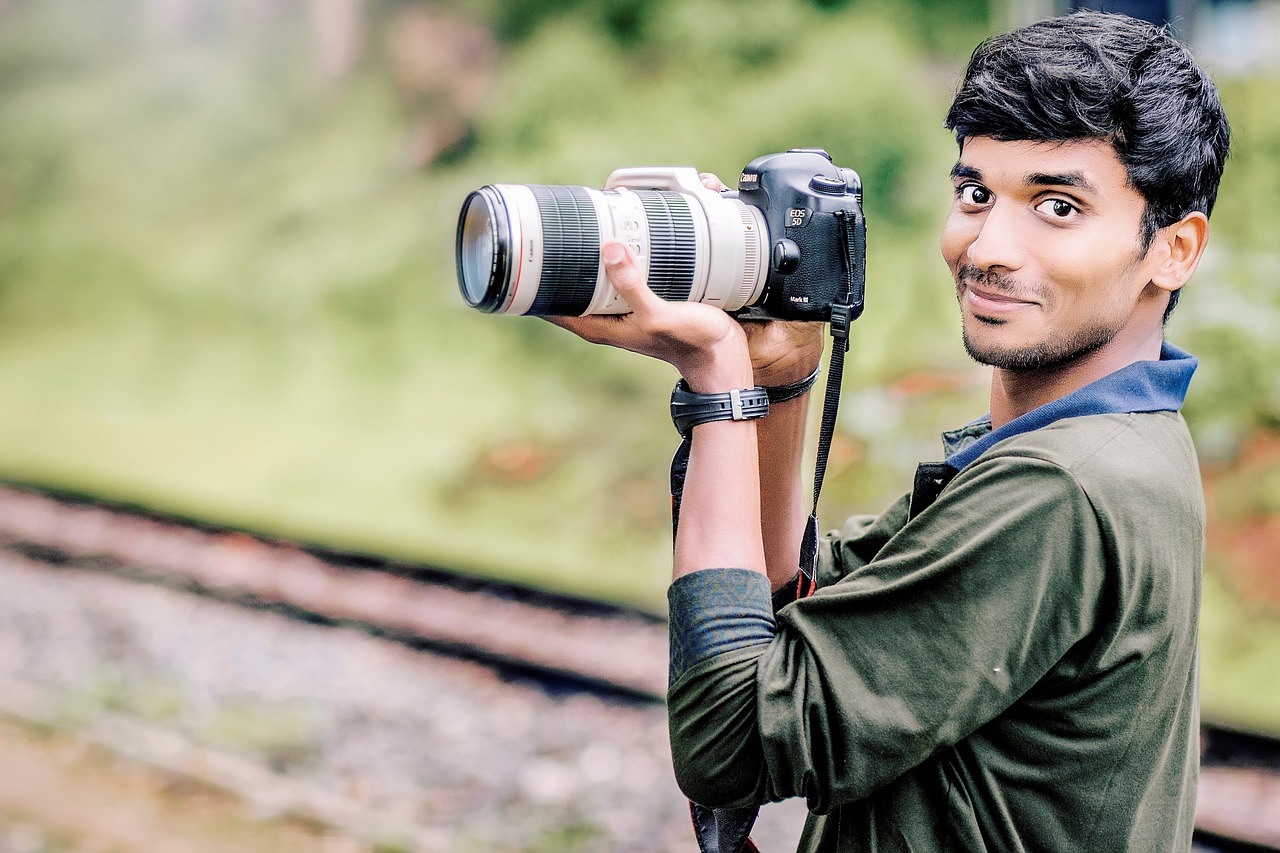
if you need to fill a 1:3 aspect ratio space with a picture of the camera, then c_auto,g_auto:camera would miss a significant amount of the camera:

However, if you automatically pad it, then you can keep all the camera in view:

In this case, the color for the padding is also automatically determined with b_auto, but you can choose any color you like.
Or, you can even make use of AI generated content for padding with b_gen_fill:

c_auto is the latest in our collection of automatic transformations. Use it together with g_auto, f_auto, and q_auto and you’ll never have to manually adjust your images again!
Remember that for the ease of coding these transformations, you can use any of our SDKs, depending on your environment, be that JavaScript-based frameworks, such as React and Vue, backend languages such as PHP and Python, or even mobile frameworks, such as Kotlin or Flutter.
Learn more about automatic cropping and optimizations, along with a whole host of other transformations, in the Programmable Media docs. And check out our DevHints video for a summary on c_auto features.
And if you haven’t yet signed up to Cloudinary, sign up for free now and see the magic for yourself!


