
Custom bumpers at the beginning of videos can create a consistent experience that makes your content feel more professional and branded. In this tutorial, we’ll learn how to use Cloudinary to insert a bumper into any video. Then, we’ll display the generated video in a React component.
First, upload the videos to Cloudinary. The fastest way to do this is by using the Cloudinary console.
For this tutorial, we’ll use the following video as our bumper video:
https://res.cloudinary.com/jlengstorf/video/upload/mediajams/disappointed-coffee.mp4
For the full video, we’ll use this one:
https://res.cloudinary.com/jlengstorf/video/upload/mediajams/deploy-to-netlify.mp4
Once we’re finished, we’ll combine these two videos into a single video!
Before we add the logo, let’s create a React component that displays our Cloudinary video.
function Video({ cloudName, videoId, bumperId }) {
  // set up a Cloudinary URL to use your cloud name and display video
  let videoSource = `https://res.cloudinary.com/${cloudName}/video/upload`;

  // automatically adjust the quality, and set the video to 600px wide
  videoSource += "/q_auto,w_600";

  // set the public ID to display the video as an MP4
  videoSource += `/${videoId}.mp4`;

  // add the full URL to a standard HTML5 video element
  return (
    <video controls>
      <source src={videoSource} type="video/mp4" />
    </video>
  );
}
Code language: JavaScript (javascript)
The component, which we’ve named Video, accepts three values as props: cloudName, videoId, and bumperId.
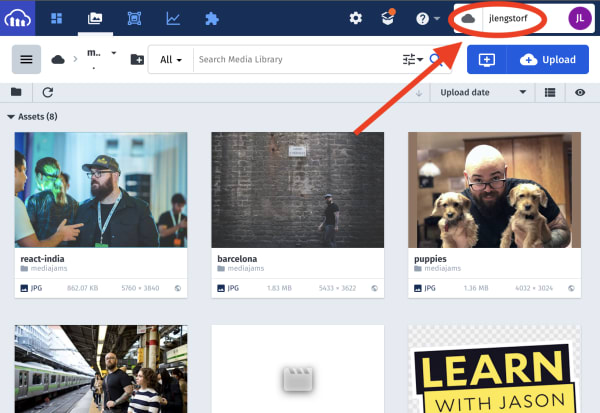
The cloudName should contain our Cloudinary cloud name, which is displayed at the top-right of the console.
The videoId will contain the public ID of the video asset, which is the name of the file on Cloudinary, including any folders. Using our example video from above, the public ID is mediajams/deploy-to-netlify.
Finally, the bumperId will contain the public ID of the bumper video. For our bumper above, the public ID is mediajams/disappointed-coffee.
To set up our video, we build a Cloudinary URL that contains:
- The public Cloudinary URL,
https://res.cloudinary.com/ - Our cloud name
- The asset type,
/video/upload/ - Transformations to adjust the quality automatically and resize to 600px wide:
q_auto,w_600 - The public ID of our video
- A file type of MP4 using a file extension
Once we have the URL, we can add that as the src value in a video element, and return that from our component.
Inserting the bumper requires what’s known as splicing video. The splice flag tells Cloudinary to concatenate the videos instead of laying them over the top of each other, which is the default behavior for video overlays.
Setting the start offset transformation to ‘0’ moves the bumper to the beginning of the video (by default it would be added to the end), and setting the crop to fill and the width to 600px ensures that the bumper is the same size as the video it’s being added to.
  function Video({ cloudName, videoId, bumperId }) {
    // set up a Cloudinary URL to use your cloud name and display video
    let videoSource = `https://res.cloudinary.com/${cloudName}/video/upload`;

    // automatically adjust the quality, and set the video to 600px wide
    videoSource += "/q_auto,w_600";

+   // for overlays, replace folder slashes in public IDs with colons
+   const bumper = bumperId.replace("/", ":");
+
+   // splice in the bumper video at the beginning
+   // set it to the same width, and make sure it fills the space
+   videoSource += `/l_video:${bumper},c_fill,w_600,fl_splice,so_0`;

    // set the public ID to display the video as an MP4
    videoSource += `/${videoId}.mp4`;

    // add the full URL to a standard HTML5 video element
    return (
      <video controls>
        <source src={videoSource} type="video/mp4" />
      </video>
    );
  }
Code language: JavaScript (javascript)With our Video component ready to insert bumpers, we can use it!
In any React app, add the component like this:
function App() {
  return (
    <main>
      <h1>Video Bumpers With React & Cloudinary!</h1>
      <Video
        cloudName="jlengstorf"
        bumperId="mediajams/disappointed-coffee"
        videoId="mediajams/deploy-to-netlify"
      />
    </main>
  );
}
Code language: JavaScript (javascript)
The video that renders on-screen has a short bumper inserted at the beginning, allowing us to quickly level up the branding of any video we display on our site!