
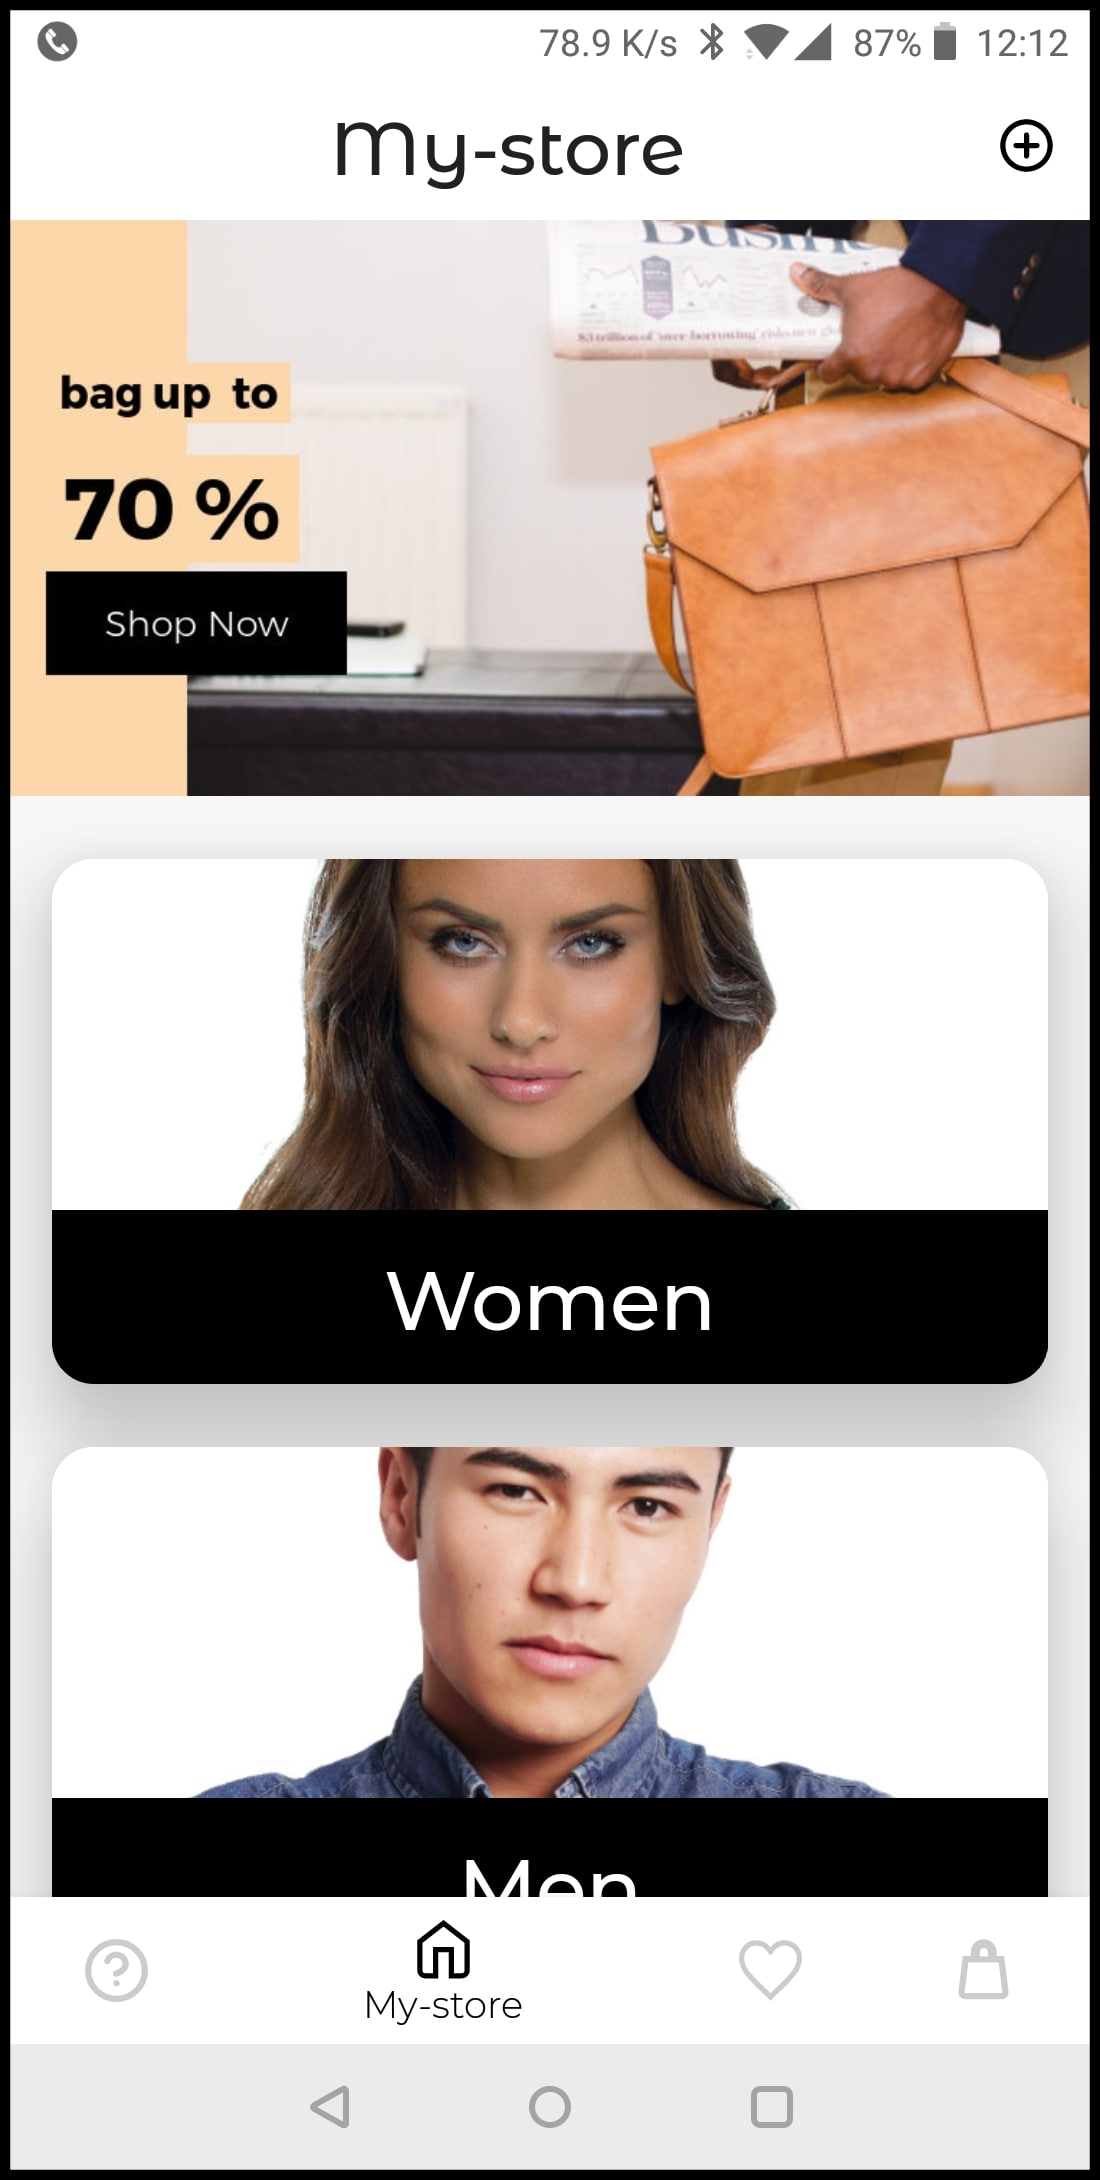
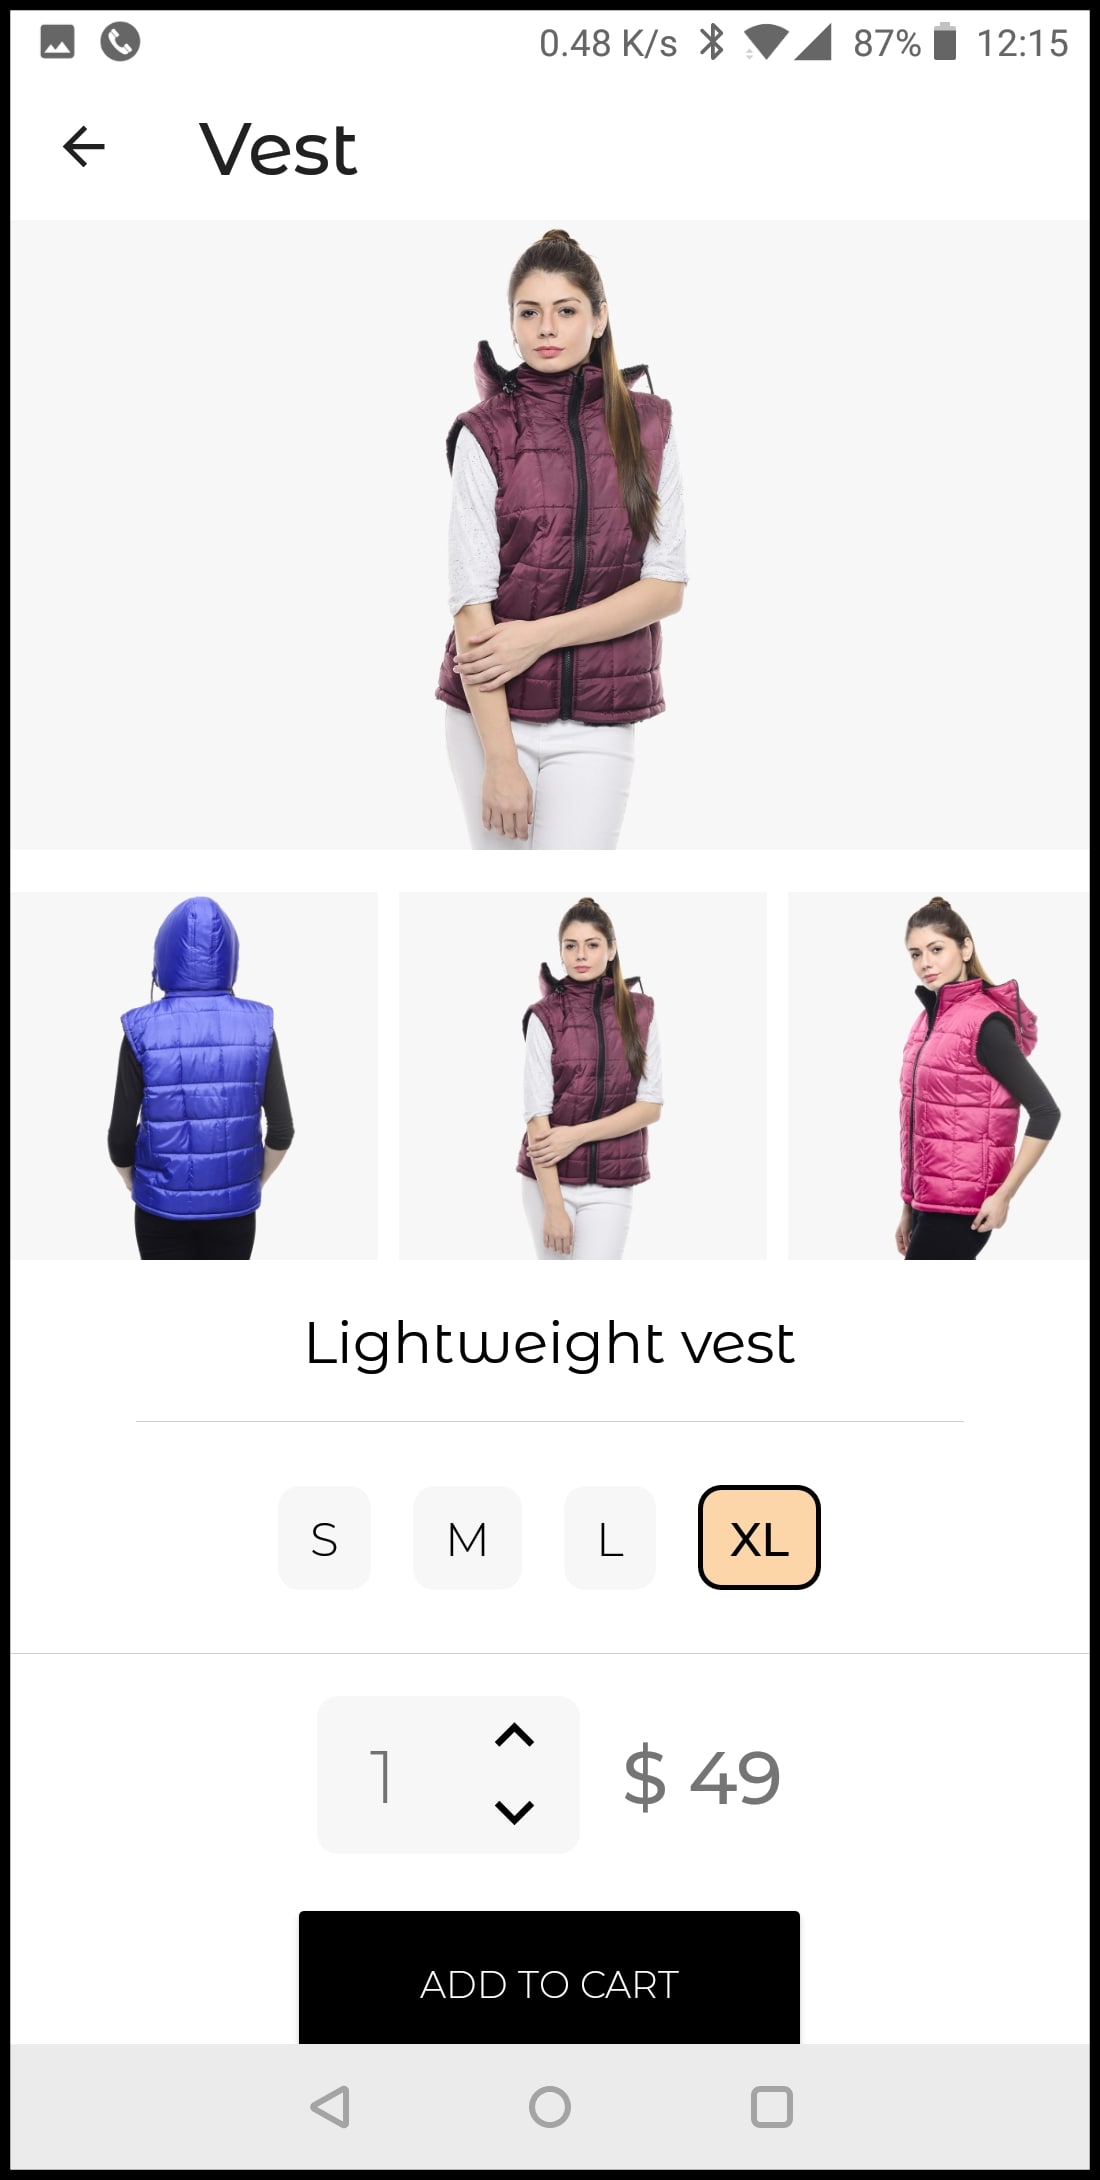
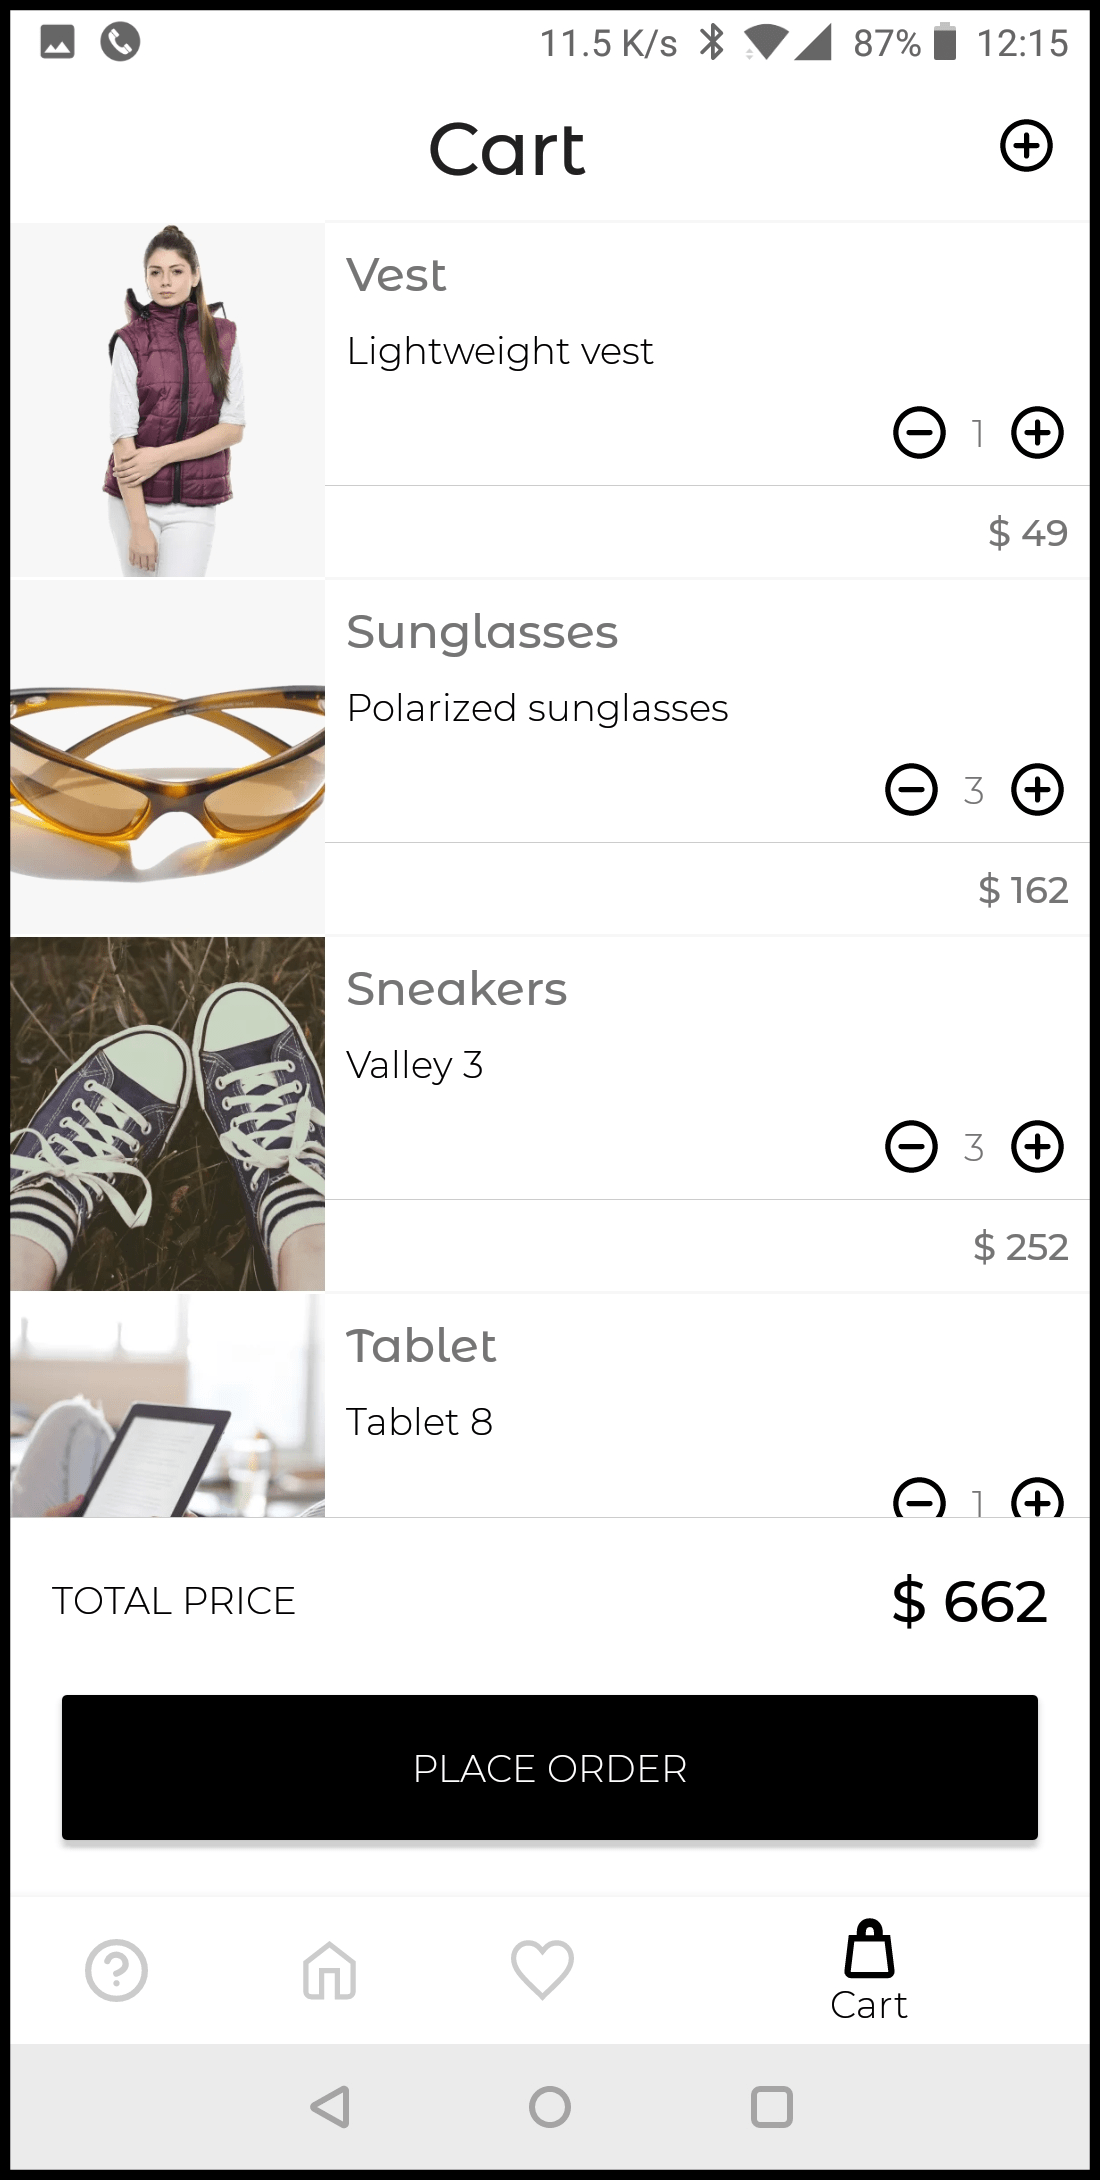
Recently we added the Cloudinary Demo- e-commerce App to the Google Play Store. This app demonstrates the best practices for optimal delivery of images on a storefront, including category pages, product pages, and a shopping cart. At the time, we published Introducing the Cloudinary Demo Android App, Part 1, which provided an under-the-hood tour of how the eCommerce Android App was designed and how Cloudinary was integrated throughout.
The app demonstrates how to leverage some of Cloudinary’s capabilities, such as managing file uploads, displaying images responsively, and optimizing delivery through global Content Delivery Networks (CDNs). The app was developed as an open source project so that you can explore the code for yourself and see how to improve your users’ experience and the performance of your apps by delivering images, enhanced and optimized for different contexts.
In part 2 of this series, we will focus on how the open source code that we’ve published on GitHub can also be used as the code base for developing your very own Android app, using Cloudinary for media upload, optimization, and responsive delivery.
Some sections in this post assume you have a basic understanding of how the Cloudinary Demo Android App is designed and structured. If you didn’t get a chance to read Part 1 of this post, or it’s been a while since you did, we recommend reading it before continuing.
After you fork the Android Demo Application github repository, you just need to make a few basic changes to make the app your own:
- Configure your App with the Cloud Name to your account.
-
Update the Data Flow from the
dataandremotepackages, through therepoto theViewModels, and then on to the UI. - Give your Product Images Context so that your app will use your own product images from your own Cloudinary account.
- Switch Over to a Real Backend Flow instead of the local file implementation.
So that’s it in a nutshell. The following sections go into more detail:
Your App needs to be updated to use the Cloud Name of your own Cloudinary account to retrieve product images. If you don’t have a Cloudinary account yet, you can easily sign up for a free account.
The first step is to update the cloudName in two places:
- The
config.xmlfile located under/res/values - The
CloudinaryWebService.javapublic interface located underjava/com/cloudinary/android/ecommerce/demo/remote
The App uses Cloudinary’s client-side resource lists to return all the images that have been tagged with e_commerce_product, however this can be changed to a tag of your choice, under the config.xml file located under /res/values. Make sure that your App will be able to access Cloudinary in this way: open your Management Console and then navigate to Settings => Security => Restricted image types and make sure that the Resource List check-box is clear.
The starting point for personalizing the app for your own needs is updating the data package to use your own models. Make changes as follows:
- Adapt the model itself to use a class representing your own products (e.g. for this app, a
Productis the main model). - Update the
ProductDatabaseto include the new and modified models. - Update the
ProductDaoto refactor the queries, and add/remove queries to handle the new model and relations.
The next step is adapting the remote package for your own use. Change the fields and parameters to use the new models. Once that’s done, the ProductRepo also needs to be updated similarly: modify the parameters, fields and types to handle the new models as well.
Now on to the viewmodel package, to update the parameters and types as well as the application logic if needed, followed by the necessary UI changes in the app package. Most of the fragments, screens, and grids can and should be reused. XML layout files can be updated and those changes should be reflected in the different adapters (e.g. CategoriesAdapter, ProductAdapter etc.).
All images to be included in your app need to have a common tag (e_commerce_product by default). The app logic utilizes product information stored with the images as ‘context’ key-value pairs: make sure that all images to be displayed also include the following 6 ‘context’ key value pairs:
-
department: “men” or “women”. -
description: a short string description, 2-3 words. -
name: a short string, preferably one word. -
price: a number. -
productId: a number -
isMain: a boolean value determining whether this is the product’s main image (only one asset per product should have “true” for this field).
All the context key-value pairs, except for isMain, should be identical across all the images that represent the same product. An example of the context key/values assigned to an image:
“department”:“men”,
“description”:“Messenger bag”,
“name”:“Messenger”,
“price”:“245",
“productId”:“10",
"isMain":"false"
Lastly, you’ll probably want to switch the injected remote repository to use a backend instead of the local file implementation that we used for demo purposes:
- Update the ProductRepo.java file located under
java/com/cloudinary/android/ecommerce/demo/data: change the label in the constructor annotated parameter, from cloudinary to backend (i.e.,@Named(“cloudinary”)should become@Named(“backend”)) - Change the implementation of BackendWebService.java located under
com/cloudinary/android/ecommerce/demo/remoteto retrieve and save data against your own backend. BothsaveProduct()andgetAllProducts()should be completely re-written, while all the other methods should be completely removed. - Your backend logic should now determine the relevant PublicIds of the images for each product and the product metadata should now be implemented directly in the model from your backend, and not from the context key-value pairs attached to the image.
- If any Android components are added, removed or modified, verify the injection engine is updated accordingly (the
dipackage).
The open source code of the Cloudinary Demo – eCommerce Android App can be easily modified to provide the framework for your own App. The code takes advantage of existing open source libraries and gets them to work together while adopting best practices for efficient management and optimal delivery of your images when building your own Android App. If you don’t have a Cloudinary account yet, you can sign up for a free account and give it a try.