
In support of International Women’s Month, the London team at Cloudinary were given the opportunity to help Pecan’s Women’s Hub create some thank you gifts for the charity’s sponsors. We partnered with Nice & Graphic to design prints using an original letterpress printer from 1961. What struck me was how much time we spent preparing the letterpress printer to get the perfect prints compared to the fraction of the time it would have taken to prepare similar images in the digital world. And yet, there was something really special about doing things the old-fashioned way.
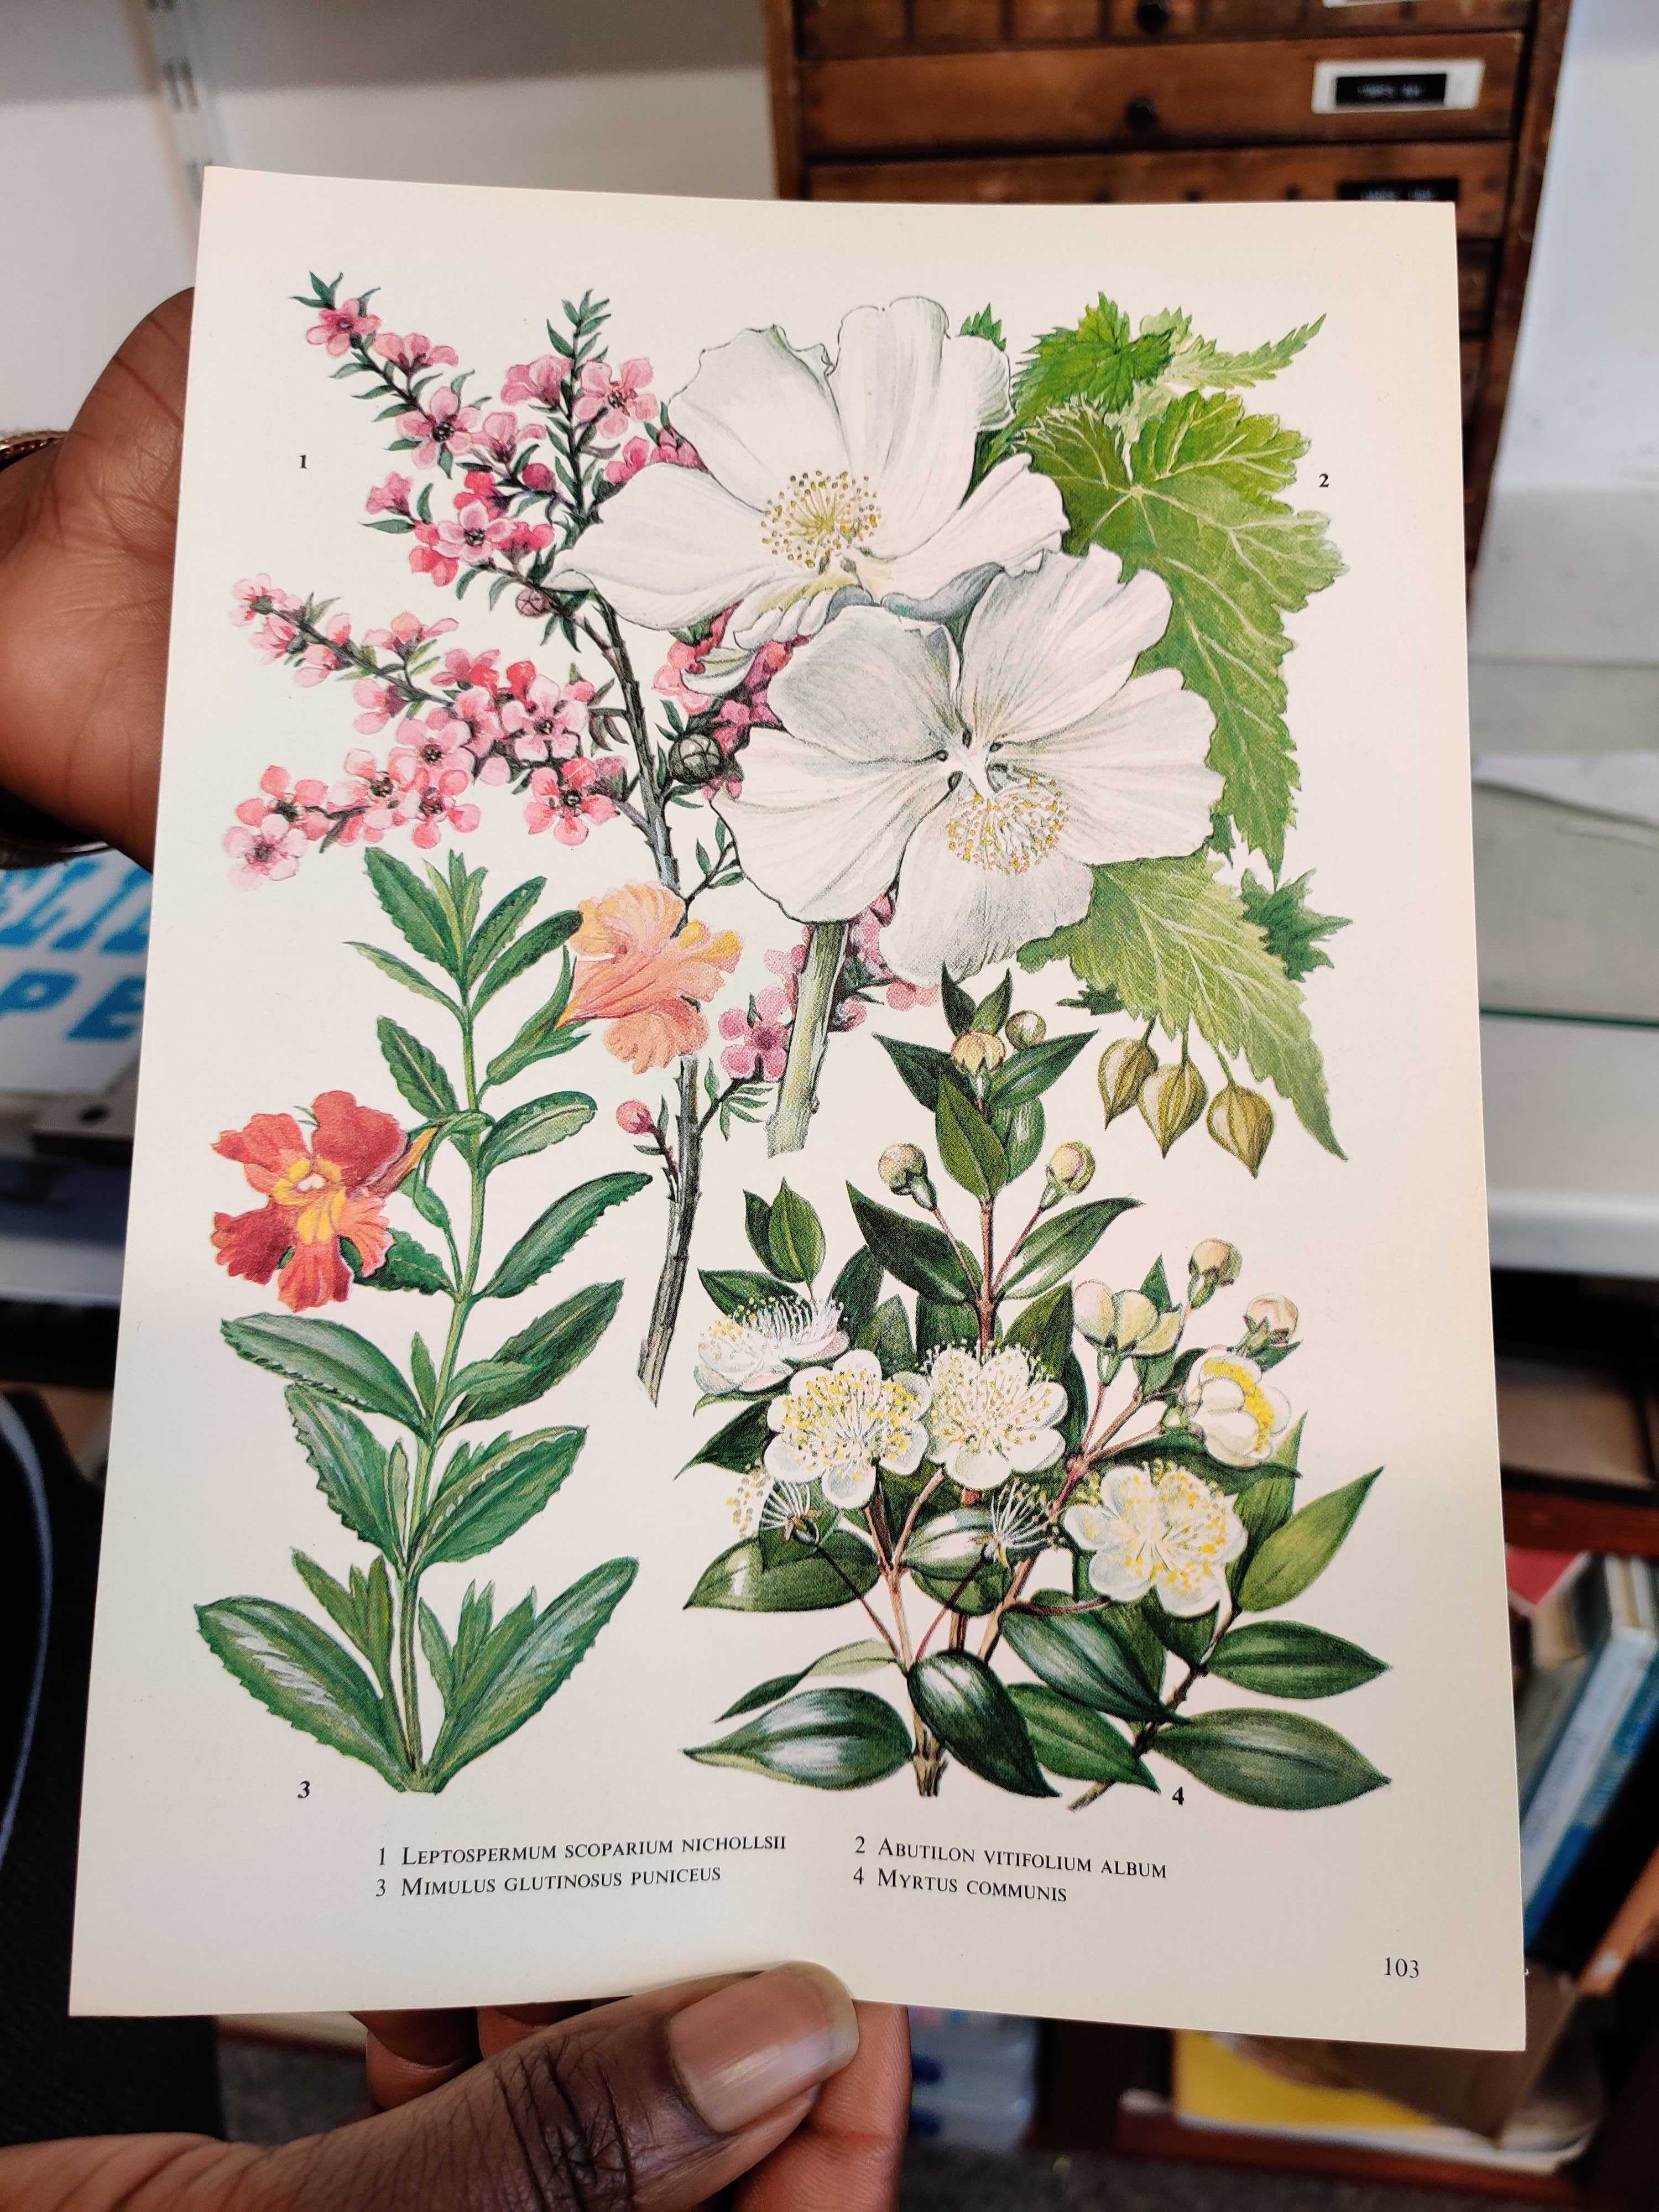
In a nutshell, letterpress printing is applying a text overlay to an image. In our case, the images were pages of old books about flowers, such as this:

The text was Pecan’s slogan: “Kindness | Belief | Hope”, and the finished result looks like this:

First, we chose the fonts for the lettering from huge cases of letters, and selected the right letters to make up the words:

Then, we packed the letters into the printer, using wood and metal spacers to space out the letters exactly as we wanted them. We had to be careful to get them in the right orientation — back to front and not upside down!

After locking the letters in place, we mixed the ink, which was the blue color from Pecan’s branding. The ink is translucent, so you can see the image beneath the letters.

We added the ink to the roller on the printer, and applied it to the letters:

Then, we ran test prints on blank paper to perfect the alignment, and to make sure the letters were at the right height, minimizing the gaps in the ink application. This was a painstaking process, involving cutting up bits of paper to place under the letters that were too low. It was amazing how much difference the thickness of one piece of paper made!

When we were happy with the setup, we created the prints by positioning the paper, rolling it over the letters, and pulling it out the other side!

Hit play to see it in action:
Here we are with some of our finished designs:

And here they are displayed in a Product Gallery. Select each one and zoom in for more detail:
While learning the letterpress process, I thought about how we could achieve similar effects with Cloudinary. The obvious way would be to apply a text overlay to an image, as previously mentioned. If you’re familiar with Cloudinary, then you’ll know you can do this by adding transformation parameters to the delivery URL of the base image.
This is the base image of a page of flowers uploaded to Cloudinary:
For each line of text we need a text overlay. For example, for the word “BELIEF”:
co_rgb:2BACE1,l_text:Times_500_bold_letter_spacing_70:BELIEF,o_70/fl_layer_apply
-
co_rgb:2BACE1sets the color of the text as an RGB value. -
l_text:Times_500_bold_letter_spacing_70:BELIEFspecifies the text overlay as Times font of size 500, bold styling and letter spacing of 70 pixels. -
o_70sets the opacity to 70% so we can see the image beneath the letters.

For “KINDNESS” and “HOPE” we also need to specify the positioning of the layer in the fl_layer_apply component, e.g.:
-
g_north,y_1000positions the text 1000 pixels down from the top of the picture. -
g_south,y_1000positions the text 1000 pixels up from the bottom of the picture.
Here’s the whole URL/code snippet and image:

Obviously, the fonts aren’t exactly the same as the letterpress ones, but you get the idea. And the great thing about text overlays is that you can change the styling and color as often as you want by editing the URL parameters. Plus, we don’t have to use the same color for each of the words, as you would with the letterpress printer:

Another way to achieve a similar effect is to use an image of the real letterpress lettering and transform it into an overlay that we can apply to any image:

First, we make everything but the letters transparent by using the make_transparent effect, specifying brown as the color to make transparent, with a large tolerance of 60 (co_brown,e_make_transparent:60):

The imperfect lettering makes the letterpress effect more authentic!
Then, automatically crop the image, so only the wording is present (c_auto,ar_1.0), and flip the wording so it’s legible (a_hflip):

And then, because of the angle at which the photo was taken, we need to correct the perspective by adding a distort effect, bringing the bottom in line with the top (e_distort:0:0:3000:0:2400:3000:600:3000):

And finally, we can apply this transformed image as an overlay on top of our base image, with an opacity of 70 (l_docs:letterpress:letters/a_hflip/co_brown,e_make_transparent:60/o_70/c_auto,ar_1.0/e_distort:0:0:3000:0:2400:3000:600:3000/fl_layer_apply):

The great thing about transformations is that they can be saved and reused again and again on different images.
When we finished making our prints, we took everything apart, cleaned the ink off the letters and roller, and put the letters back in alphabetical order in their cases. To make the same prints would take all that setup time again.
In the digital world, we just grab the transformation and apply it to any image, instantly and on the fly!
I’d like to thank Michelle from Nice & Graphic for teaching us how to use the letterpress printer and Tracey from Pecan for providing us with the opportunity. I had a really fun morning that opened my eyes to a brilliant art form. Although I’m grateful that technology has moved on from letterpress to WordPress, there’s still a place for authentic printing methods in the world.
Learn more about other image and video transformations that Cloudinary offers!

