
SVG format has been around forever, but until recently usage has been relatively low. However, following improved browser support, developers are rediscovering SVG, and taking advantage of its merits including:
- Extremely lightweight, especially for large image dimensions.
- Pixel-perfect scalability making it ideal for responsive designs.
- Code-only editing. SVG is code.
- Searchable by search engines and accessibility screen readers.
For many web designers, SVG is a go-to method for creating and delivering logos, icons, fonts, graphics, infographics and other simple images in their websites. But generally, SVG creation requires a certain skill level and experience with SVG creation tools.
While there are several methods and tools available for converting raster images to vector graphics, such as Adobe Illustrator, Adobe Photoshop, Canva, Vectorizer AI, and Autotracer, each with its own set of steps and features, they often require more hands-on effort and expertise in graphic design. For instance, Adobe Illustrator demands detailed adjustments like color complexity, pixels, and edges. Similarly, Photoshop involves a multi-step process including the use of Threshold layers and Color Range commands.
In contrast, Cloudinary offers a more streamlined and automated approach, making it a more efficient choice, especially for those who may not have extensive graphic design skills or access to complex software.
Cloudinary has long supported transforming and serving SVG assets but now Cloudinary has gone a step further by providing a simple vectorize effect . that enables web developers and designers to take advantage of SVG even when the images they have to work with are simple raster graphics, PNGs or even photographic data, and without requiring deep knowledge or special tools for generating vector graphics.
The newe_vectorizetransformation option accepts a raster image and returns an SVG on-the-fly and ready for delivery.. It achieves this ‘magic’ by tracing and detecting paths and areas in the source image and converting them to SVG vector form. It provides a variety of options that enable you to generate SVGs with more or less detail, depending on your goals.
Let’s take a closer look at some usage options that these new capabilities open up.
This is part of a series of articles about Responsive Images.
Suppose you have access to logos, icons, or other graphics in raster form, (probably PNG) , but would like to scale them or deliver them in a more compact form. For this use-case, we want the SVG version to match the original as closely as possible.
Comparatively, tools like Adobe Illustrator and Photoshop, while powerful, can be cumbersome for such tasks. They require detailed manual adjustments and a deeper understanding of vectorization processes, which can be time-consuming. Even online tools like Canva or Autotracer, which offer simpler interfaces, lack the sophistication and flexibility needed for high-quality, automated vectorization, especially when dealing with complex images or a need for precise control over the final output.
Let’s assume we only have access to a 256px version of the following drawing:

This is a relatively small PNG at 28 KB.
But what if we want to display the image at a larger size? Unfortunately, the blurriness and file size of raster graphics both continually increase with resolution. So for example, if we wanted to display this image at 4x the original size, the file size would grow to a much less friendly 337 KB, while the quality would drop significantly, and it would also be highly pixelated.

But what if we turn it into an SVG?
With the new Cloudinary vectorize effect, we can do raster image to vector conversion on-the-fly. This on-the-fly conversion is a significant advantage over other methods like Adobe Photoshop or Illustrator, where saving the file in vector formats involves several steps and doesn’t guarantee the same level of convenience and efficiency.
Cloudinary’s solution is not only faster but also maintains high fidelity to the original image, ensuring that the vectorized outcome preserves the essence of the original design.
As mentioned earlier, the vectorize feature works by tracing and detecting paths and areas in the source image and then converting them to SVG vector form. To do this, it must perform some approximations, so the result is usually not a completely “lossless” copy of the source, but depending on the source information, it can come very close.
There are several options that can be specified for the vectorize effect that you can use to control the resulting output, depending on your goals.
For this case, we’ll request an SVG at the maximum detail (1.0) with 3 colors (like the original). We don’t want corners to be too rough, but also not too soft, so we’ll use an intermediate value of 40 for the corners option. This yields an extremely compact, 8 KB file that will provide pixel-perfect scaling to any size.

This was a relatively simple case. It only has a few colors, so it really brings out the value of having a vector version.
Do keep in mind that when you are going for very accurate detail in the resulting SVG, color gradients or a large number of colors in the original don’t work as well. Optimal results are achieved with a limited number of solid colors.
When delivering high quality photos, it’s good web design practice to first deliver Low Quality Image Placeholders (LQIPs) that are very compact in size, and load extremely quickly. Cloudinary supports a large variety of compressions that can potentially be used for generating placeholders. You can read some more about those here.
But there are several merits to using SVG placeholders:
- They are quite compact.
- They offer pleasant results that also convey the contents of the final image.
- SVGs can be embedded directly within HTML and don’t need to wait for JavaScript to load.
While other platforms like Canva or Vectorizer AI can also create SVG placeholders, they often lack the advanced optimization and customization options. Cloudinary’s approach ensures that the placeholders are not only compact but also maintain a visual fidelity that is often lost with simpler vectorization tools.
Let’s dive in with an example:
The 2 Megapixel version of this lion image by Capri23auto is 752 KB, but assuming we take advantage of Cloudinary’s f_auto and q_auto optimizations, we will be dealing with about 400 KB for the full resolution image, which is nearly 50% of the original, but still pretty large.
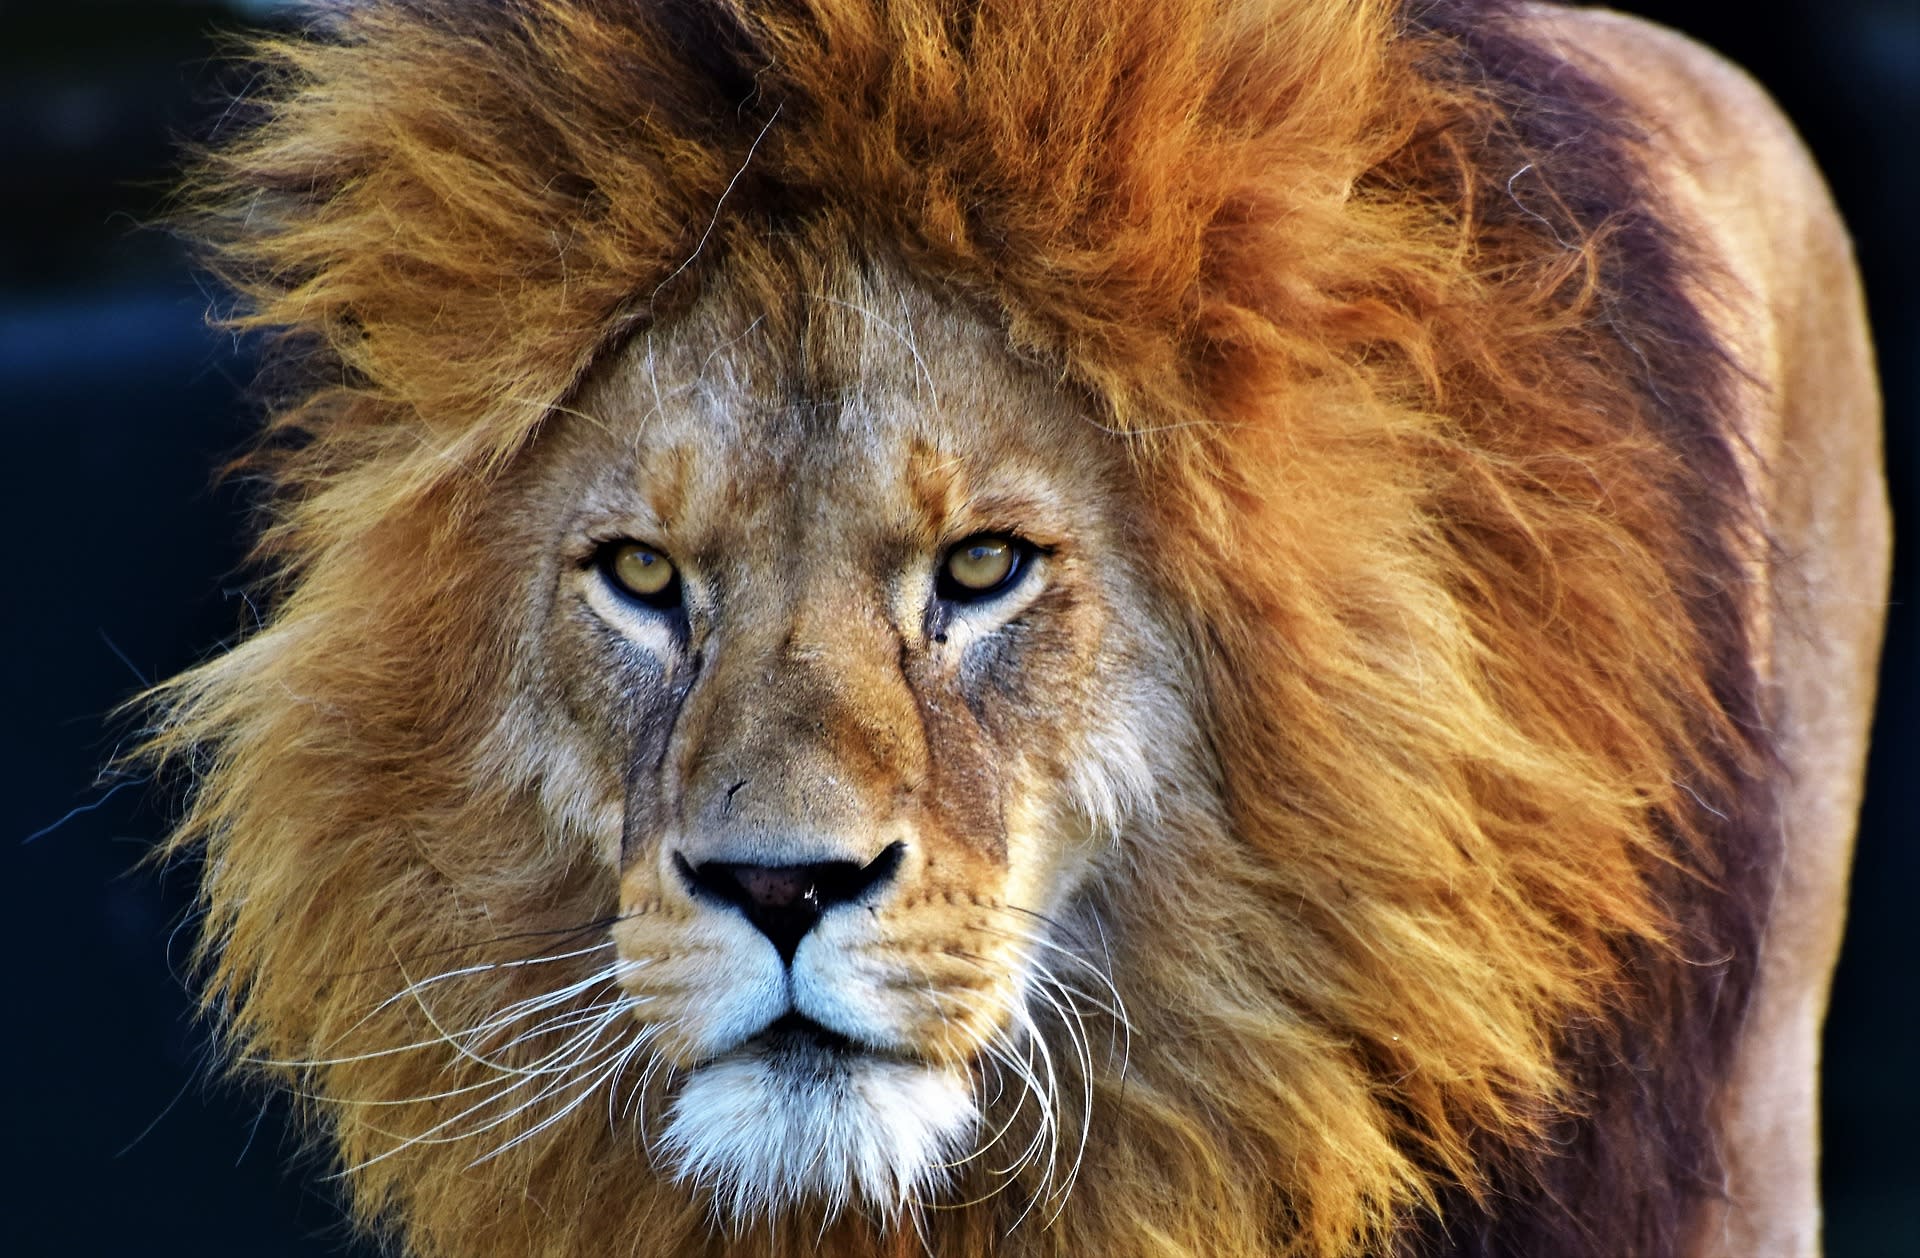
So it would be nice to have an SVG LQIP in place while lazy loading the full-sized image.
We want the placeholder to represent the subject matter of the original but also be very compact. Confining ourselves to 5 colors and a detail level of 10% produces a nice image, but still too large for a placeholder.

Leaving just 2 colors, and going to a 5% detail level produces a result that is still easily identifiable, but much smaller (about 6 kb). Or you can make a few more adjustments, which still gives you an image resembling the original, but now you are counting your file size in bytes!
 6 KB LQIP
 ~1 KB LQIP
As can already be seen in the previous example, the product of vectorization allows us to capture the main shapes and objects composing a photo or drawing and produces a nice effect.. This might be something we want to offer to our users simply to apply as effects on their own uploaded images or for other purposes. In these cases, we don’t necessarily want to deliver as an SVG. As with any other Cloudinary transformation, you can deliver vectorized images in any format, simply by specifying the relevant extension.
For example, suppose one of your users had uploaded this simple selfie image. You could provide a button that lets them convert their photo to a vectorized image:
 Original
 Default vectorize effect
The default e_vectorize parameter will reduce it to a detail level of 300 pixels and 10 colors, which is quite sufficient for this image.
Let’s examine another image that may require more colors, but less detail. For this image, we might deliver using e_vectorize:colors:20:detail:0.1
 Original
 Many colors, less detail
As previously mentioned, the vectorize effect can be controlled in several ways allowing different outcomes. The syntax is as follows:
vectorize:[detail]:[colors]:[despeckle]:[paths]:[corners]
-
Detail can be supplied either as a relative value (0 – 1.0), or an absolute number of pixels. Relative detail may be more intuitive, but if you want to apply the same transformation to multiple images that may have different source resolutions, the absolute pixel value will provide more consistent results across images.
-
Colors (not surprisingly) indicate how many colors will be used for the resulting image (up to 30), but obviously the number of colors you choose (if fewer than the original) will also impact the ultimate level of detail.
-
The remaining options allow you to further fine tune the result.
For full details, see the vectorize effect in the Image Transformation Reference.
Below you can see a variety of potential outputs using these options. The top-left image is the original photo. Following it, you can see the vector graphics, output as JPG, with varying levels of detail, color, despeckling and more.


While the potential combinations are endless, if you are using Cloudinary to deliver images, your goal is probably automation, so you’ll be looking for a set of options that will produce great results for the types of images you expect, without having to adjust the transformation code for each one.
(Unless of-course you are passing these on as cool effects to your users, and then by all means, feel free to let them adjust these options to their heart’s content.)
The new vectorize effect allows you to easily generate vector graphics from raster images. Whether you want to upscale or reduce the size of your logos and icons, create effective placeholders, just offer another fun effect for your users, or any other usage you might think of, Cloudinary brings these capabilities to you with a simple URL, or using any of our SDKs. There’s no need for a creative team, or fancy software editors and deep knowledge of how to use them. Just sign up for your free Cloudinary account, and give it a try.